I don’t often see a DSL40CR come through with this kind of erratic behaviour – it was one of those jobs that kept me scratching my head until the real root cause showed itself.
The Symptoms (as described by the customer)
- The amp would unpredictably switch from the Clean channel into Overdrive (OD) without touching the footswitch or front panel. I noticed that putting the amp in standby would instanly trigger the fault
- Otherwise, it sounded fine: the valves were healthy, the output stage appeared to behave, and no obvious catastrophic faults were present.
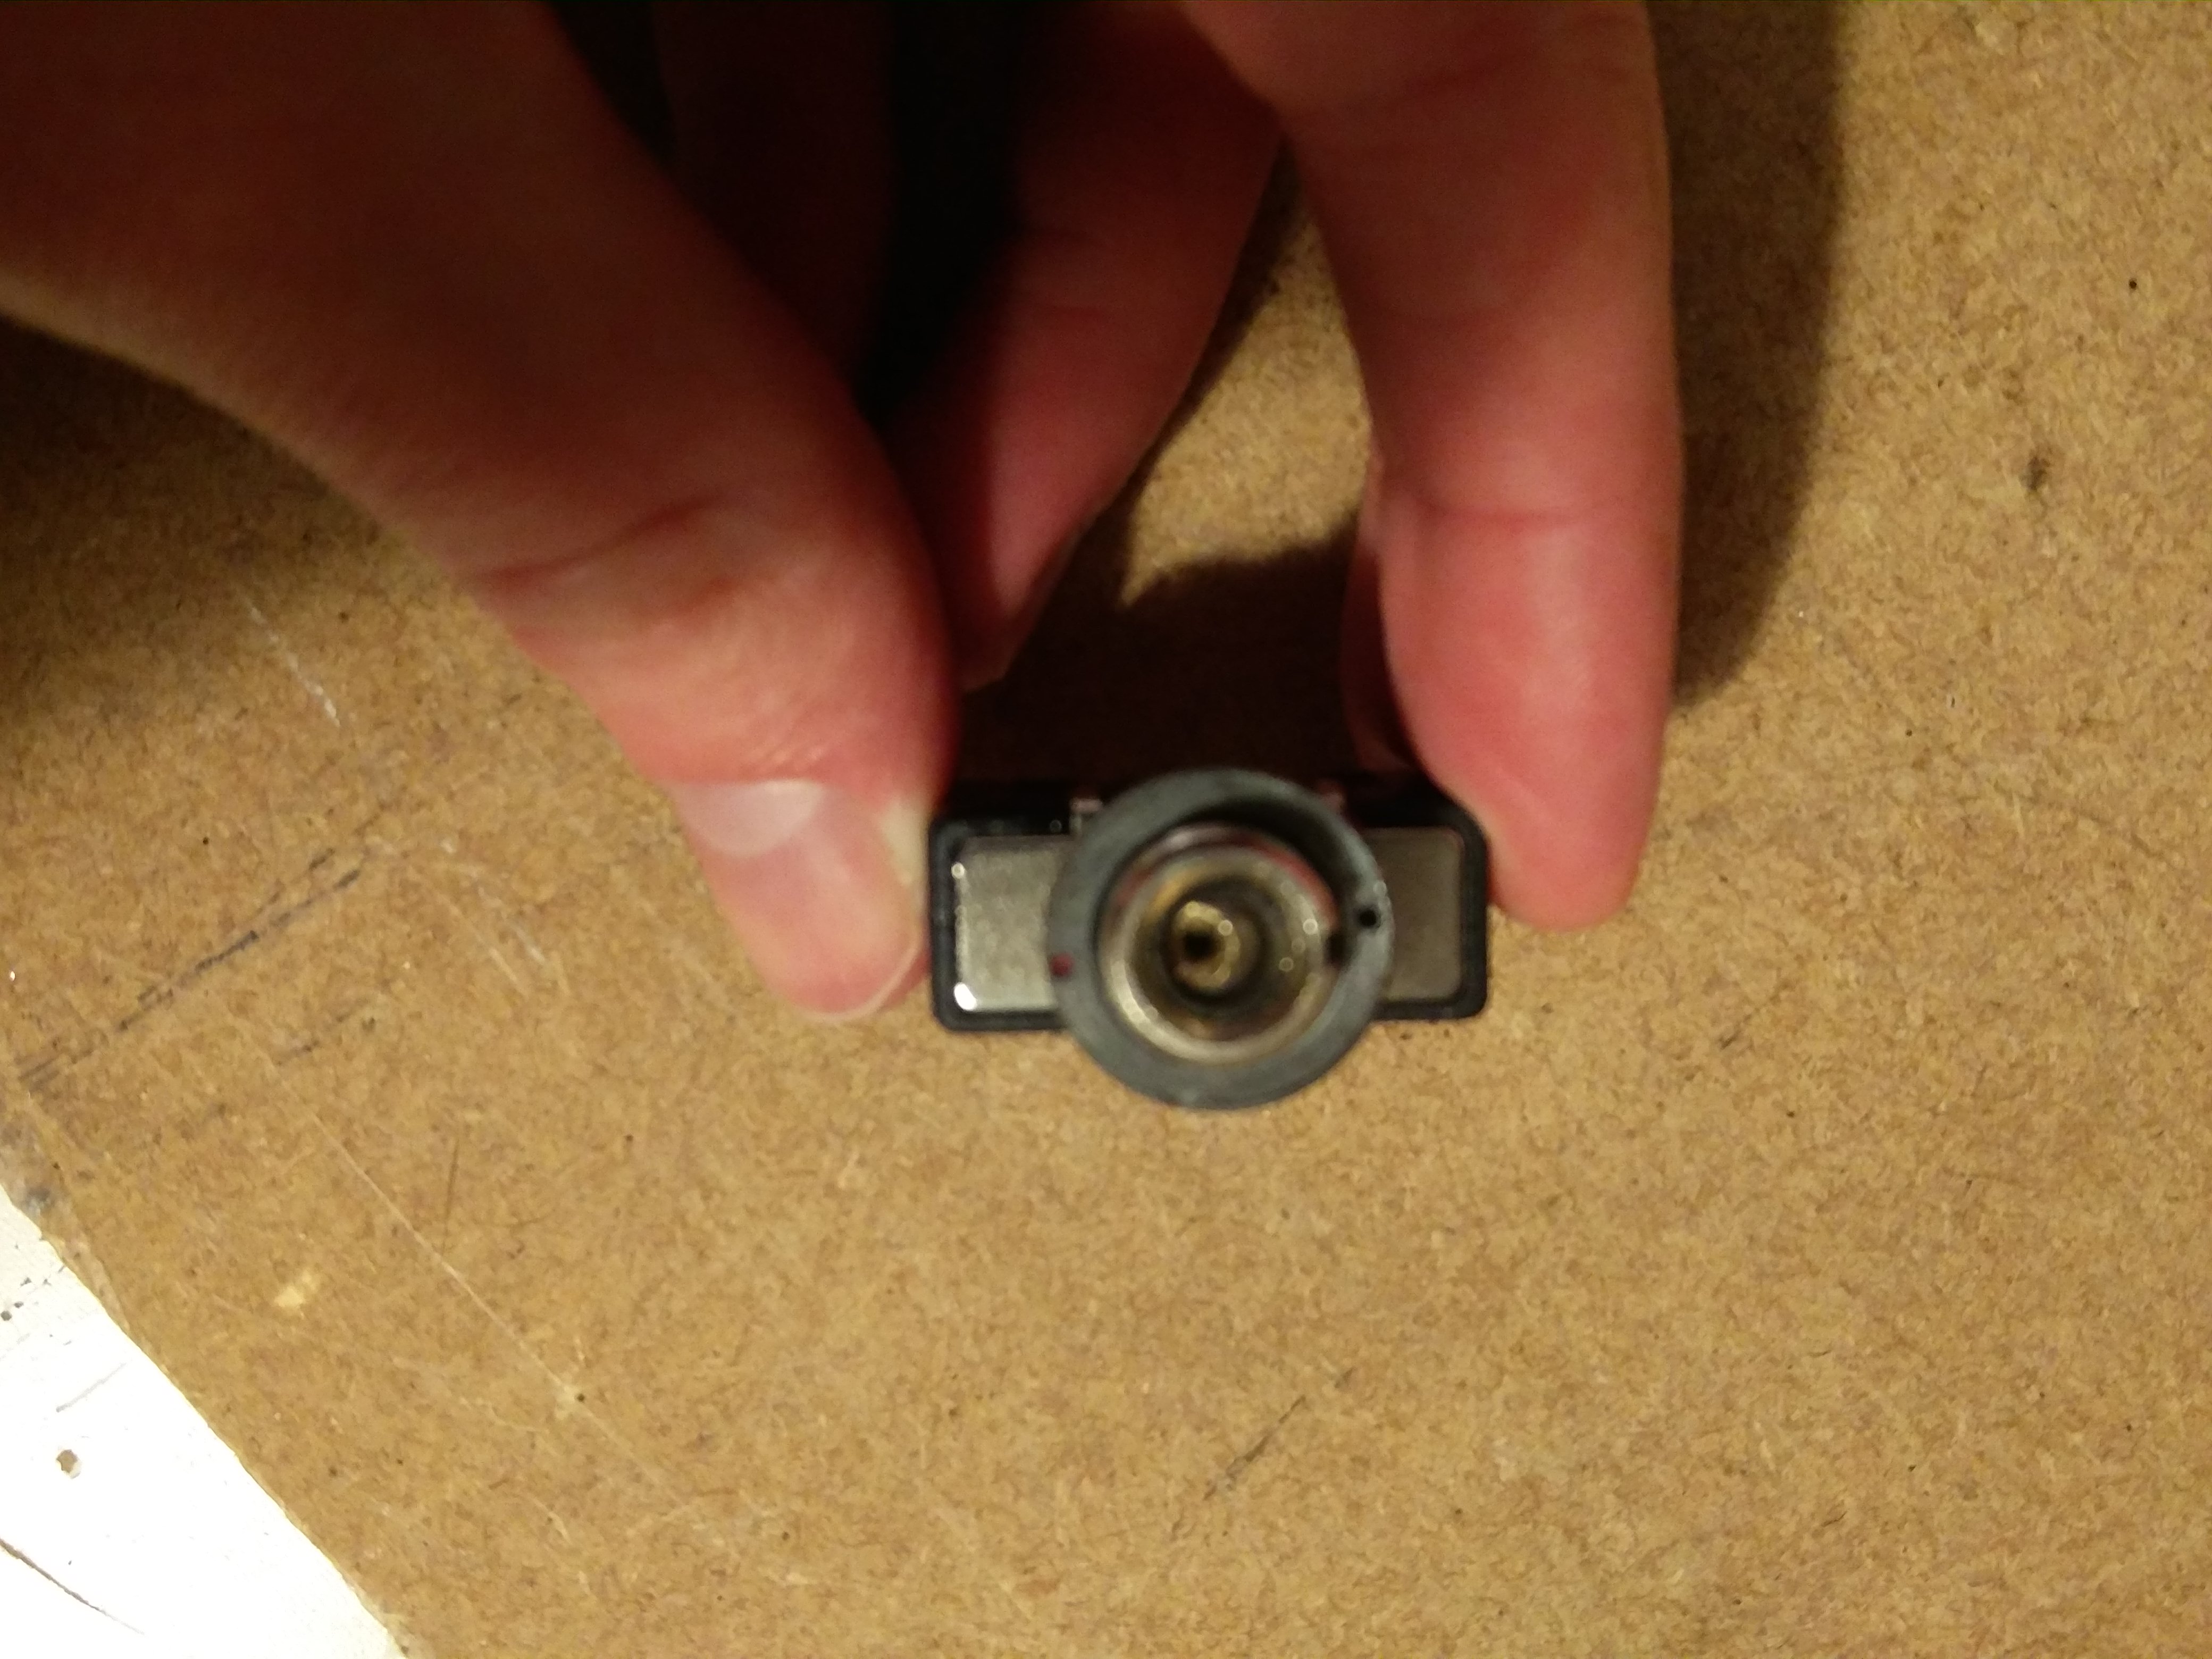
Removing a valve changes the power supply behaviour, so that’s where I started.
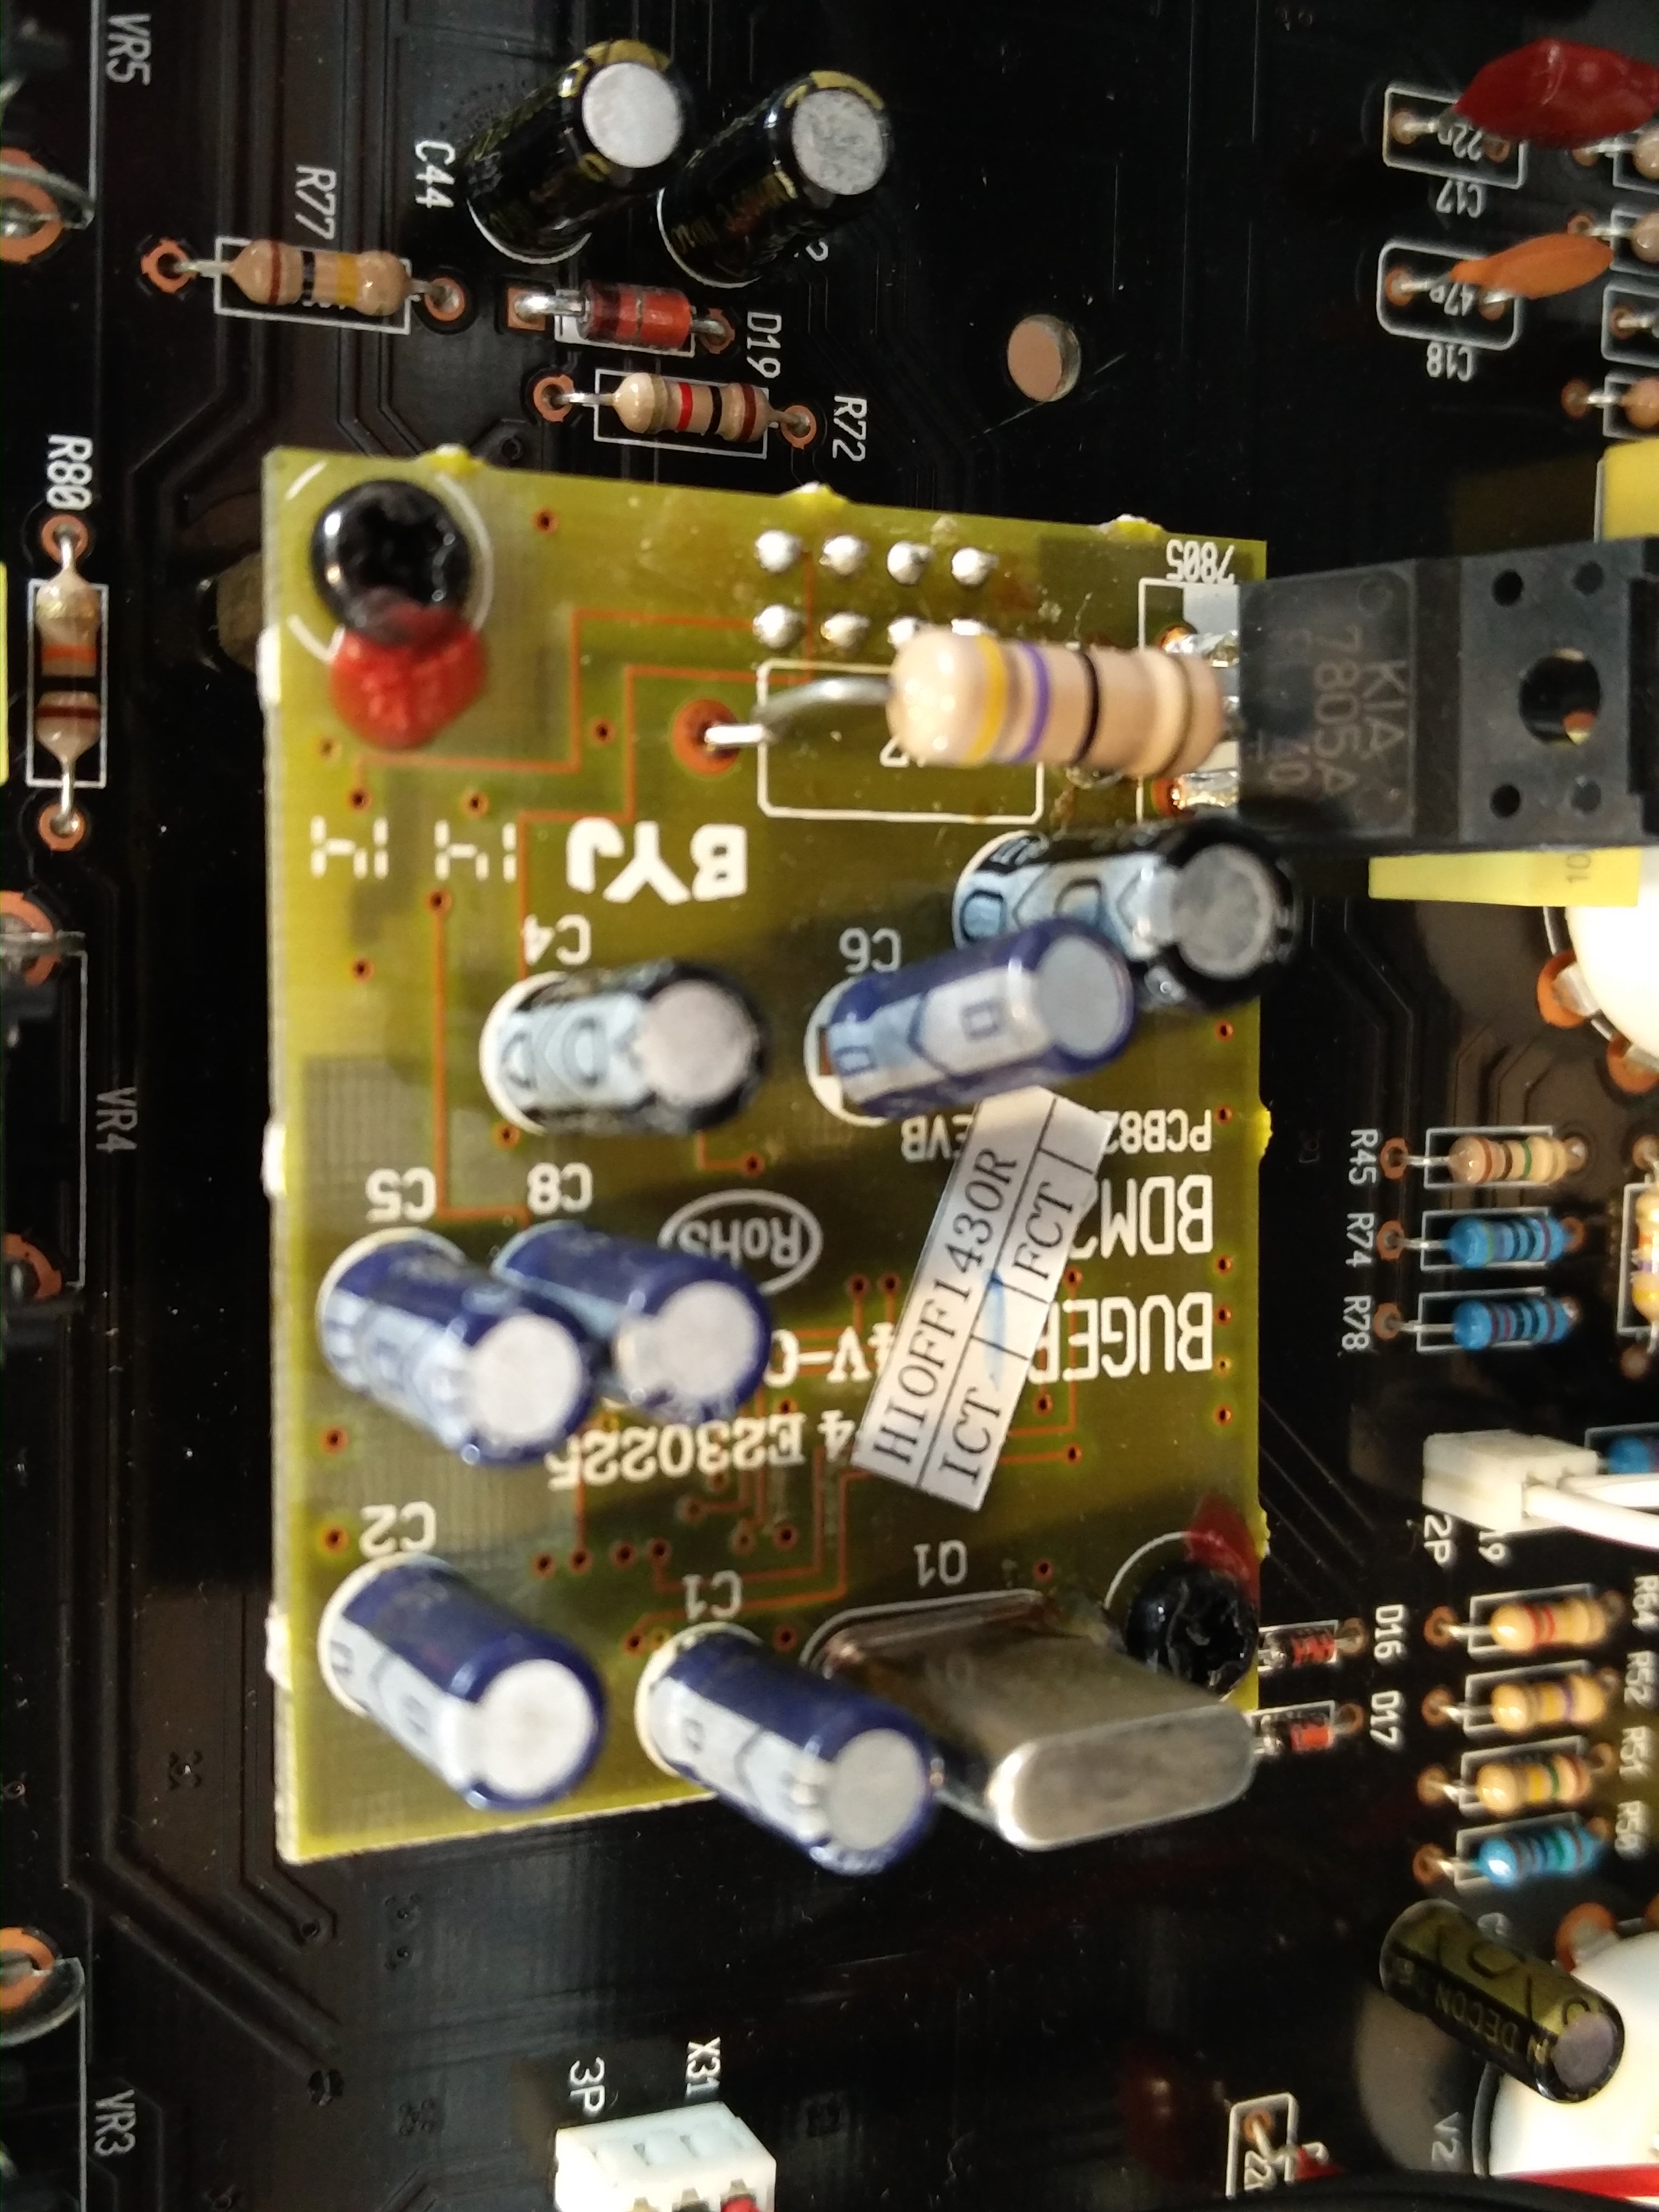
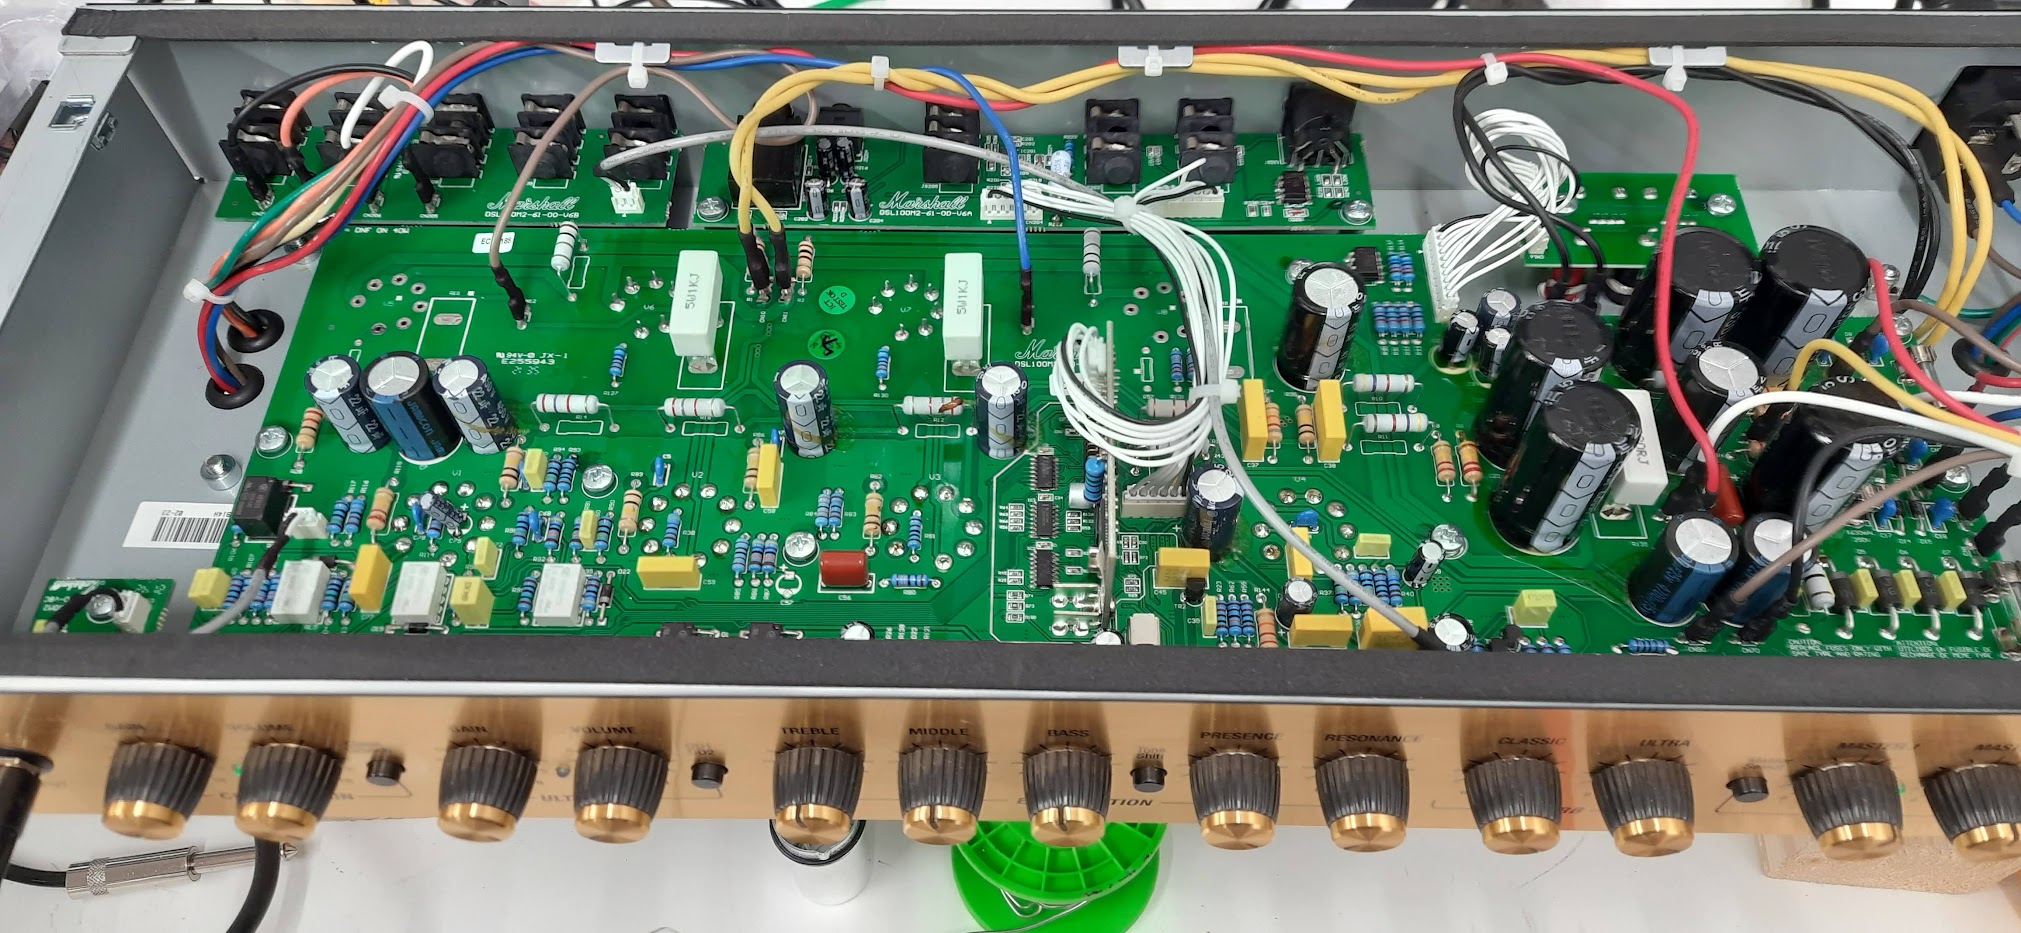
What I found was subtle: the control supply (low voltage rail) was not rock solid. The rail that feeds the preamp switching logic and control electronics was sagging or shifting, just enough so that under certain conditions the amp would interpret it as a switch command.
Once the control rail wobbled or dipped, the channel logic would misbehave and flip the amp into OD mode. A surprising symptom, but less surprising once you realize how sensitive those digital / switching circuits can be when their supply is out of spec.
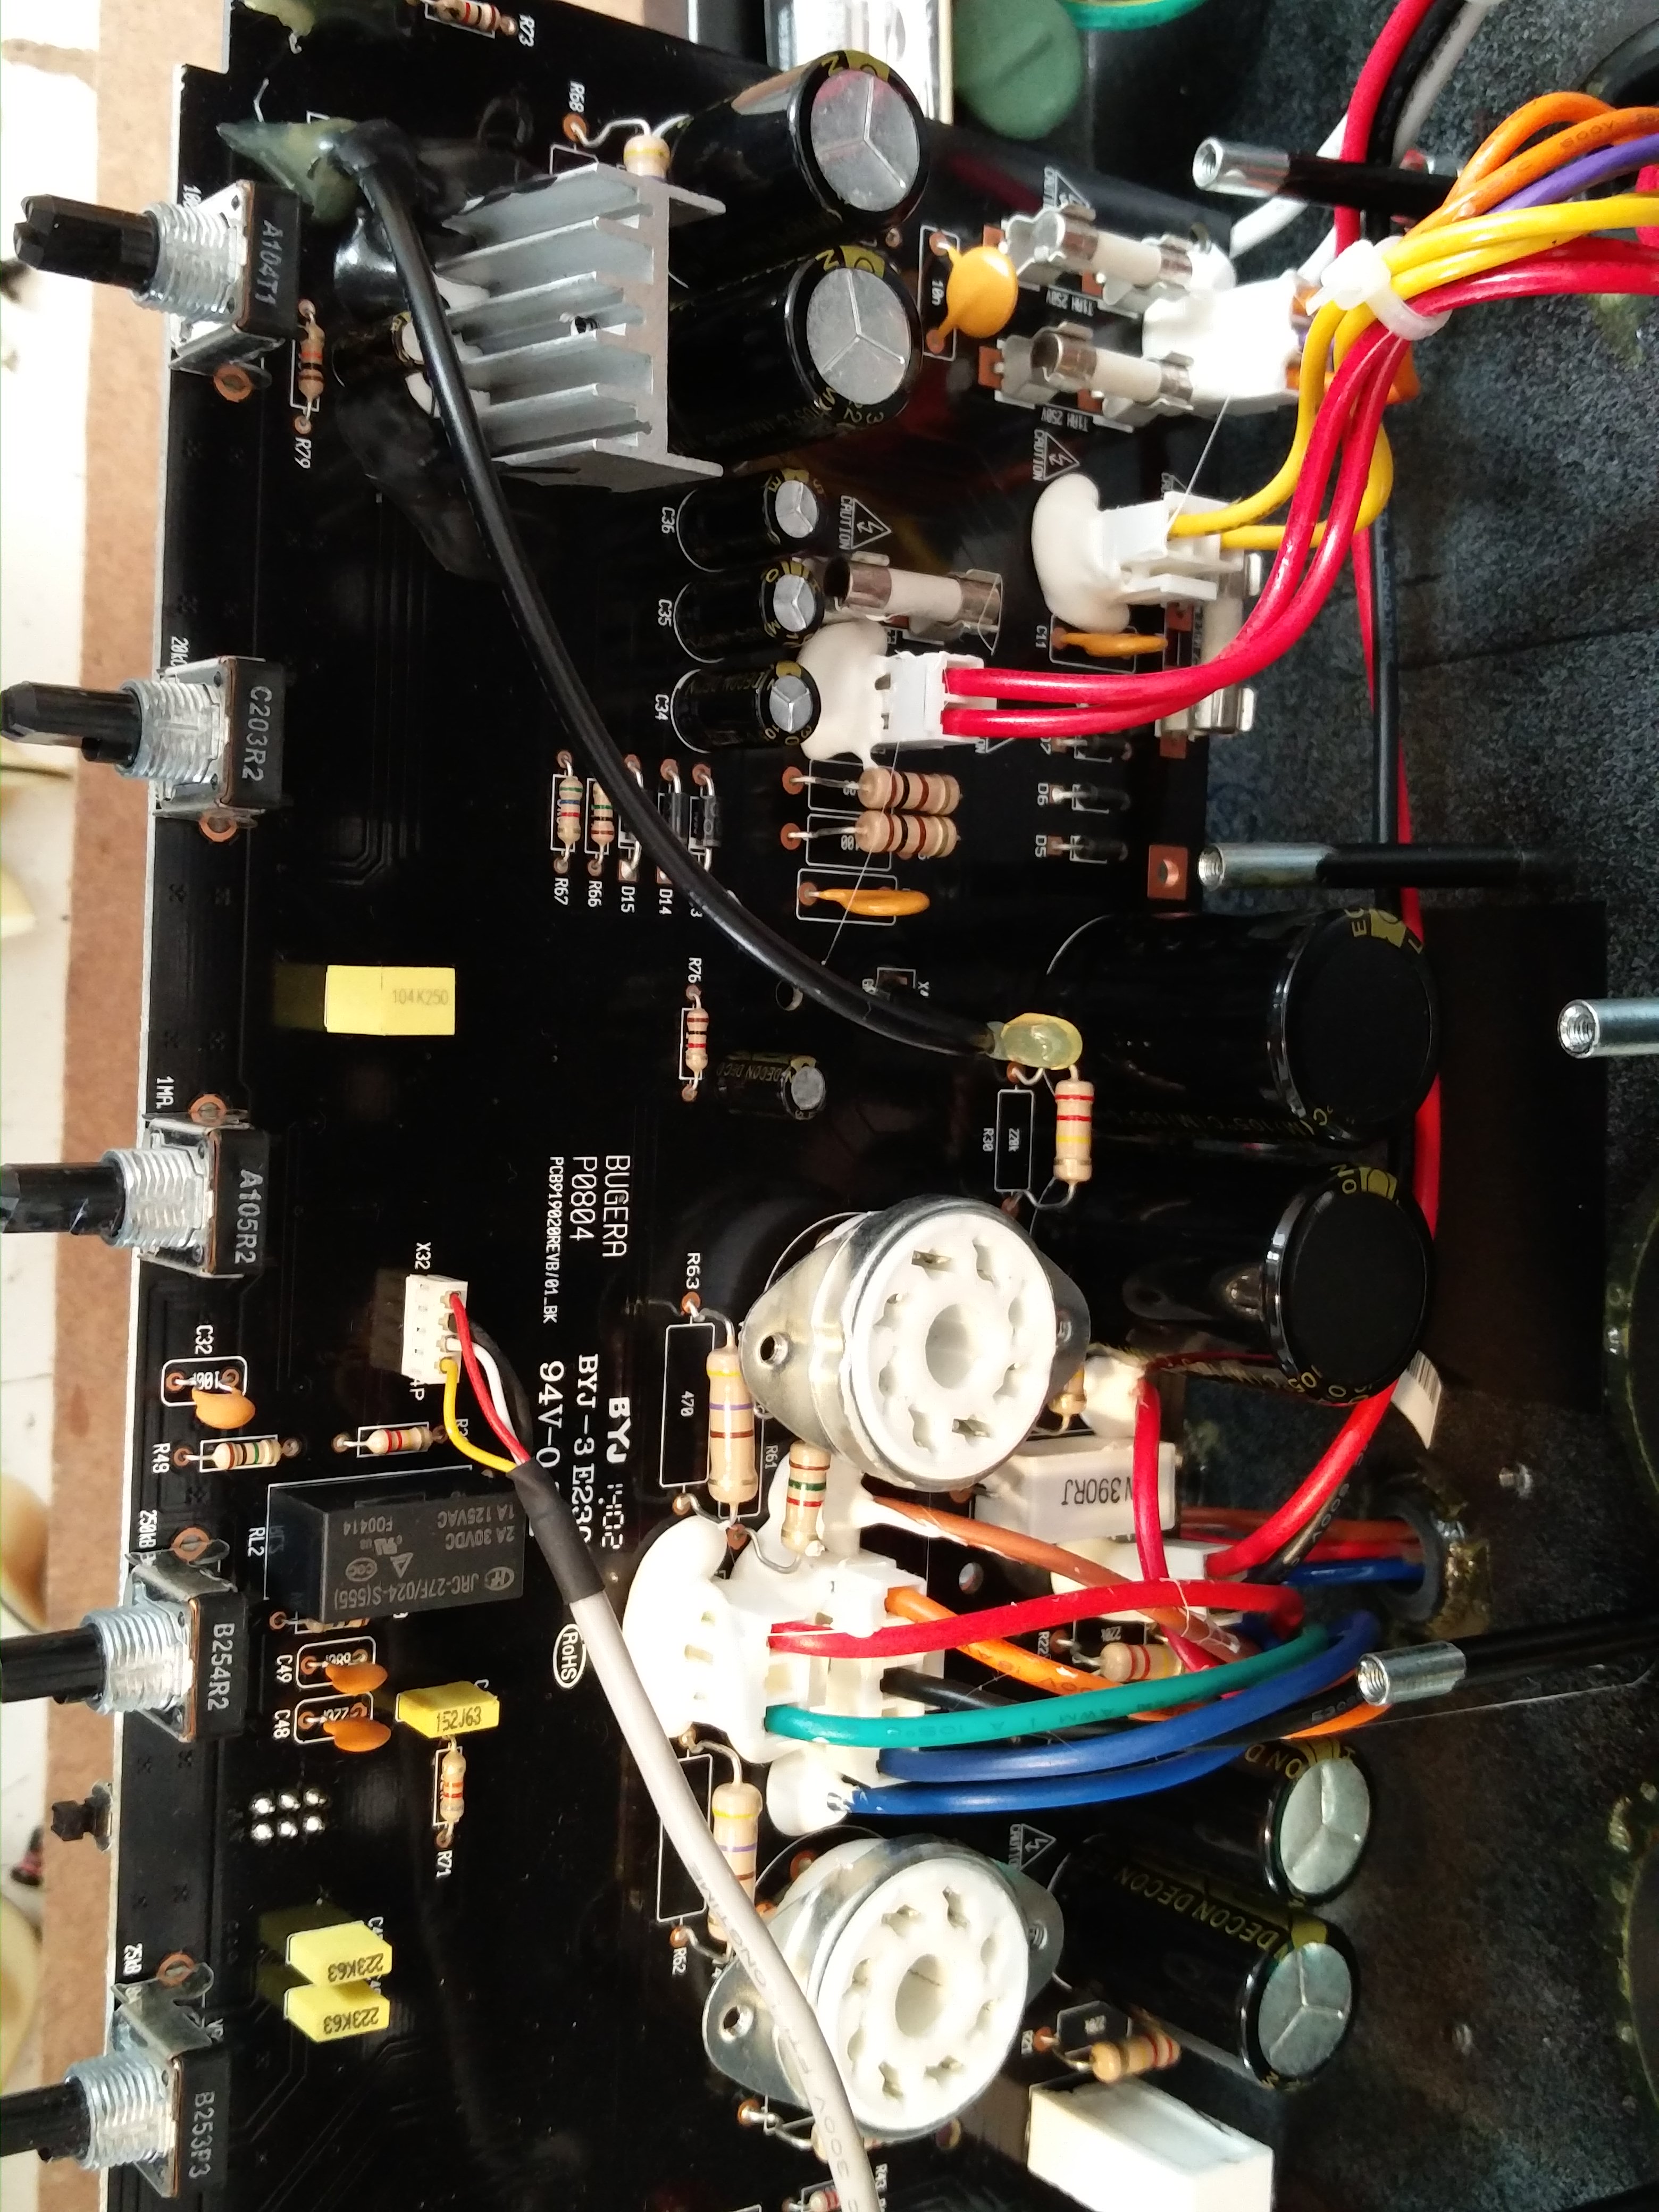
I’m lucky enough to have a friend who knows the technical issues with this range of amps better than literally everyone else in the world. He suggested I look at the power supply section on the rear board as this is the most prone to sagging.
In addition, during the inspection I noted a few design / build quirks that I’ve occasionally encountered in the DSL40CR family (and in other Marshall amps), which may be part of why these amps sometimes exhibit low output or noise issues:
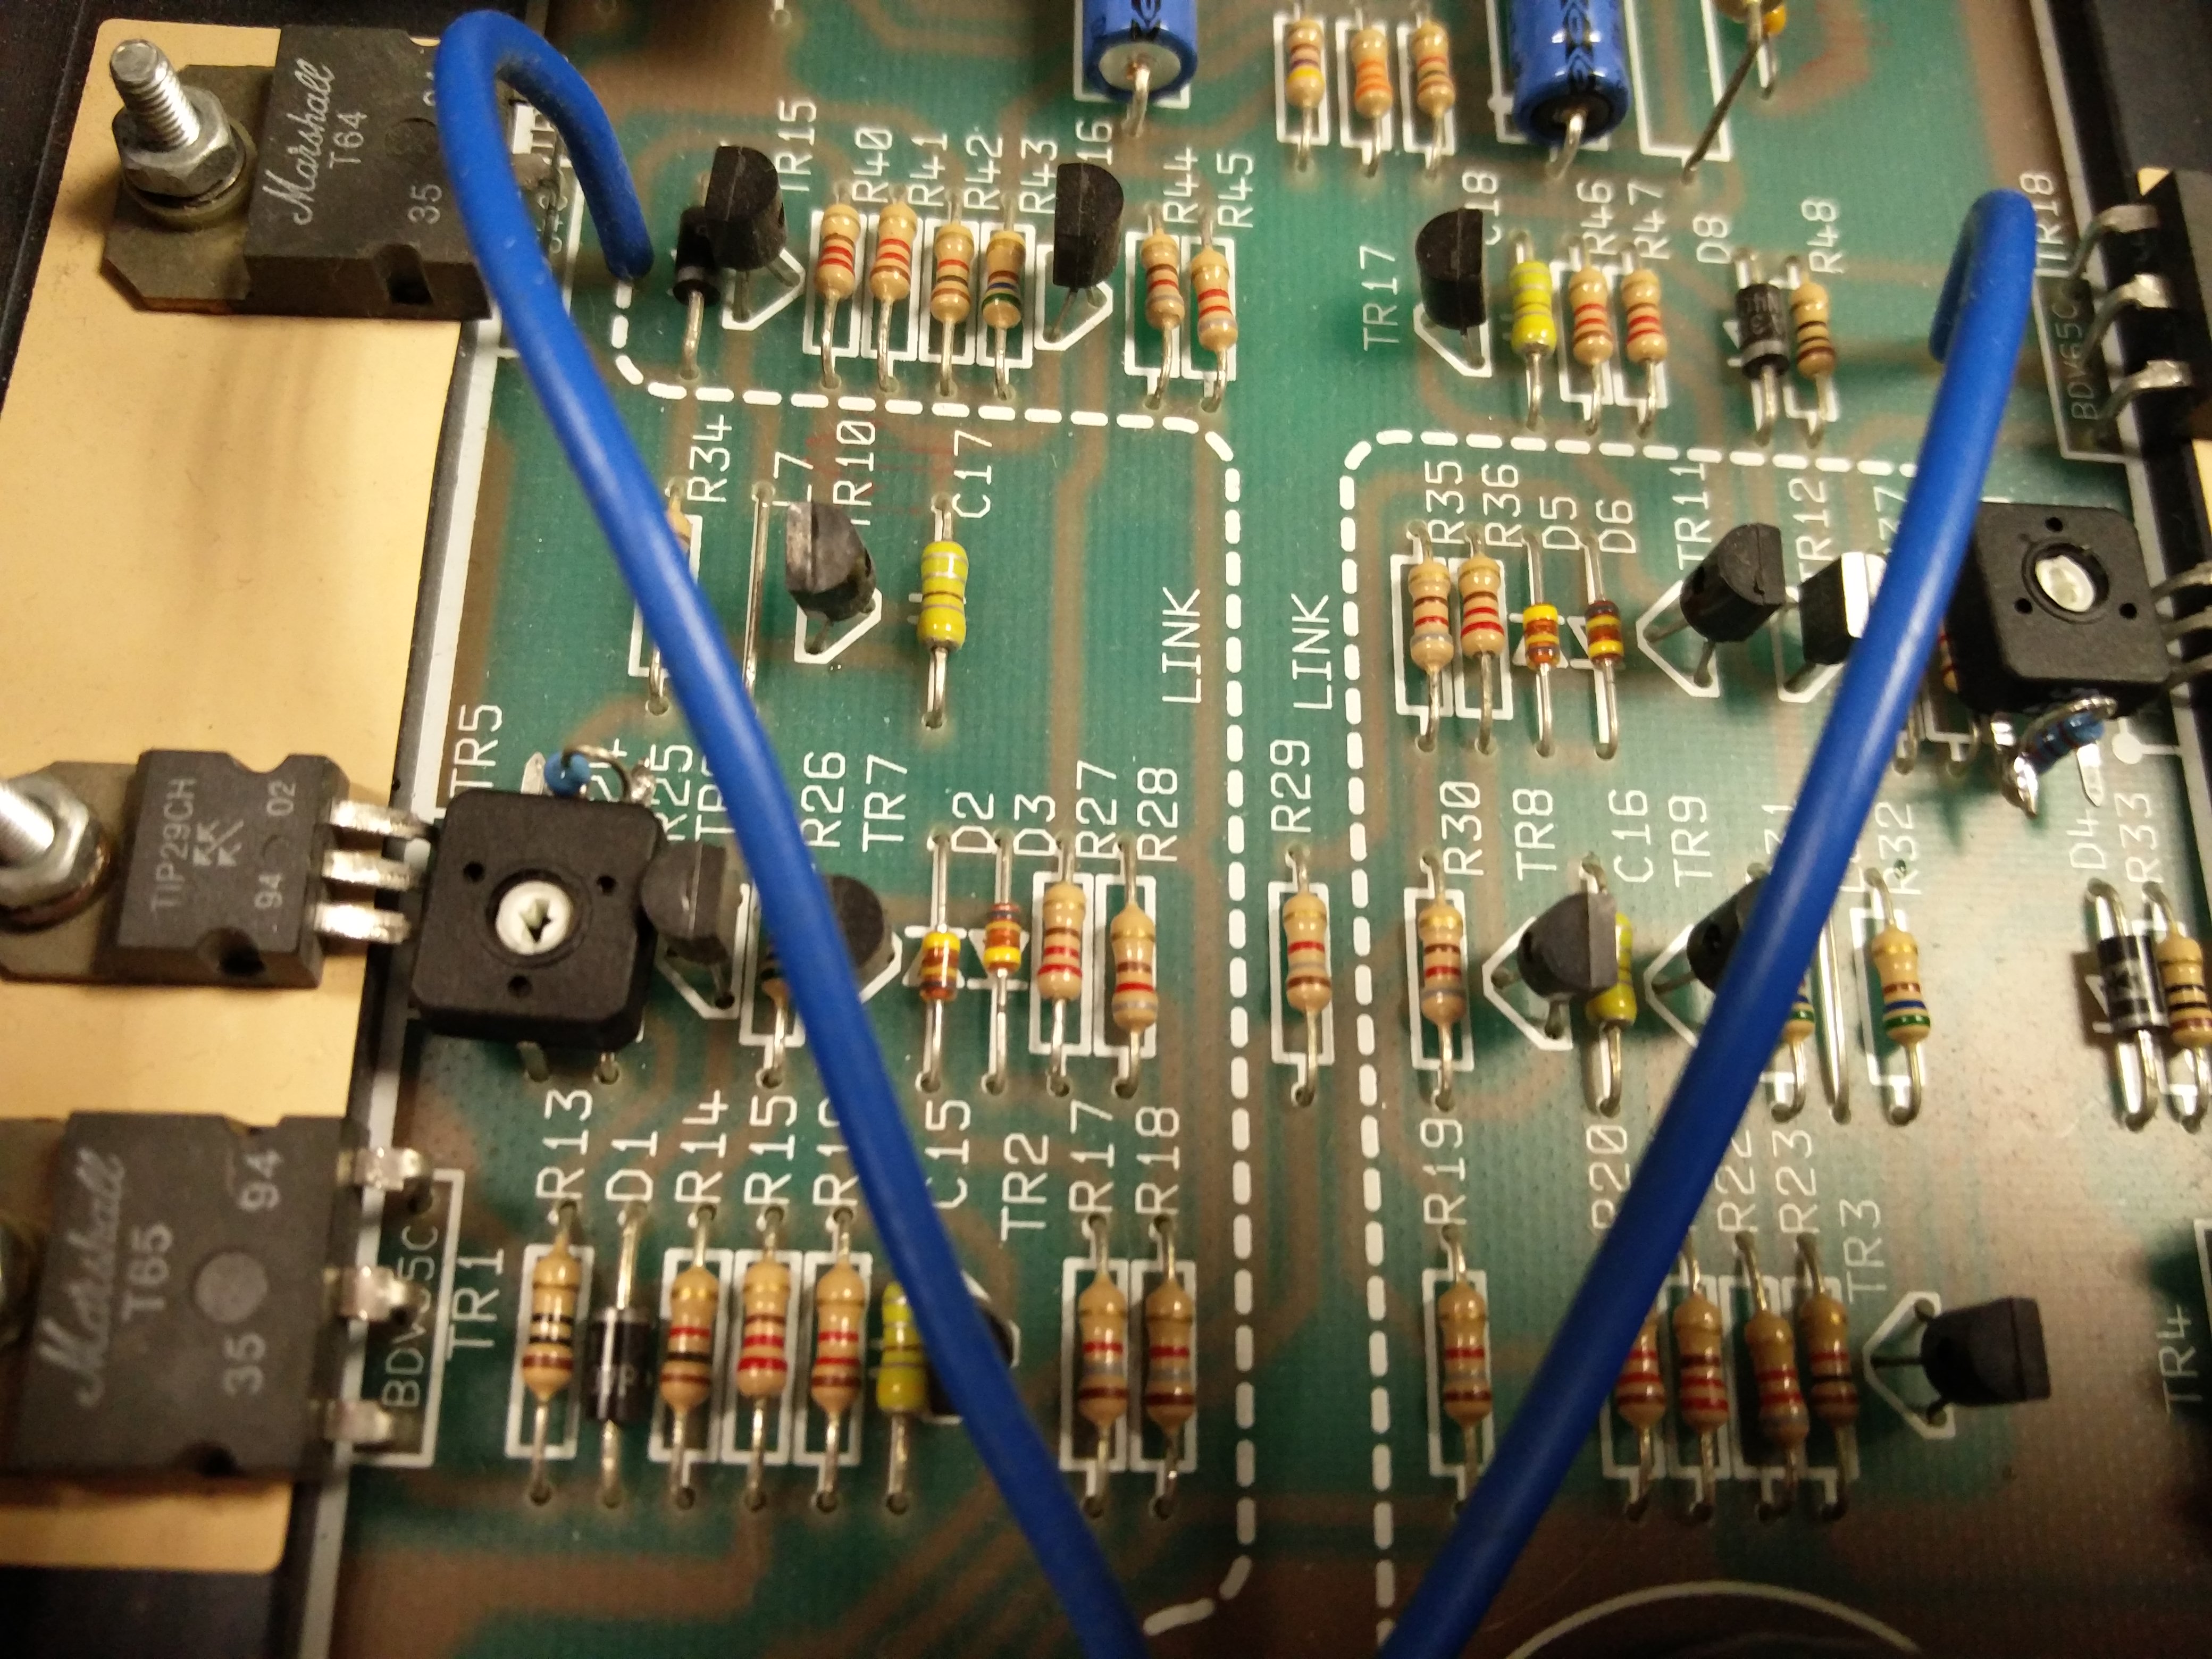
- Low power / reduced volume: I’ve seen DSL40CRs (and sibling models) drift into low power mode, often caused by conductive glue traces (flux residue or glue meant for mechanical stability) creeping between printed traces, forming parasitic leakage paths. These “hidden conductive paths” can robs bias or collapse gain subtly, especially under heat.
- Noise issues from 1 M grid resistors: Some of those 1 M grid or grid‑stop resistors in the preamp are notorious for turning noisy over time, especially when they drift in value or have internal contamination. That adds hiss or crackle, especially on the quieter parts of the circuit.
- Shorting via ceramic resistor bodies: I’ve even found situations where the body of a ceramic resistor is so close to a high voltage (HV) board trace that it arcs or shorts under certain conditions – e.g. if the resistor’s coating is cracked, or there’s flux residue, or simply vibration has shifted things. That can cause weird intermittent behaviour, grounding, or leakage between circuits.
So, while the main symptom in this unit was the channel‑switching, it was wise (and necessary) to check for all these known weak spots in the DSL40CR line.
After these repairs, the DSM40CR stayed rock solid in each channel: no more phantom switching. I ran the amp through its full range of channels, settings, footswitch tests, power cycling, and warm-up cycles. Then I subjected it to a soak test at gigging levels for a good hour or two – it remained stable, no drift, no switching anomalies.
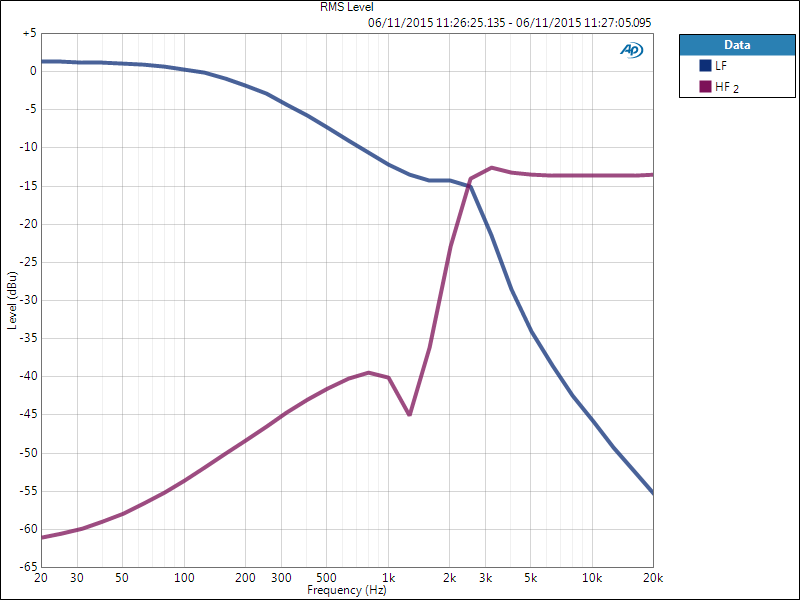
I also measured output power and bias and compared it to spec – it was right in the expected ballpark (i.e. no low‑power symptoms). That confirmed that the power stages and bias were healthy.
If you have a DSL40CR (or any Marshall) behaving oddly – randomly jumping channels, volume sagging, noise creeping in – don’t assume the worst (i.e. bad valves). A disciplined service + power‑supply / control circuit check is often all that’s needed to bring it back to life. Please do get in touch