Polytone Minibrute Repair (Minibrute III repair)

Polytone Minibrute repair

This Polytone Minibrute Repair came in from a Lincoln customer with an obnoxious hum problem. This unit is probably form the 1980s

The issue was solved by adjusting the output stage bias point and improving the connection between the screw mount power supply capacitors and the power amp stage.
polytone minibrute iii repair
The amp is a bit of an oddball in terms of construction, with the preamp contained in the top of the amp, and the power amp in the base of the unit. The power amp unit is held together by the capacitor screws and two large heatsinks.

If you need a polytone minibrute repair, please get in touch.

Yamaha THR repair – THR5

Yamaha THR Repair

I thought I ought to document this Yamaha THR repair whilst I could still find the photos!

The amp had fallen from a height and the DC power input socket was damaged. Simple enough job, or it should be! Yamaha supply a an external converter to convert the mains supply into useable DC, but they use a non standard DC plug. (Note: some call it a mains socket, but it isn’t fortunately! 🙂 )

The photos show: Yamaha’s little class D amp, my PCB/ DC socket modification top side, the Yamaha SoC and RAM, the marking for the case modification, the PCB modification reverse side and the second layer of boards.

Yamaha THR repair

Yamaha THR repair

Yamaha THR repair


Yamaha THR repair

Yamaha THR repair

Yamaha THR repair
 
These are cool little solid state modelling amps. Sadly, for such an otherwise great company Yamaha aren’t very good at supplying spares so I was forced to fit a different socket and slightly modify the THR case to make it fit.

If you need a Yamaha THR repair, please contact me.

Here’s a video:

Blackstar ID30 TVP repair

Blackstar ID-30 TVP repair

This is the first Blackstar ID30 TVP repair that I’ve come across, but there wasn’t much to the job. The owner had lent  his amp to a friend and the tip of the jack socket had fallen off inside the amp.

I was really impressed with the build quality on this amp and it was very easy to work on. It was a very quick job to remove the separate input jack PCB, desolder the socket, remove the offending jack tip, resolder the socket, refit the board and reassemble the unit. This all fell within my minimum diagnostic charge.

I was very impressed by the transparency of the inbuilt noise suppressor on the Blackstar ID:30 TVP OD2 channel. This thing has an insane amount of gain and is totally silent, but sustain isn’t really affected. I guess that they sense the input right at the front end of the amp, but do the suppression just before the power amp. Like a 4 cable ISP Decimator, but free! Great stuff.

I’d have liked to have taken a look at the TVP on an oscilloscope, to see what the guys are doing here but I didn’t get the chance. My completely unjustified guess is that it’s changing the power amp output impedance along similar lines to the patent that Bruce Keir filed when he was with Marshall. But that’s just a guess.

If you need a Blackstar ID30 TVP repair, please get in touch.

Henriksen amp repair

henriksen amp repair - henriksen bud 1

I love getting something new on the bench, so this Henriksen amp repair got me quite excited. It’s a Henriksen Bud combo.

I hadn’t heard of Henriksen before, but after a bit of research discovered that they are a US based high end solid state amp, in the same market as the Polytone and AER brands.

The owner had inadvertently shorted out the Channel 2 FX loop to the speaker and killed channel 2. This destroyed an opamp in the signal path. The amplifier uses standard components which I keep in stock so I was able to repair the amp and turn the job around within 6 hours of it arriving in my workshop.

During this repair I spoke to Henriksen by email and found them very helpful. Certain North American companies aren’t always interested in supporting their products in the UK so I’d highly recommend Henriksen based on my conversations!

If you need a Henriksen amp repair, please do drop me an email.

The owner was pleased with the job:

henriksen amp repair - henriksen bud 3

Hendriksen amp repair

henriksen amp repair - henriksen bud 2

Ashdown 550 Touring Repair

Ashdown 550 Touring Repair

The first task for last week was an Ashdown 550 Touring Repair, brought in from a Newark customer bec because the amp wasn’t making any sound – actually it was making a very weak tinny sound. I like ‘no output’ or low output repairs – they’re often easy to fix. Fortunately this was the case here.

The problem turned out to be a faulty speaker connection. The touring 550 has two 10″ LF drivers and a little HF driver. There was a loose connection in one of the LF drivers – I suspect from the way that wire broke that it had been badly wired in the factory. The weak, tinny sound was the tweeter operating on its own. I re-soldered this connection and added some heatshrink to support the connection. And the amp was working!
Ashdown 550 Touring Repair
It was obvious from the external state of the amp that it had been kept in a damp environment – the tolex and top wood layers had swollen around the screw joints and the fixings were horribly rusted. The owner had bought this amp in the faulty state, so I then proceeded to give the amp a 1 hour service to check for any further sonic gremlins.

The amp uses two preamp valves – 12AX7s. These were unbranded valves but tested fine on my valve tester.

I discovered that the master volume pot was quite badly oxidised, but cleaned up nicely with a bit of Caig DeOxit D5. The gain pot had similar problems. I also cleaned the sockets and the valve bases as a precaution.

Checking the output level into 6.8 ohms the amp produced >288W. This is about right for a 550W amp rated into 4 ohms, which would produce a proportionately larger signal, allowing for transformer sag.
 Ashdown 550 Touring Repair
If you have an Ashdown 550 Touring Repair, please get in touch.

Marshall Valvestate repair – Keld Ampworks, Newark, Lincolnshire

Marshall Valvestate repair

This Marshall Valvestate repair was performed in an advisory capacity for a friend who’s got some electronic and soldering skills, but needed a hand with the fault diagnosis. It was an interesting job so I’m writing it up alongside my normal repairs.

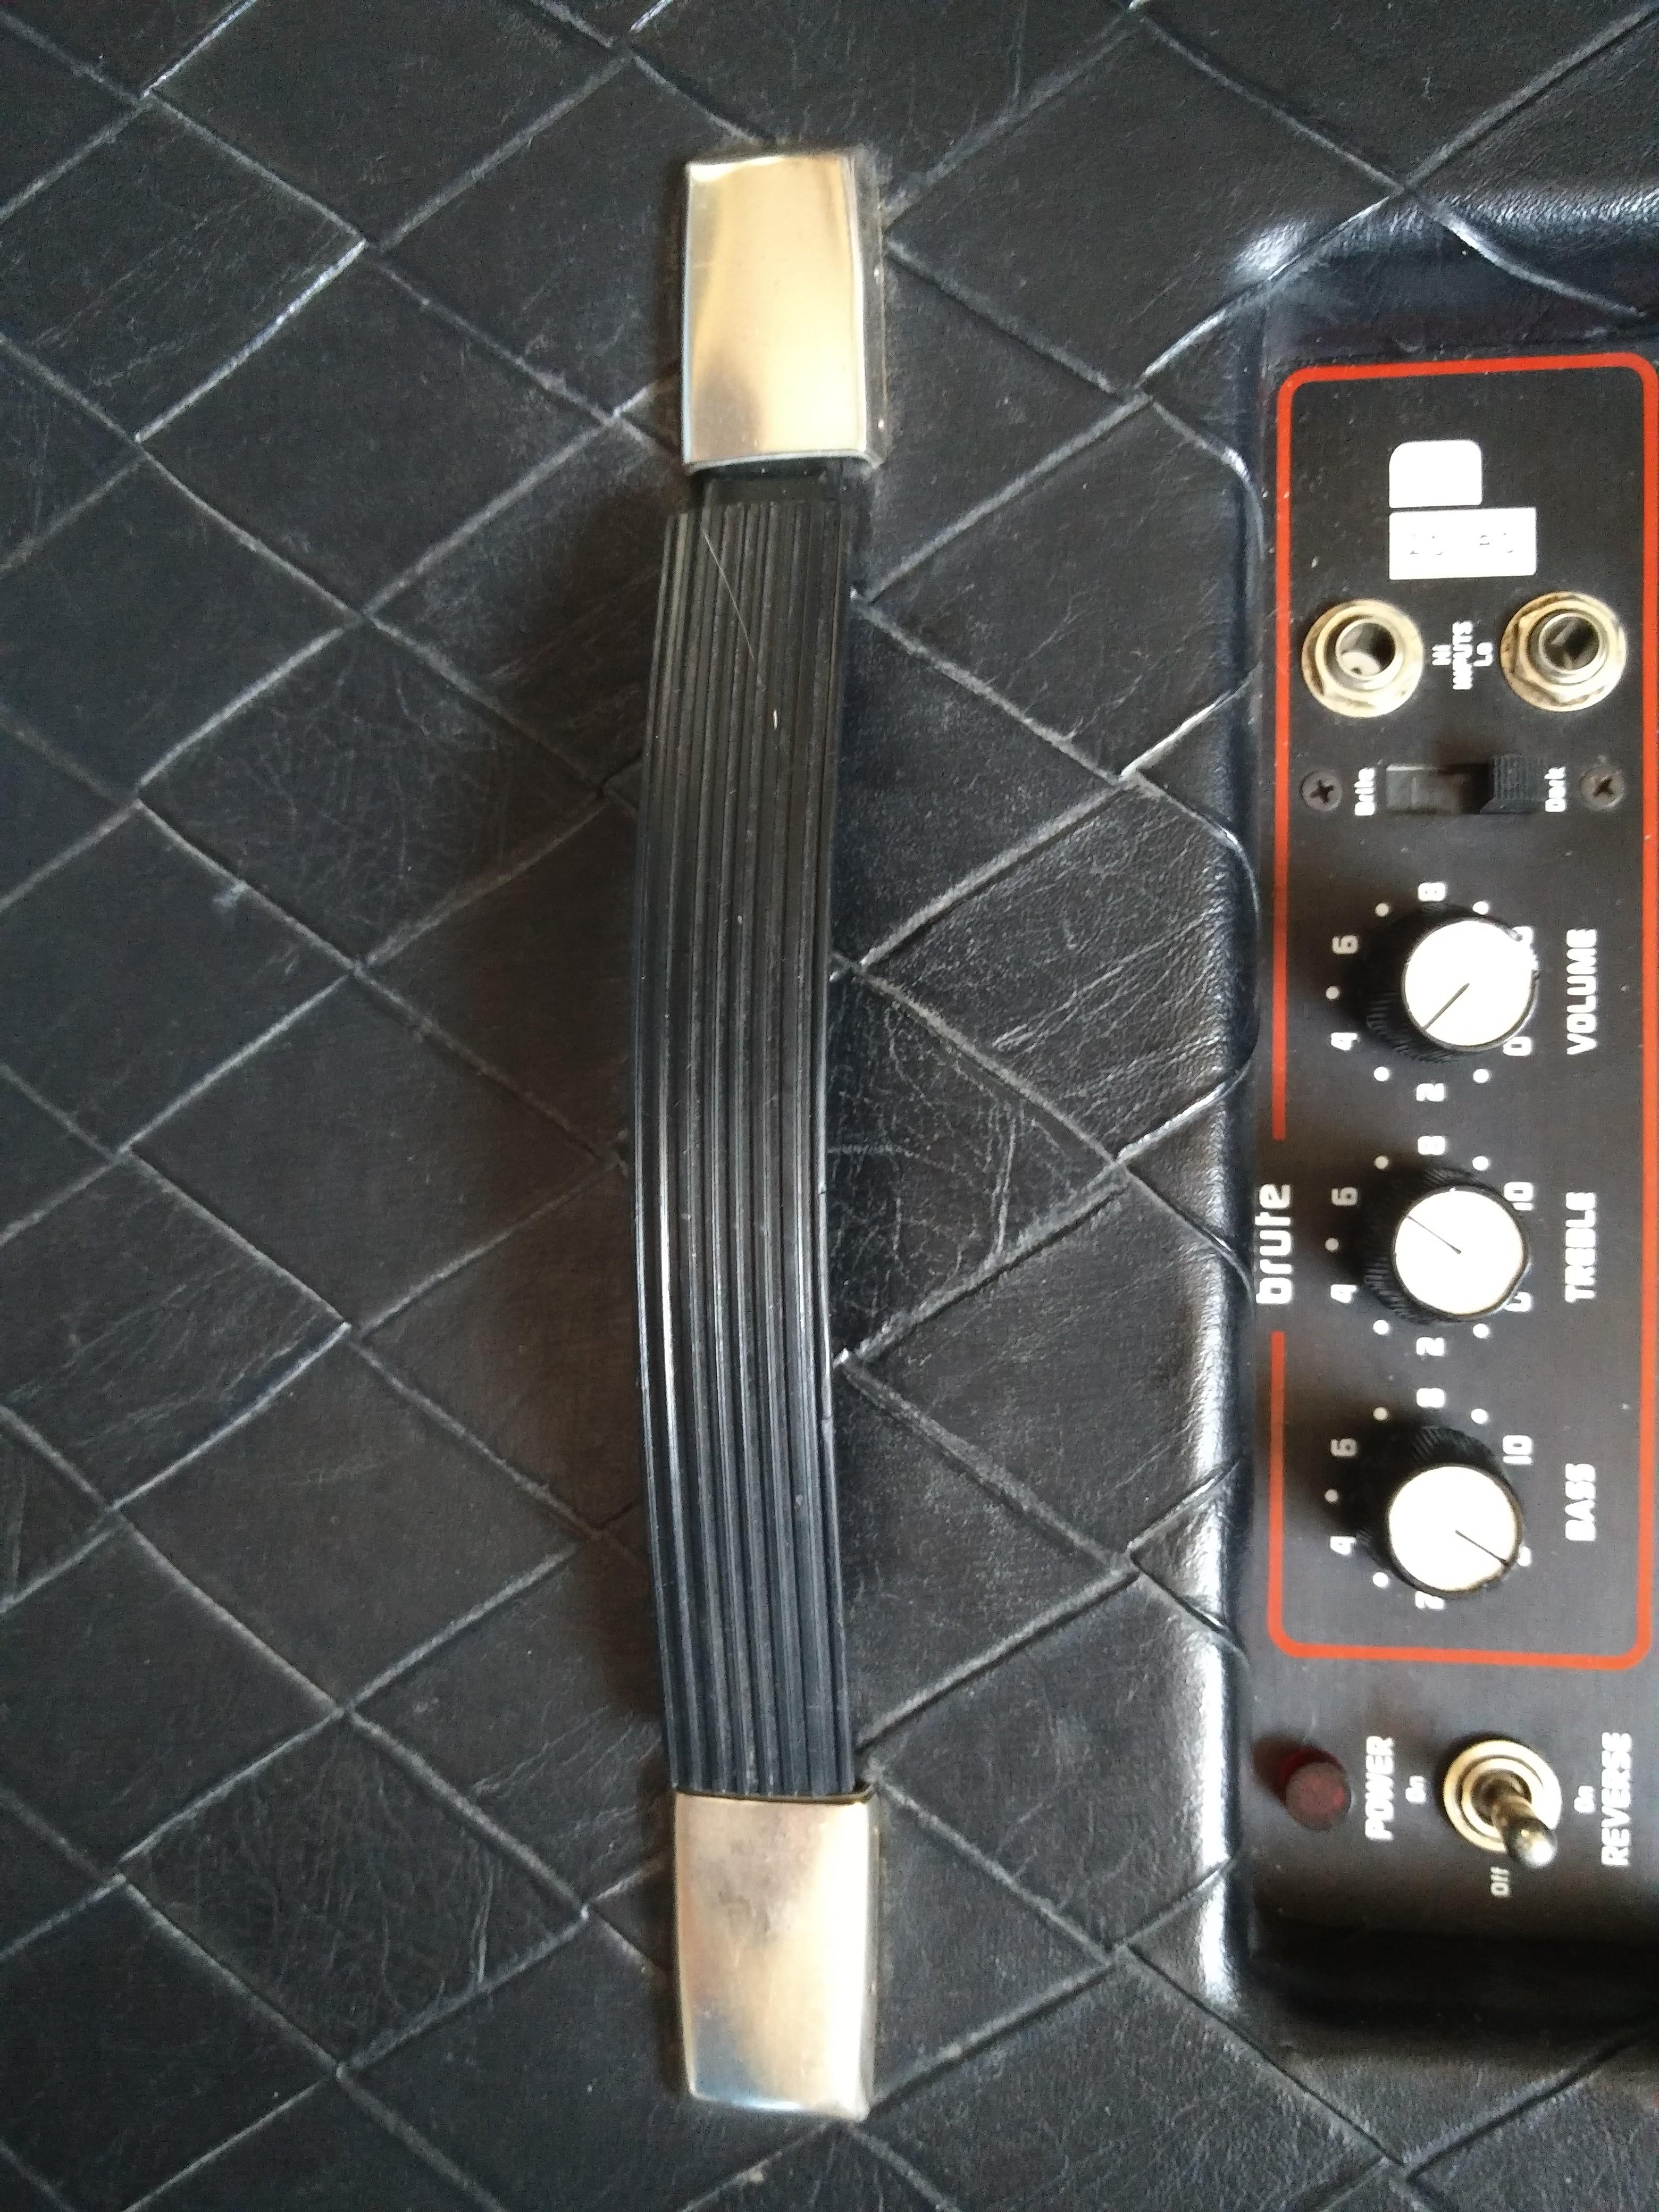
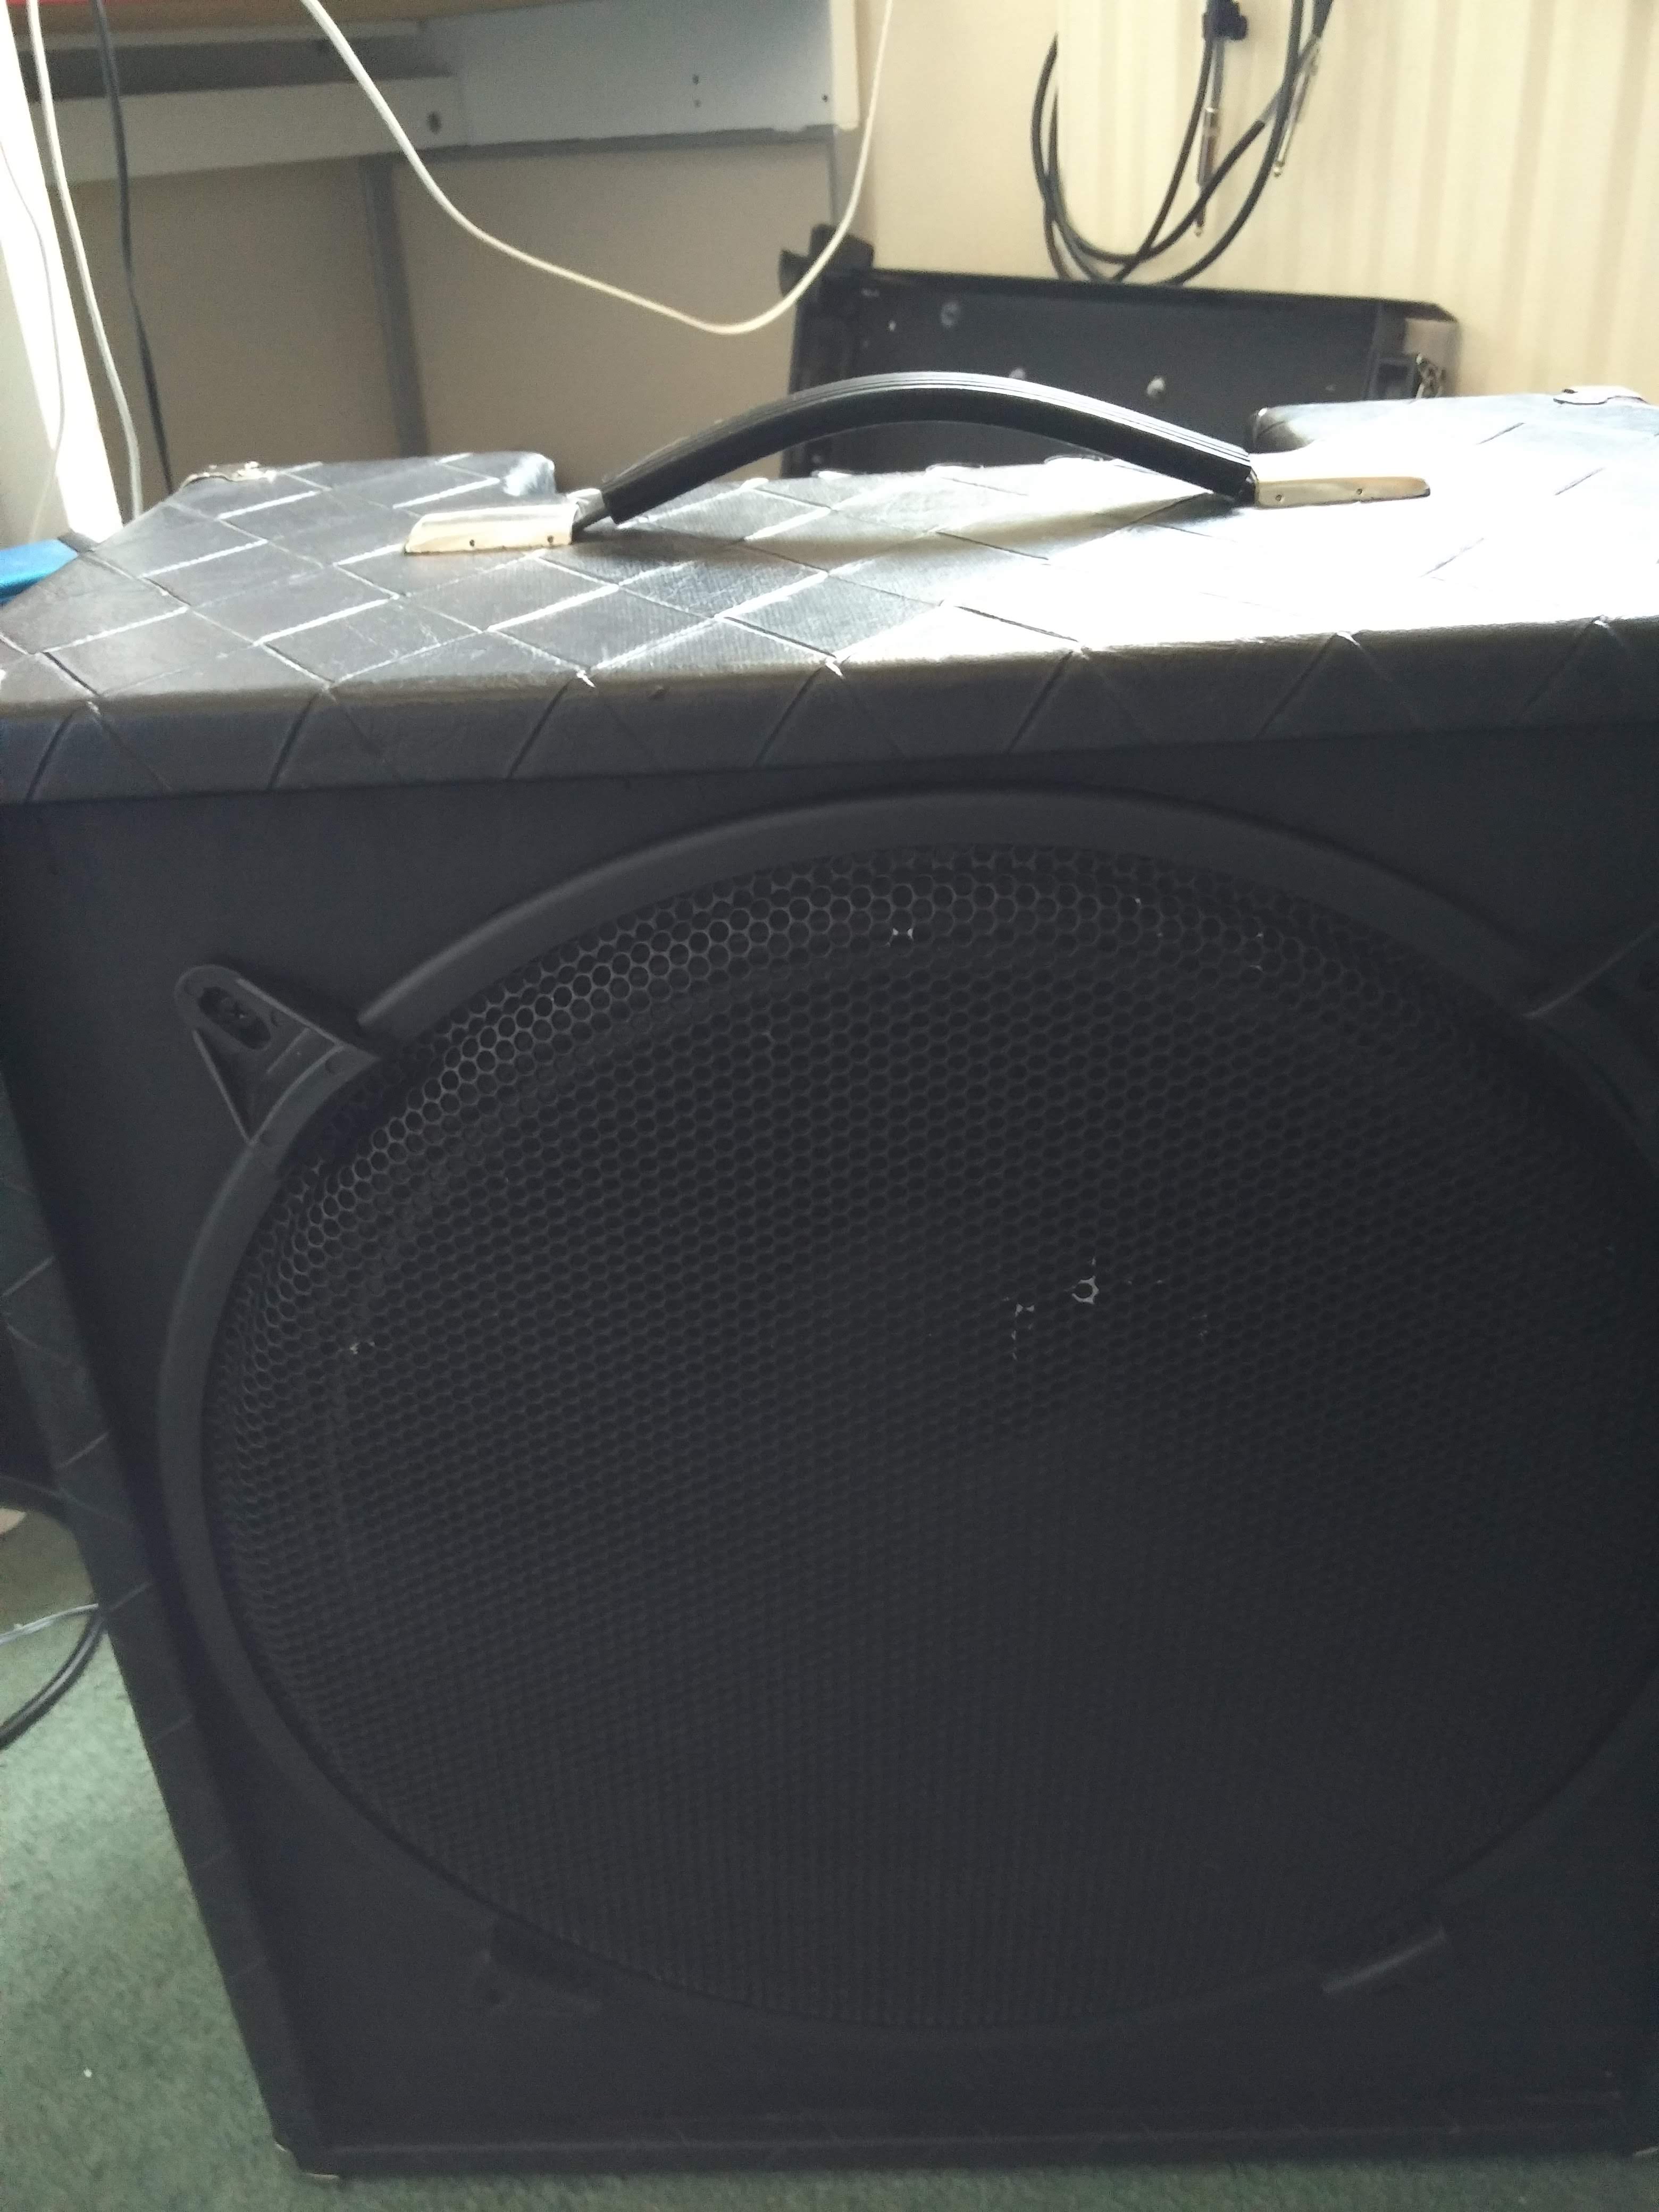
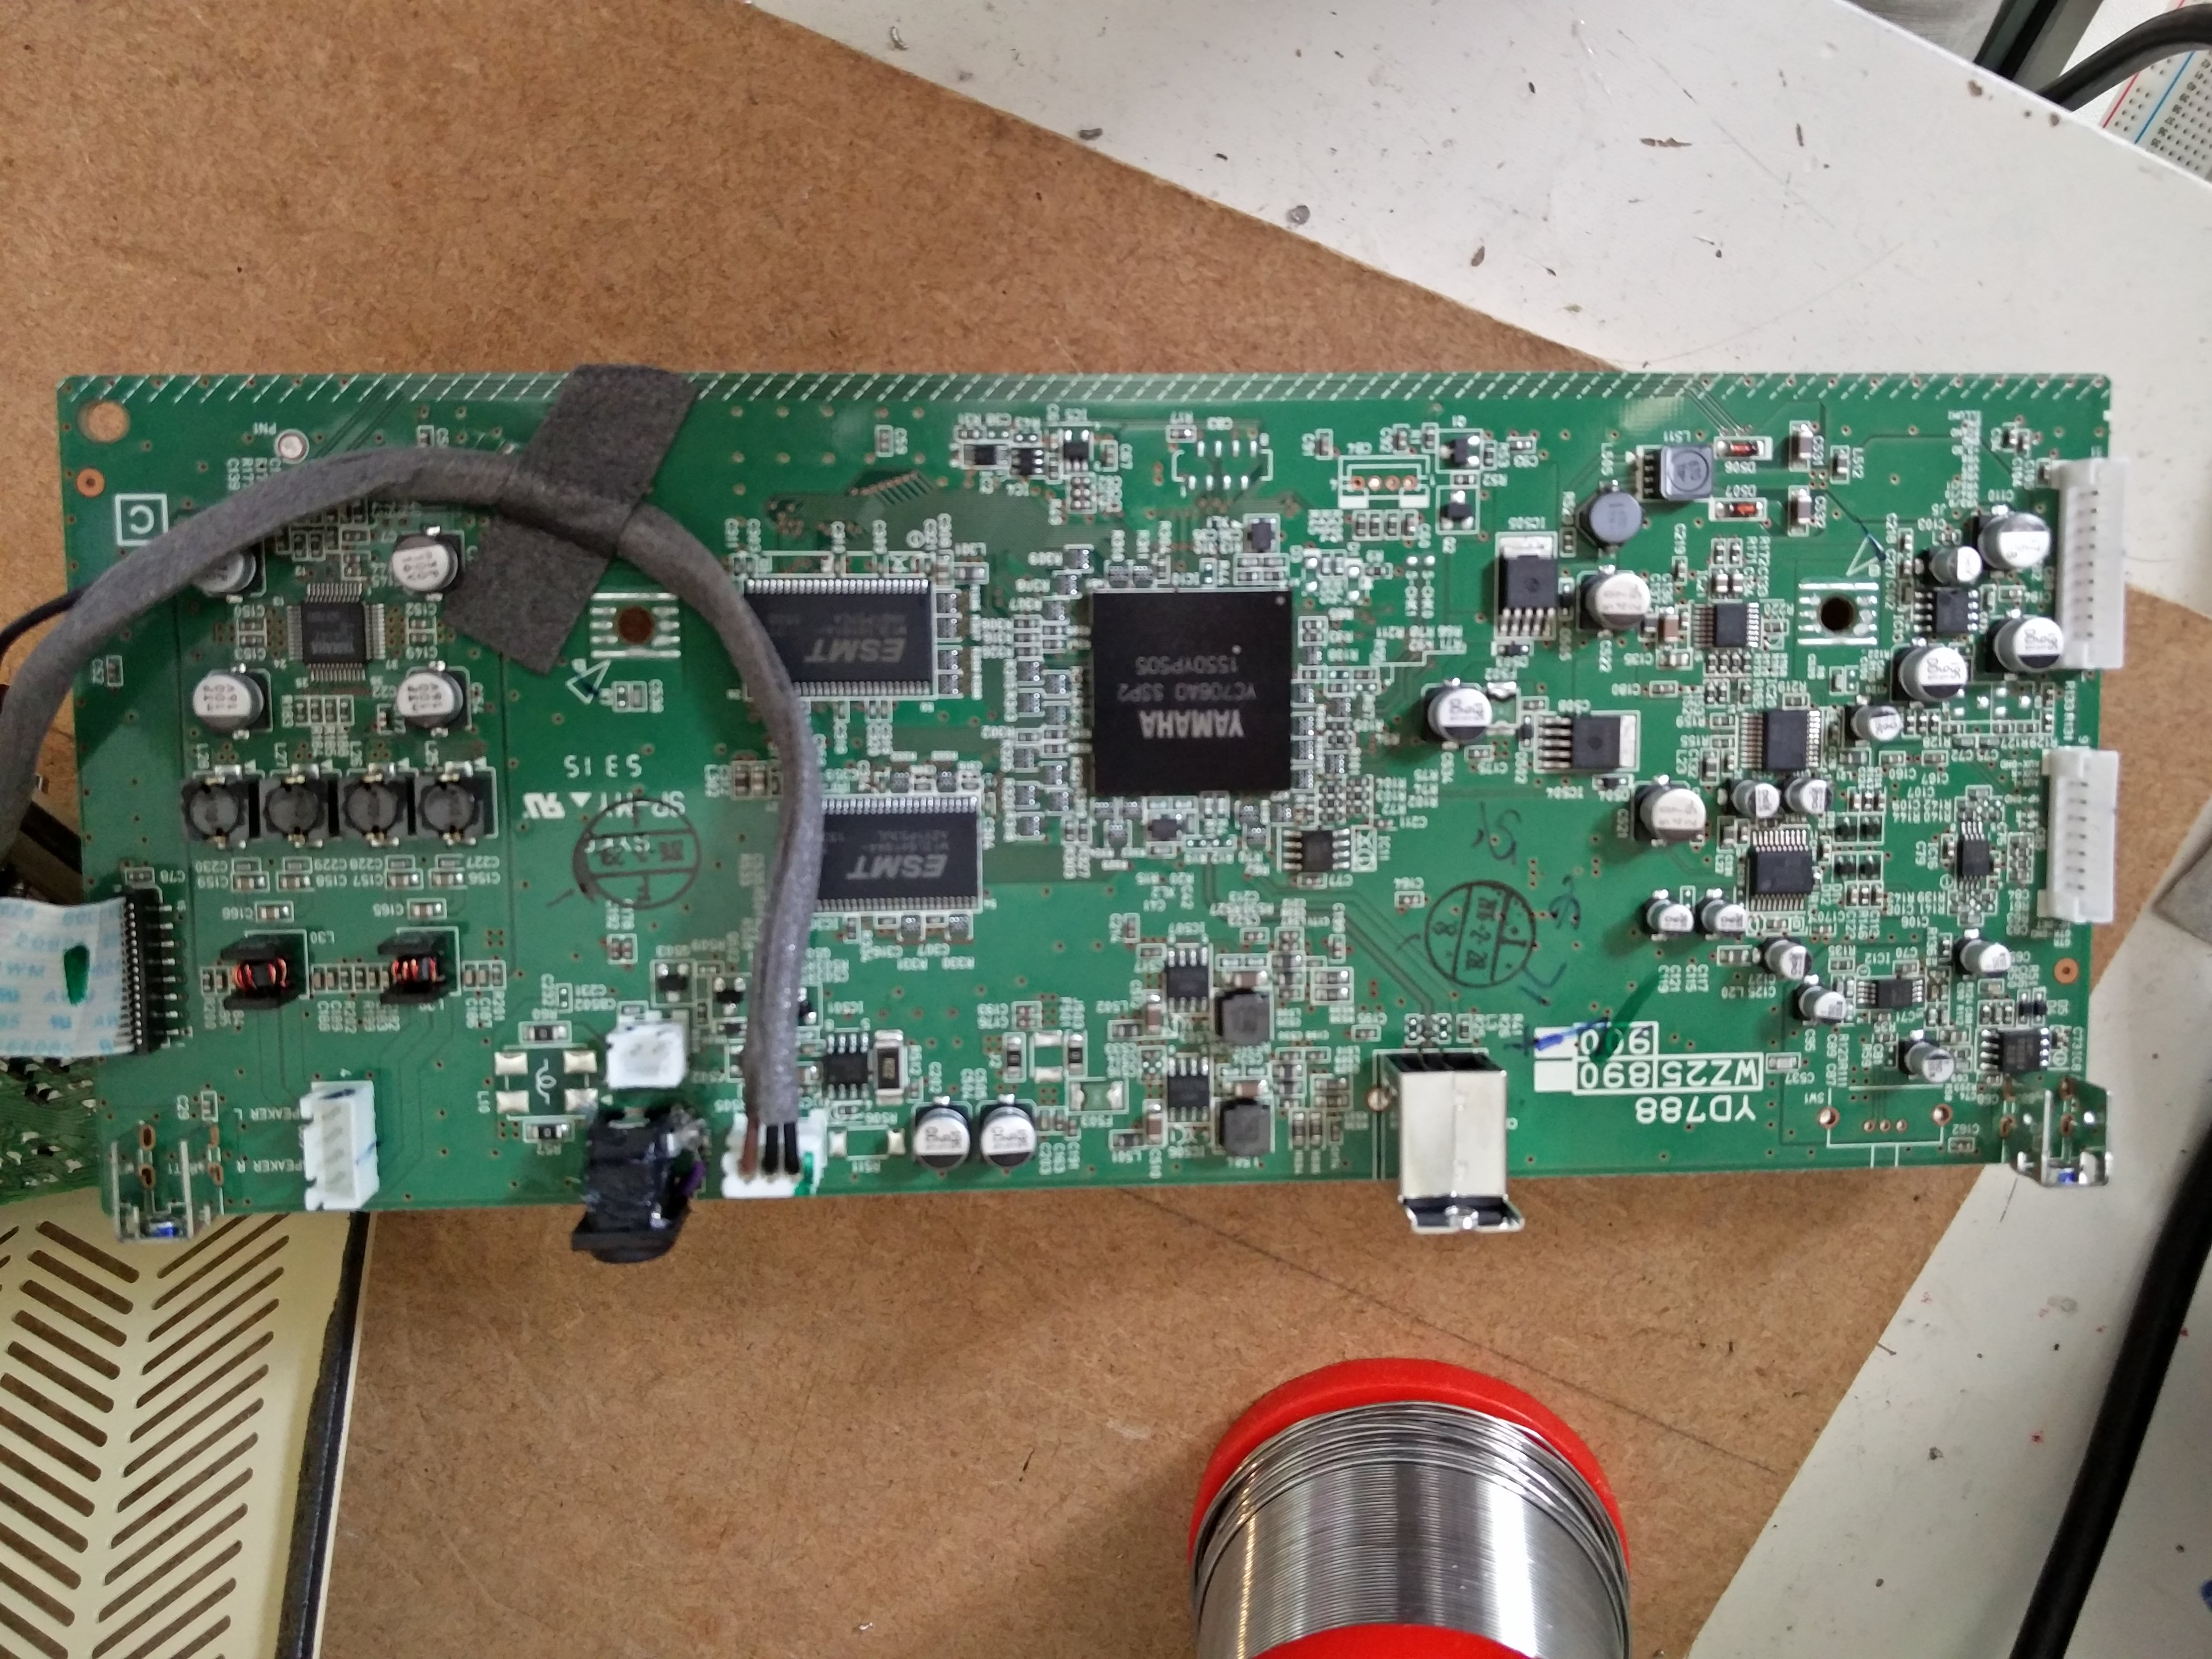
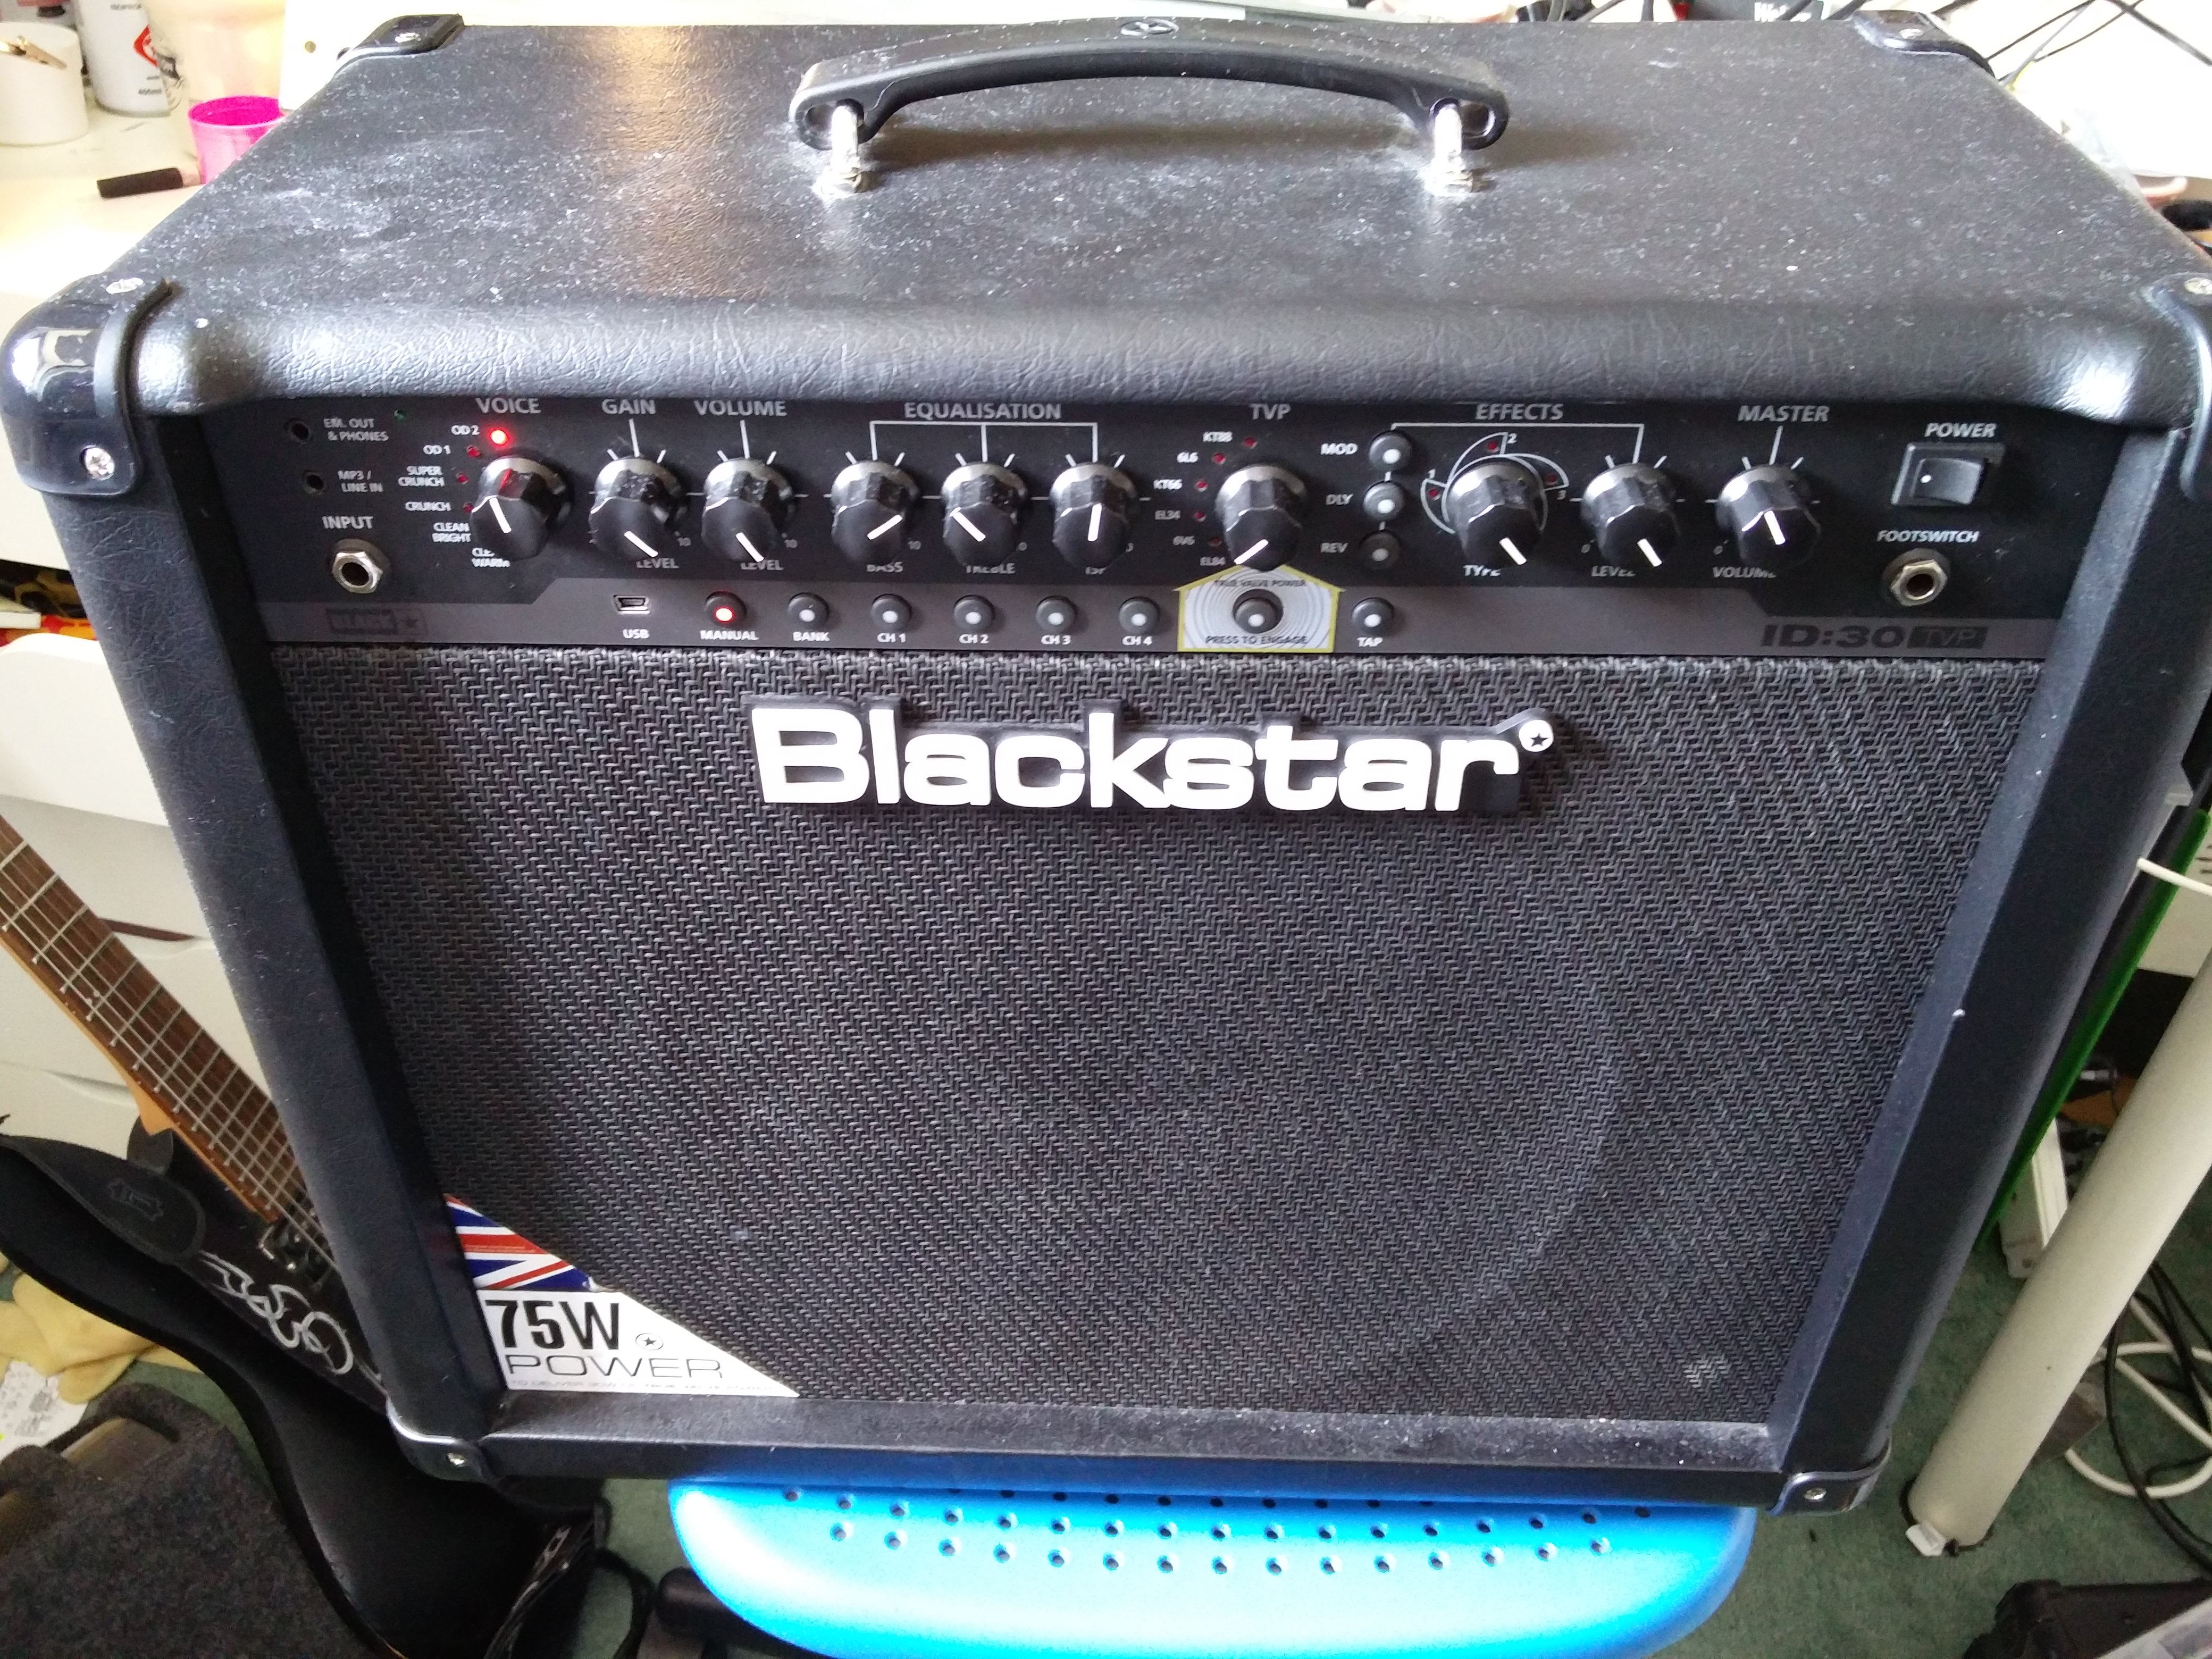
The amp is a Marshall Valvestate 8008 power amp. Despite the name it’s a solid state amp, intended for pairing with Marshall‘s hybrid and valve preamps. In this case it was being used as a keyboard power amp but was exhibiting an unpleasant distortion on notes. The distortion appeared regardless of input level and could be heard on pure sine wave or on clean keyboard sounds. However, when looking at the output waveform on his scope, it wasn’t visible, the waveform looked clean.Marshall Valvestate repair scope pic

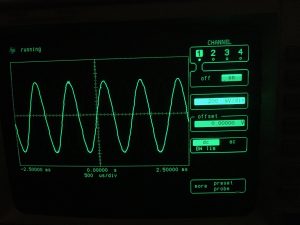
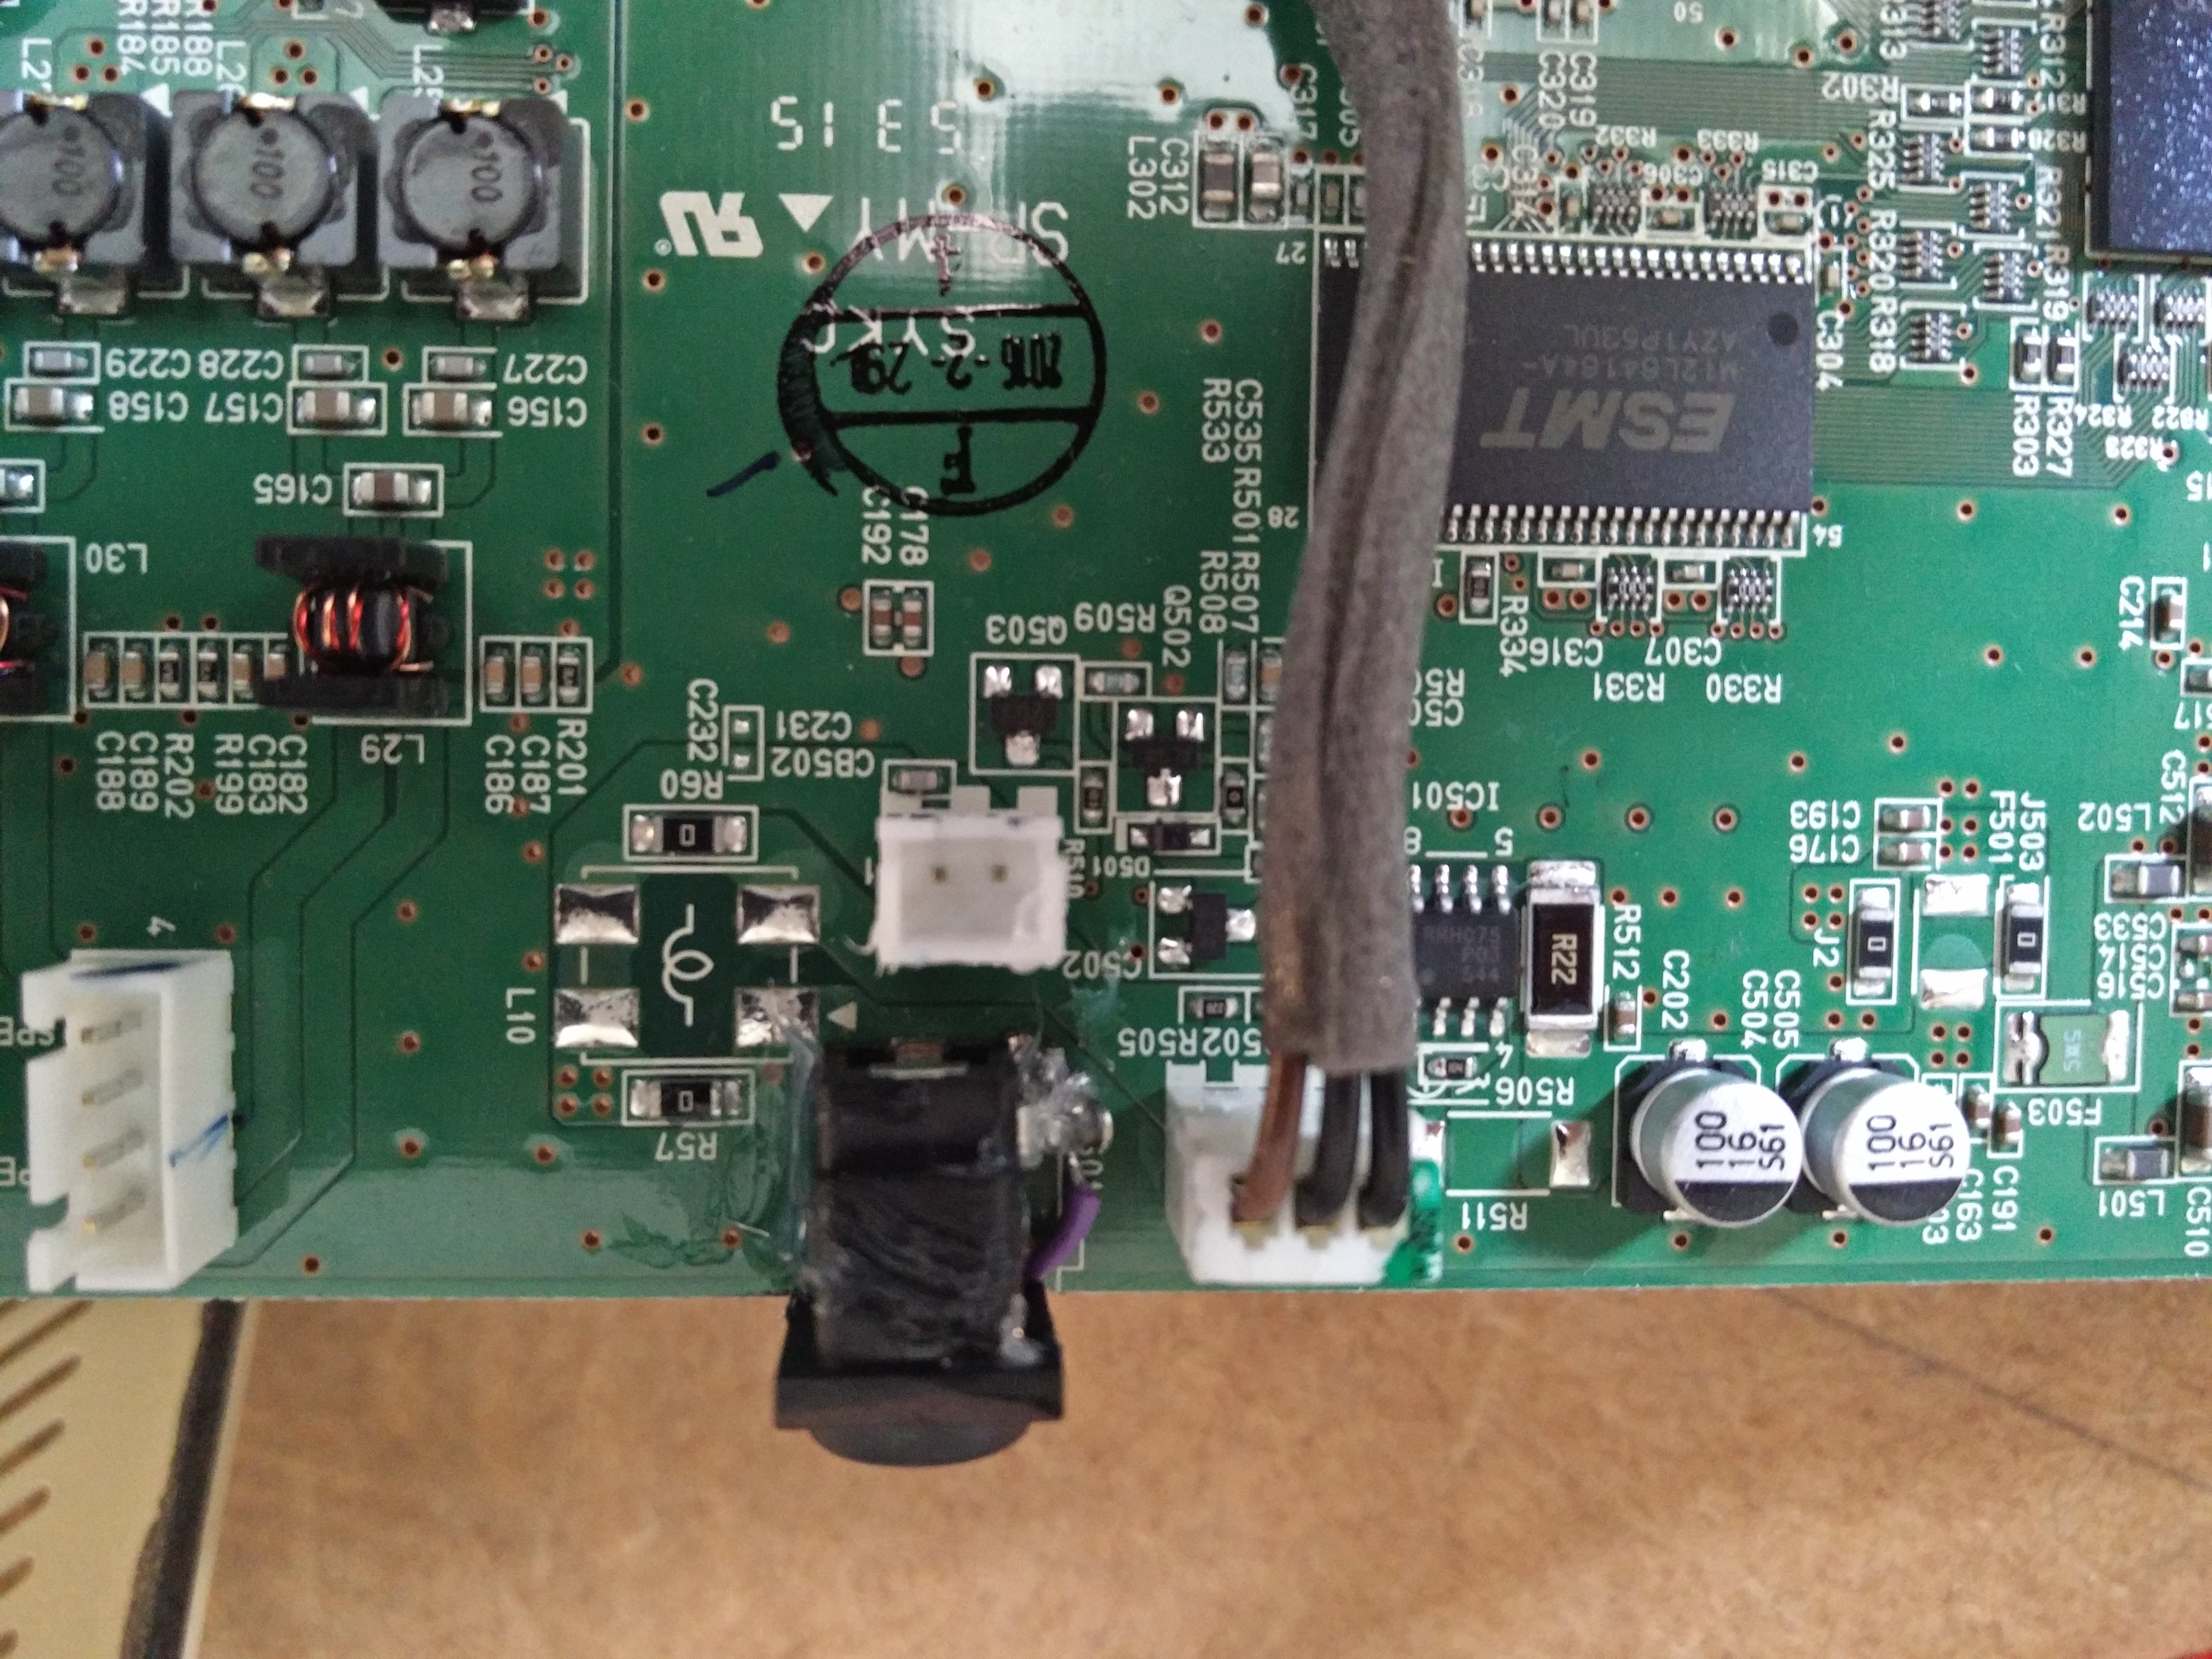
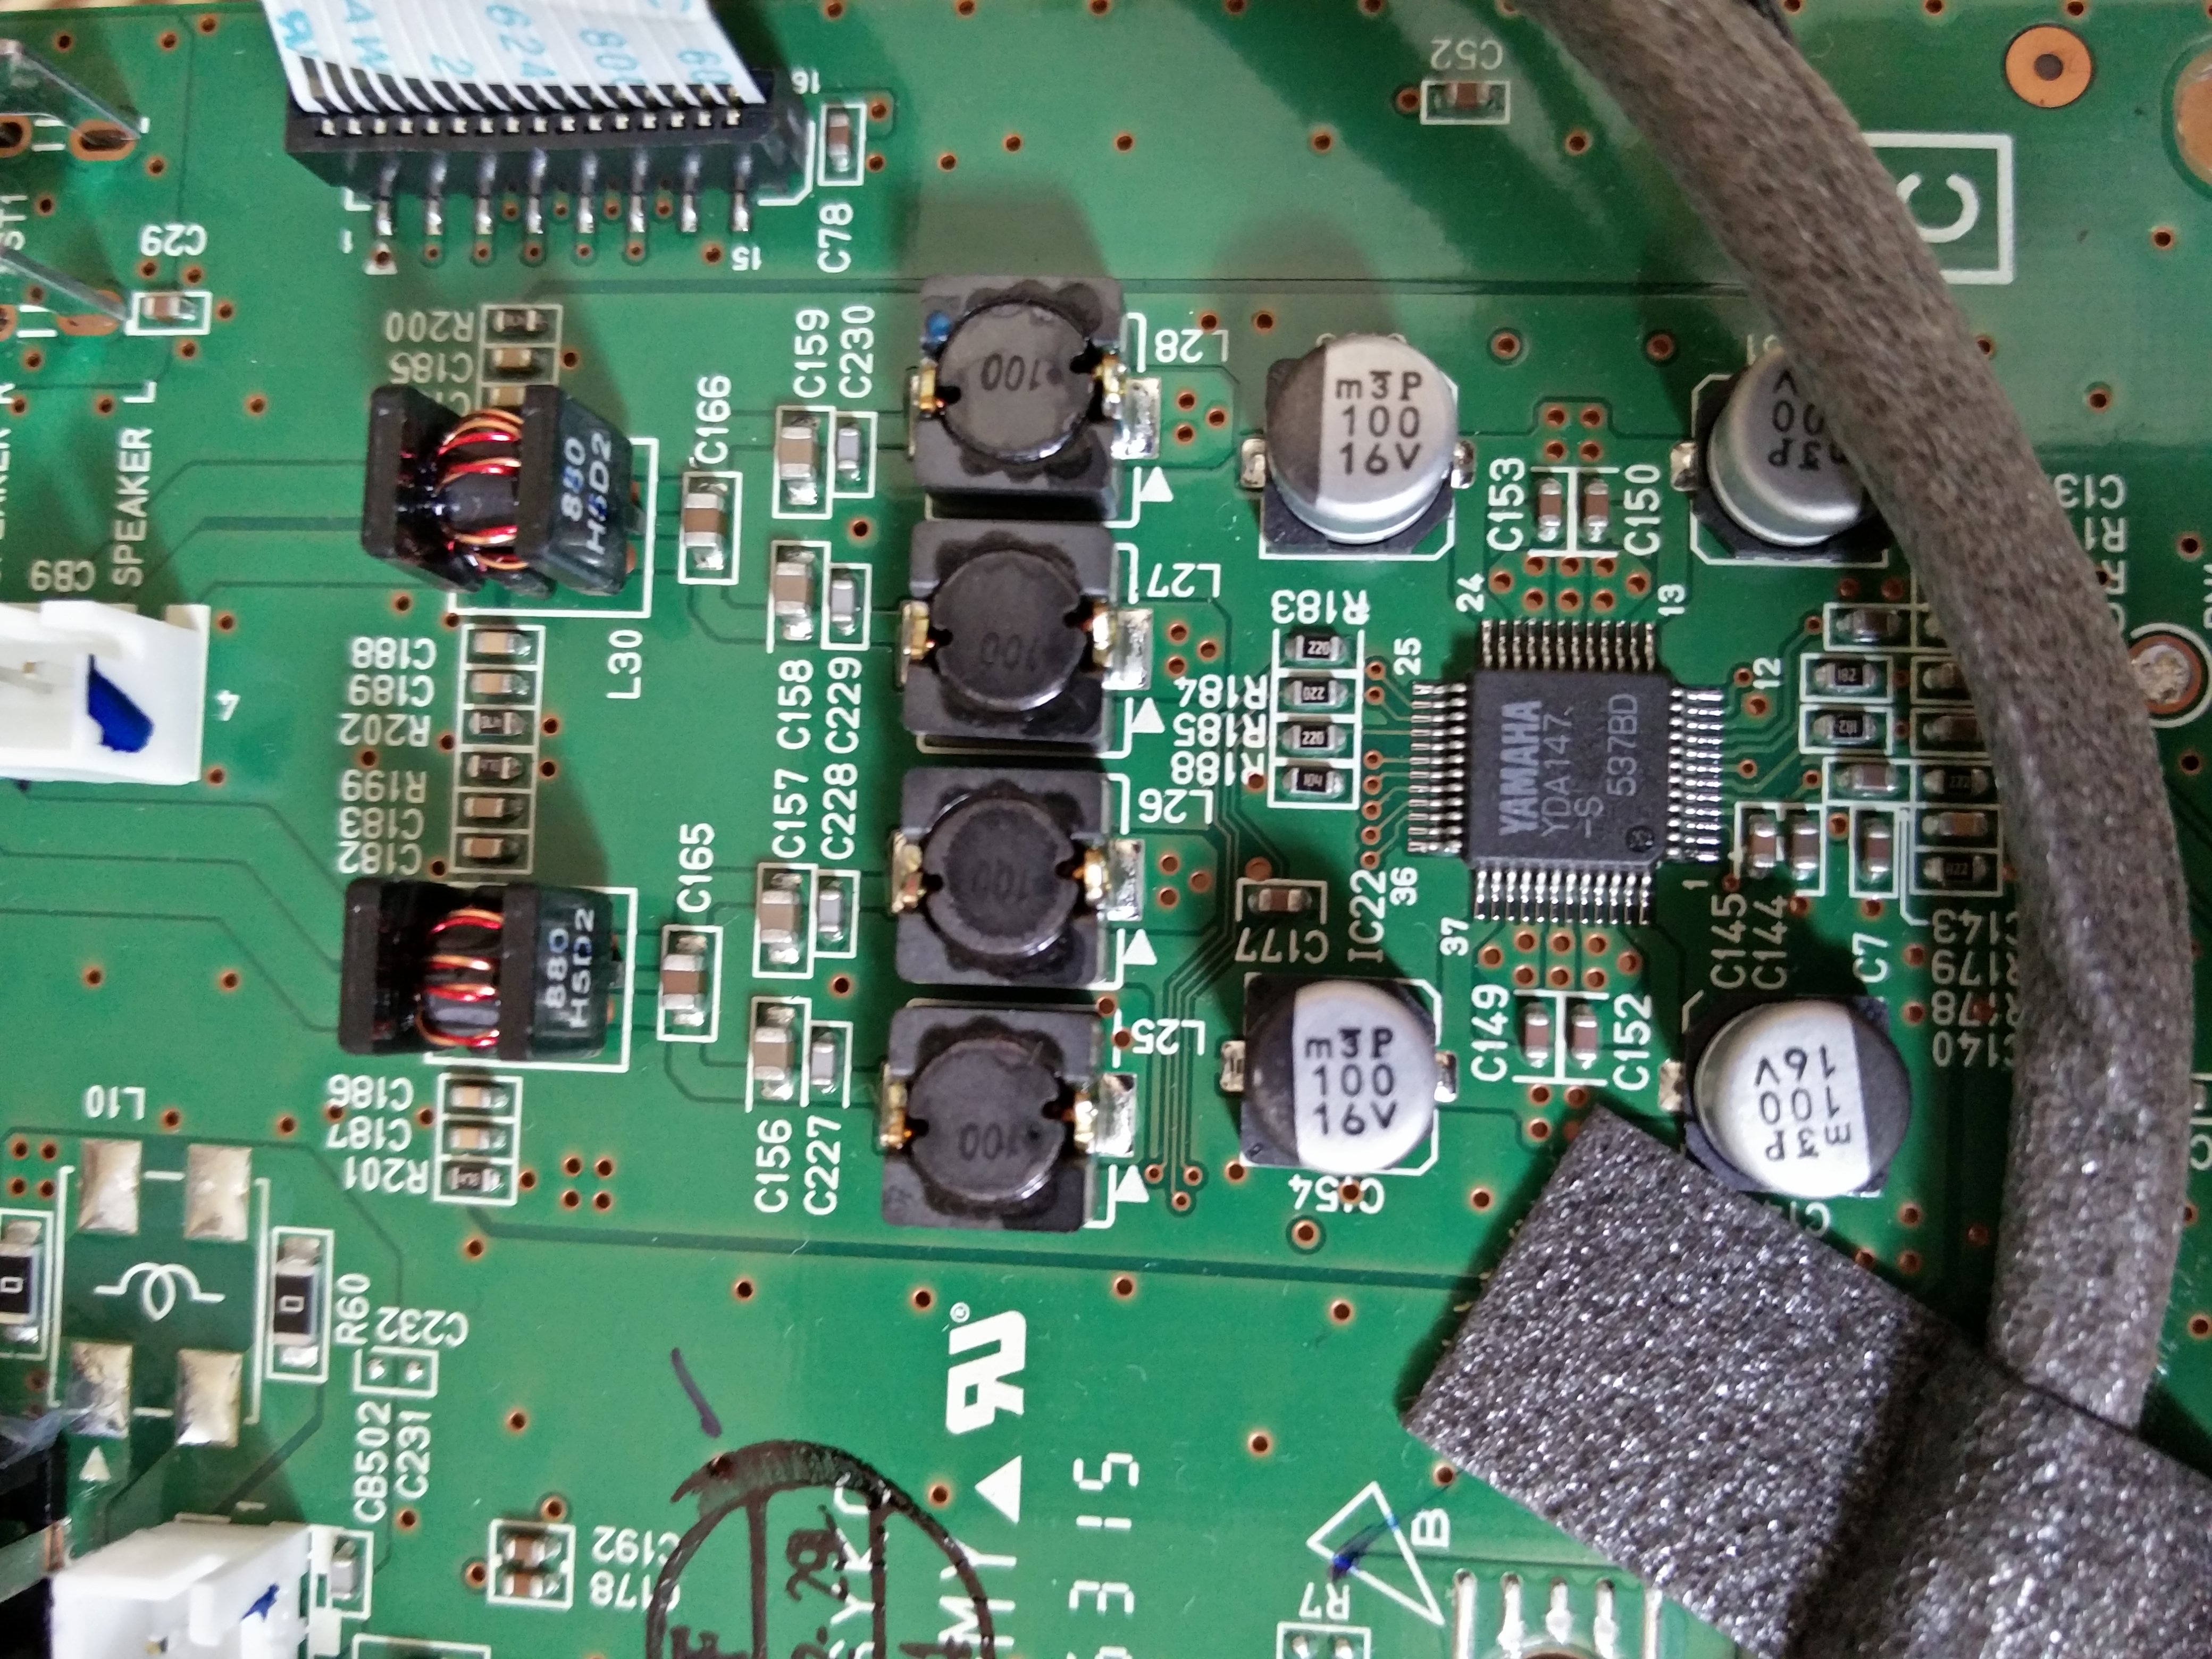
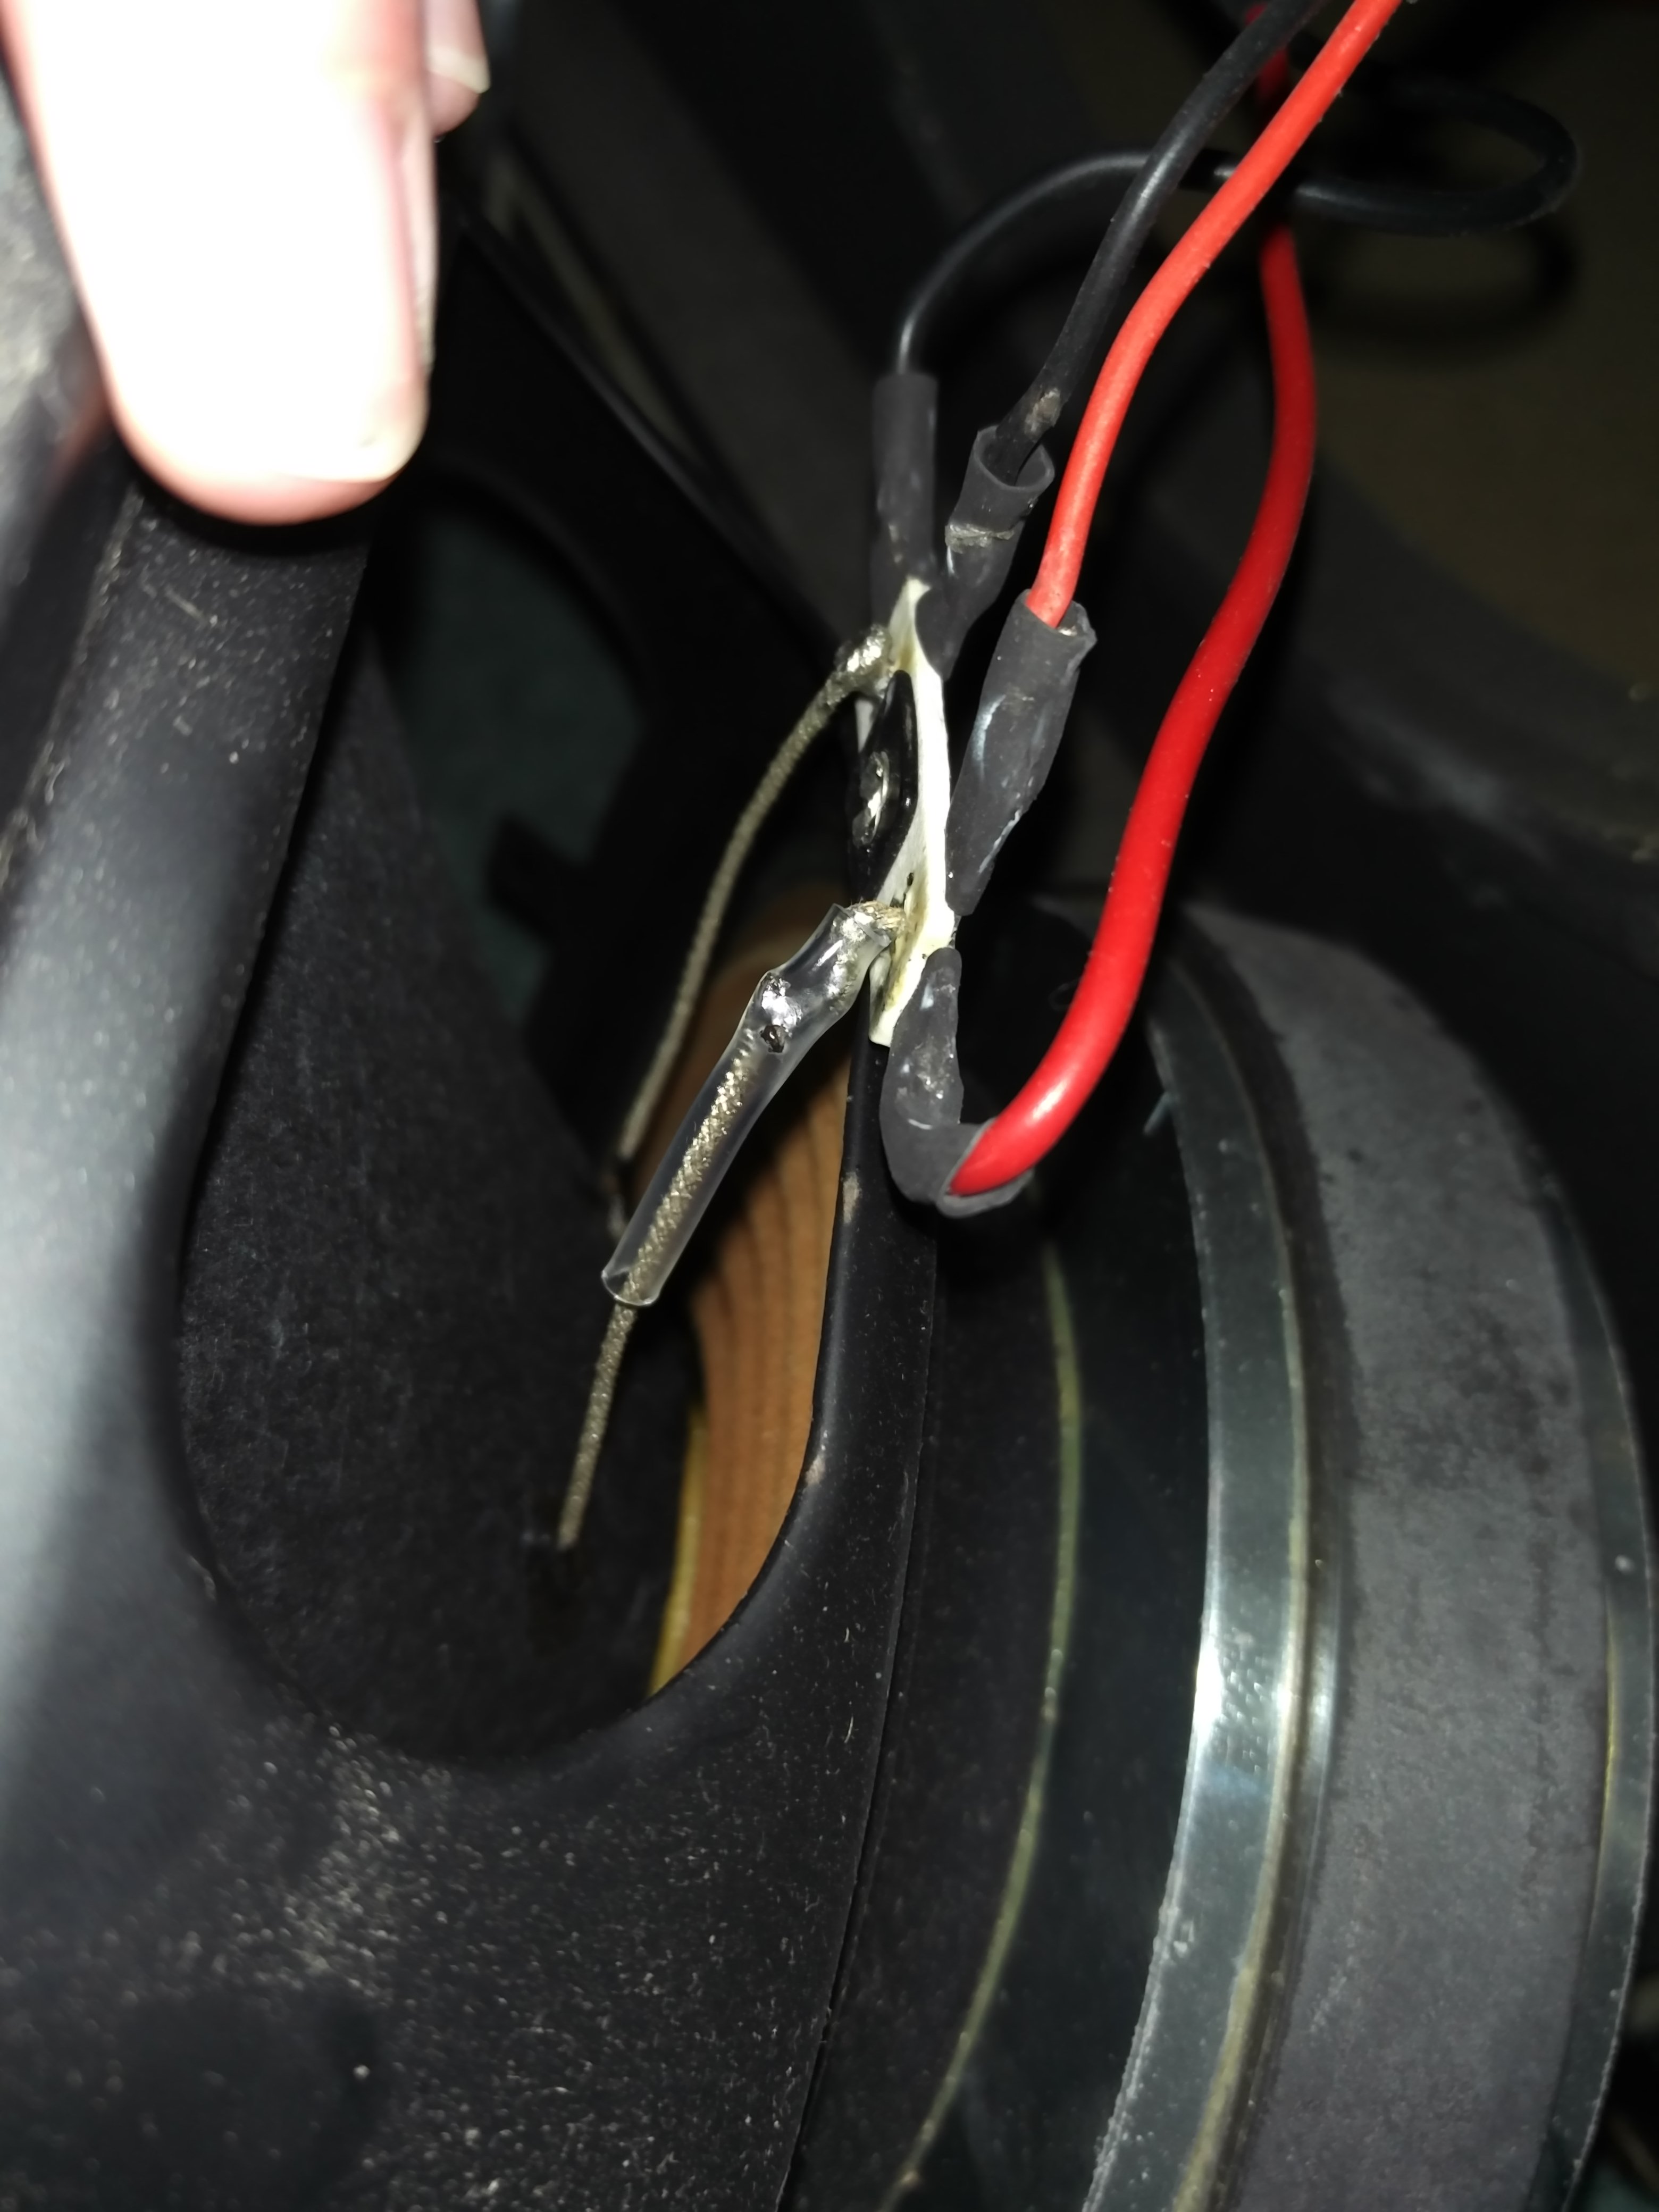
First off, when looking at a the board out of the case we noticed that the reservoir caps were bulging, so I suggested some appropriate replacements. Leaking caps can lead to poor supply regulation, resulting in distortion. We also cleaned the crackly input sockets. However, none of this made a difference to the problem.

Whilst my friend’s scope hadn’t shown a problem, I looked at the problem on a different (better!) scope, the cause of the problem became more obvious. The distortion was a type known as ‘crossover distortion’ caused by a poorly biased amplifier. The first scope (shown in the pic) hadn’t had the vertical resolution to reveal the problem (although you can just about see it when you’re looking for it).

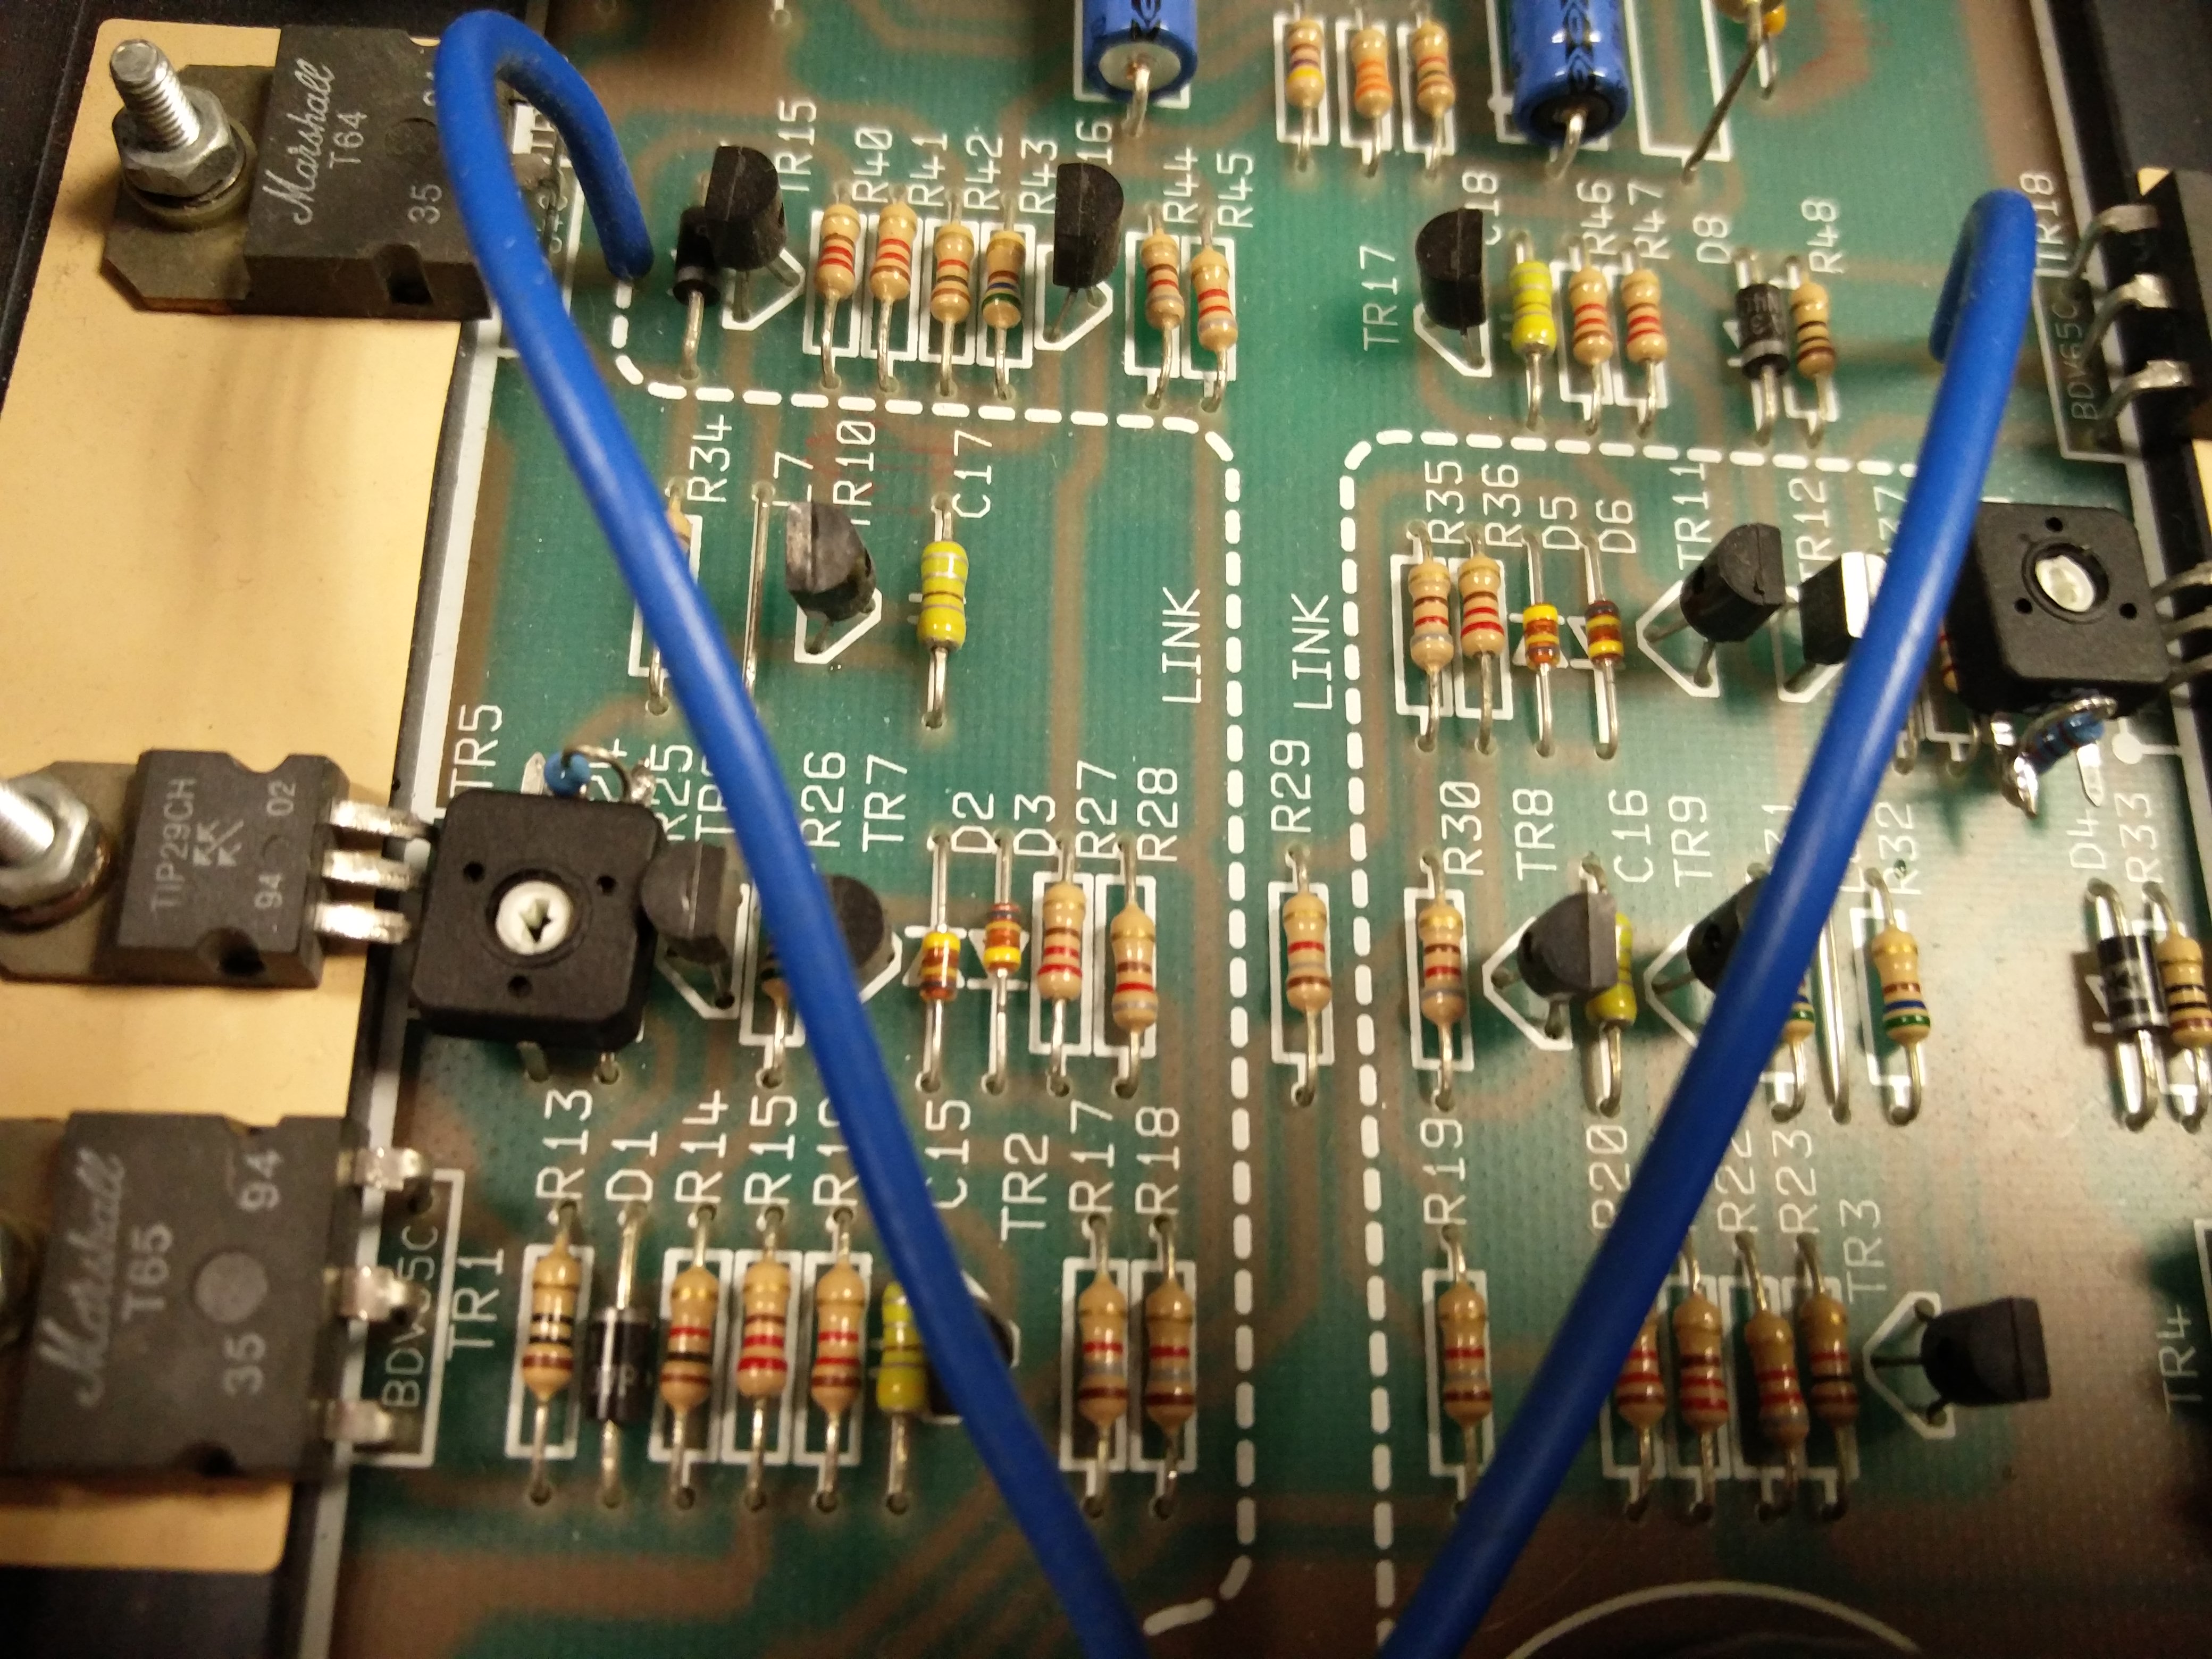
I do a lot of valve amp bias jobs, but don’t often end up having to rebias many solid state amps. This is because solid state output devices don’t often need replacing, and don’t degrade in the way that valve power amps do. Solid state amp manufacturers bias their amps at manufacture, and it normally doesn’t need to ever be adjusted. In this case, however Marshall hadn’t even biased the amp at manufacture, there was no bias pot, just a generic bias network, common to all devices. We checked another Marshall valvestate 8008 power amp, and the other amp exhibited no distortion, so this scheme obviously works for Marshall in some cases.Solid STate amp bias

I suggested adding a variable resistor to the bias network to fine tune the amp. The variable values have to be selected carefully in order to reduce the risk of amplifier damage if the bias pot fails. Once the pot was fitted, we dialed in the amp for optimum bias and completely removed the audible distortion.

If you have a Marshall valvestate repair, get in touch!


Trace Elliot GP12 Repair – Keld Ampworks, Newark

Trace Elliot GP12 Repair

The symptoms exhibited by this Trace Elliot GP12 repair were a loud hum and distortion evident during note decay. Unfortunately I wasn’t able to replicate the customer’s problem which makes repair difficult, so I took a number of steps.

I left the amp on soak test for 2 hours, which involves heavily driving the output stage – this normally shows up faults that are temperature or power supply related.

What I did find was that one of the internal IDCs was causing audible noises when manipulated. I’ve seen this before with another Trace Elliot GP12 repair Mostly crackles, although there was a slight increase in hum sometimes which matched the symptoms described. Cleaning the IDC fixed this and that connection is now stable. I also cleaned the FX loop sockets because unused FX loops are a prime candidate for noises such as those described.

As part of a general service I also cleaned the Graphic sliders as there were a few little crackles – nothing to do with the described fault.

The next step in hum busting would have been to replace the reservoir caps. I avoided this because it adds significant cost and I had no concrete reason to suspect them. The description of the distortion on the note tail does sound a bit like caps, but the soak test didn’t reveal any problems with them.

The amp was returned to the customer. When I contacted him again the next month, the amp was still working well, another successful repair!

Note that the image is an old image, not the amp in question, it’s actually

If you are in need of a Trace Elliot GP12 repair, please get in touch via the contact page

HH amp Repair 

HH amp repair

I’ve seen and played most amps in my career in music retail and amp repair, but this HH amp Repair was a bit of a revelation. The clean channel is a thing of beauty.

It’s a full solid state oversized 1×12 combo with two independent channels. The tube emulation circuit seems to involve distorting a signal transformer. It’s OK but nothing special. The clean sounds on both channels are really great.

The amp needed repair because it was making a strange ticking noise when the reverb was turned up.

The reason for this turned out to be a lack of local decoupling on the reverb board. This is a fairly major design flaw, but the amp obviously ‘got away with it’ for the majority of its life, the problem only appearing as central filtering components aged.

Here’s a quick video of the HH amp repair, showcasing the crackling and ticking issue then the lovely clean sound when fixed.

If you have an HH amp repair job please get in touch.

Roland Cube Repair – Cube 80

Roland Cube Repair

This Roland Cube Repair was a cube 80 from the ever popular Roland Cube range. These amps have a reputation for indestructibility and I’m not surprised. Despite their popularity and the hundreds of amp repair enquiries I receive, I’ve only ever had 3 Roland repair enquiries! Two were from the Roland Cube range, of which this is one. You’ve probably also seen the Anderton’s videos in which they set a Micro Cube on fire and shoot it at the local archery range! It survives the archery and the electronics survives the inferno (the paper speaker cone burns of course)!
Roland Cube Repair Jack Socket.jpg

But this one is not even really a faulty amp. The owner had used a cheap balanced jack as a guitar cable. Unfortunately the cable plug had disintegrated inside the amplifier, leaving a jack tip inside the input socket.

It was a relatively simple job to remove the rogue part, but I got an opportunity to admire the rigid construction of the amp whilst doing it.

If you have a Roland Cube repair you’re unusual(!), but please get in touch and I’ll get it sorted for you.