Peavey Classic 30 repair –

Peavey Classic 30 repair

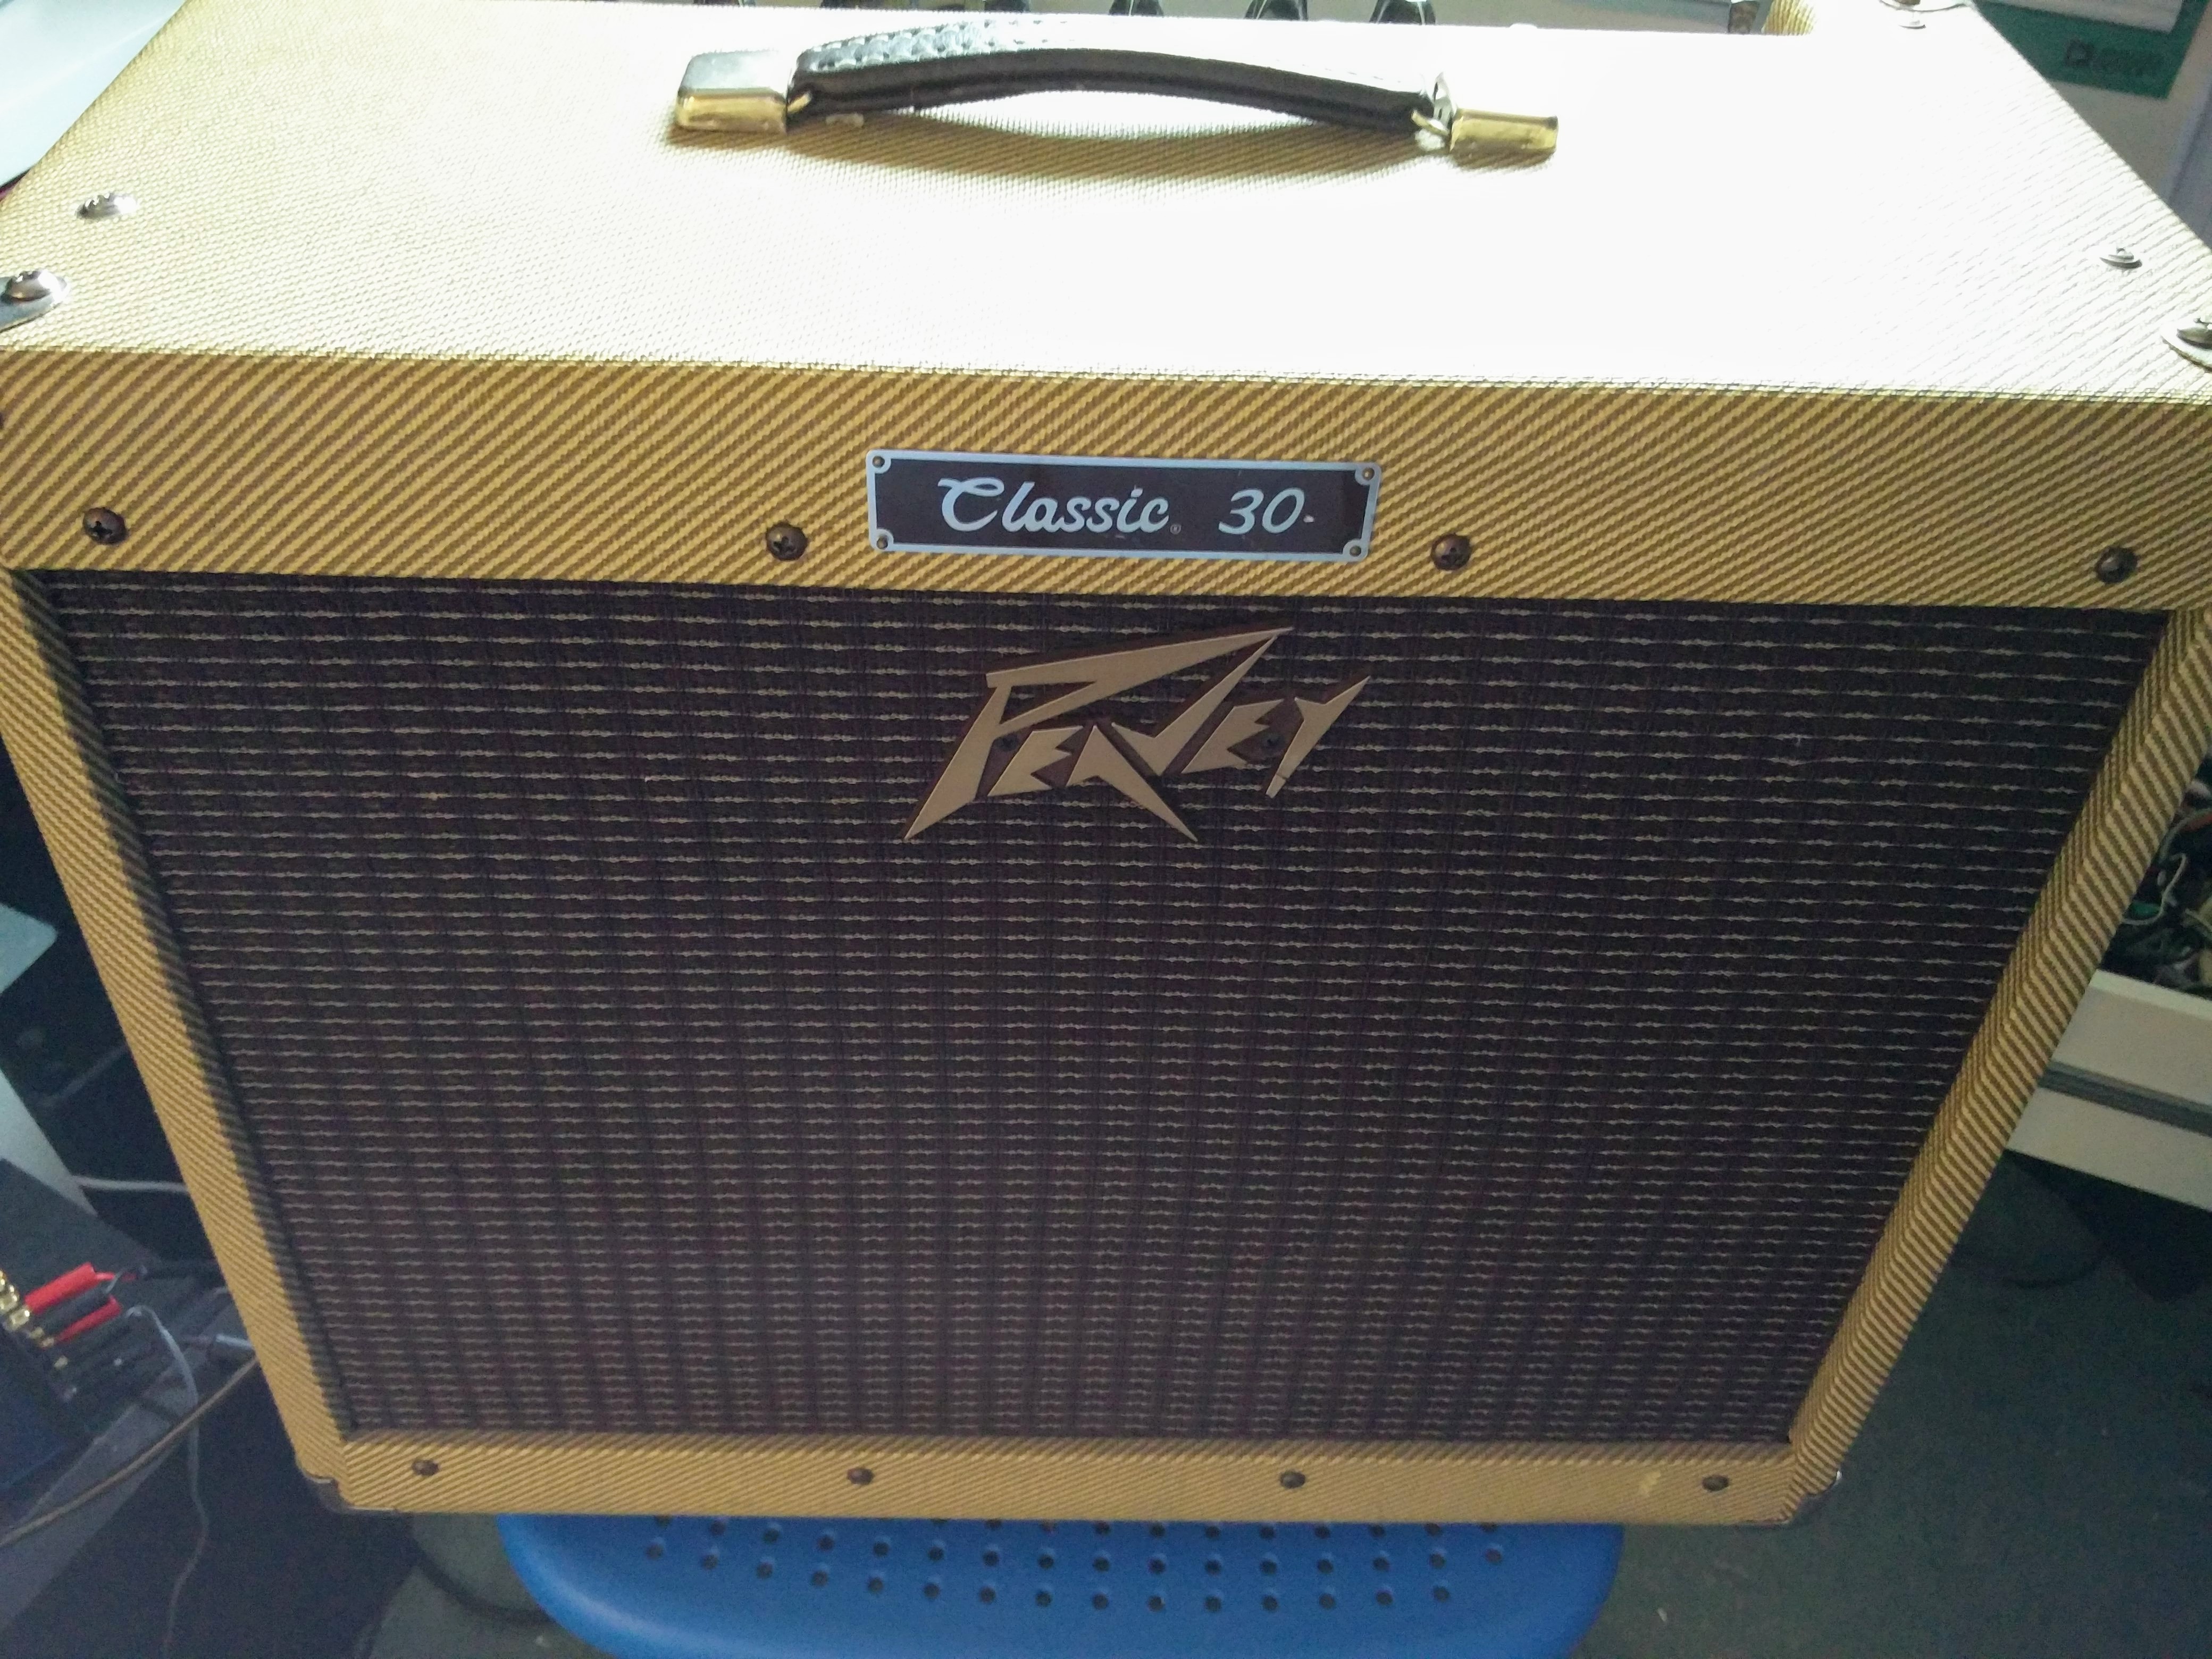
This Peavey Classic 30 repair was a bit of a nightmare!

It arrived with a fairly basic problem – the amp wouldn’t turn on. This was down to a loose screw. It held the mains fuse holder internally. When this came loose, the fuse holder was dangling in mid air and shorted mains directly to the metal case of the unit, which caused the fuse to blow – which is a good thing!

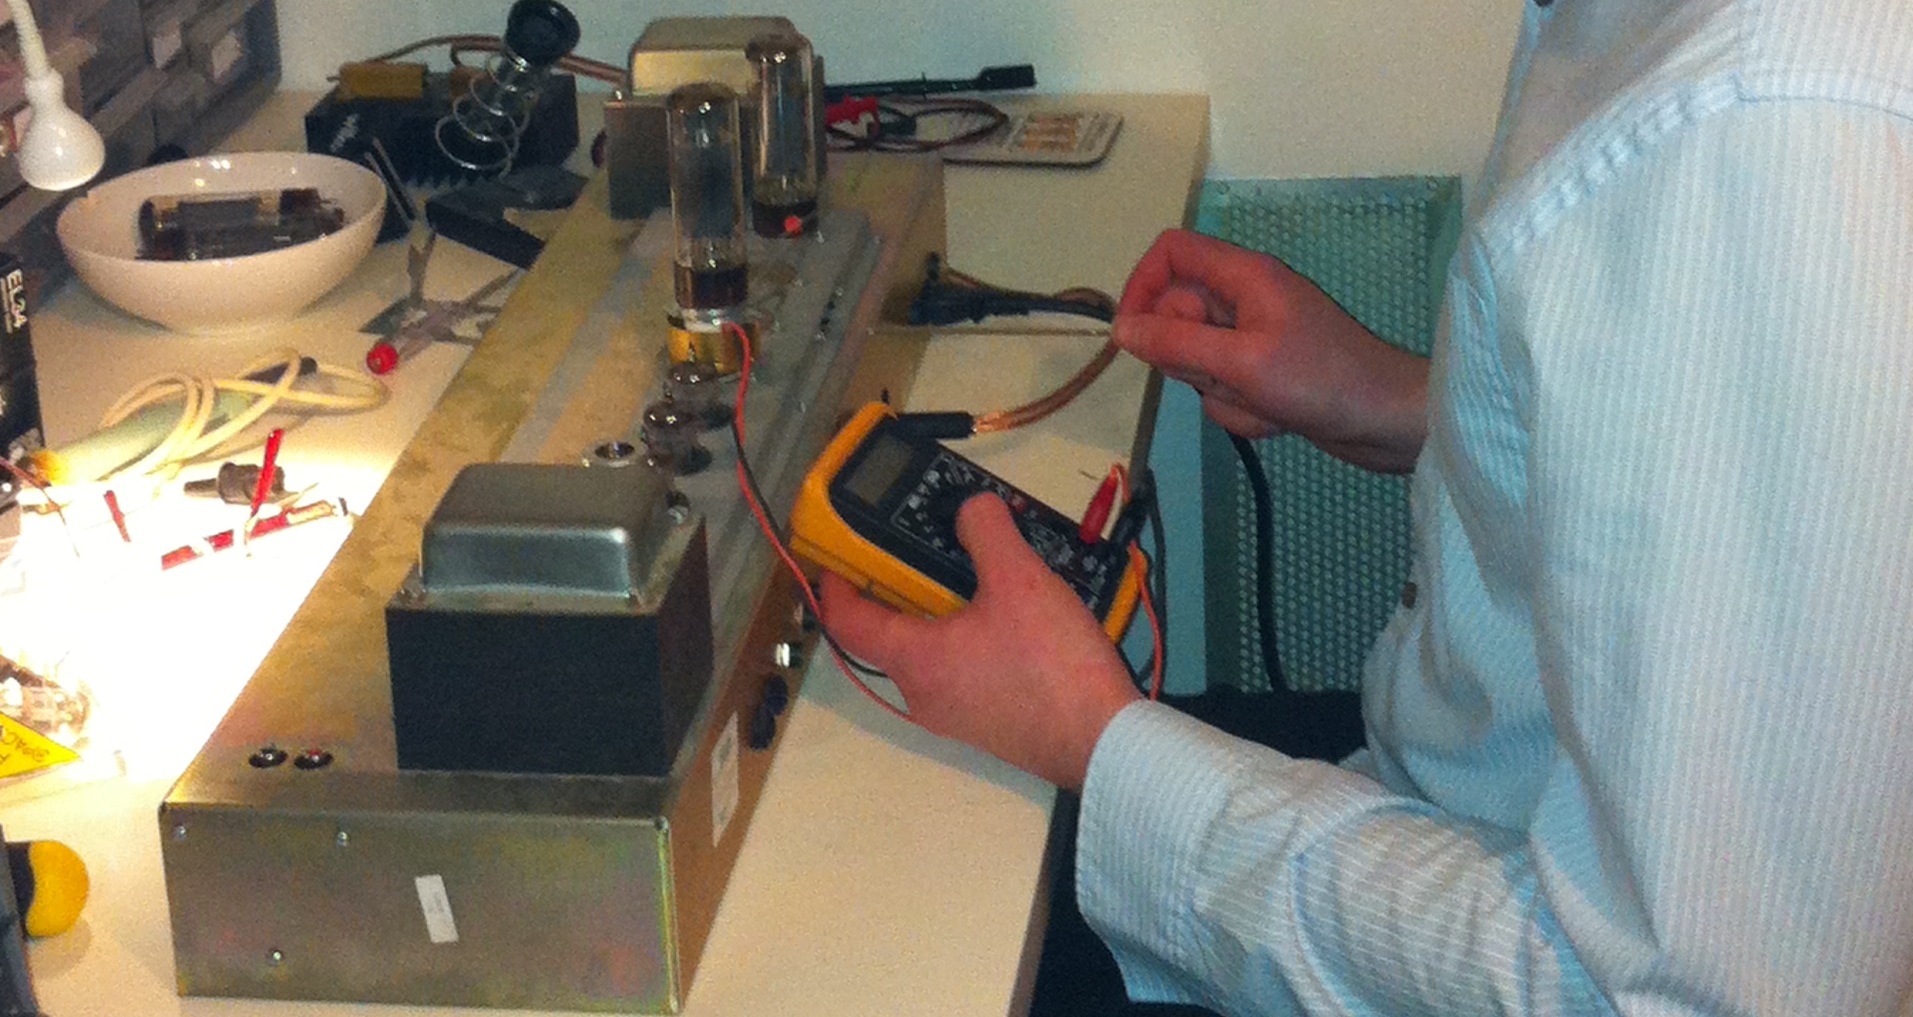
I spent an hour on it – tested all the valves and checked the plate and other power supply chain elements – all the preamp valves are good, but the inner power amp valves no longer match so I changed these. There was no means of adjusting the bias so it’s a question of juggling valves until I find a set of EL84s that properly bias.

I then soak tested the amp. This involves running the amp at gigging voltages with a pink noise signal for a couple of hours. I do this to check that there aren’t any problems with the amp that only appear after a longer period.

In this case, the amp started making a crackling noise after the two hour soak. This turned out to have a twofold cause – there was a leaking cap in the tone stack and the HT electrolytics (IC brand) were also worn.

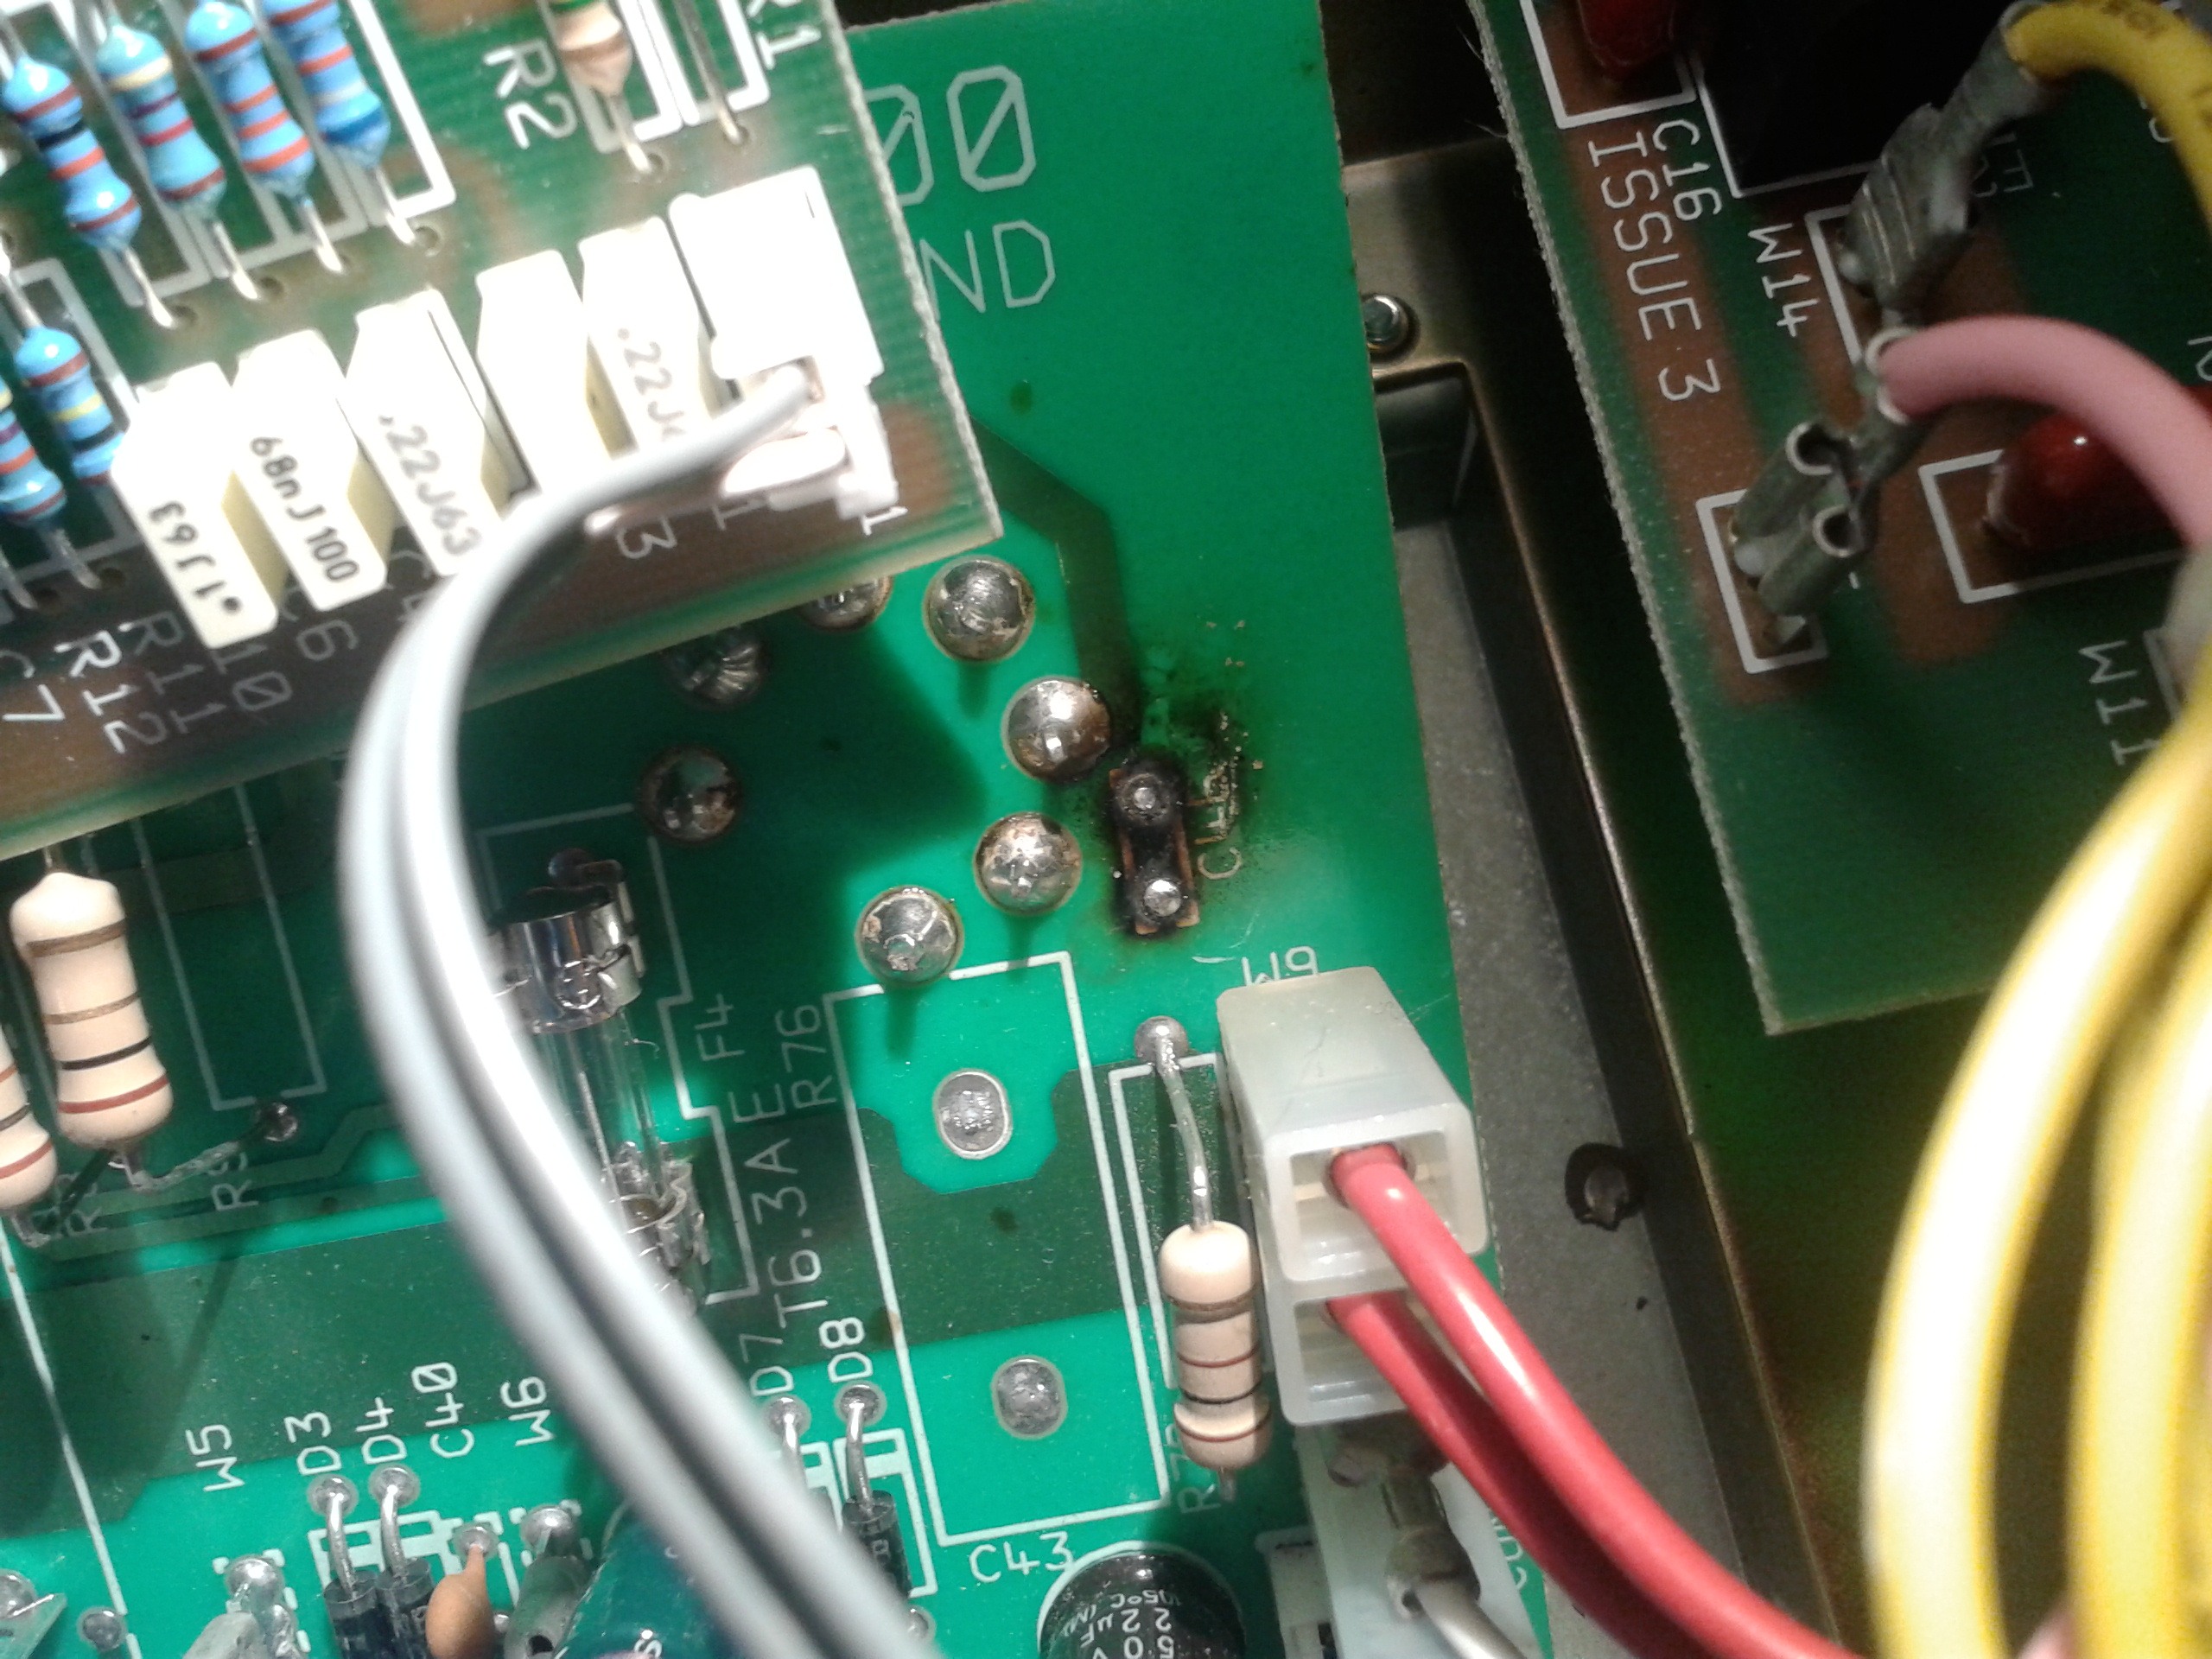
Unfortunately the design of these early peavey Classic 30 amps uses single wire links between the boards. It’s a nightmare to disassemble and these little wire links are a common cause of failure. This slowed down the diagnostic quite severely

If you need a peavey classic 30 repair, please do contact me.

Hughes and Kettner Tubemeister repair

I’ve wanted to do a tubemeister repair since they first came out a few years back. I guess it’s a testament to general quality that this is the first to appear on the bench. I’m a big fan of the design aesthetic. 3 channels and a midi switching amp for £550ish is a lot of bang for your buck.

However, the owner was more worried about a different kind of bang – and a flash behind V1 when he flicked the standby switch. Afterwards the amp wasn’t making any sound at all.

Hughes and Kettner service manuals are easily the most detailed of any of the modern manufacturers I’ve seen (honourable mention goes to Roland/Boss) but this wasn’t needed to disassemble the chassis and get back to the PCB. The chassis is all metal which reduces weight and size. There’s a bent metal lid, removable end pieces and a separate metal base.

Hughes and Kettner have a power tube management system called TSC. This checks tube balance and bias. Orange amps have a similar system (see orange amp repair). The Hughes and Kettner TSC can occasionally fail and show up an error code on the TSC lights. The parts must then be replaced with these parts. But that wasn’t necessary here.

I discovered that the HT fuse had blown, which accounts for the bang the player heard. The valves all tested good, but since the TSC turns on the power tubes using a FET in the cathode I strongly suspected the power valves. After replacing the valves and the fuse the amp came back to life!

If you have Hughes and Kettner tubemeister repair, please just drop me a message and I’ll get you up and running again.

Peavey Valve King Repair – VK100

Peavey Valve King Repair

My customer brought this Peavey Valve King repair in to me before Christmas  to get an opinion on its state of repair. The amp was blowing fuses.

The Valve King VK100 is a monster of an amp. Not fire breathing levels of gain like some Peaveys but a big and heavy brute with a classic sound.

I determined within the first hour that the fuses were blown due to a failure of the DC heater circuit. DC heaters are used to reduce the hum in high gain amps. Unfortunately the internal fuse was a soldered-in part, so I made temporary fix (pictured) to test my theory and quote for the customer, before fully disassembling the amp and replacing the part properly when the quote was accepted.Valve amp blowing fuses

Whilst fixing the heater circuit I noticed that the area of the circuit board that I was working on had been repaired previously. Unfortunately they hadn’t told him what they’d done.

After fixing the DC heaters, I tested the units full output power. It’s a 100W amp, but was only putting out about 15W. More work to do! After a bit of further investigation, the amp output 87W. Not full 100W, but within the margins of dodgy advertising!
The amp needed a couple of valve changes and a couple hours work but the owner was pleased with the result.
 Peavey Valve King Repair 2

If you have a Peavey Valve King repair in need of repair, please visit the contact page.

Valve amp blowing fuses – Fender repair – pro reverb

Fender valve amp blowing fuses

A customer brought this fender repair to me with a common complaint. The valve amp was blowing a fuse every time the standby switch was turned on. A valve amp blowing fuses can be a number of things, but in this case I suspected that the amp probably had a faulty power valve.

This turned out to be true. One of the 6L6 valves had a fault that causes a high current to pass between anode and cathode causing the fuse to blow.

This can occur in all valve amps with all types of valve.  Elsewhere on this blog, there’s a Marshall valve amp blowing fuses that was down to a shorting EL34 valve. There’s also a more recent mesa boogie valve amp blowing fuses.

Once a power valve is replaced, it must be rebiased. I set this fender back to manufacturers spec. Matching power valves should always be used.

If you have a valve amp blowing fuses, please do Contact me for advice.

Marshall JCM 2000 Repair – TSL 100

Marshall-jcm2000-repair

Marshall JCM2000 repair

I get quite a lot of the JCM2000 series in for repair – both DSL and TSL. I think it’s because they were so popular, rather than any endemic issues. This particular JCM2000 is a TSL100, the triple super lead model.

I’m writing the blog post quite a while after the repair now, so I’m looking at my notes to remember the issue. IIRC, the amp needed new valves and the owner mistakenly paired valves 1+2, 3+4, instead of the correct 1+4, 2+3. He knew how to bias his own amp and knew about pairing valves, but had always replaced for a matched quad in the past. When he paired the valves wrongly things had become hot and smokey – the valves red-plated For more information on valve amp bias, check my bias FAQ.

The amp had become so hot that a screen grid resistor (R78) – mounted upside down in the amp – had melted its solder connection and fallen out of the amp, melting some cabling where it landed. I replaced this resistor (with a lighter weight, but equally rated component). I also replaced the burned out suppression capacitor that can be seen in the picture.

The lesson to be learned: read my bias FAQ before replacing power valves yourself. If in doubt, ask!

If you have a JCM2000 repair, do get in touch.

Marshall Repair – JCM2000 DSL100

Marshall Repair

This Marshall Repair was brought to me with one of those sneaky ‘hard to find’ problems. The amp was blowing fuses when the customer was playing it. He’d taken the amp to another repairer who hadn’t found any problems. Unfortunately the amp continued to blow fuses.

Guitar amplifier repairs of this kind often have to be treated in a different way. After an initial examination, opening up the amp and checking for any burnt components or loose joints I placed the amplifier on soak test. This involves playing a representative signal through the amp into a dummy load in the conditions that the amp was in when it was blowing fuses. During this soak test I observed that under certain conditions one of the power valves was sparking internally. I swapped the set of valves, re-biased and then placed the amp back on soak test. Since the amp wasn’t blowing fuses or sparking any longer, I decided that it was ready to go.

If you have a Marshall repair job that needs doing, please get in touch via the contact page.

Dual Rectifier Repair – Mesa Boogie – Ampworks, Newark

This Mesa Boogie Dual Rectifier Repair is one of the more unusual problems I’ve come across. The Mesa was brought in with very low (and unpleasantly distorted) volume and blowing fuses. I tracked the issue to the output circuitry and checked for all the usual failures with no result. The output transformer looked to be the faulty component but the issue turned out to be a faulty component that was loading down the 4 ohm input with a low impedance. Component changed and the amp springs back to brutal METAL life!!

UPDATE 2016:
Mesa Boogie repairs are among the most difficult jobs to do, partly because of the complexity of the amp (which makes for a fantastic product) but also because they design their PCBs in a way that aren’t very friendly to repair. I’ve done many mesa boogie amps though (you can read about others here) and they are always worth fixing!

Mesa Boogie Repair

If you have a Mesa Boogie Dual Rectifier repair job that needs doing, please get in touch via the contact page.