Blackstar Series One repair S1-104EL34

Blackstar Series One repair

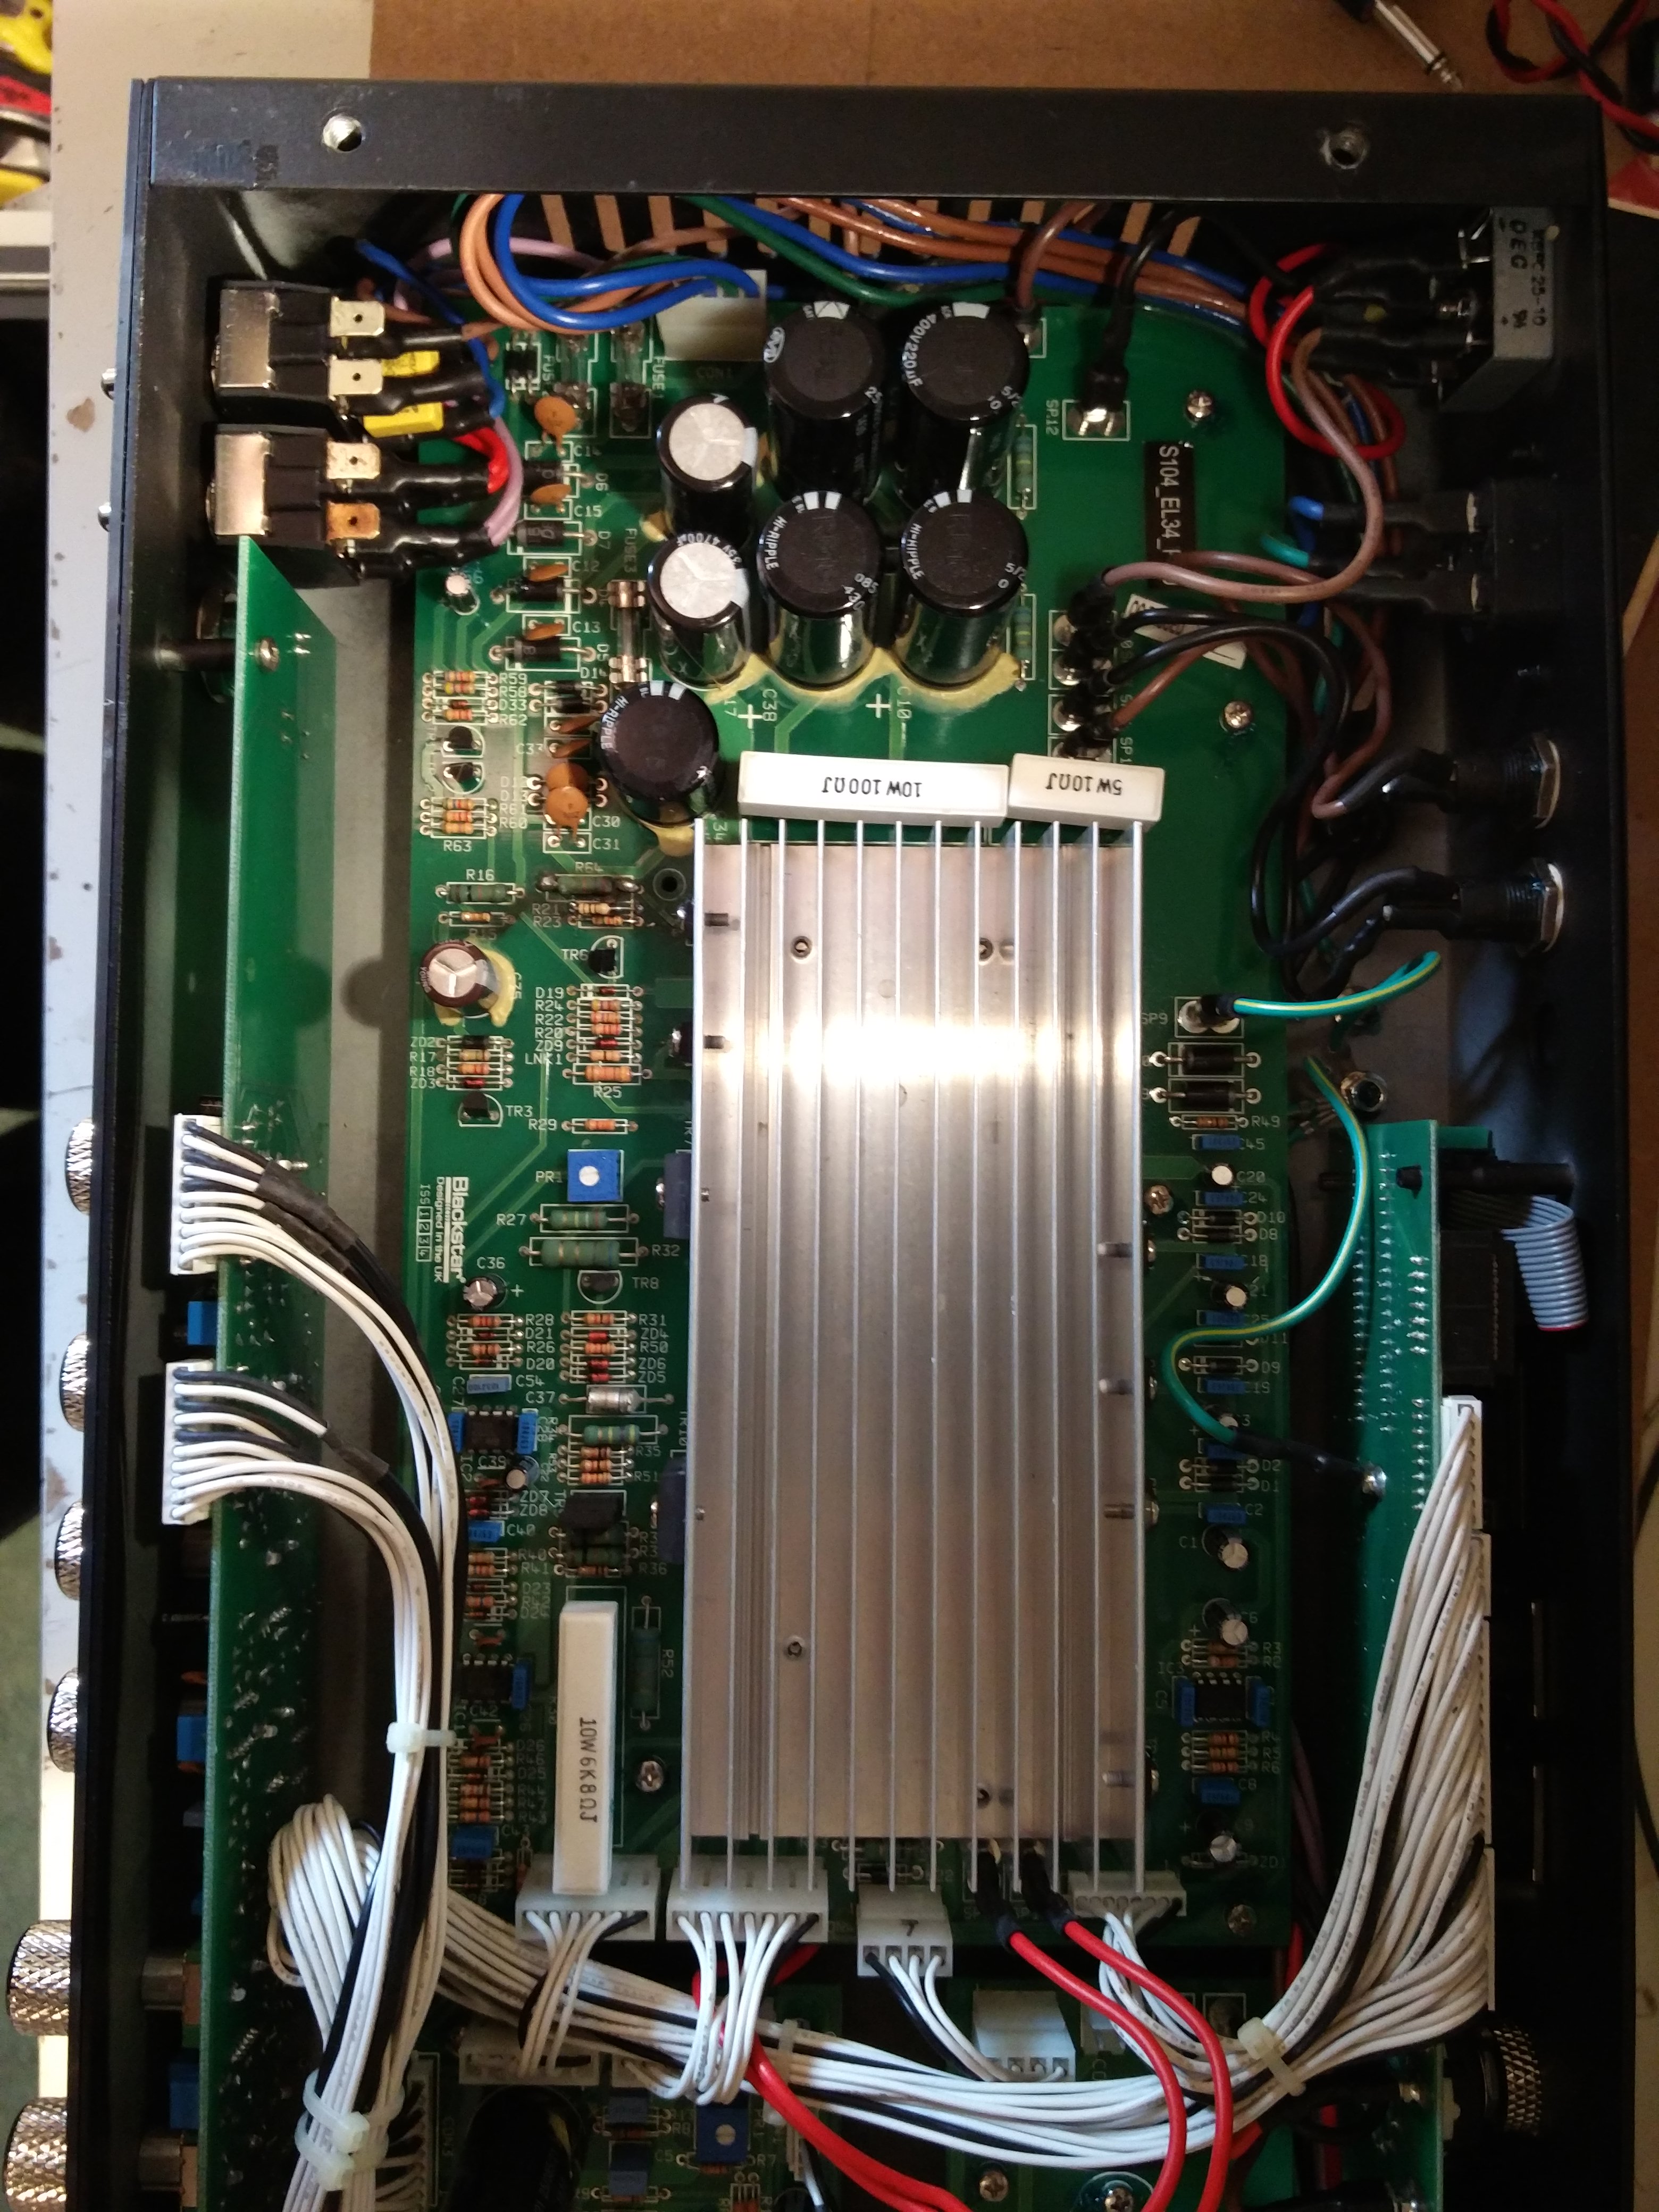
This Blackstar Series One repair from February was a bit of a mess! The amp had unfortunately received the unhelpful care of another repairer who had left the amp in a terrible state. If you don’t like to see damaged PCBs, look away now.

It was brought to me because it was blowing fuses at gigging levels. The owner had bought it second hand and it had started blowing fuses recently. A quick fix was managed in time for a gig!

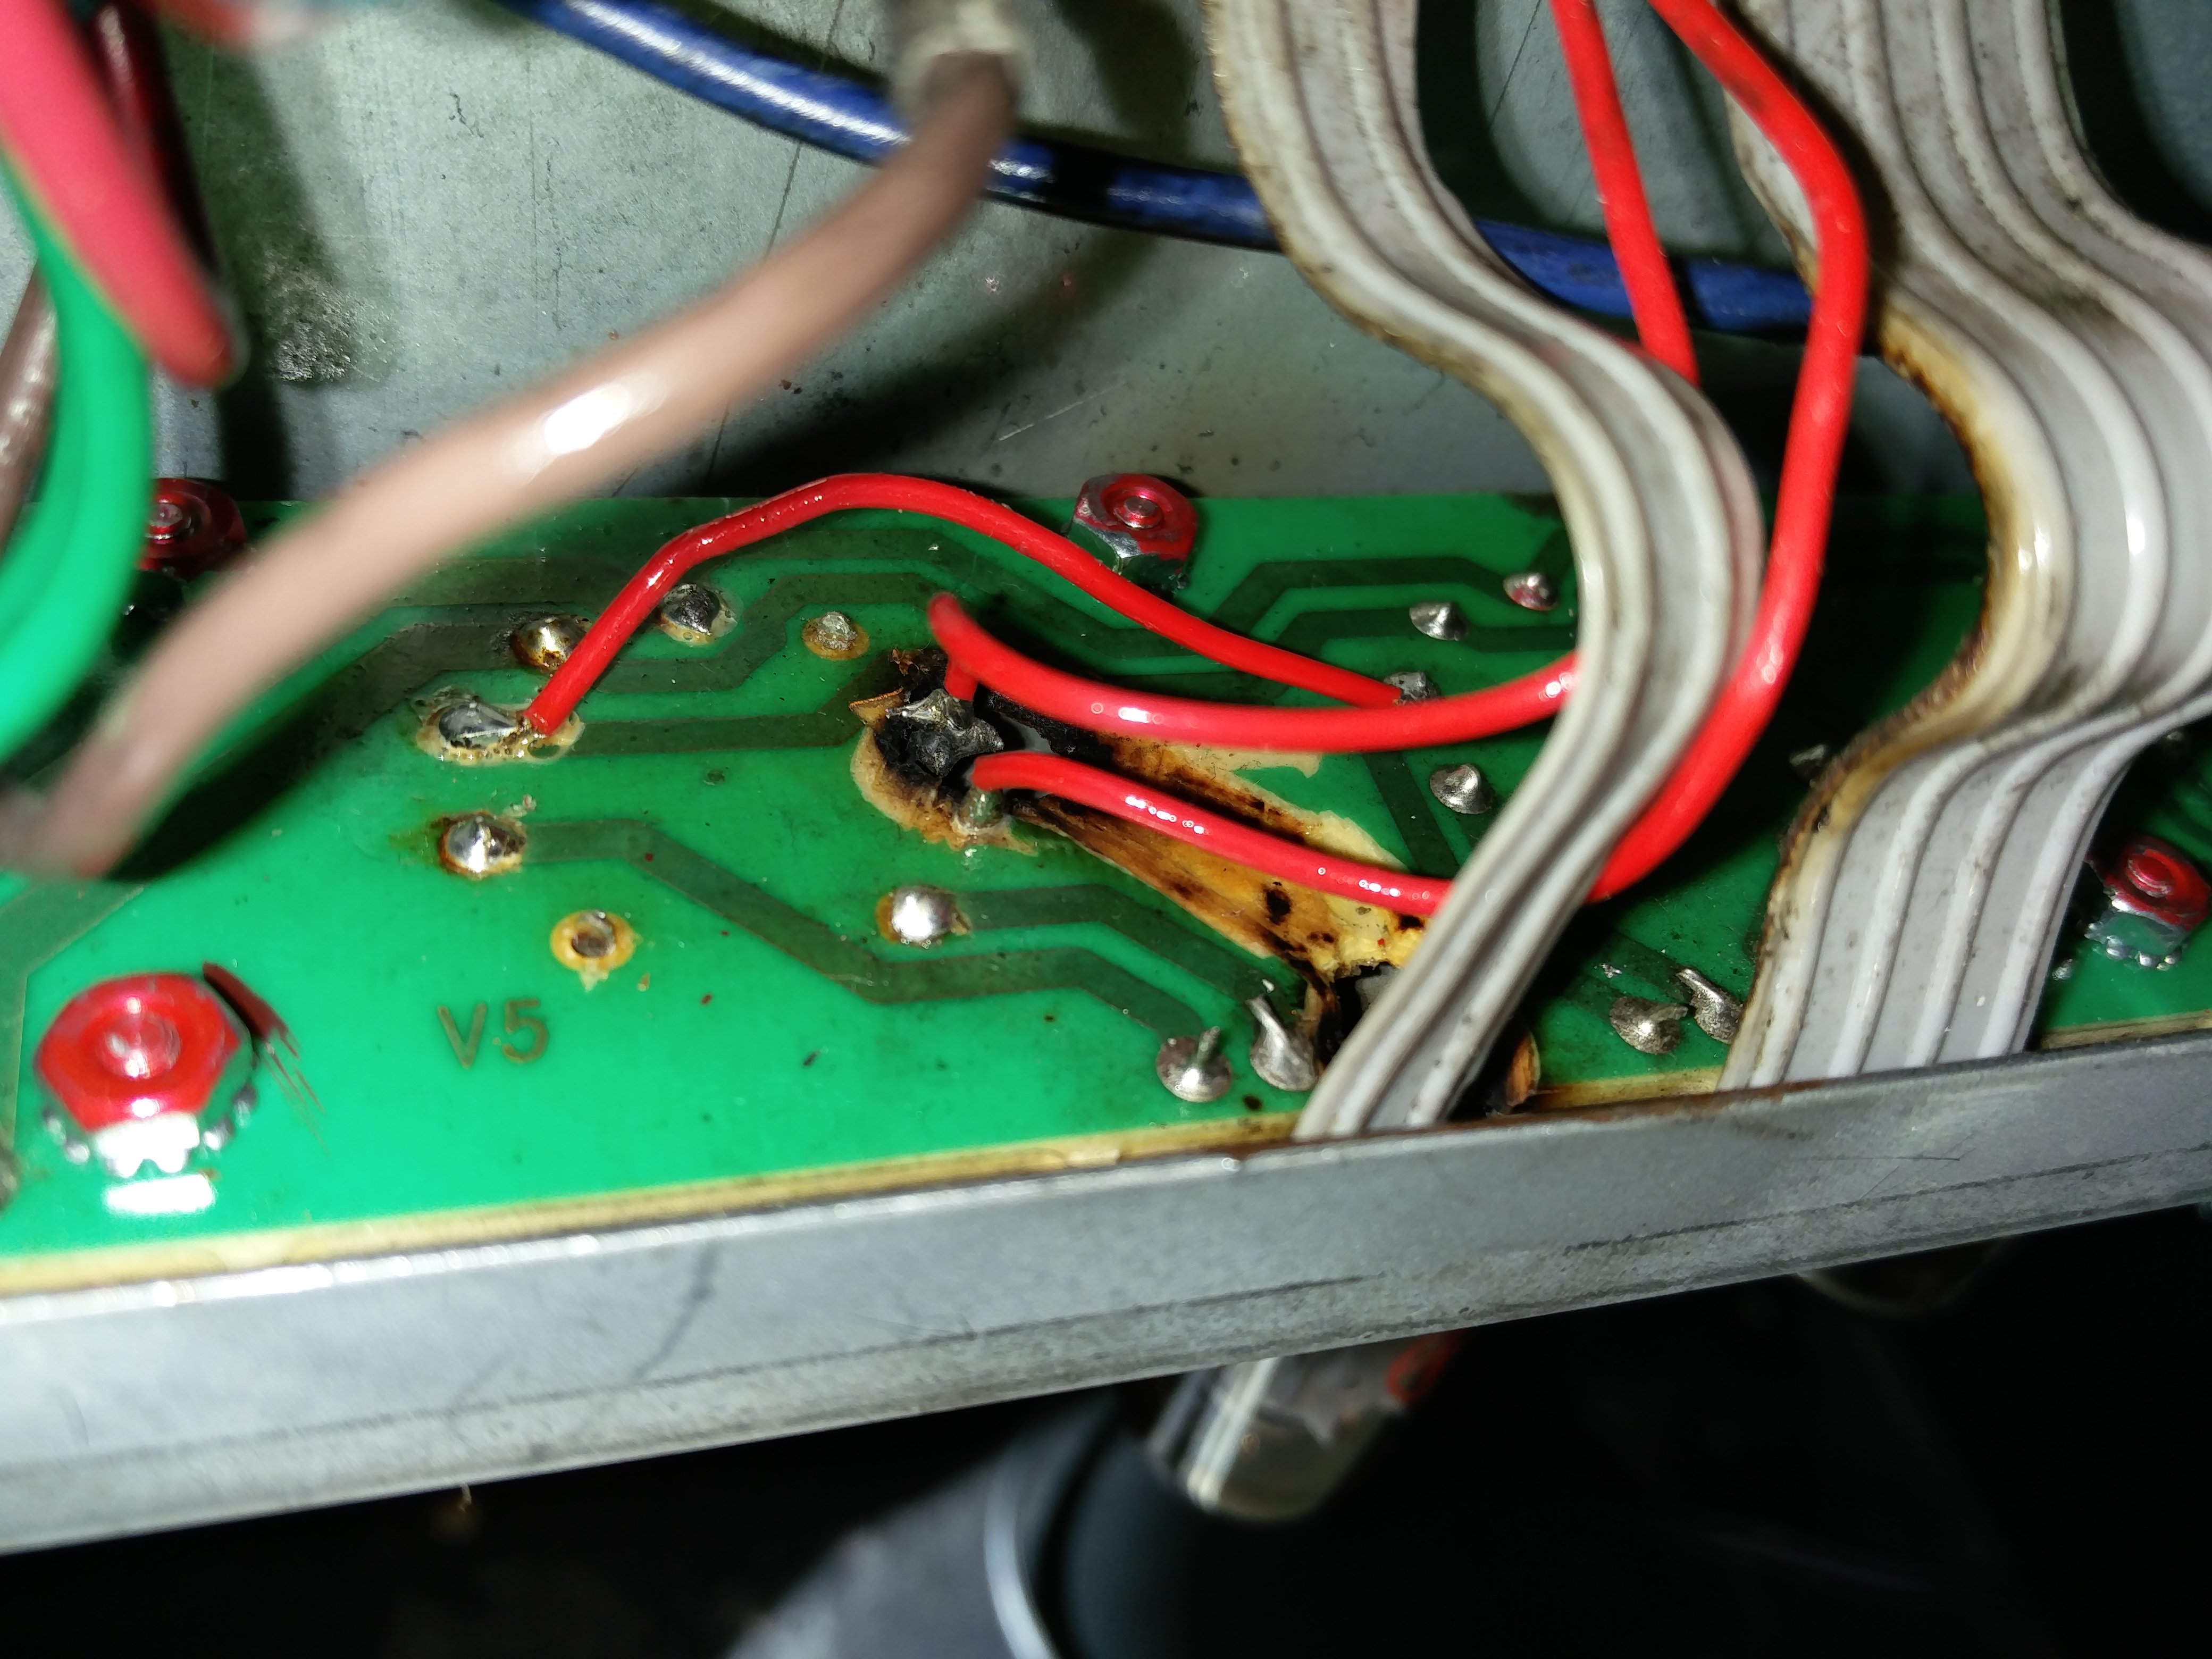
I’m not sure what the original fault was with this amp, but whoever had previously attempted to fix it was very much of the ‘add more solder’ school of repairing! I suspect that they had not attempted to remove the board and had just tried to repair the amp from the top side only in doing so they’d damaged to PCB and left the transistor hanging by a thread of pad..
Blackstar Series One repair3You can see the horrible original work on the left and my improved fix on the right of the image. I removed the board and cut away the damaged track and recreated a solid connection with solid core wire on the board reverse. I replaced the burnt out components nearby with suitably rated high power resistors. I also replaced the transistor.

The whole job took 3 hours and included a valve test (revealing three worn preamp valves) and an additional (FOC) 1 hour soak test at gigging levels.

If you have a blackstar series one repair, please drop me a line.

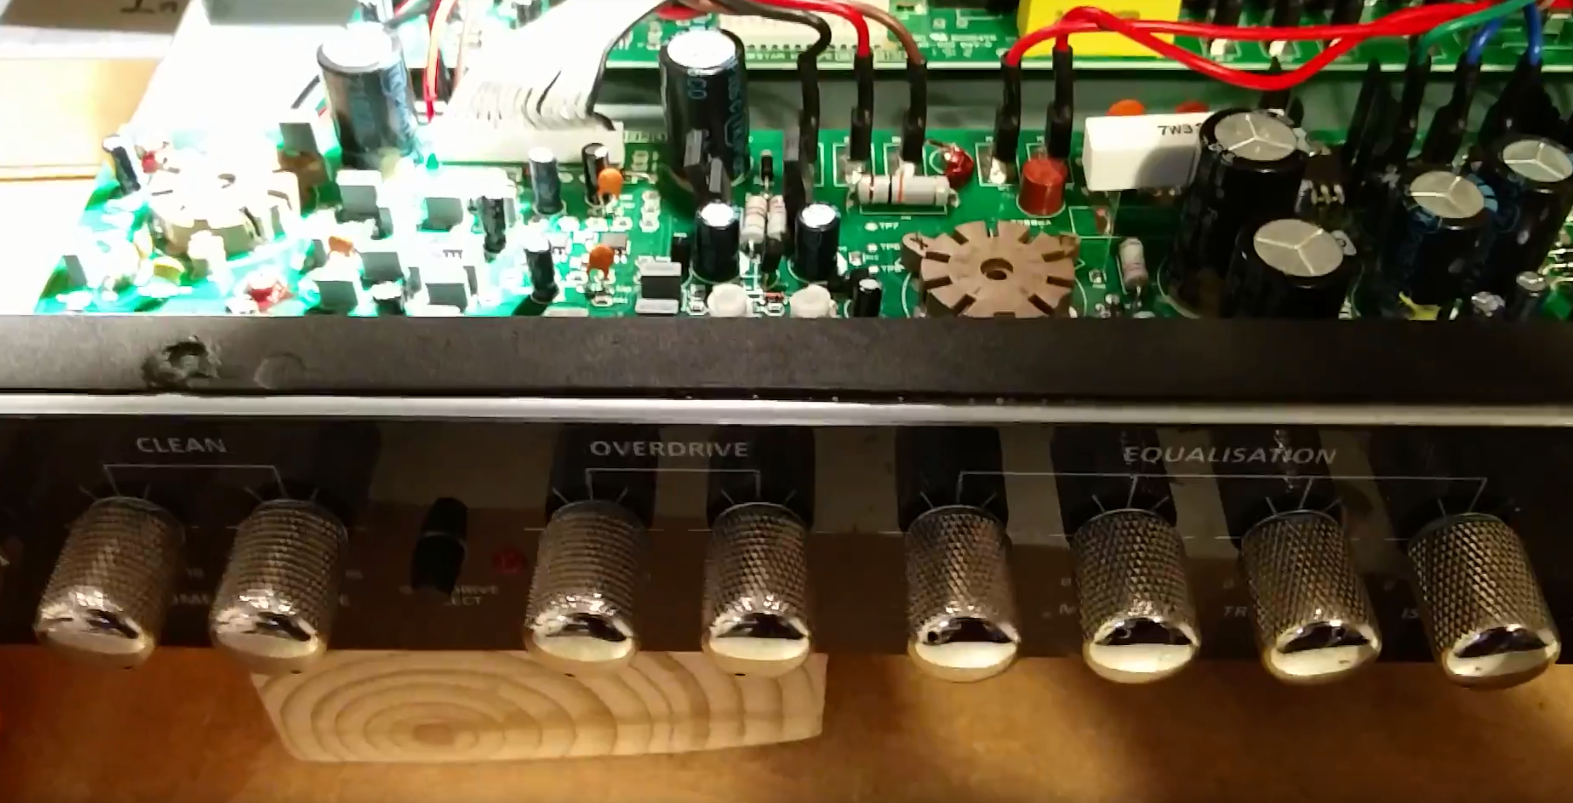
Here’s a video of the amp, once fixed.

Blackstar HT5 Repair, Keld Ampworks, Newark, near Stamford

Blackstar HT-5 repair

I’ll admit this Blackstar HT5 repair had me confused for a bit. It was brought to me from Stamford Endowed School, which isn’t that far away from my workshop in Newark, it is just down the A1.

The amp arrived with no sound output from the speakers. The valves tested fine, one 12ax7 and one 12bh7.

Looking inside the amp I could see signal on both grids of the 12ax7, but nothing was getting through to the output stage.

Using a thermocouple I tested the temperature of the semiconductors in the amp and found that the two MOSFETs were getting rather hot!

Upon inspection, I saw that somebody had drilled two little holes between the MOSFET legs and left all the swarf (mangled metal pad and PCB resin).

It turns out that there’s a forum post saying that the MOSFET pads were apparently quite close together and prone to arcing. I think that somebody read that post and decided to go DIY on this amp, not understanding that leaving chewed up pad around the holes would gonna cause a worse problem than arcing. ๐Ÿ™ It probably worked for a bit but it worketh no longer.

https://www.blackstaramps.com/forum/viewtopic.php?f=32&t=2135&sid=2959070778299b62b9ca529437626388&start=10

After replacing the burnt out drain resistors and the damaged FETs, the amp was back up and running. These are really great little amps and put out a lot of volume, despite their 5W rating.

If you need a Blackstar HT5 repair, please contact me.

Fender Blues Junior Repair – Urgent Repair

Fender Blues Junior Repair

This Fender Blues Junior Repair was an urgent repair job for a London based guitarist. I got the amp at 23:30 on the Saturday after a gig in Southwell near Newark and had it diagnosed by 11:15 the next morning before he returned to the ‘big smoke’.

Actually, big smoke was obviously a problem that this amp had experienced in the past as can be seen in the image. A power valve had blown and seriously damaged the PCB. Unfortunately the amp had been taken to a Nottingham music shop for repair and I’m afraid they didn’t know what they were doing!

Whoever fixed it has did something weird and wired up a valve pin that doesn’t connect to anything – it should have been going to the cathode, although they have then wired up the cathode separately. There’s no actual harm with this, it just suggests they didn’t know what they were doing!
They also not secured the valve base very well, so it rocks and lifts the pins when you remove or move a valve. This has started to pull up a PCB track on one of the power valves. This will almost certainly cause problems in the future.

I’ve performed a temporary fix on the problem pin 7 by shaving the solder mask off the copper and adding more solder to give the pin an extra connection.

I recommended rewiring the whole power stage at some point in the not too distant future because the amp is a bit of an accident waiting to happen. Unfortunately there wasn’t time to perform the full repair before the customer left for London.

However all this was a chance discovery. I was actually asked to look at a faulty spring reverb on this blues Junior repair. The problem turned out to be with the tank itself. I checked continuity and ground on the cables and observed signal getting to the tank and nothing coming out.

I’ve got a short Accutronics reverb tank kicking around from an amp I gutted so I thought I’d try it, The impedances didn’t match and it sounded terrible with the Blues Junior! But it proved that this was the only problem with the reverb.

The good news is that the customer could buy a spring reverb unit and fit it himself – you only need a screwdriver.

The customer was kind enough to leave a review on my Facebook page.

If you have a Fender blues junior repair, please get in touch.