Acoustic Image repair – Clarus 1

Acoustic image repair Class D amp repair

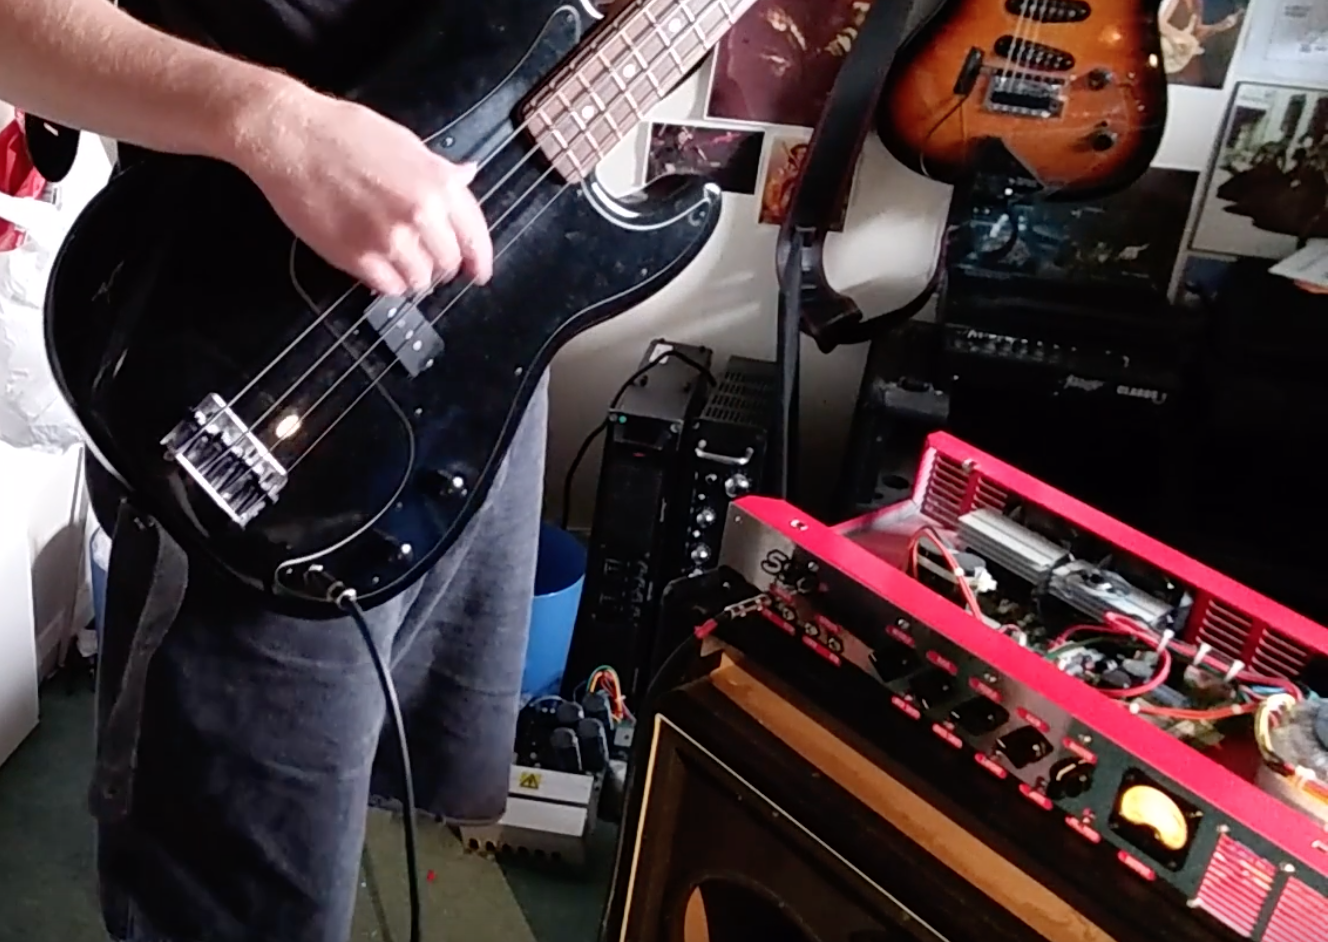
It’s always interesting to get something in that’s a bit different – this was my first Acoustic Image repair. The amp is a Clarus 1, now discontinued. It’s a great bass amp in a very compact and lightweight form, made possible by the use of a Class D power stage.

I’m a big fan of class D amplifiers such as this Acoustic Image – in my ‘other’ job I’ve designed quite a few for a leading audio equipment manufacturer. They’re lightweight, efficient, sound great and they’re quite easy to repair, but they do take some careful designing.
Acoustic Image repair
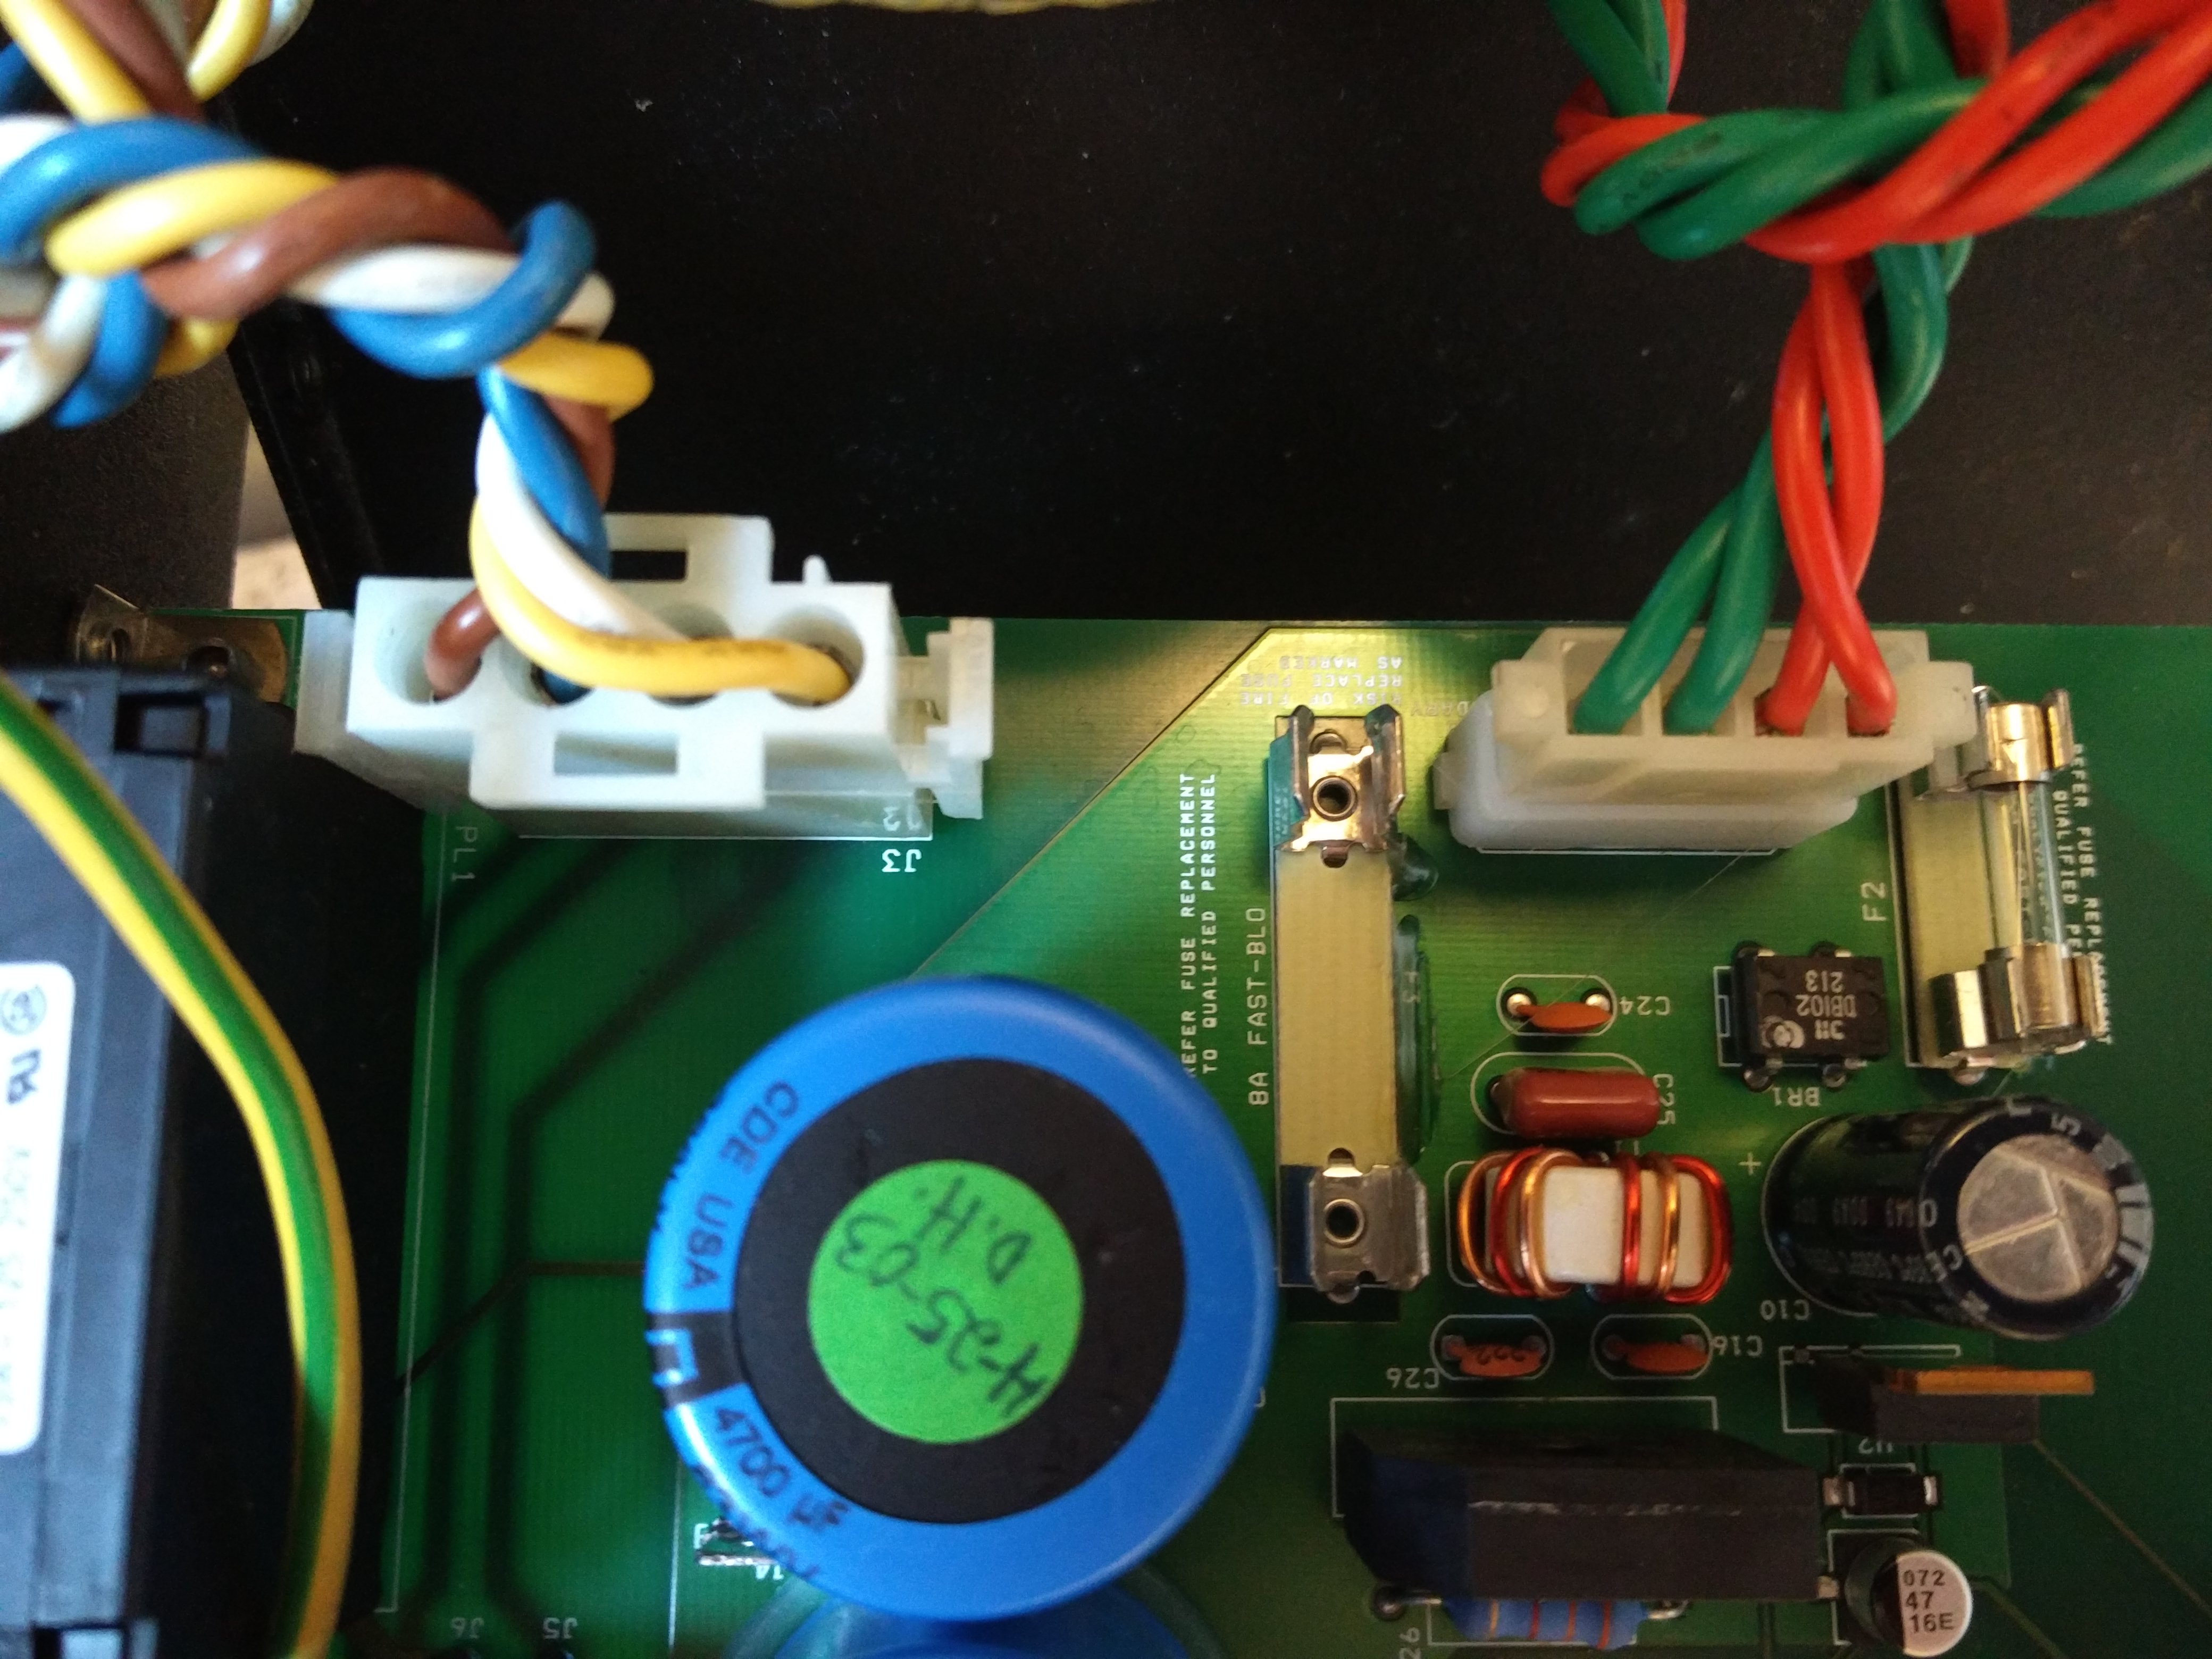
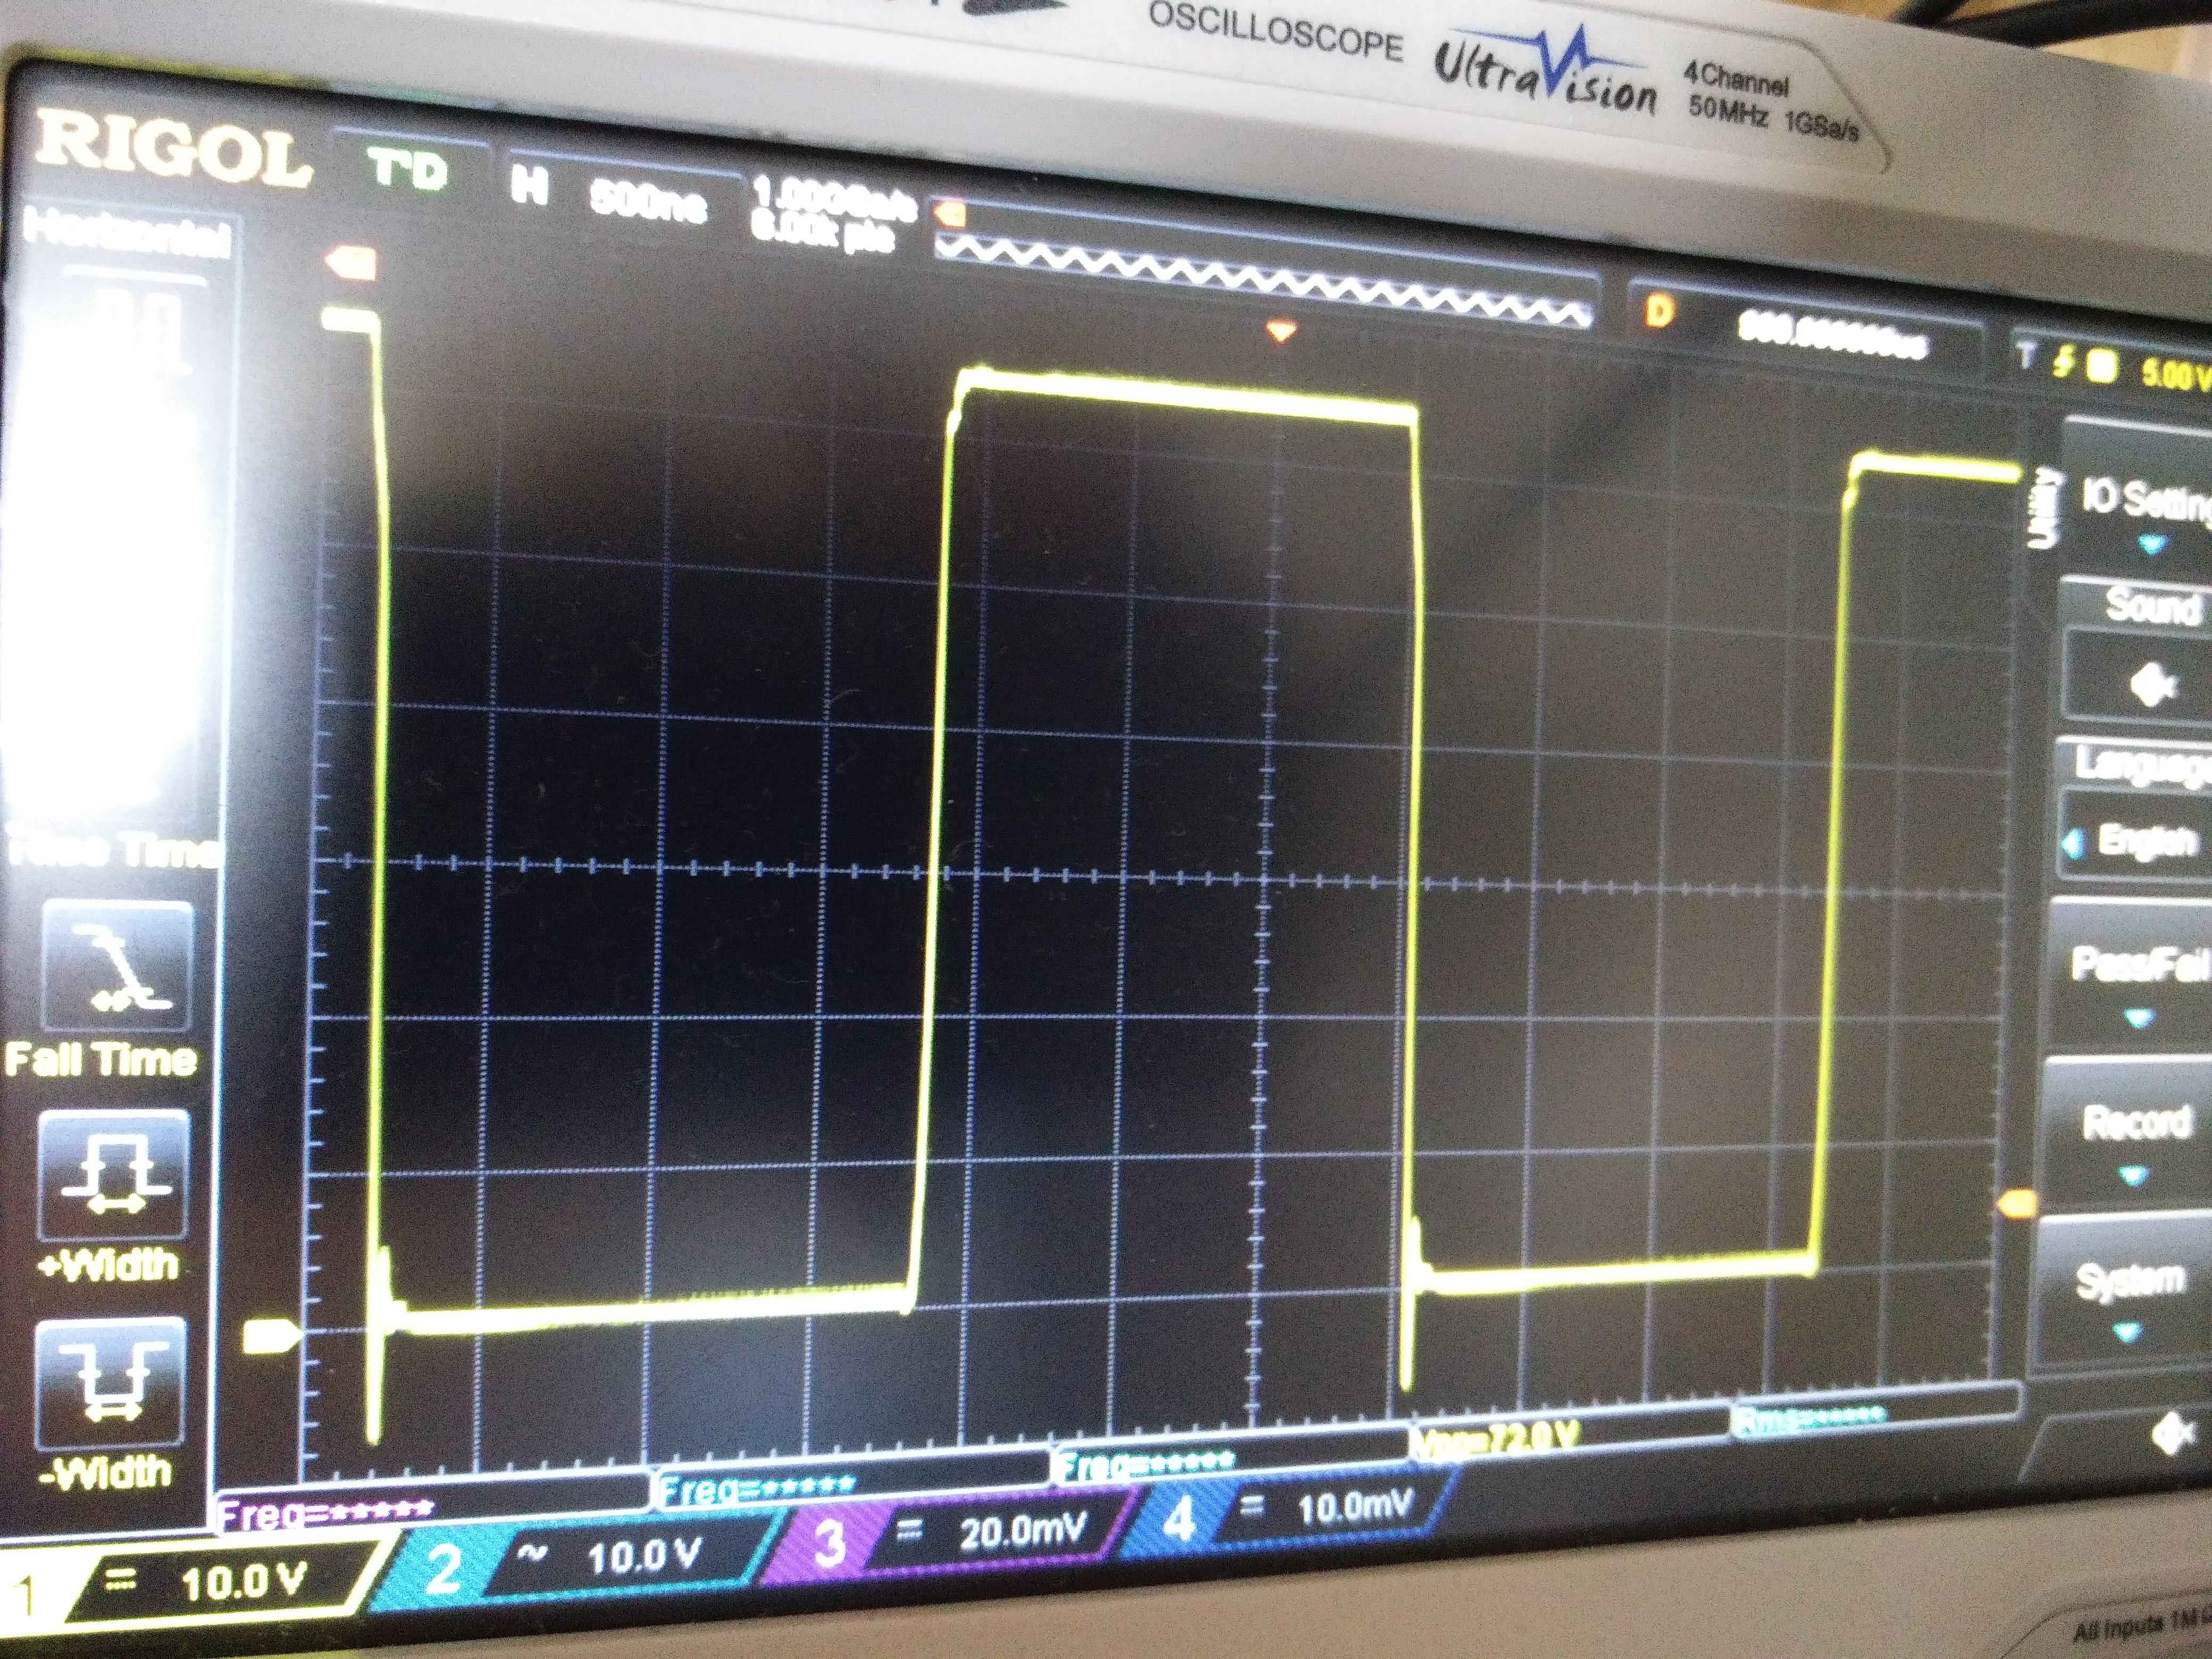
This particular amp had blown a FET and a gate resistor in the output. The FET turned out to be obsolete upon investigation, so I have to thank Laurence of Acoustic Image UK and Rick Jones, Acoustic Image owner, for helping me to identify their approved alternative part. The choice of Class D FETs has to be carefully made to fit the design otherwise they will not operate reliably. This is demonstrated in the image below. The waveform should have very little ringing, and very little curve on the waveform top.
Acoustic image repair Class D amp repair
I noticed that the reservoir capacitors were bulging slightly – possibly a sign of age or linked to the output failure. I suspected that these caps were the cause of a quiet crackling noise observed when I’d fixed the output so I replaced these with high quality parts. This fixed the crackling noise.

The Nottingham based owner was happy with the repair and kindly left me a review:

If you have an acoustic image repair, please get in touch.

Ashdown 550 Touring Repair

Ashdown 550 Touring Repair

The first task for last week was an Ashdown 550 Touring Repair, brought in from a Newark customer bec because the amp wasn’t making any sound – actually it was making a very weak tinny sound. I like ‘no output’ or low output repairs – they’re often easy to fix. Fortunately this was the case here.

The problem turned out to be a faulty speaker connection. The touring 550 has two 10″ LF drivers and a little HF driver. There was a loose connection in one of the LF drivers – I suspect from the way that wire broke that it had been badly wired in the factory. The weak, tinny sound was the tweeter operating on its own. I re-soldered this connection and added some heatshrink to support the connection. And the amp was working!
Ashdown 550 Touring Repair
It was obvious from the external state of the amp that it had been kept in a damp environment – the tolex and top wood layers had swollen around the screw joints and the fixings were horribly rusted. The owner had bought this amp in the faulty state, so I then proceeded to give the amp a 1 hour service to check for any further sonic gremlins.

The amp uses two preamp valves – 12AX7s. These were unbranded valves but tested fine on my valve tester.

I discovered that the master volume pot was quite badly oxidised, but cleaned up nicely with a bit of Caig DeOxit D5. The gain pot had similar problems. I also cleaned the sockets and the valve bases as a precaution.

Checking the output level into 6.8 ohms the amp produced >288W. This is about right for a 550W amp rated into 4 ohms, which would produce a proportionately larger signal, allowing for transformer sag.
 Ashdown 550 Touring Repair
If you have an Ashdown 550 Touring Repair, please get in touch.