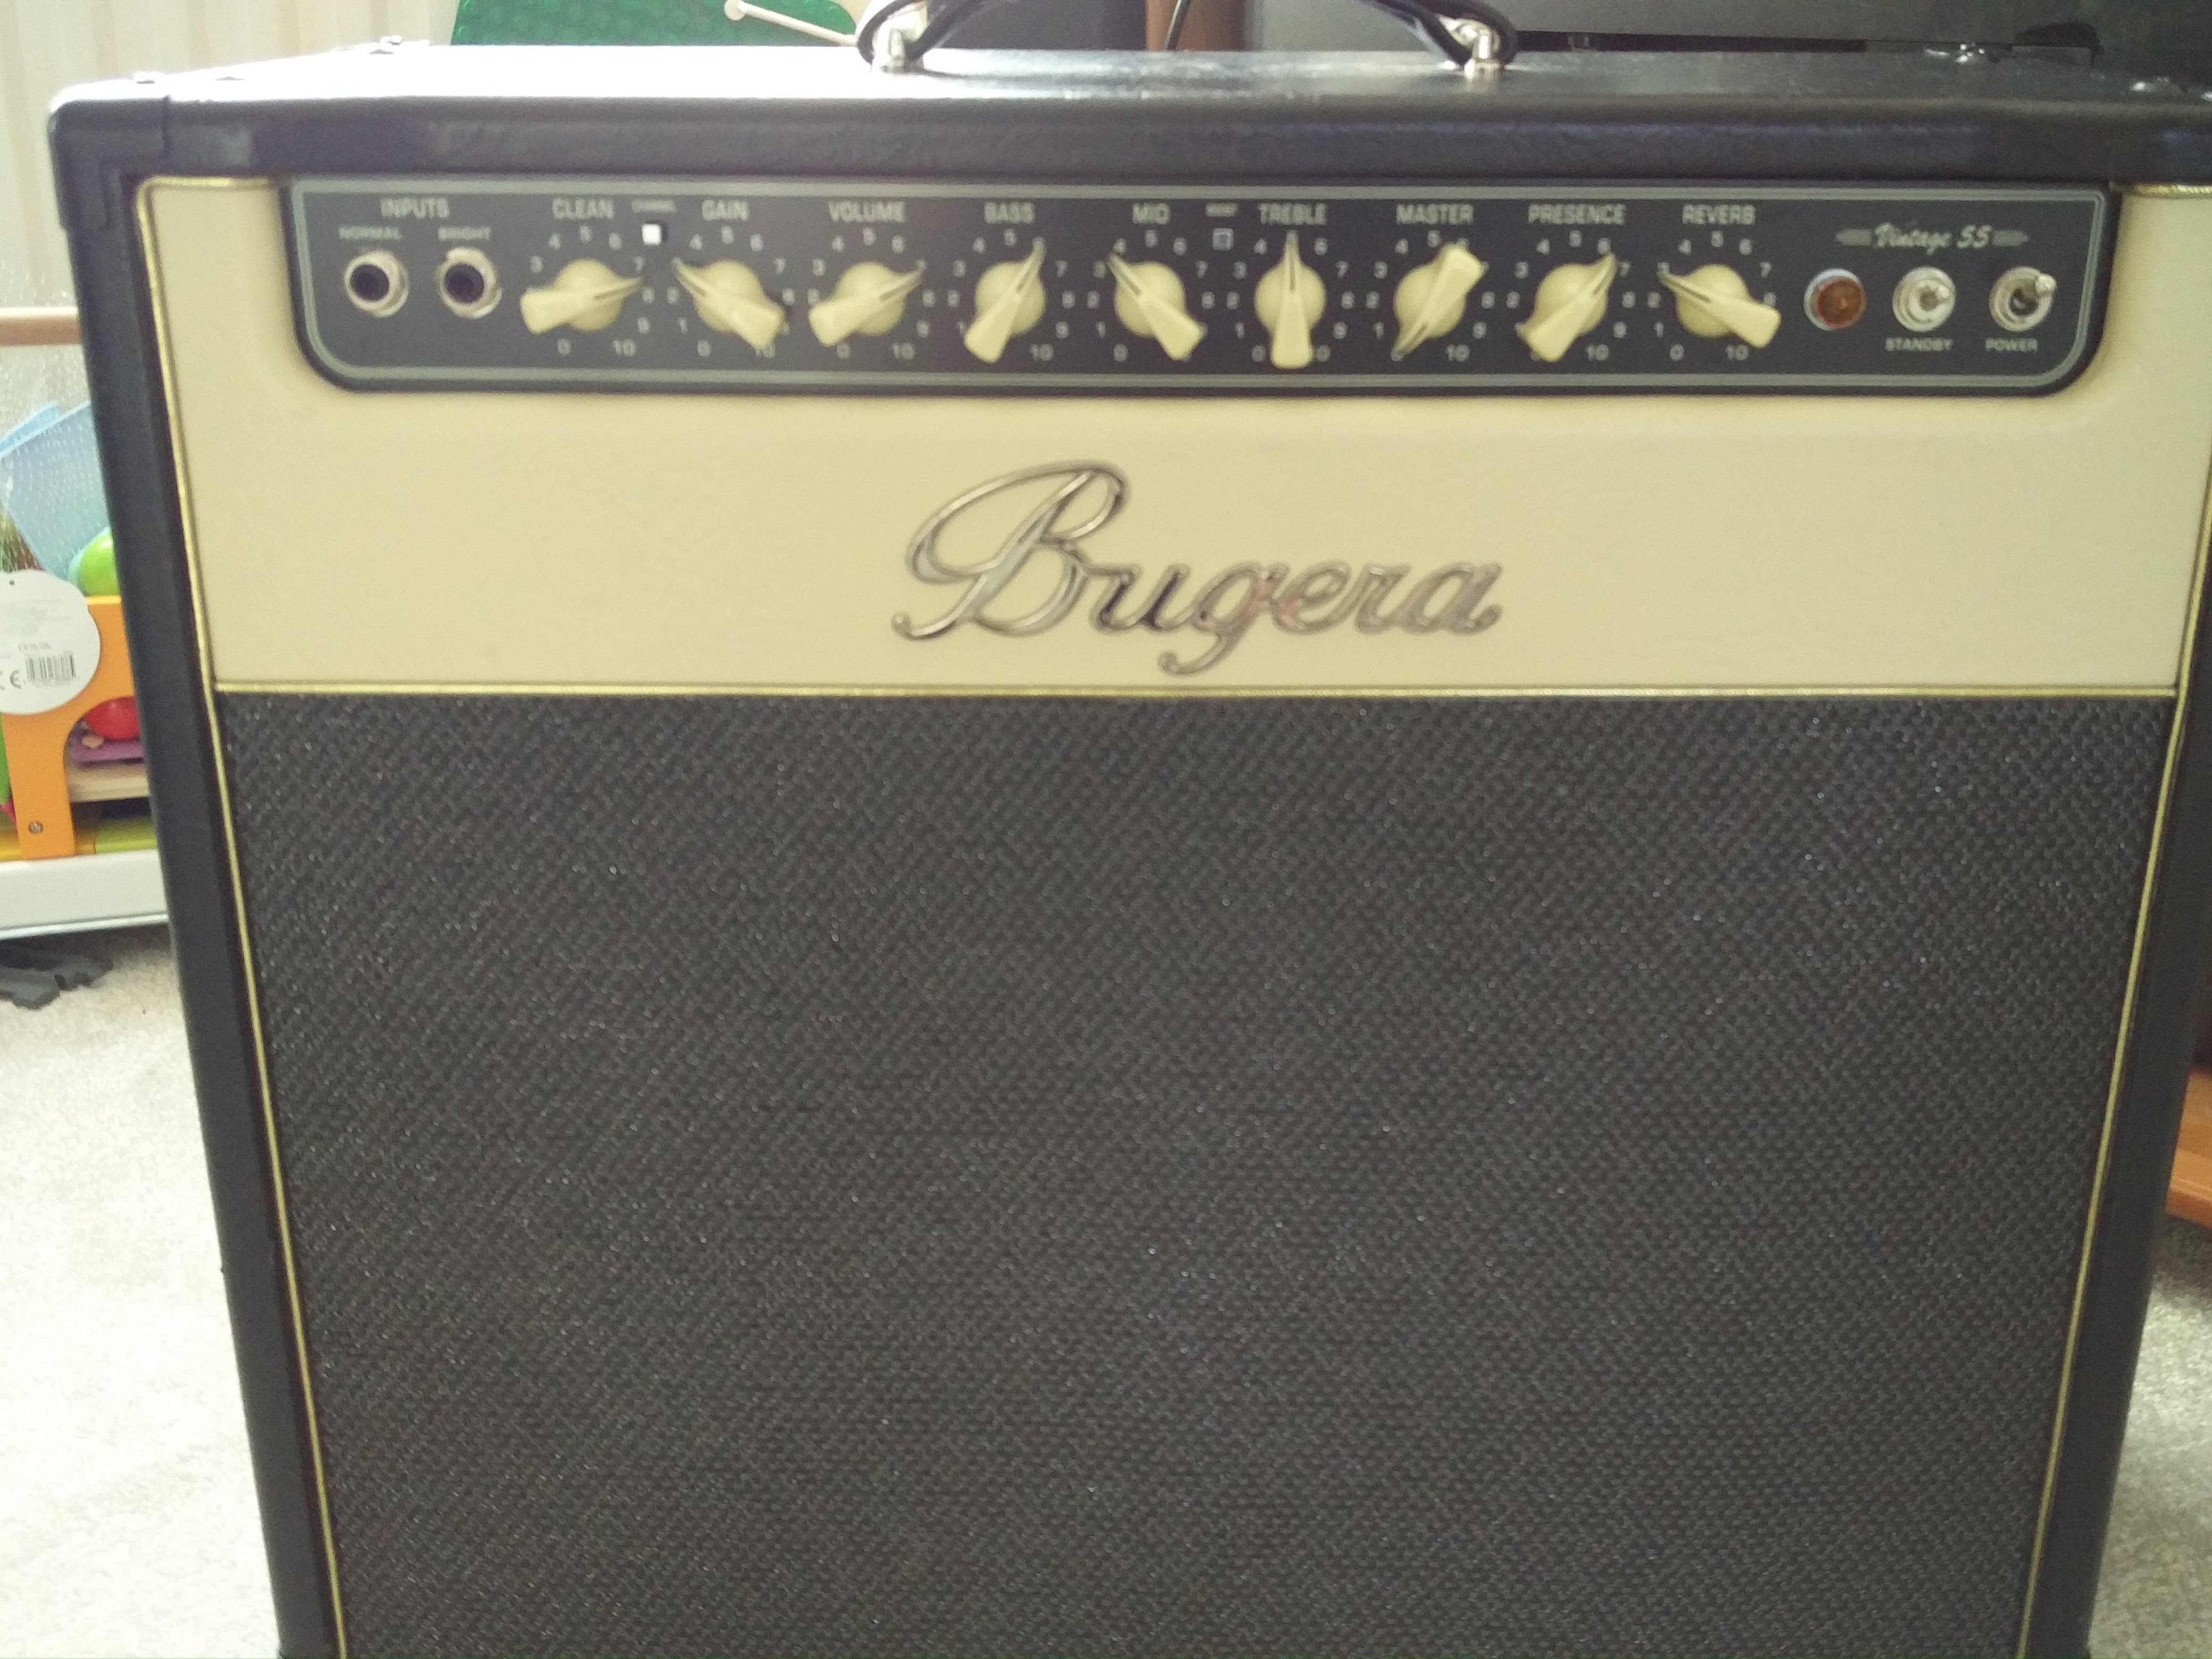
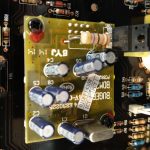
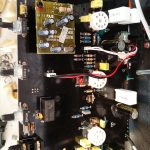
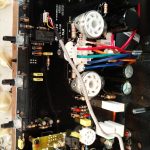
Turned this Bugera repair around quickly in time for it’s owner’s gig in Skegness. The amp is a vintage 55, or V55.
The amp was brought in for a standard 2 hour service, with a few particular points of attention. The owner had noticed that the clean channel was overdriving much sooner than previously. Also the standby switch was broken.
After testing the valves in my valve tester I discovered that the cause of the clean channel change was a very worn Shuguang preamp valve. I replaced it with a new Tung Sol 12AX7. I also discovered that one of the Bugera branded power valves was also faulty, requiring a change of both power valves to EHX 6L6s and a rebias.
I’m not a big fan of Bugera’s bias control – a phono output that makes the bias voltage externally accessible and a little finger trim pot. The trim pot is a nightmare to adjust – screwdriver turned pots are much more accurate. And the phono socket exposes a relatively large voltage of between -40 and -80VDC. Also, the bias voltage isn’t a very good way of measuring bias (see this post by Aiken amps). Behringer use it as a way of encouraging you to buy their pre-graded valves. I use the most accurate cathode current method of biasing with a multimeter and a set of custom probes. I set the bias to 38mA, which is 70%.
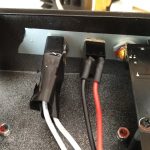
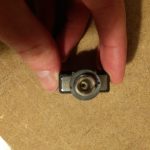
A specific request on this Bugera repair was to replace the damaged standby switch. It was a quick and easy job – as seen in the image. I often hold generic parts like this in stockin order to fit a variety of amps, or I can always order specific pieces in to suit an amp’s aesthetic.
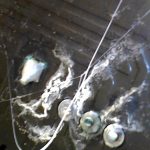
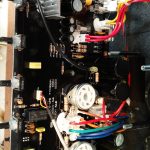
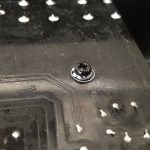 Upon inspecting the board I noticed a number of areas that were corroded – in the picture you can clearly see the Verdigris (copper carbonate) on component pins and PCB pads. I desoldered these pads and freshly resoldered them. I also spotted a couple of dry joints on valve bases and fixed these up. After this stage I refitted the PCB.The original screws were secured with thread lock, so instead I added a toothed washer and a plain washer – many manufacturers and repairers omit the plain washer, but this is very important in order to not damage the PCB surface and thus loosen the screw.
I was interested to note that the amp uses a ‘Turbosound designed’ speaker. This is because Bugera and Turbosound are both owned by Music Group (Behringer). The amp also uses a V1000 cool audio (I think this is anothewr behringer brand) multifx chip and a V4220M codec on a mezanine board to create the digital reverb.
If you have a bugera repair job for me, please get in touch.

