Mesa Boogie Repair – Maverick (Dual Rectifier)

Mesa Boogie Repair - Dual Rectifier Maverick

This Mesa Boogie repair was one of the nicest amps to play, but one of the longest repairs of the year I’m afraid!

In this case, the Maverick had a problem with the channel switching. After a few minutes the rhythm channel would increase in volume, and the lead channel would bleed through an unpleasant fuzzy distortion. The fault was fixed by the opto-isolator replacement in the switching circuit.

It’s never a good thing to discover that your amp is faulty, but a broken amp is particularly bad news for owners of Mesa Boogie amplifiers. This is because Mesa Boogie construct their amplifiers in a way that lengthens the repair time.

The reason is that the amplifier is soldered into position on all four sides. Any changes to the board must be done after completely dismantling the amp (taking 30minutes each time). If several things are replaced in a more complex job, then the costs quickly mount up. Before I add to any myths, it’s NOT because the amplifier is PCB, it’s perfectly possible to make a PCB amp that’s easy to repair! It’s also possible to make a Point to Point amp that’s a nightmare to repair as well – I’ve seen them!

Anyway, what an absolutely great tone this Mesa Boogie has when it’s cranked. It’s completely unlike the rest of the Dual Rectifier series. The Black Widow speakers in this particular combo are brilliant speakers.

If you have a mesa boogie repair, please do get in touch and we’ll talk it through.

Marshall JCM 2000 Repair – TSL 100

Marshall-jcm2000-repair

Marshall JCM2000 repair

I get quite a lot of the JCM2000 series in for repair – both DSL and TSL. I think it’s because they were so popular, rather than any endemic issues. This particular JCM2000 is a TSL100, the triple super lead model.

I’m writing the blog post quite a while after the repair now, so I’m looking at my notes to remember the issue. IIRC, the amp needed new valves and the owner mistakenly paired valves 1+2, 3+4, instead of the correct 1+4, 2+3. He knew how to bias his own amp and knew about pairing valves, but had always replaced for a matched quad in the past. When he paired the valves wrongly things had become hot and smokey – the valves red-plated For more information on valve amp bias, check my bias FAQ.

The amp had become so hot that a screen grid resistor (R78) – mounted upside down in the amp – had melted its solder connection and fallen out of the amp, melting some cabling where it landed. I replaced this resistor (with a lighter weight, but equally rated component). I also replaced the burned out suppression capacitor that can be seen in the picture.

The lesson to be learned: read my bias FAQ before replacing power valves yourself. If in doubt, ask!

If you have a JCM2000 repair, do get in touch.

Peavey Repair – 6505

Peavey Repair

Sadly I forgot to photograph the amp so here’s the stock Peavey repair image! I’m not the most djenty/hardcore kind of musician, but it’s hard not to admire the level of filth before feedback that the Peavey engineers have got out of this fiery monster. This amp is a 6505, which I believe is a progression from Peavey’s 5150 amp.

As part of a service, I diss-assemble the amplifier, check output power, check all the valves in my valve tester, test all the potentiometers, soak test the unit and generally do any preventative maintenance required.

Just in for a service. No need for a Peavey repair on this day!

If you need a Peavey repair, please contact me.

Hifi Repair – Restek Charisma

I don’t normally ‘do’ hifi – the construction often makes hifi repair inconvenient, and I don’t get to the opportunity to rock out when the repair is finished. However I took this hifi repair on for an associate who was very helpful to the Engineering team I work with in my ‘day job’. It’s a Restek Charisma – ebay tells me its worth what I’d call ‘silly money’!

The amp quite simply wouldn’t turn on.

Medium High end linear Hifis often have what’s called a ‘soft start circuit’. These prevent a massive inrush of current into a highly spec-ed transformer, the like of which you wouldn’t see in a guitar or bass amp, though you may be familiar with the ‘dong’ that you get when you turn on a powerful bass amp or linear PA – that’s the sound of the current vibrating the mains transformer. This soft start circuit uses another small mains transformer to power a couple of relays that then allow current to pass from the meaty mains transformer. This small transformer died resulting in a complete lack of anything. Replace the transformer and we’re good to go again as seen in all the pretty lights on the picture.

If you have a hifi repair, please do get in touch though I’m afraid I don’t always take them on.

Marshall – 2205 Repair

Marshall-Repair-JCM800-Repair

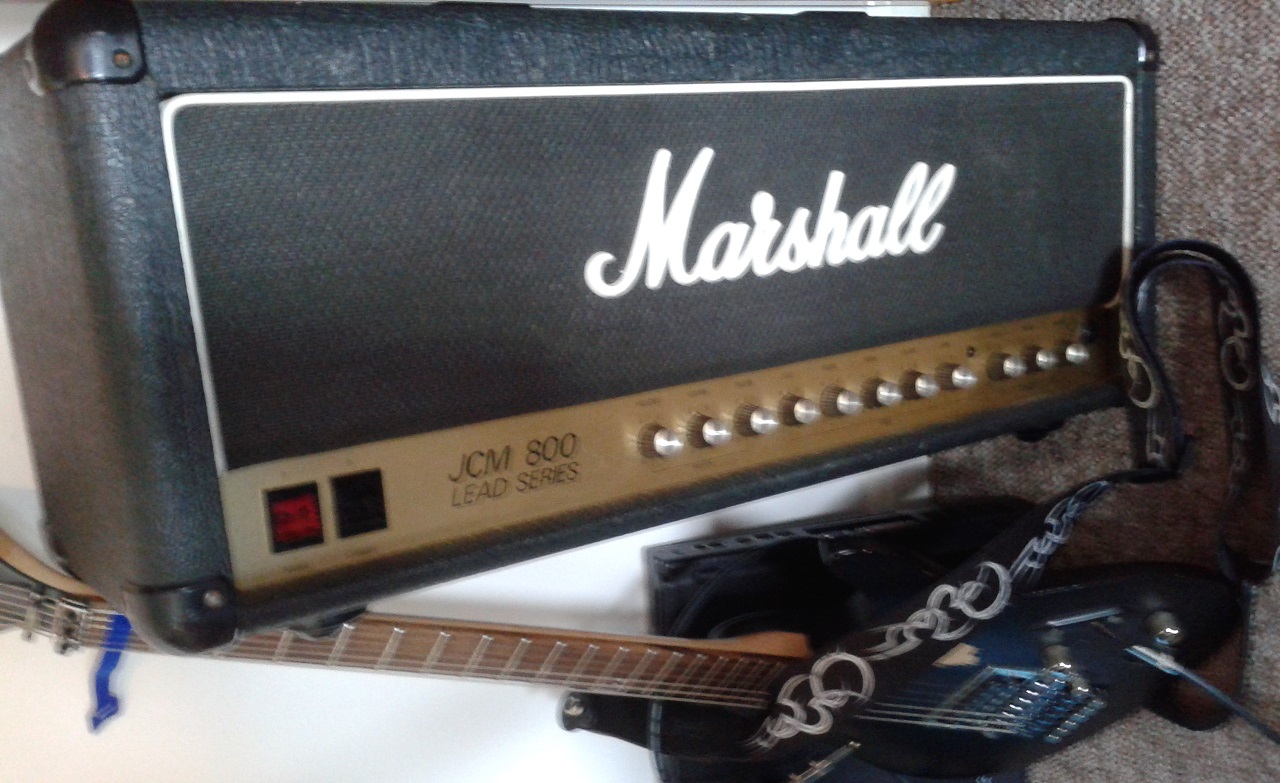
This 2205 repair came to me following an unsuccessful operation by another tech.

The 2205 were a new step for Marshall – and were one of a group of amplifiers that formed the ancestors of many channel switching amps we now take for granted – including amps by Mesa Boogie, Cornford, Hughes & Kettner, Marshall’s own JCM 2000 (DSL and TSL) and too many more to mention.

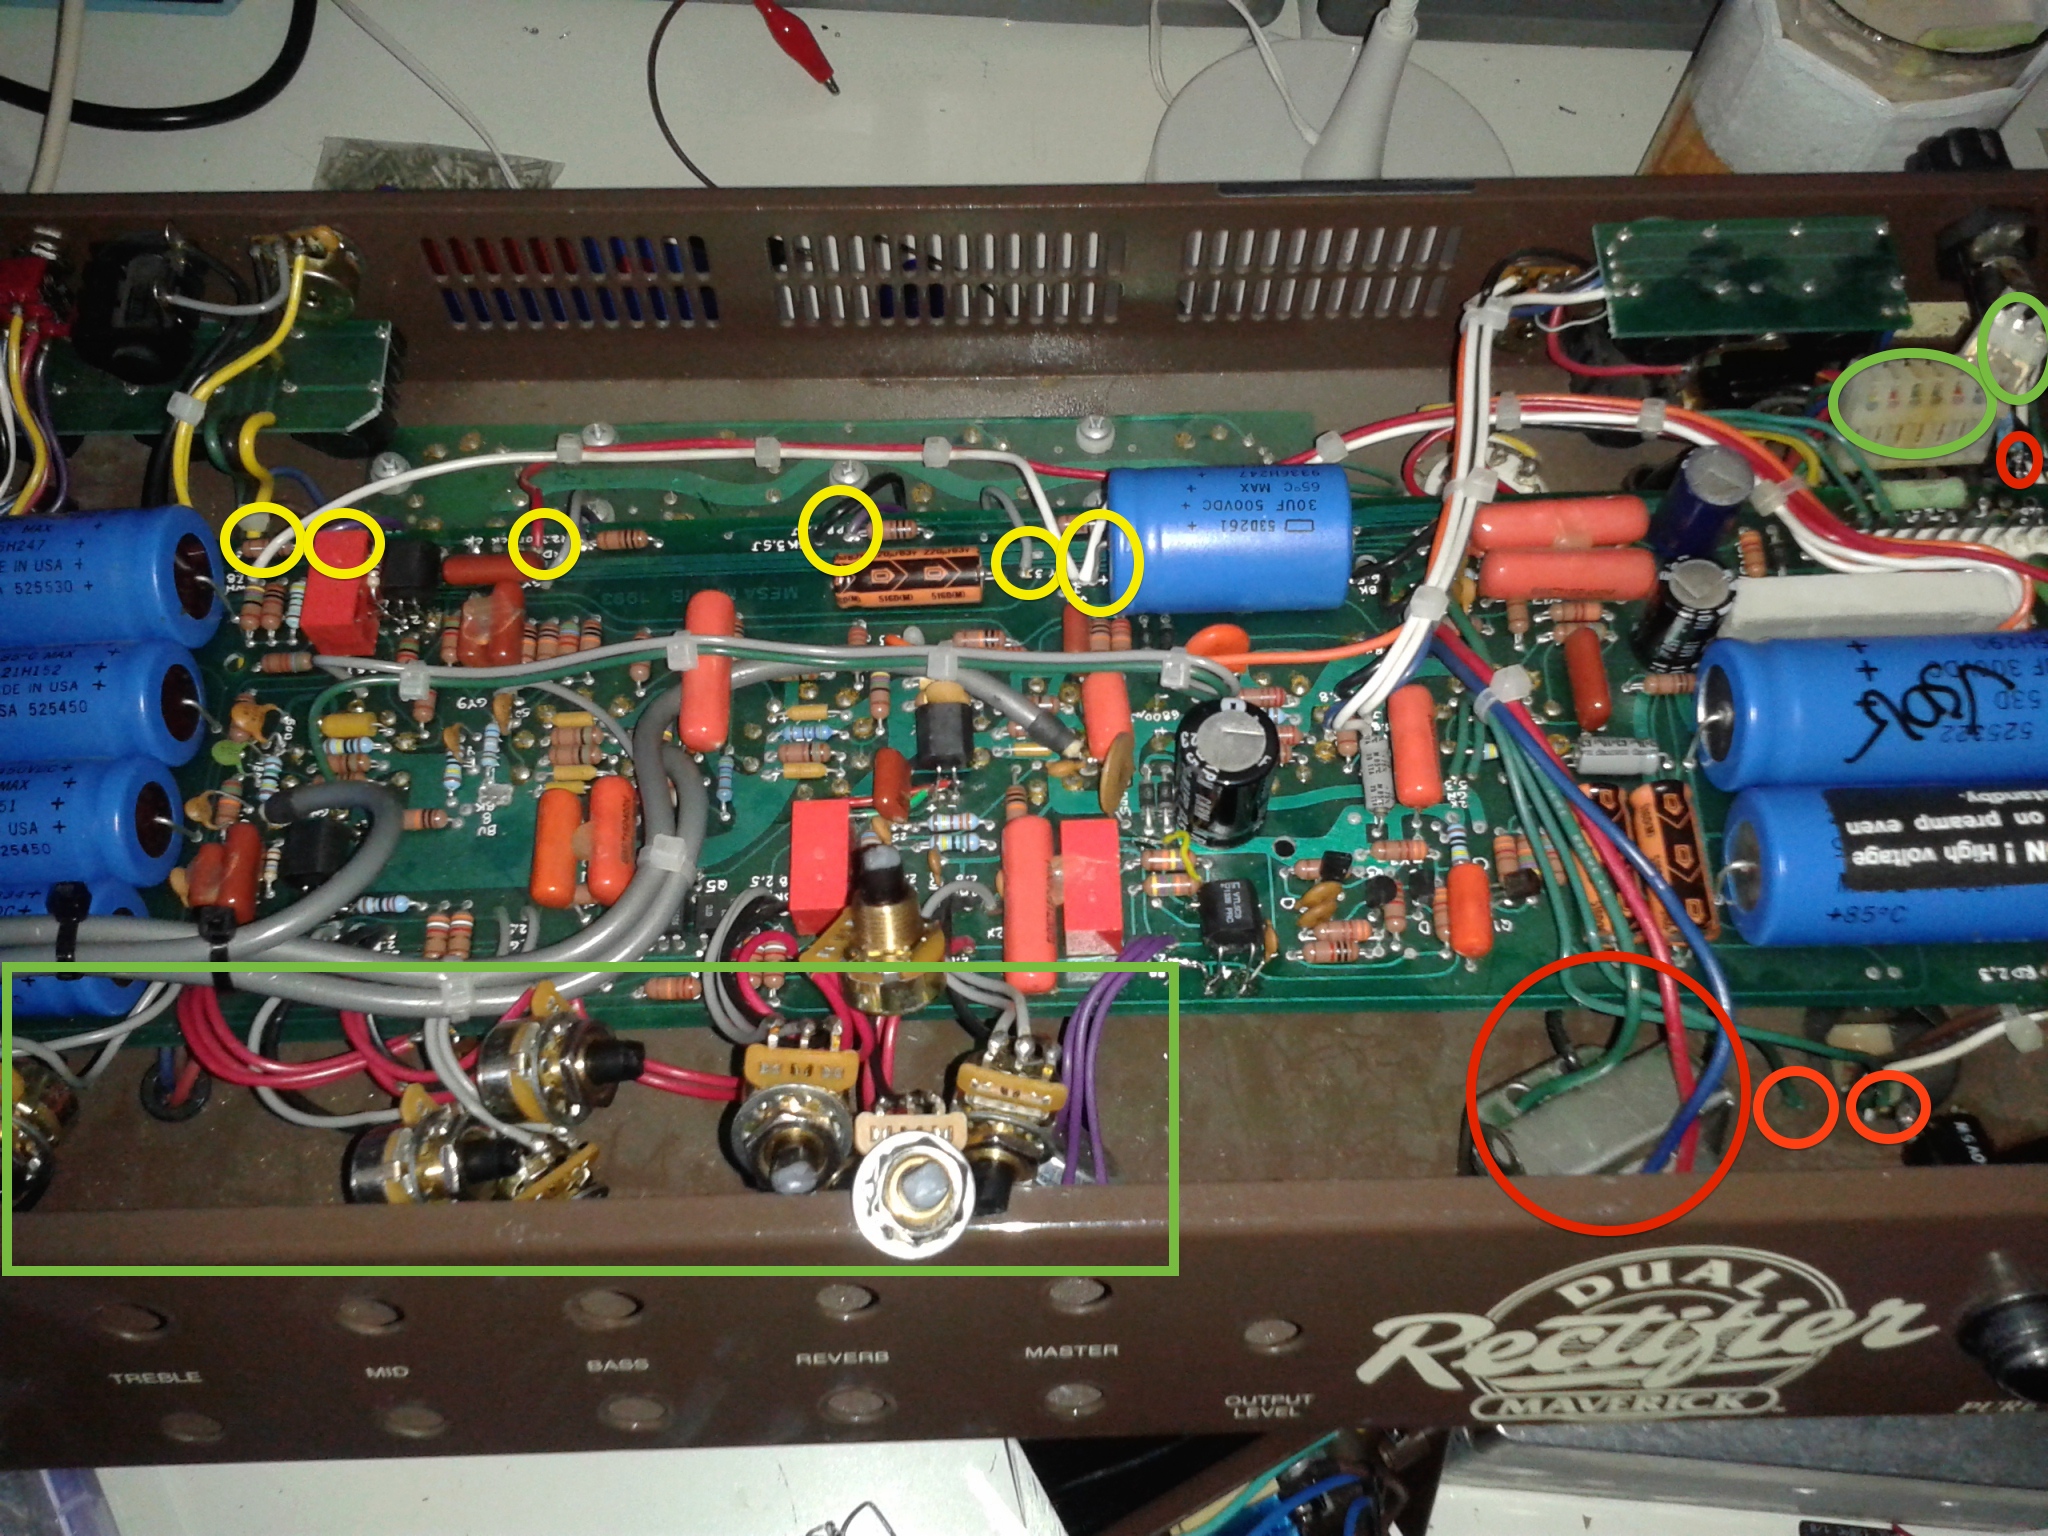
Modern Marshalls use relays for switching, but the 2205 uses a transistor array. Unfortunately it was that chip in this 2205 repair that turned out to be faulty. My customer tells me that there were 3 2205 versions, of which this is the second (1987 I think).

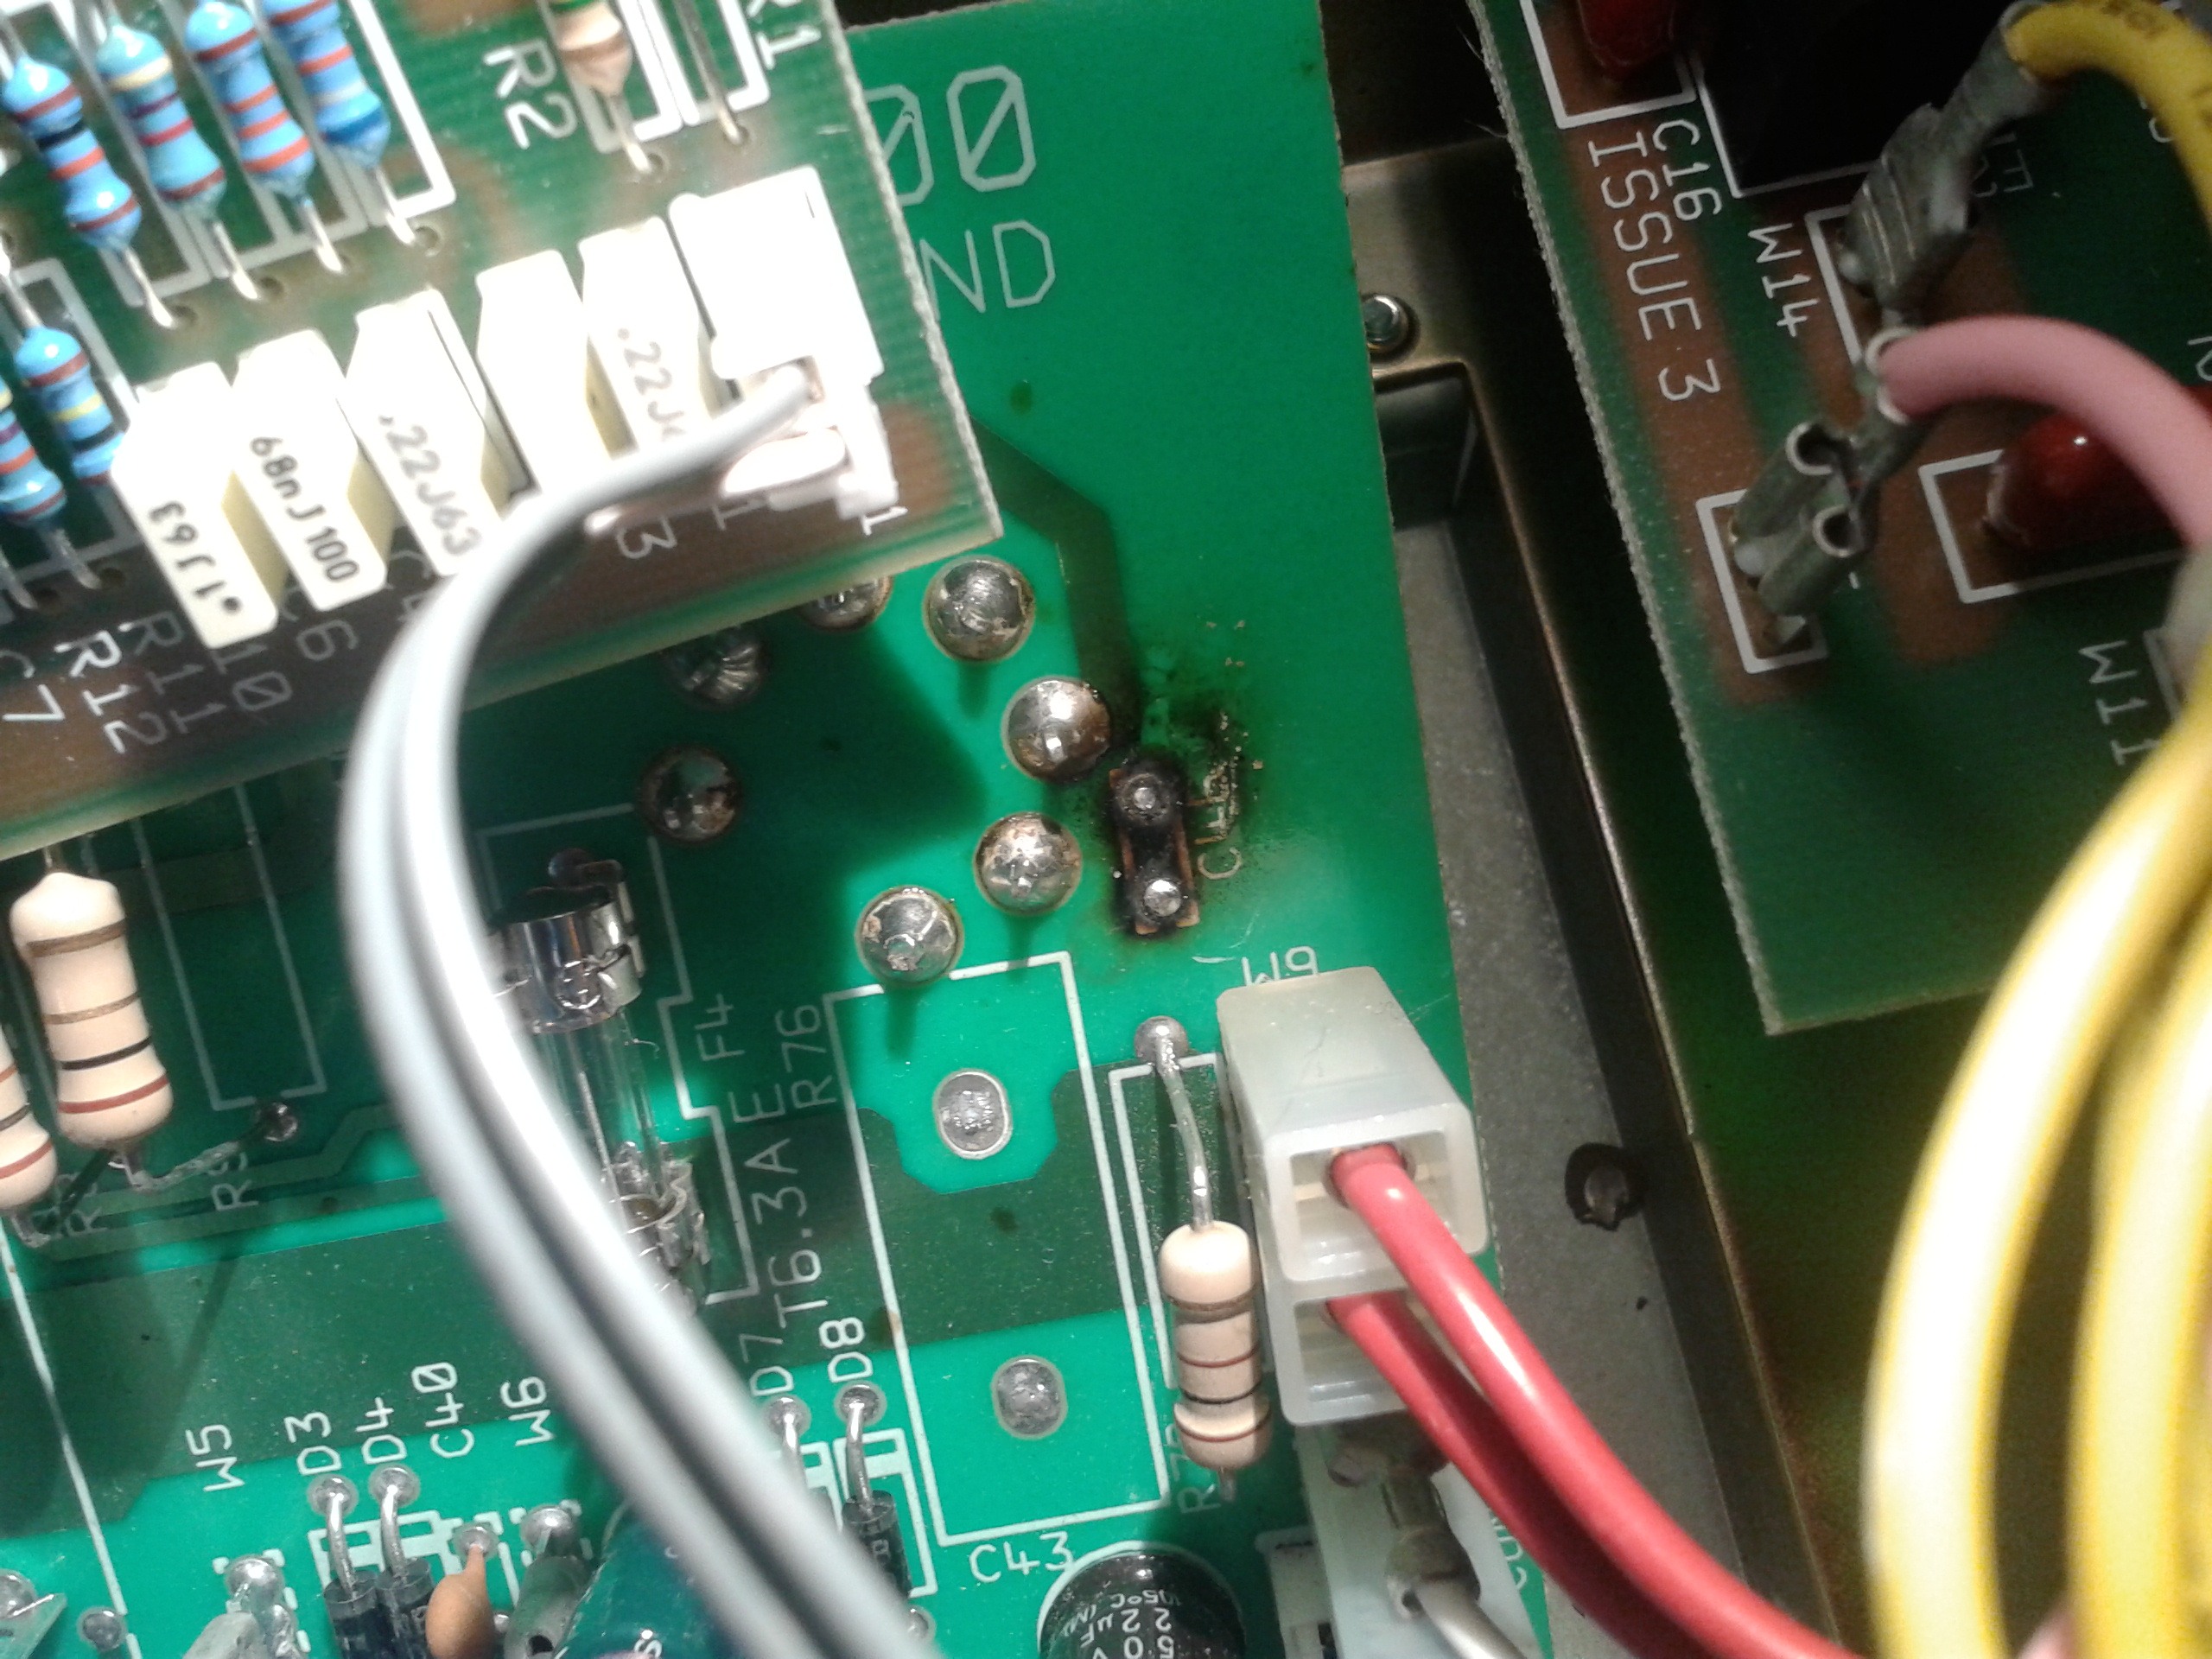
The original switching circuit has problems with popping that the original repairer had worked on. Unfortunately in doing so they had damaged the transistor in the switching chip that shorts out the distortion channel during clean mode. This meant that both channels passed the distorted signal. Oops!

I replaced the damaged chip and added a little extra anti-pop protection.

The amplifier also had hum problems, which were fixed by a partial implementation of the 3rd 2205 version. Swapping the triodes that were used for different functions (spring reverb and gain stage) reduced the hum to a very low level.

Disclaimer/Myth avoidance: Transistors and CMOS switches are good for switching some things, relays are good for others. Transistor switches don’t affect tone any more than relays if they’re correctly implemented.

If you have a Marshall 2205 repair job for me, please get in touch.

Fender Repair – Blues Deville

Fender-Repair-Blues-DeVille-Repair

Fender repair time!

This is a lovely Blues Deville fender amp that’s seen some serious loving! The owner has been gigging it for 15 years. Unfortunately, first the Low gain input died, then the high gain became intermittent. The owner asked for a full valve amp service and I promised to repair the jacks as part of the service.

Repeated insertion and removal of the jack had moved the jack socket and over time pulled the PCB pads from the PCB. This led to the intermittent crackling that was heard and would have eventually torn the thin copper trace off.

Quality chassis mount switchcraft models were used in the repair to replace the two input jacks. These were wired into the PCB using flexible wires to remove the mechanical coupling to the PCB. Now if the jack socket moves then the wires will move and the PCB will not, and the integrity of the connection will be maintained.

If you have a fender repair, please get in touch.

Myth Avoidance: Amp geeks often debate PCB vs turret or tag mounted components. I have to say that unlike many independent amp builders I’m a believer in PCB technology, but for mechanically and thermally stressed parts it is wise separate the component from the PCB to avoid causing stress. This fender repair is a good example of that principle.

Vox Repair – AC30CC2

Vox Repair, AC30 Repair

Much as its nice to be taxed by a complicated repair, I love a simple job too! Despite a number of problems, this Vox repair was an easy fix for the customer, in fact, thanks to a dodgy screw the hardest part was getting into it! The customer complained of a crackle and intermittent volume dropout – I was able to sort both problems out for just £30!

These amps with the Alnico Blue speakers do sound great. I’d recommend checking them out.

If you have a Vox repair that needs some attention, please get in touch.

Dr Z Repair – Mini Z

Dr Z Repair

Dr Z Repair – Mini Z

This Dr Z Repair was a simple job. This DR Z amp is a 2 valve class A amp with one ECC83/12AX7 and one EL84. In this case, the output EL84 valve was faulty, the heater.

The customer asked me to replace the amp with one the fancy ‘cryo’ frozen valves from Harma. I’m not entirely sure if this changes the amp’s tone or just makes Princess Leia fancy it. Maybe if you’ve tried one, you could let me know!

This repair was easily finished within the diagnostic period. When I find a quick fix for customer’s amps I always perform a routine ‘mini service’ to ensure the customer gets their money’s worth.

If you have a Dr Z Repair job that needs doing please, get in touch.