DJ Mixer Repair – Kam KAP1500 Audio Pro

DJ mixer repair KAM 1500 Stock image

This DJ Mixer repair was a bit of a departure for me, but I did it for an old customer.

The mixer is getting a bit long in the tooth: the send and PFL (pre fade listen) buttons were intermittent, the faders were scratchy and an intermittent fault with the echo unit.

The faders were easy – they simply need contact cleaner spraying inside. However one fader (mic 3) exhibited crackle even after cleaning. It didn’t sound like dirt, so I investigated further.

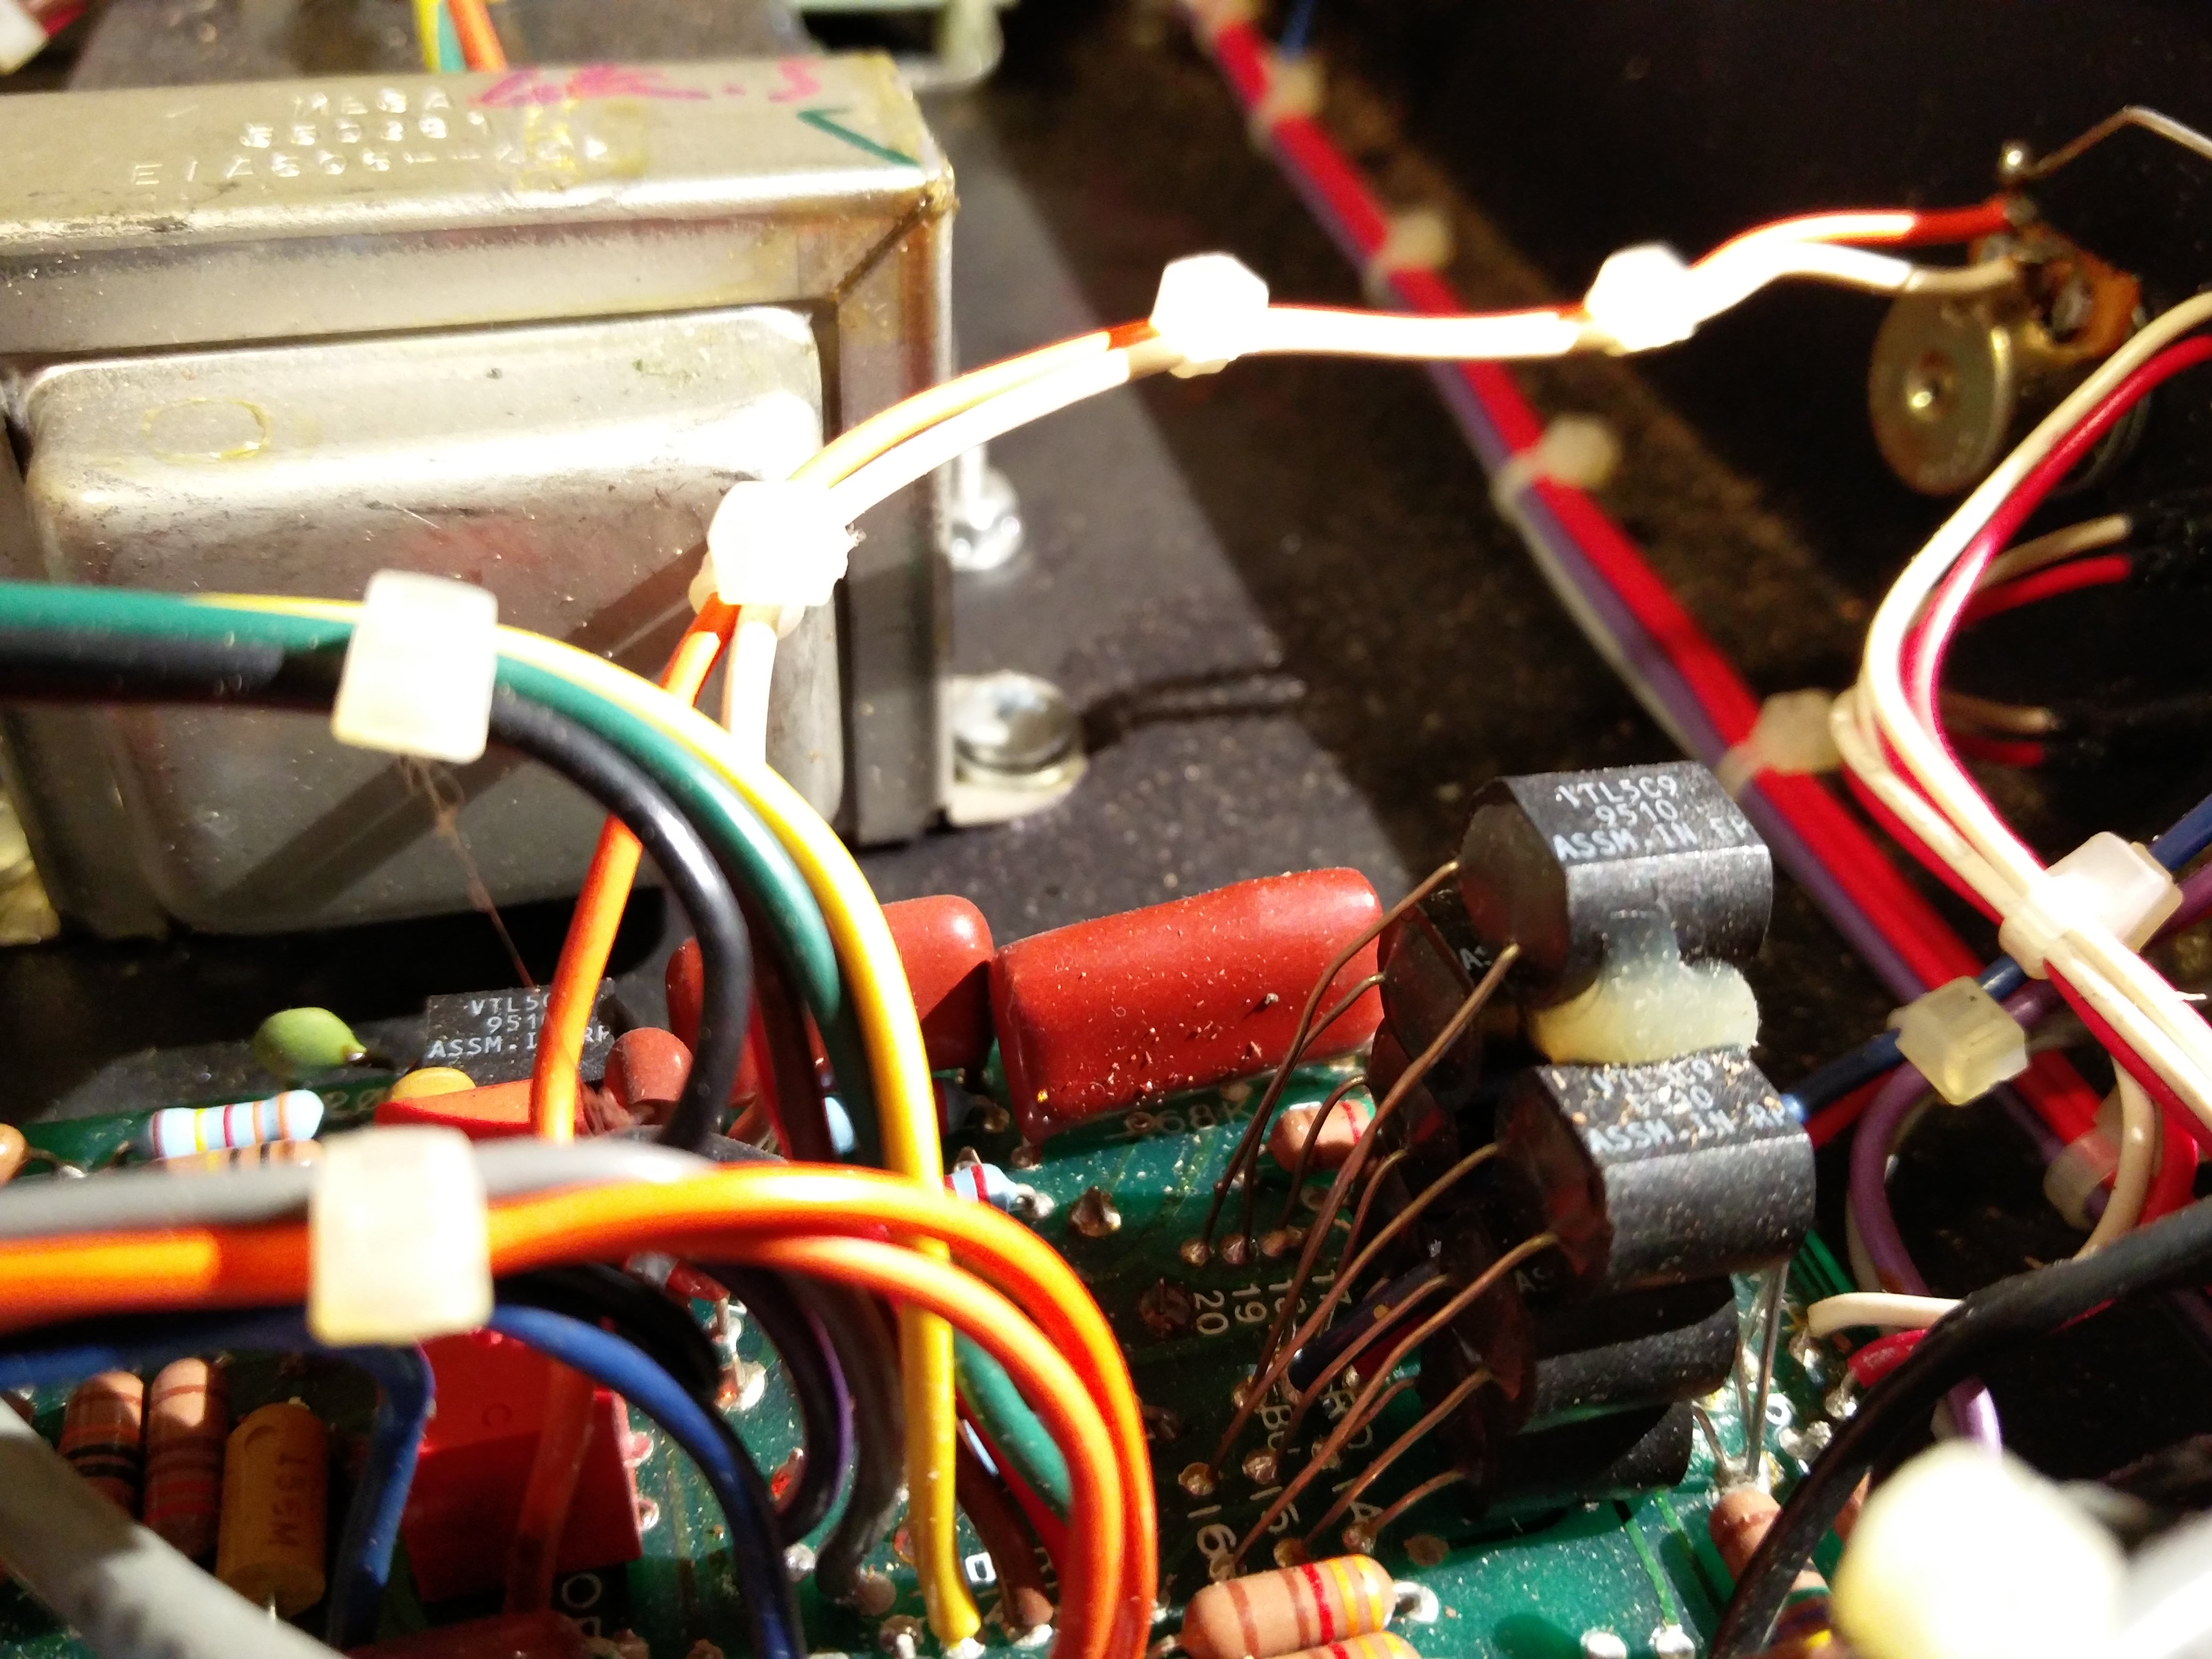
Upon investigating the issues with the echo and the mic3 fader I discovered that the board had several dry and cracked solder joints. Some joints just had very fine hairline cracks. I repaired the broken joints which fixed the mic3 and echo issues and I was able to identify that a certain pad to pin hole ratio was particularly problematic. This allowed me to take preventative action on similar sized joints across the board.

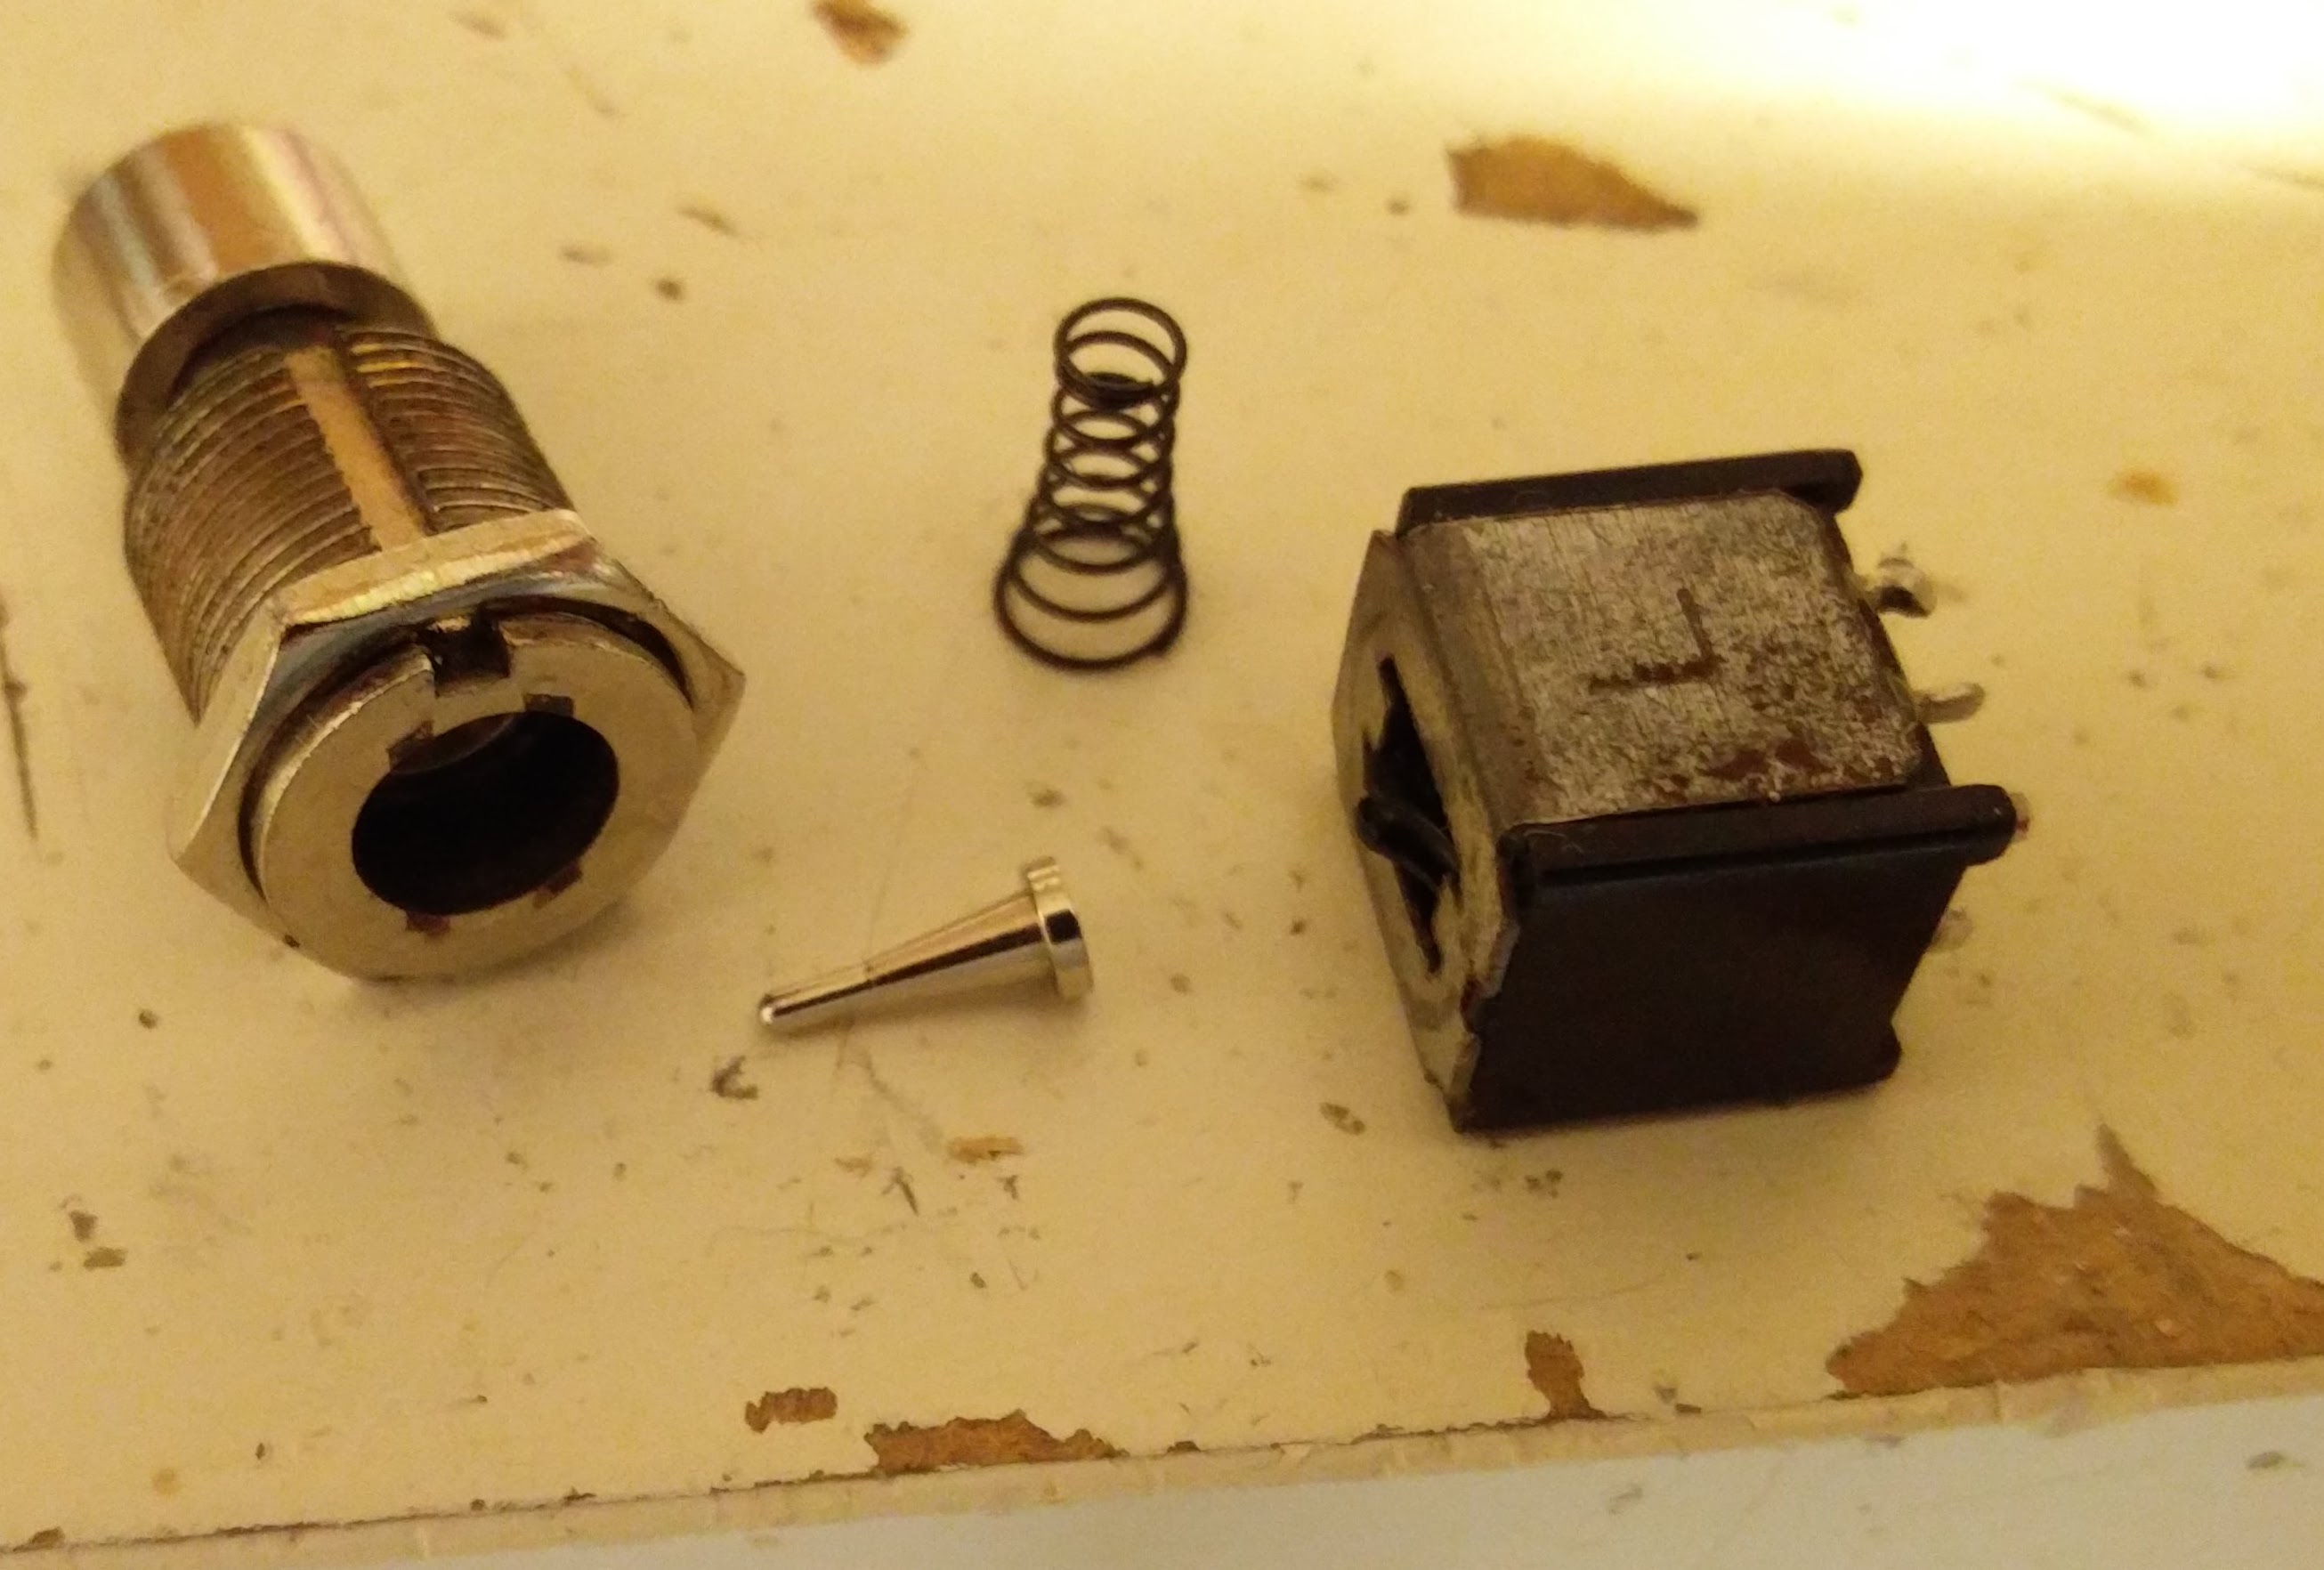
The next task was to fix the faulty intermittent PFL and Send switches. This required complete disassembly to allow the spraying of contact cleaner into the switches. The biggest challenge with a unit like this isn’t technical – it’s just the time it takes to remove the 50+ knobs and switches!

The image is a stcok image as I didn’t take a photo this time.

If you have a dj mixer repair, please get in touch via the contact page.

Marshall Valvestate repair – Keld Ampworks, Newark, Lincolnshire

Marshall Valvestate repair

This Marshall Valvestate repair was performed in an advisory capacity for a friend who’s got some electronic and soldering skills, but needed a hand with the fault diagnosis. It was an interesting job so I’m writing it up alongside my normal repairs.

The amp is a Marshall Valvestate 8008 power amp. Despite the name it’s a solid state amp, intended for pairing with Marshall‘s hybrid and valve preamps. In this case it was being used as a keyboard power amp but was exhibiting an unpleasant distortion on notes. The distortion appeared regardless of input level and could be heard on pure sine wave or on clean keyboard sounds. However, when looking at the output waveform on his scope, it wasn’t visible, the waveform looked clean.Marshall Valvestate repair scope pic

First off, when looking at a the board out of the case we noticed that the reservoir caps were bulging, so I suggested some appropriate replacements. Leaking caps can lead to poor supply regulation, resulting in distortion. We also cleaned the crackly input sockets. However, none of this made a difference to the problem.

Whilst my friend’s scope hadn’t shown a problem, I looked at the problem on a different (better!) scope, the cause of the problem became more obvious. The distortion was a type known as ‘crossover distortion’ caused by a poorly biased amplifier. The first scope (shown in the pic) hadn’t had the vertical resolution to reveal the problem (although you can just about see it when you’re looking for it).

I do a lot of valve amp bias jobs, but don’t often end up having to rebias many solid state amps. This is because solid state output devices don’t often need replacing, and don’t degrade in the way that valve power amps do. Solid state amp manufacturers bias their amps at manufacture, and it normally doesn’t need to ever be adjusted. In this case, however Marshall hadn’t even biased the amp at manufacture, there was no bias pot, just a generic bias network, common to all devices. We checked another Marshall valvestate 8008 power amp, and the other amp exhibited no distortion, so this scheme obviously works for Marshall in some cases.Solid STate amp bias

I suggested adding a variable resistor to the bias network to fine tune the amp. The variable values have to be selected carefully in order to reduce the risk of amplifier damage if the bias pot fails. Once the pot was fitted, we dialed in the amp for optimum bias and completely removed the audible distortion.

If you have a Marshall valvestate repair, get in touch!


Trace Elliot GP12 Repair – Keld Ampworks, Newark

Trace Elliot GP12 Repair

The symptoms exhibited by this Trace Elliot GP12 repair were a loud hum and distortion evident during note decay. Unfortunately I wasn’t able to replicate the customer’s problem which makes repair difficult, so I took a number of steps.

I left the amp on soak test for 2 hours, which involves heavily driving the output stage – this normally shows up faults that are temperature or power supply related.

What I did find was that one of the internal IDCs was causing audible noises when manipulated. I’ve seen this before with another Trace Elliot GP12 repair Mostly crackles, although there was a slight increase in hum sometimes which matched the symptoms described. Cleaning the IDC fixed this and that connection is now stable. I also cleaned the FX loop sockets because unused FX loops are a prime candidate for noises such as those described.

As part of a general service I also cleaned the Graphic sliders as there were a few little crackles – nothing to do with the described fault.

The next step in hum busting would have been to replace the reservoir caps. I avoided this because it adds significant cost and I had no concrete reason to suspect them. The description of the distortion on the note tail does sound a bit like caps, but the soak test didn’t reveal any problems with them.

The amp was returned to the customer. When I contacted him again the next month, the amp was still working well, another successful repair!

Note that the image is an old image, not the amp in question, it’s actually

If you are in need of a Trace Elliot GP12 repair, please get in touch via the contact page

Pickup replacement Newark

Guitar Pickup replacement Newark

The majority of my work is amp repair, but occasionally I’m asked to do a pickup replacement by a customer who knows my work and trusts that I’ll do a good job. I’ve been changing pickups since long before I started amp repair so I’m always happy to take a pickup replacement job on.

The guitar was a Rockwood Les Paul copy and the pickups were a set of Seymour Duncan JBs. Lovely pickups – they really bright this guitar to life as you can see in the video.

I do offer basic guitar setups when I’m doing a pickup change and I was able to massively improve the playability of the LP with a small adjustment to the relief and to the action.

If you would like a pickup replacement and you’re in Newark, give me a shout.

HH amp Repair 

HH amp repair

I’ve seen and played most amps in my career in music retail and amp repair, but this HH amp Repair was a bit of a revelation. The clean channel is a thing of beauty.

It’s a full solid state oversized 1×12 combo with two independent channels. The tube emulation circuit seems to involve distorting a signal transformer. It’s OK but nothing special. The clean sounds on both channels are really great.

The amp needed repair because it was making a strange ticking noise when the reverb was turned up.

The reason for this turned out to be a lack of local decoupling on the reverb board. This is a fairly major design flaw, but the amp obviously ‘got away with it’ for the majority of its life, the problem only appearing as central filtering components aged.

Here’s a quick video of the HH amp repair, showcasing the crackling and ticking issue then the lovely clean sound when fixed.

If you have an HH amp repair job please get in touch.

Dual Rectifier Tremoverb repair – Mesa amp repair

Dual Rectifier Tremoverb Repair

This Tremoverb repair was  for a customer who was attempting a combo to head conversion. It’s a lovely lovely sounding amp, but the 2×12 speaker box in which it was housed was too heavy for the owner. The owner performed the conversion himself but in doing so, the hand wired input jack became disconnected so the he brought it in for repair and basic service.

The Tremoverb input was easily and quickly fixed. My minimum fee is the 1 hour diagnosis period, so I proceeded to give the amp a full valve test in order to give best value for money.Mesa weird PCB layout

The Valve test revealed that one of the power 6L6 valves was faulty and the others were out of spec. Most Mesa amps require a specific set of valves and this Tremoverb Repair is no different so I fitted a matched quad of Mesa STR-440s.

Whilst giving the amp a look over I noticed a very wierd bit of PCB layout. The Opto isolators that Mesa always used on amps (pre-late nineties) were stacked one on top of the other. I hope I never have to replace the bottom opto on one of these. As I’ve said before, Mesa really don’t think about repair when they’re designing. Pity, when they sound so awesome!


If you have a Mesa Tremoverb repair please get in touch.

Broken footswitch repair – MXR Carbon Copy

Broken footswitch repair

This broken footswitch repair was sent to me because the owner suspected that his pedal had the ESD problems that I’ve documented elsewhere. 

Actually, the footswitch was broken by mechanical use. This is comparatively rare – MXR use quality ‘Alpha’ parts for their footswitch.

The unit was soon fixed, and shipped back to its owner, in Dubai!

If your pedal is in need of a broken footswitch repair, please contact me.

MXR Dyna Comp repair

Dyna Comp Repair

The Dyna Comp is possibly the most famous of the compressors used on guitar. This Dyna Comp repair was similar in nature to the ESD fix that I’ve documented elsewhere in relation to the Carbon Copy pedals. 

The issue is with the switching circuit – the FX does not switch in when the pedal is pressed.

There was a small complication in the Dyna Comp repair however – this unit uses through hole components which are now obsolete. It took a very steady hand to fit the 1mm wide body of the modern equivalent part into the massive space left by faulty component, but fortunately I’ve done this before many times in R&D work.

If you’re interested in the Dyna Comp, check out my analysis of the Behringer DC9, a clone.

UPDATE: 2017

The MXR ESD repair kit is now available for sale at www.rsdsound.co.uk. If you’re an experienced repairer and skilled with SMT repairs then you can purchase this kit. If in doubt, just post it to me and I’ll sort it for you. Note that some DynaComp are not SMT.

http://www.rsdsound.co.uk/product/mxr-carbon-copy-esd-repair-kit/

If you have a Dyna Comp repair with problems, please let me know.

Peavey Valve King Repair – VK100

Peavey Valve King Repair

My customer brought this Peavey Valve King repair in to me before Christmas  to get an opinion on its state of repair. The amp was blowing fuses.

The Valve King VK100 is a monster of an amp. Not fire breathing levels of gain like some Peaveys but a big and heavy brute with a classic sound.

I determined within the first hour that the fuses were blown due to a failure of the DC heater circuit. DC heaters are used to reduce the hum in high gain amps. Unfortunately the internal fuse was a soldered-in part, so I made temporary fix (pictured) to test my theory and quote for the customer, before fully disassembling the amp and replacing the part properly when the quote was accepted.Valve amp blowing fuses

Whilst fixing the heater circuit I noticed that the area of the circuit board that I was working on had been repaired previously. Unfortunately they hadn’t told him what they’d done.

After fixing the DC heaters, I tested the units full output power. It’s a 100W amp, but was only putting out about 15W. More work to do! After a bit of further investigation, the amp output 87W. Not full 100W, but within the margins of dodgy advertising!
The amp needed a couple of valve changes and a couple hours work but the owner was pleased with the result.
 Peavey Valve King Repair 2

If you have a Peavey Valve King repair in need of repair, please visit the contact page.