Yamaha THR repair – THR5

Yamaha THR Repair

I thought I ought to document this Yamaha THR repair whilst I could still find the photos!

The amp had fallen from a height and the DC power input socket was damaged. Simple enough job, or it should be! Yamaha supply a an external converter to convert the mains supply into useable DC, but they use a non standard DC plug. (Note: some call it a mains socket, but it isn’t fortunately! 🙂 )

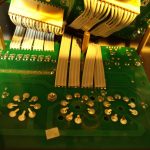
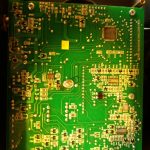
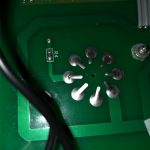
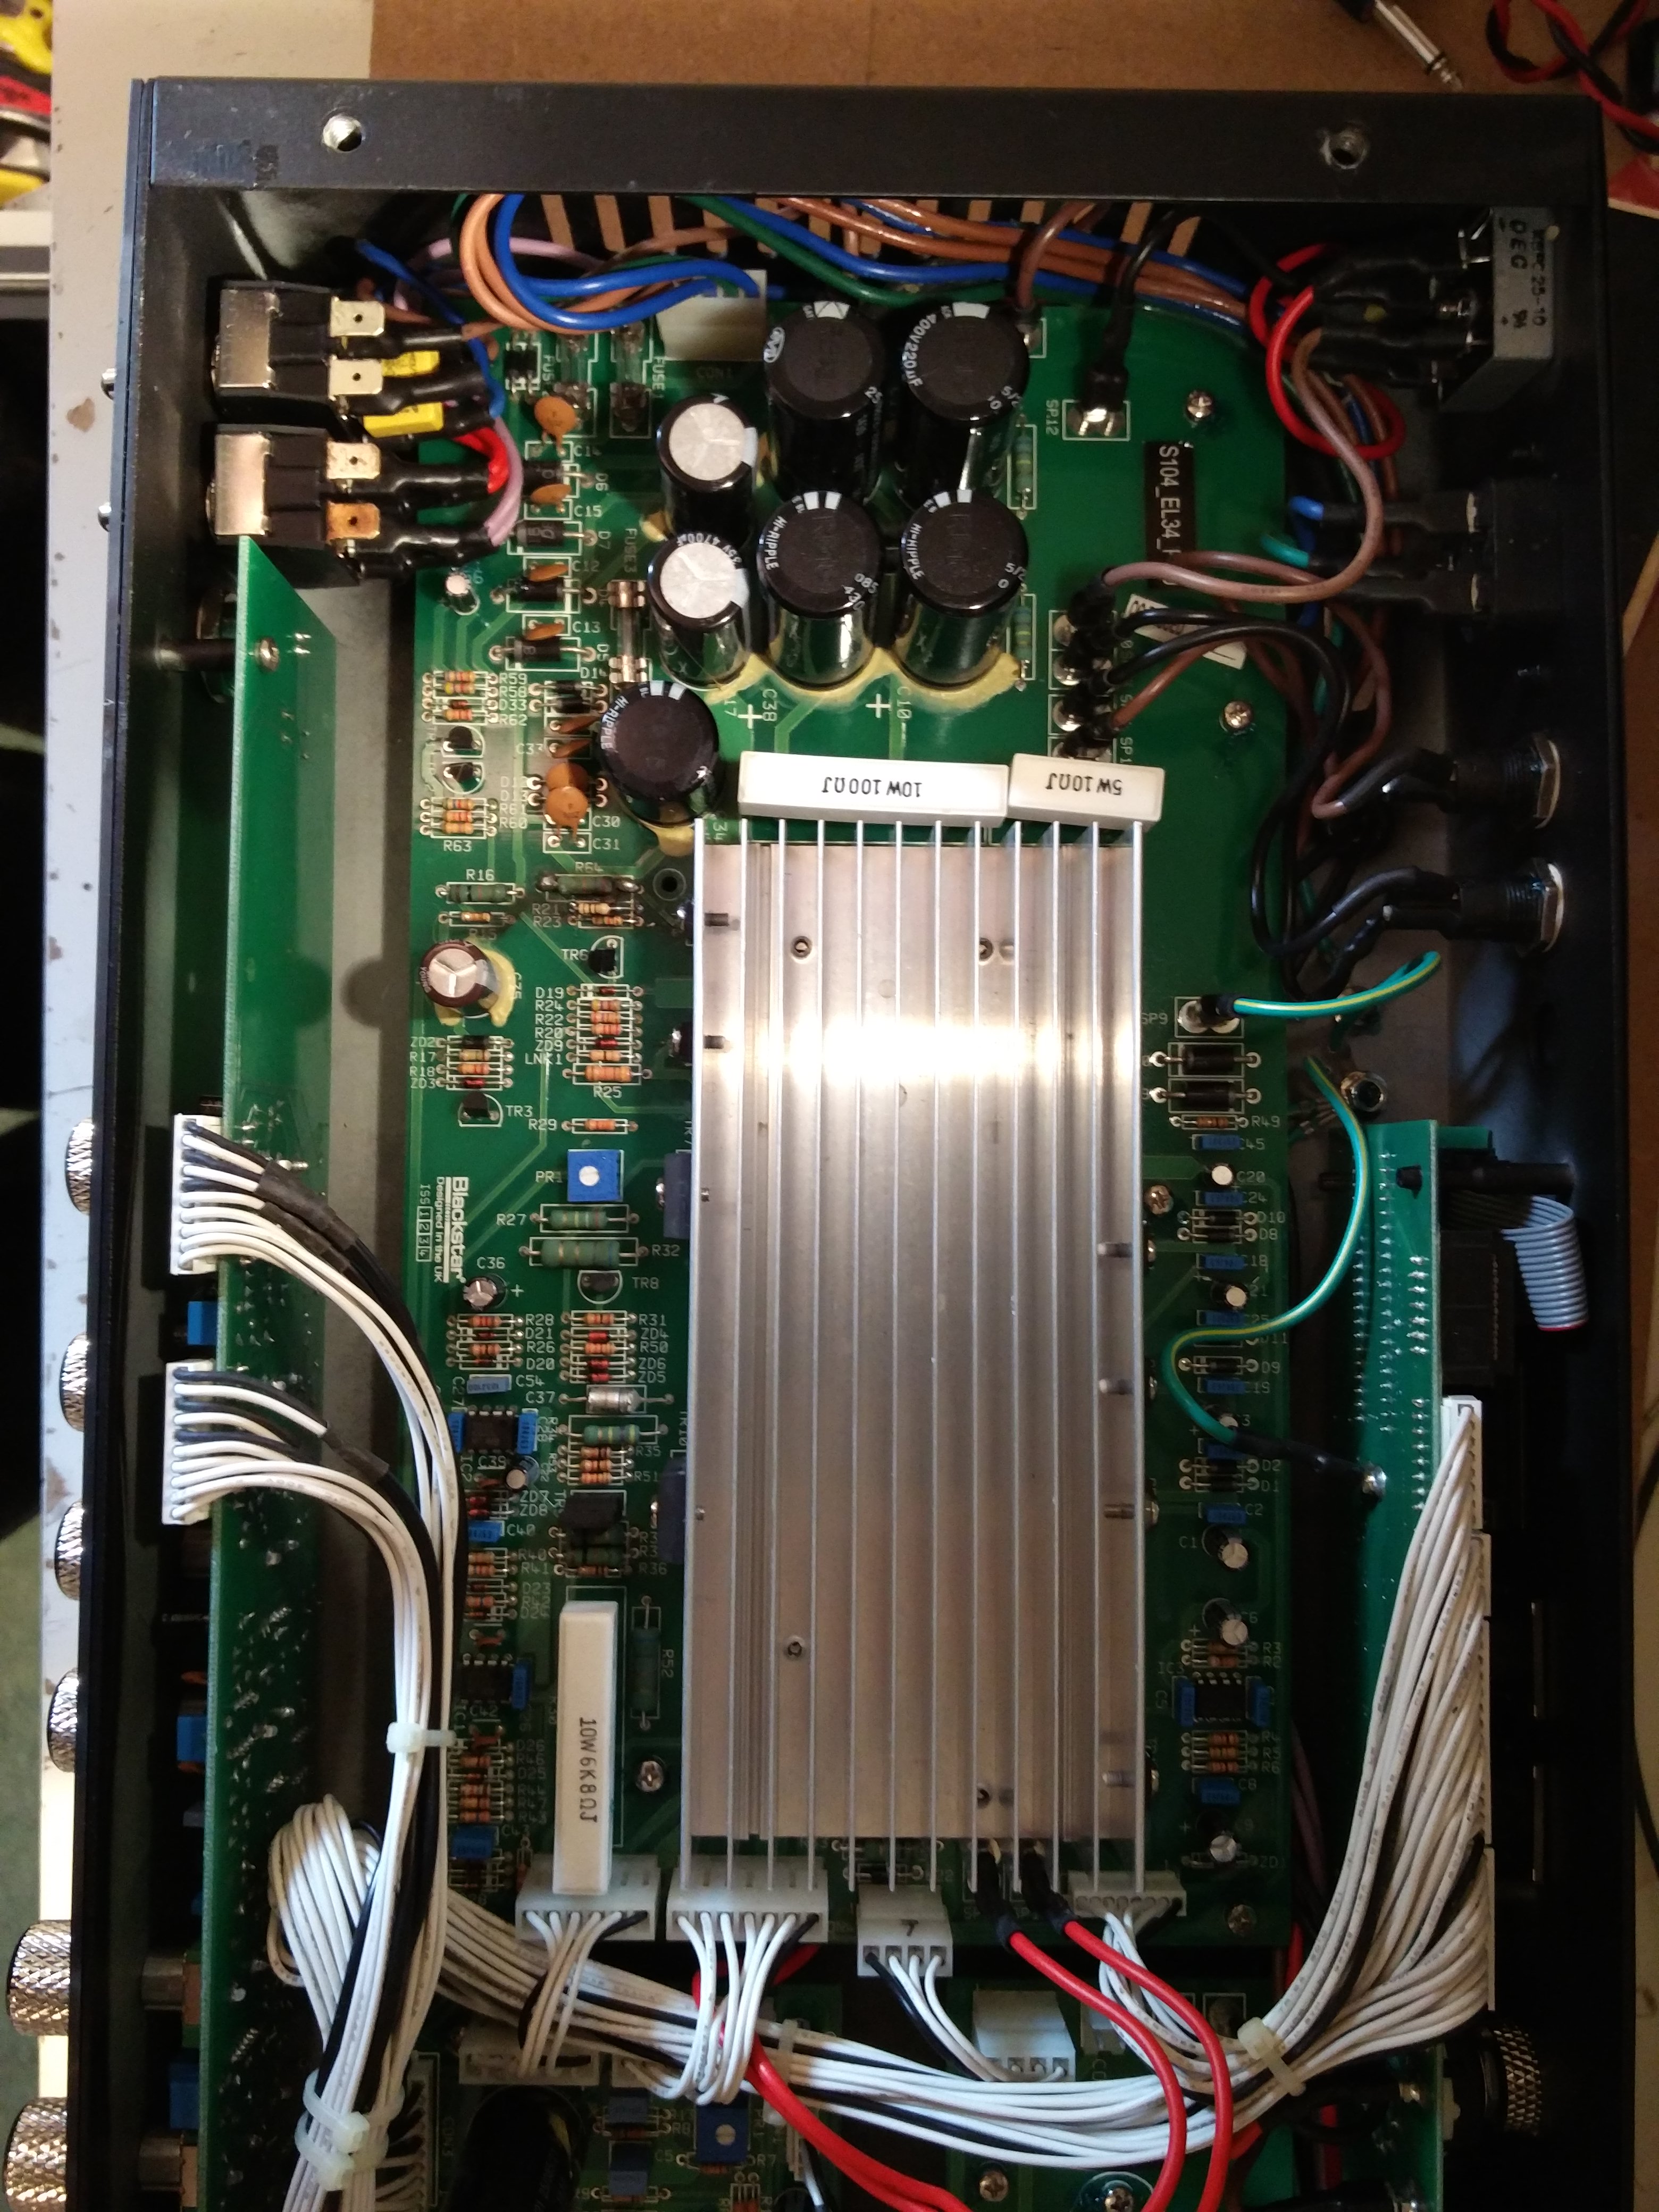
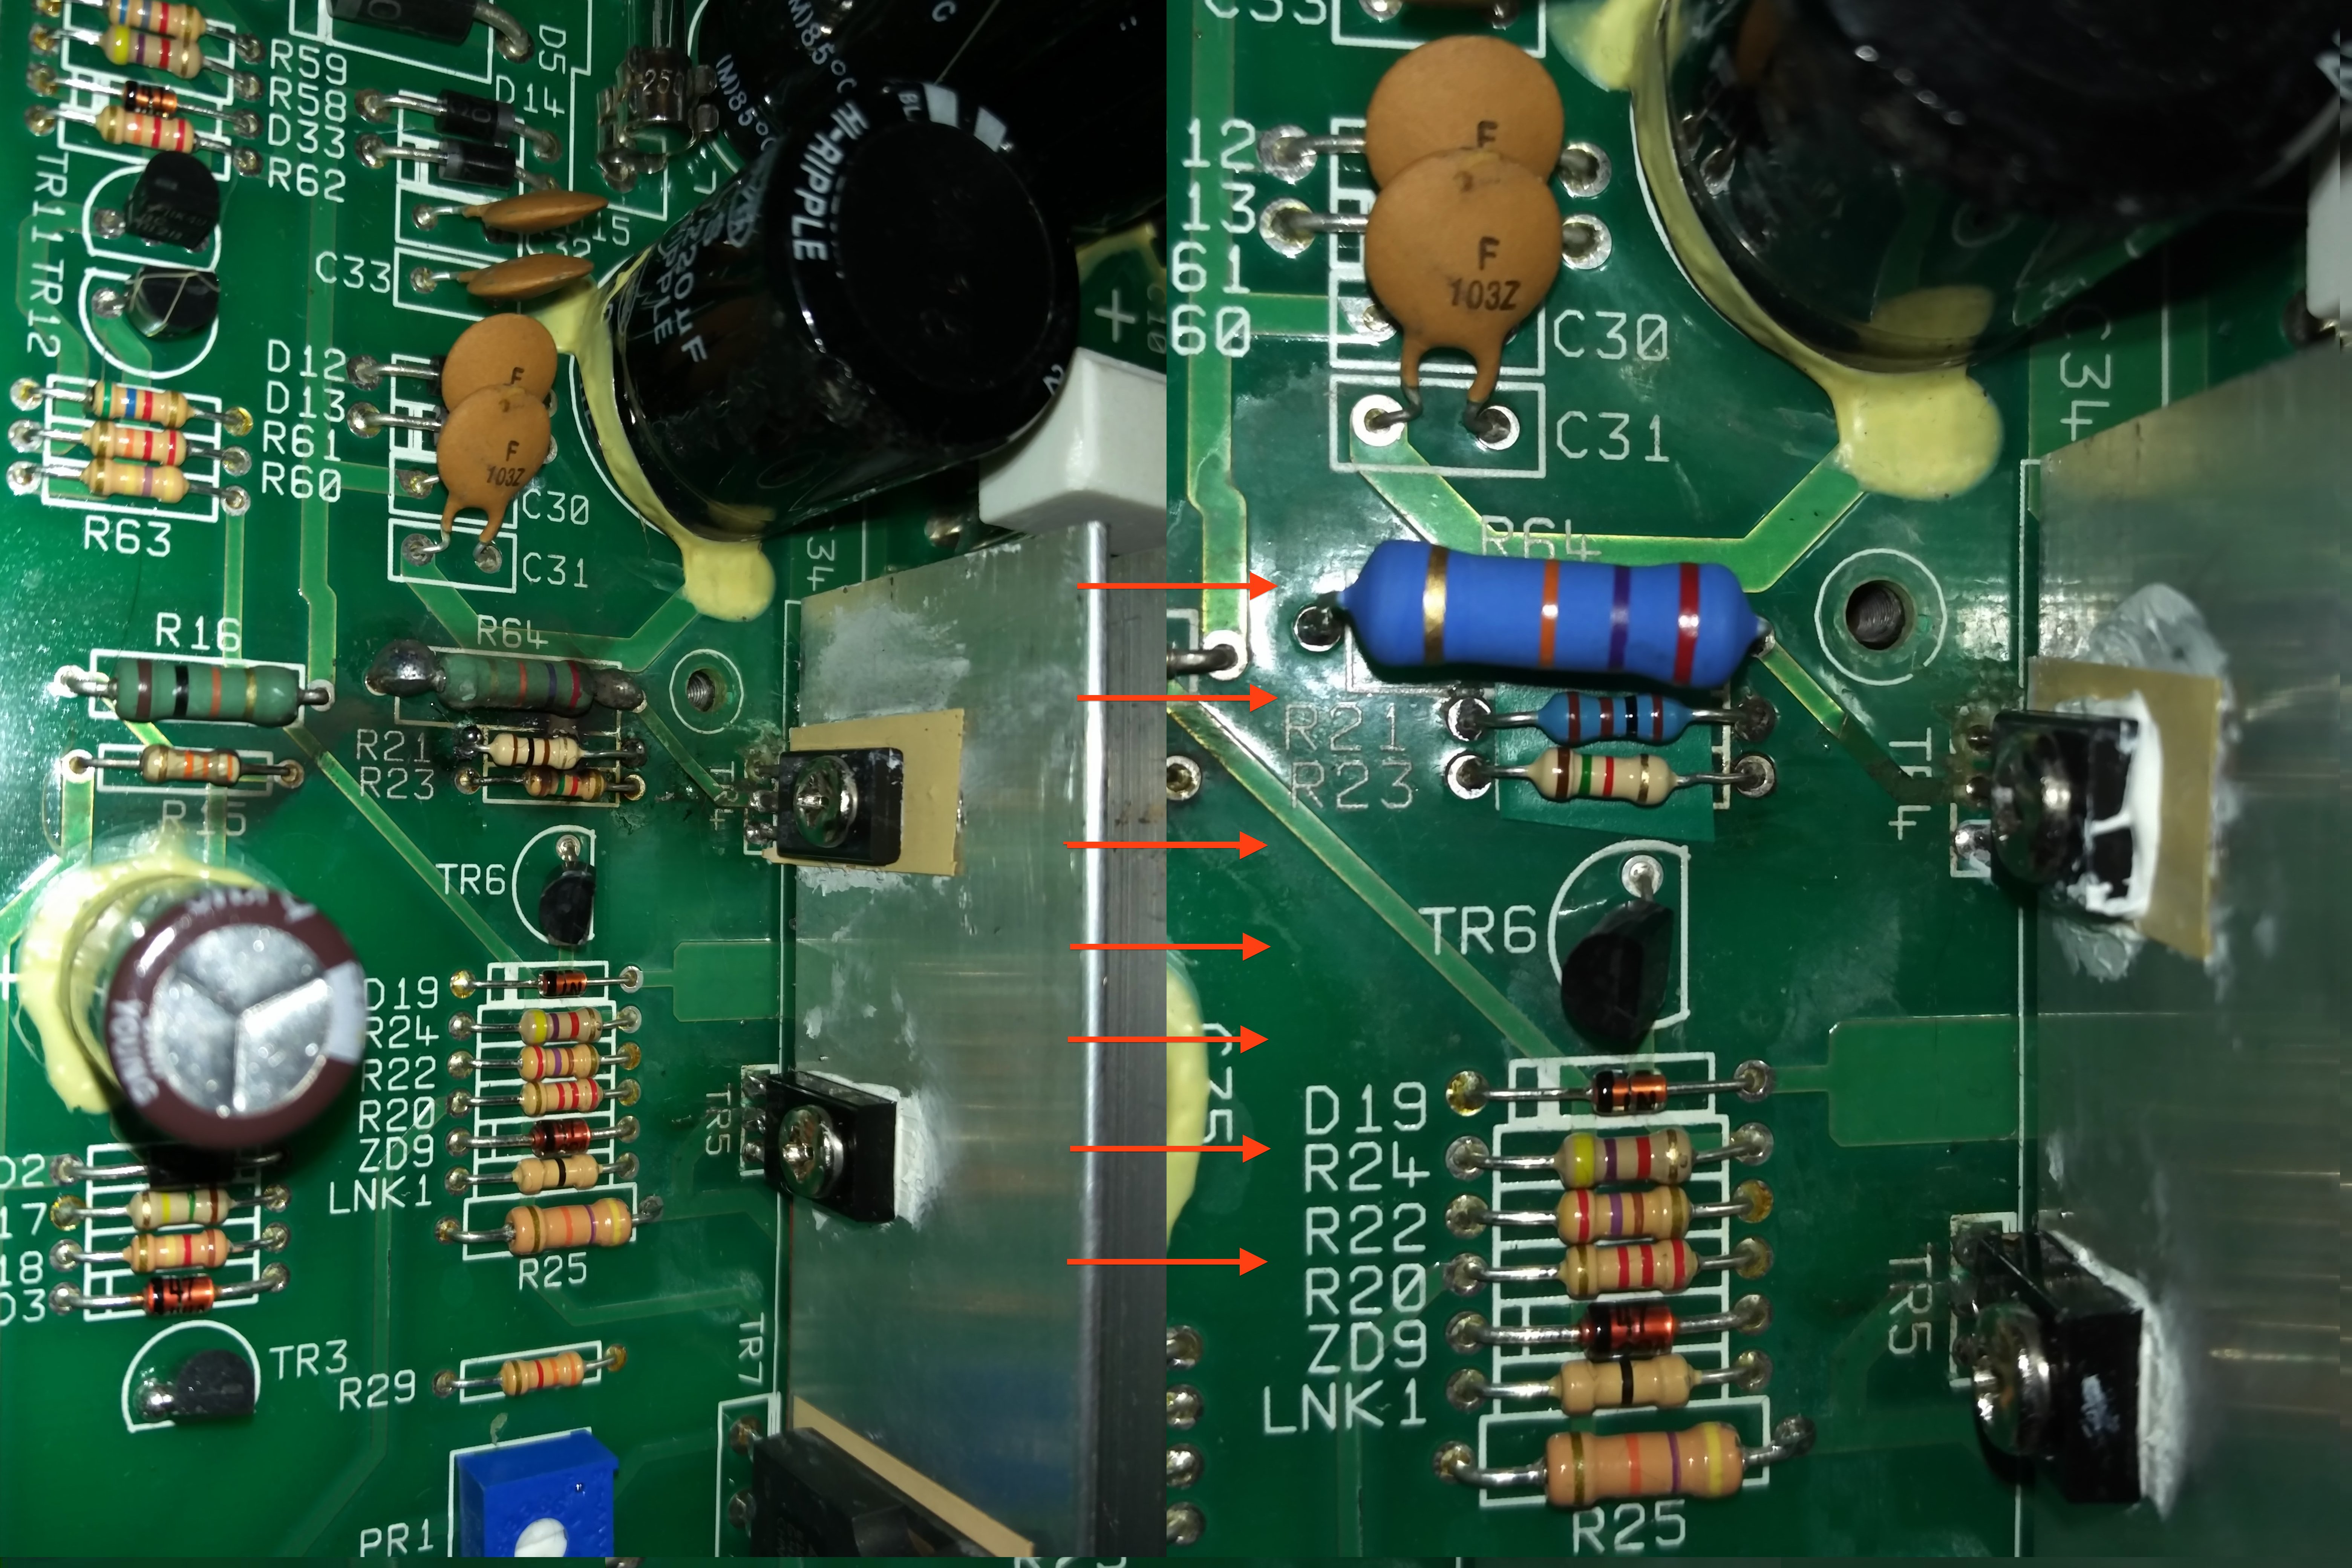
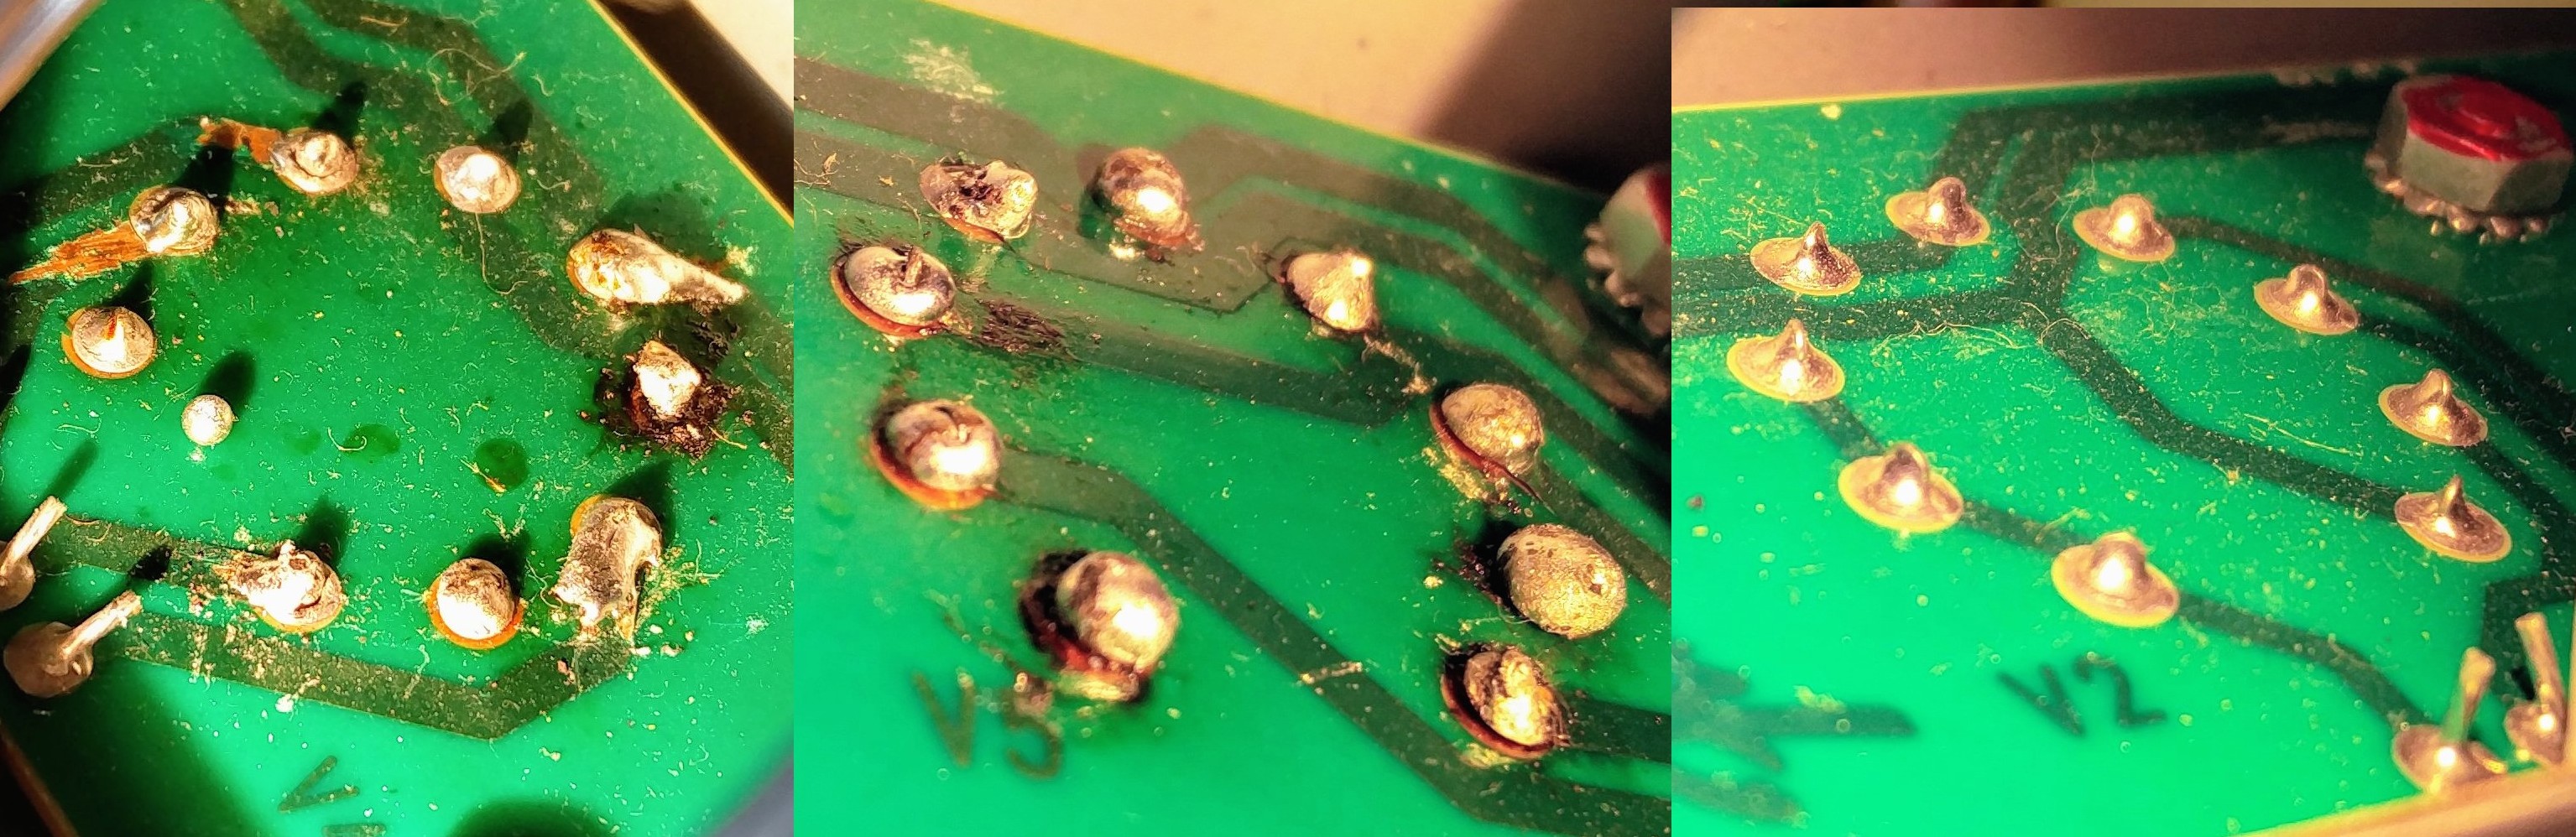
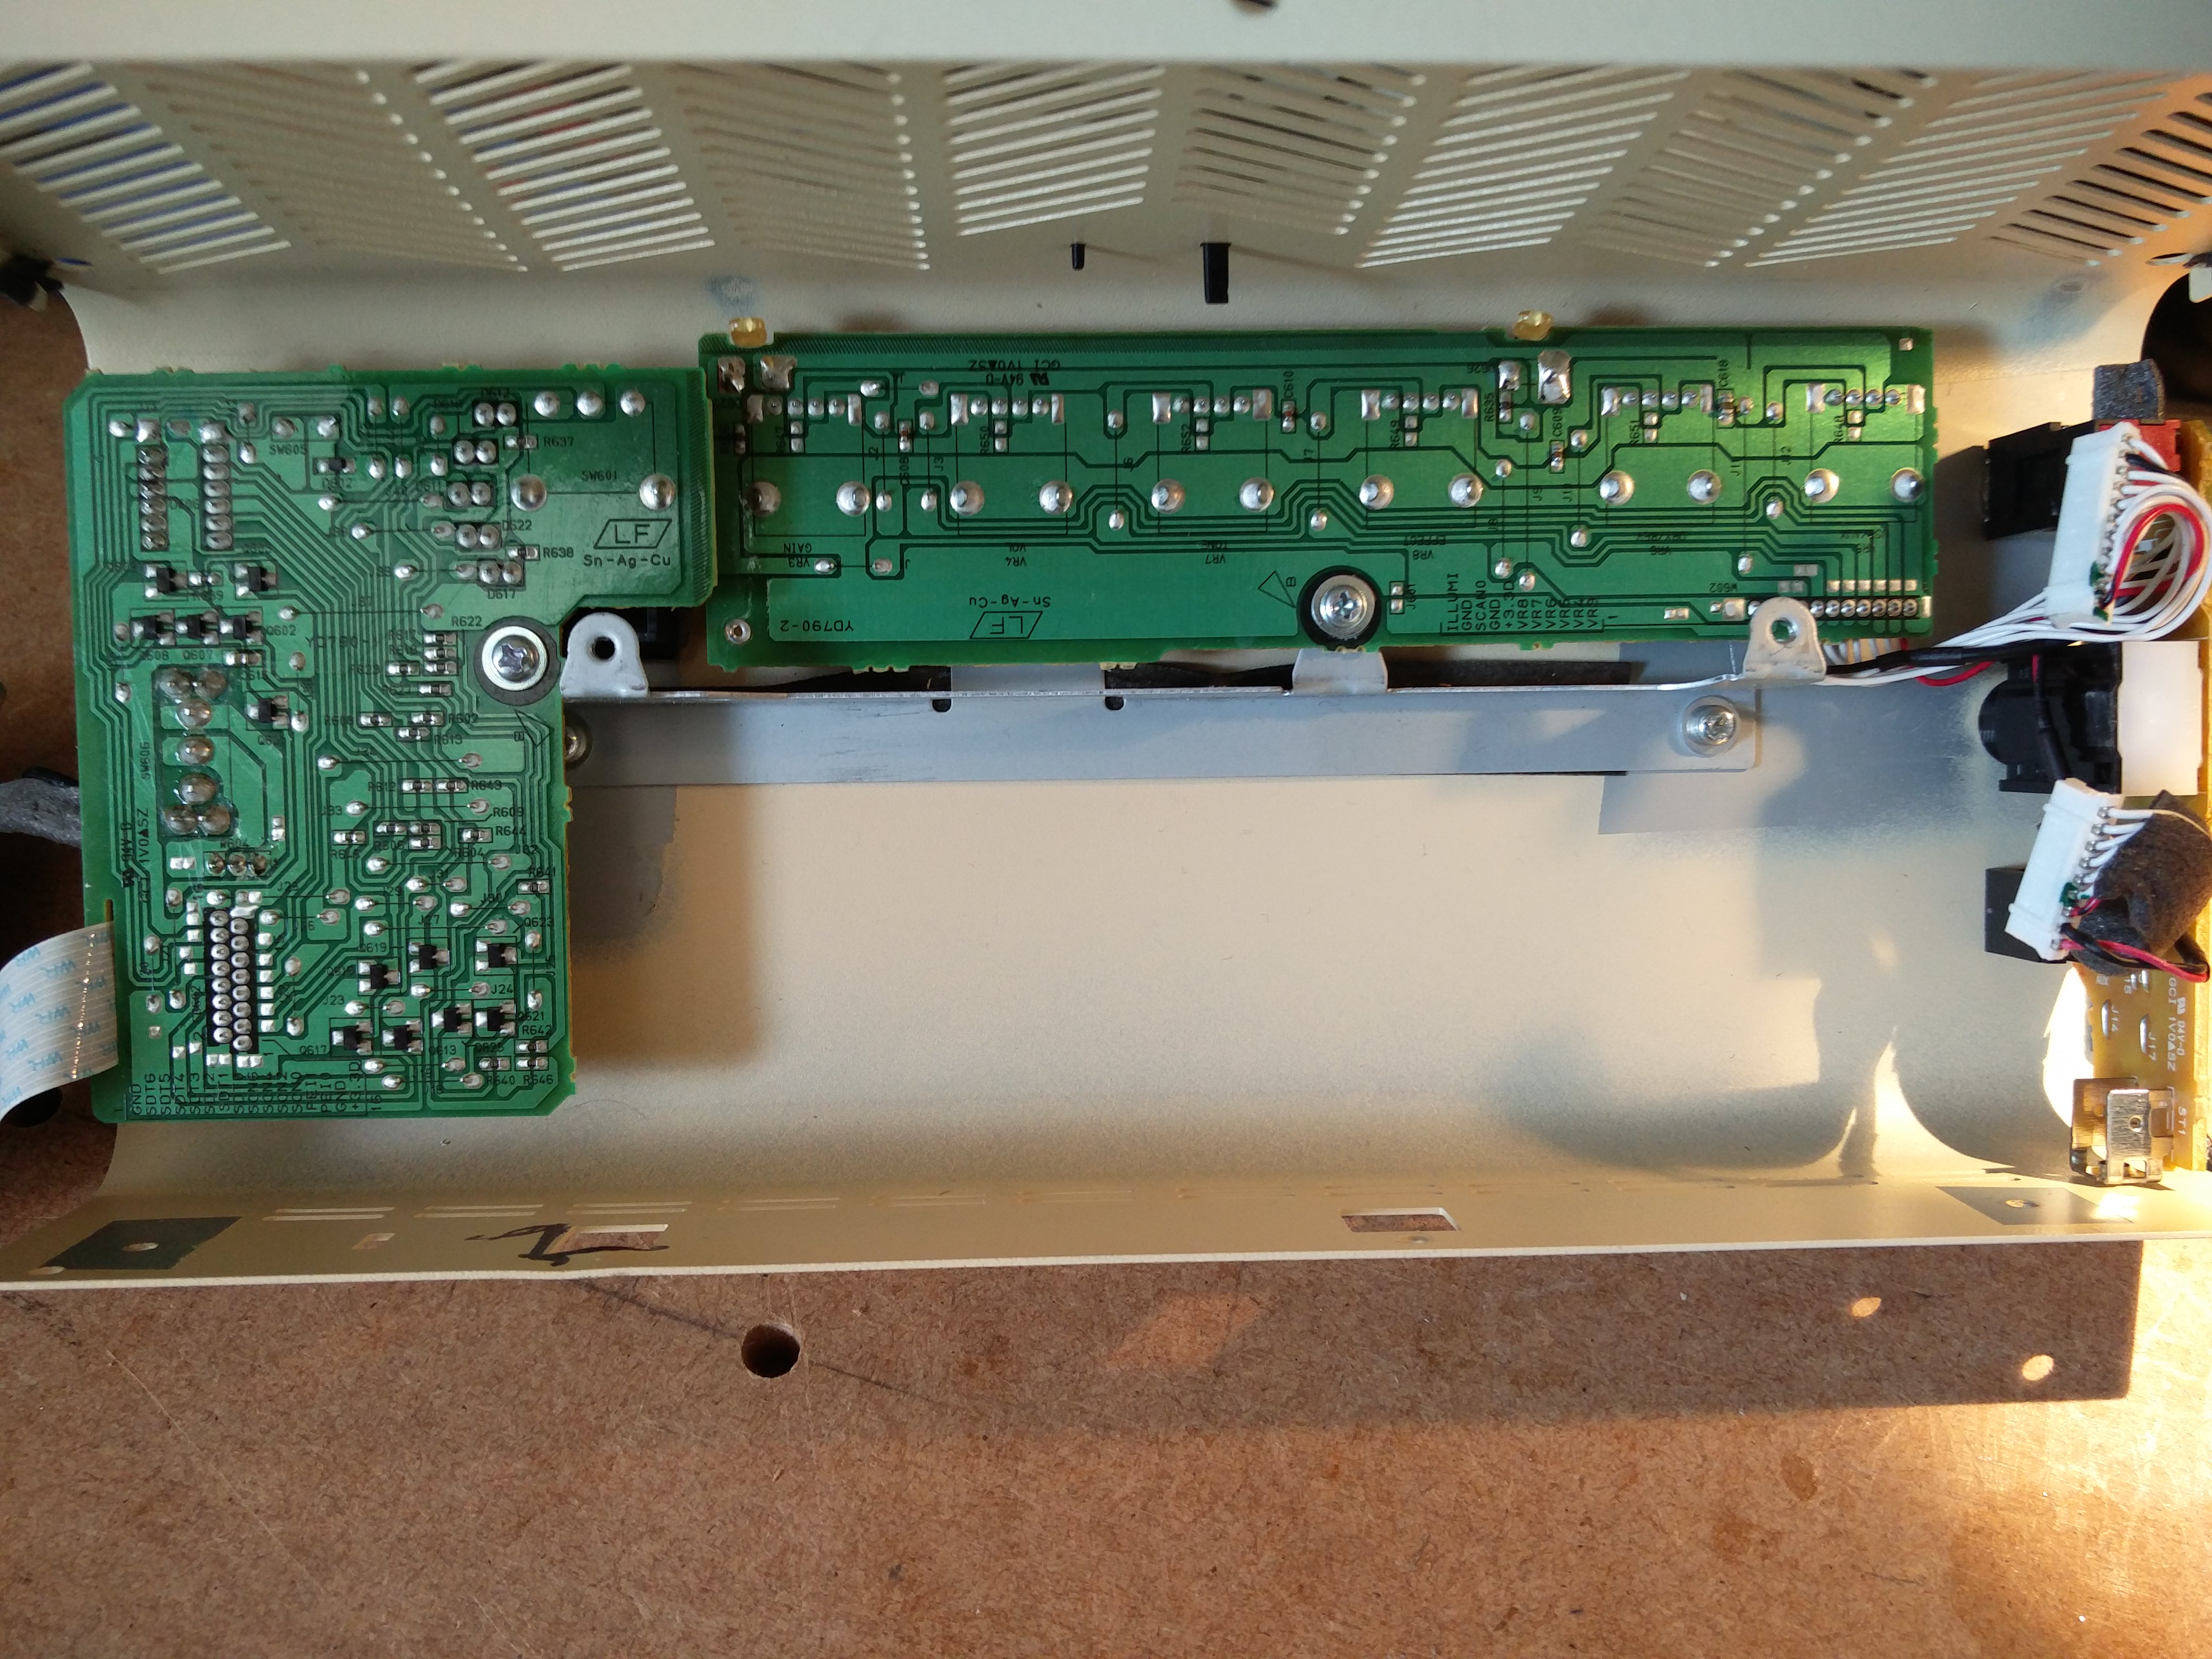
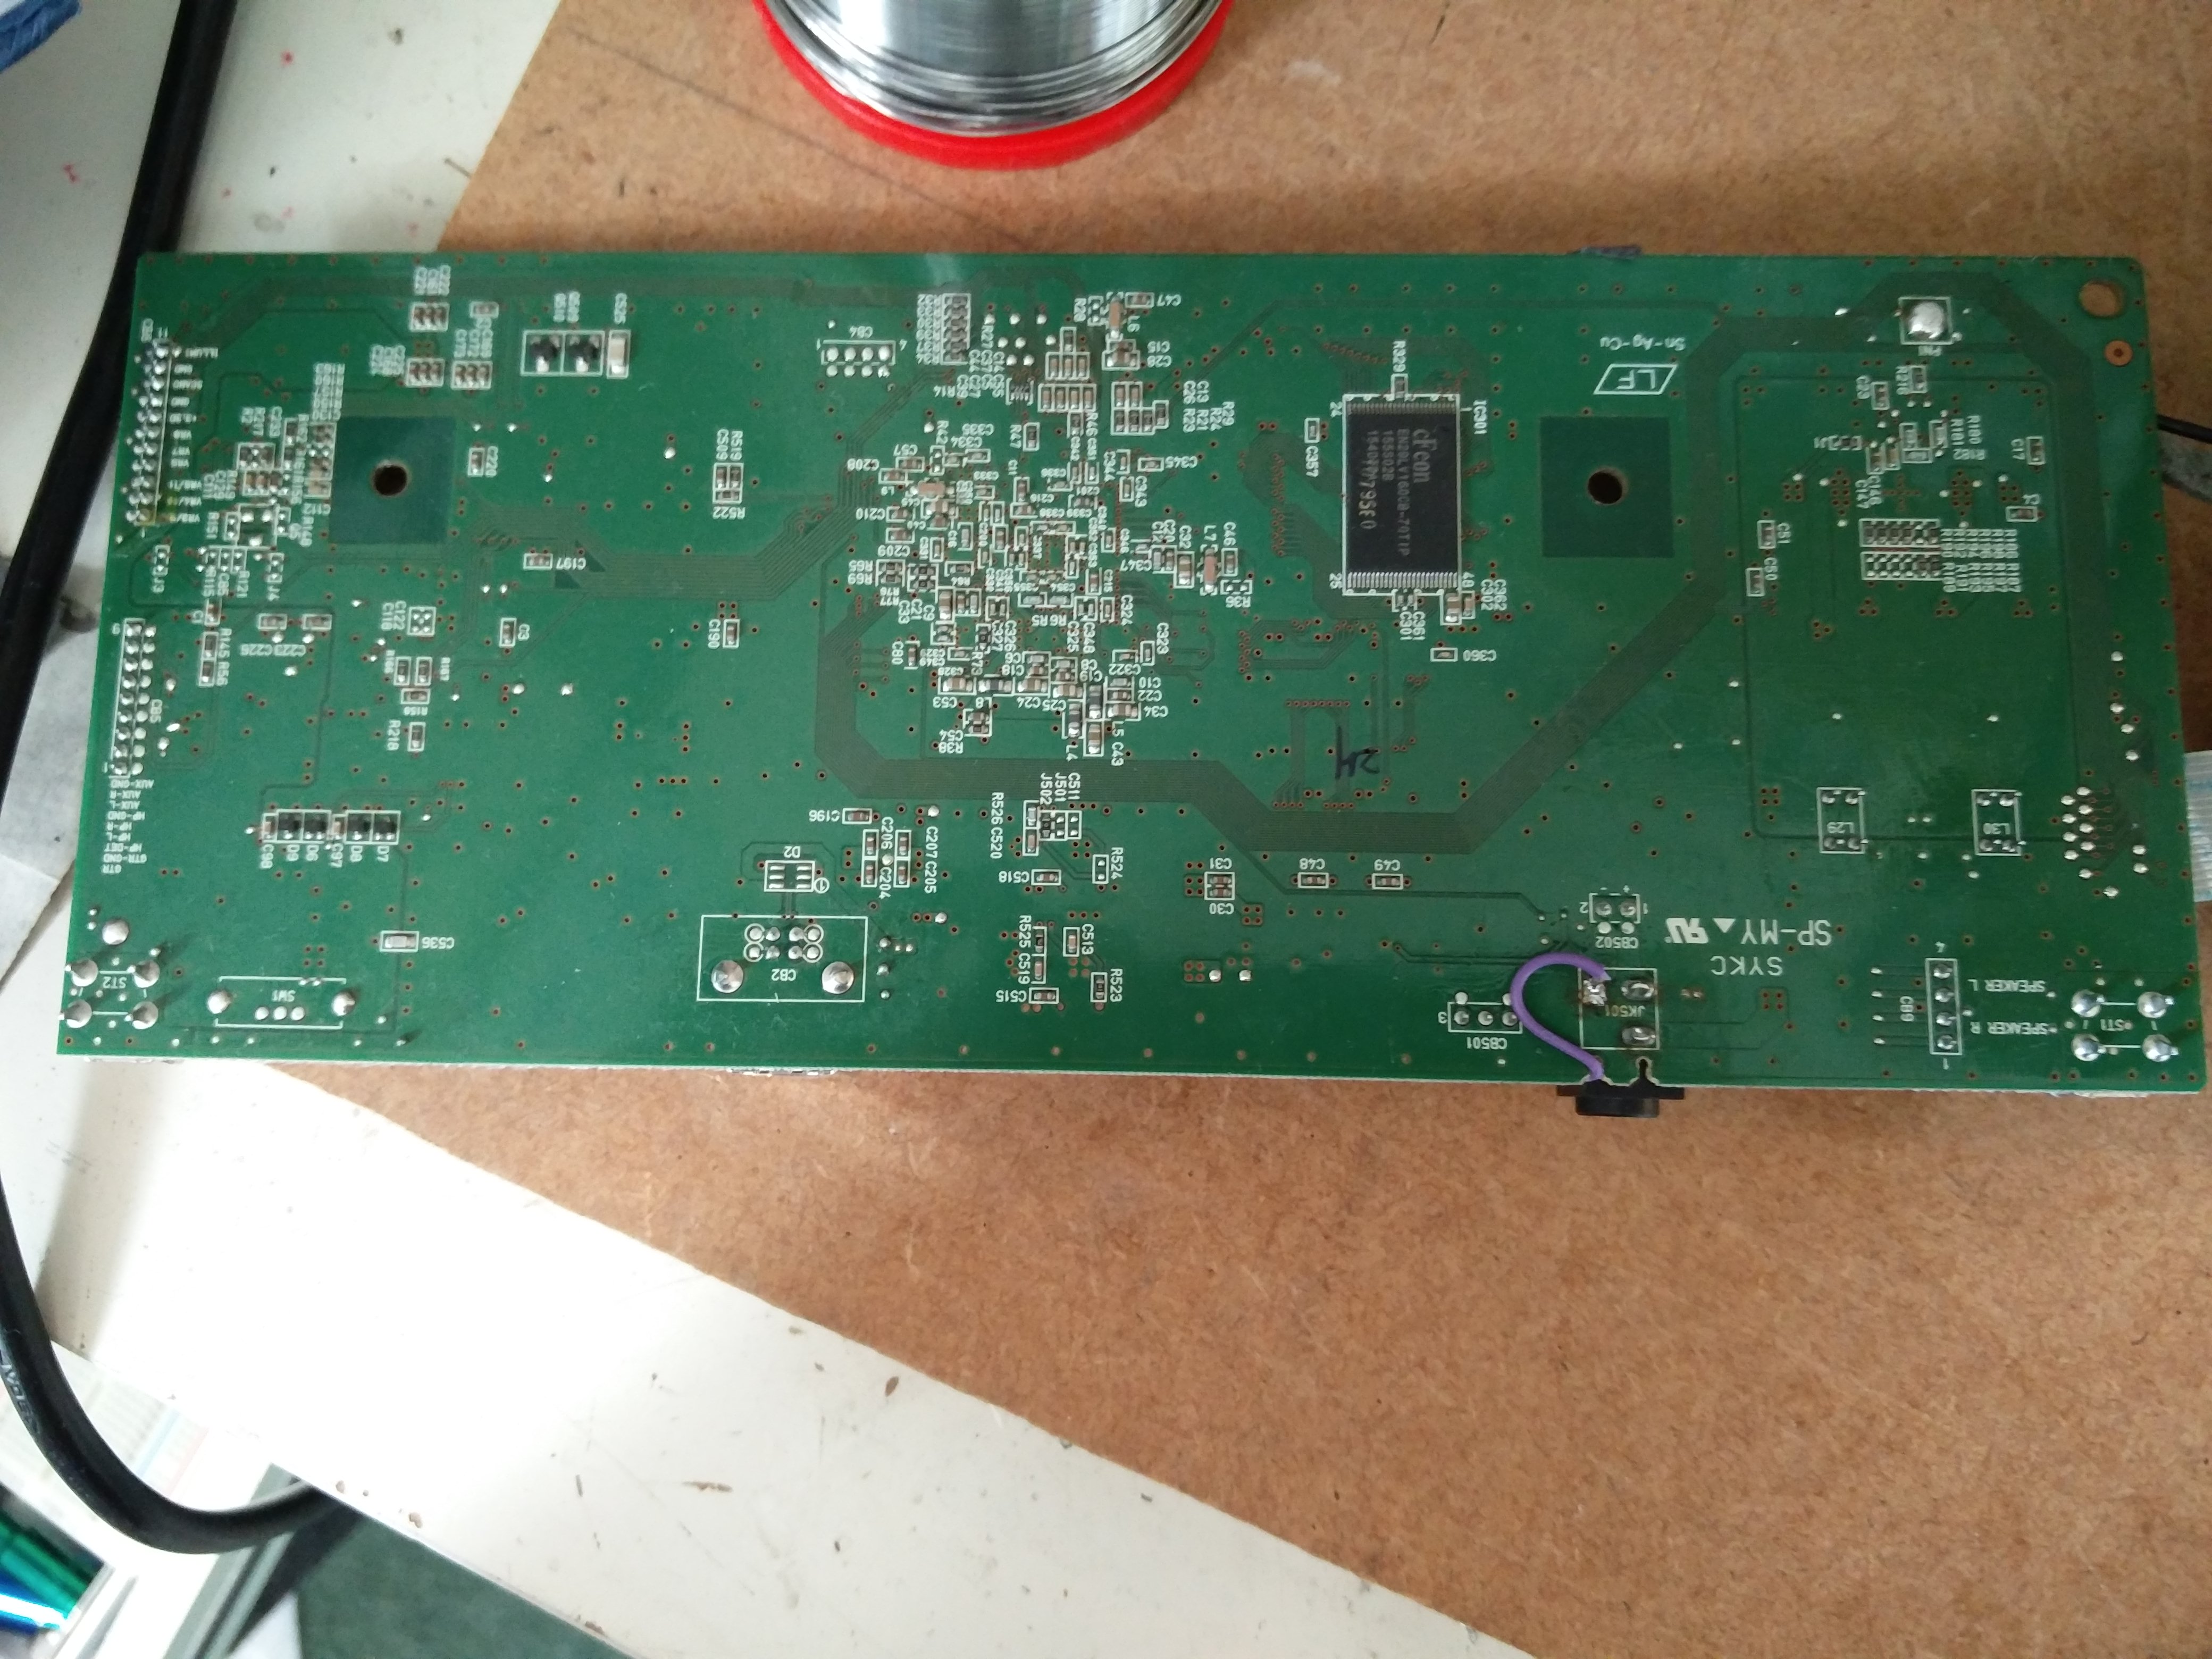
The photos show: Yamaha’s little class D amp, my PCB/ DC socket modification top side, the Yamaha SoC and RAM, the marking for the case modification, the PCB modification reverse side and the second layer of boards.

Yamaha THR repair

Yamaha THR repair

Yamaha THR repair


Yamaha THR repair

Yamaha THR repair

Yamaha THR repair
 
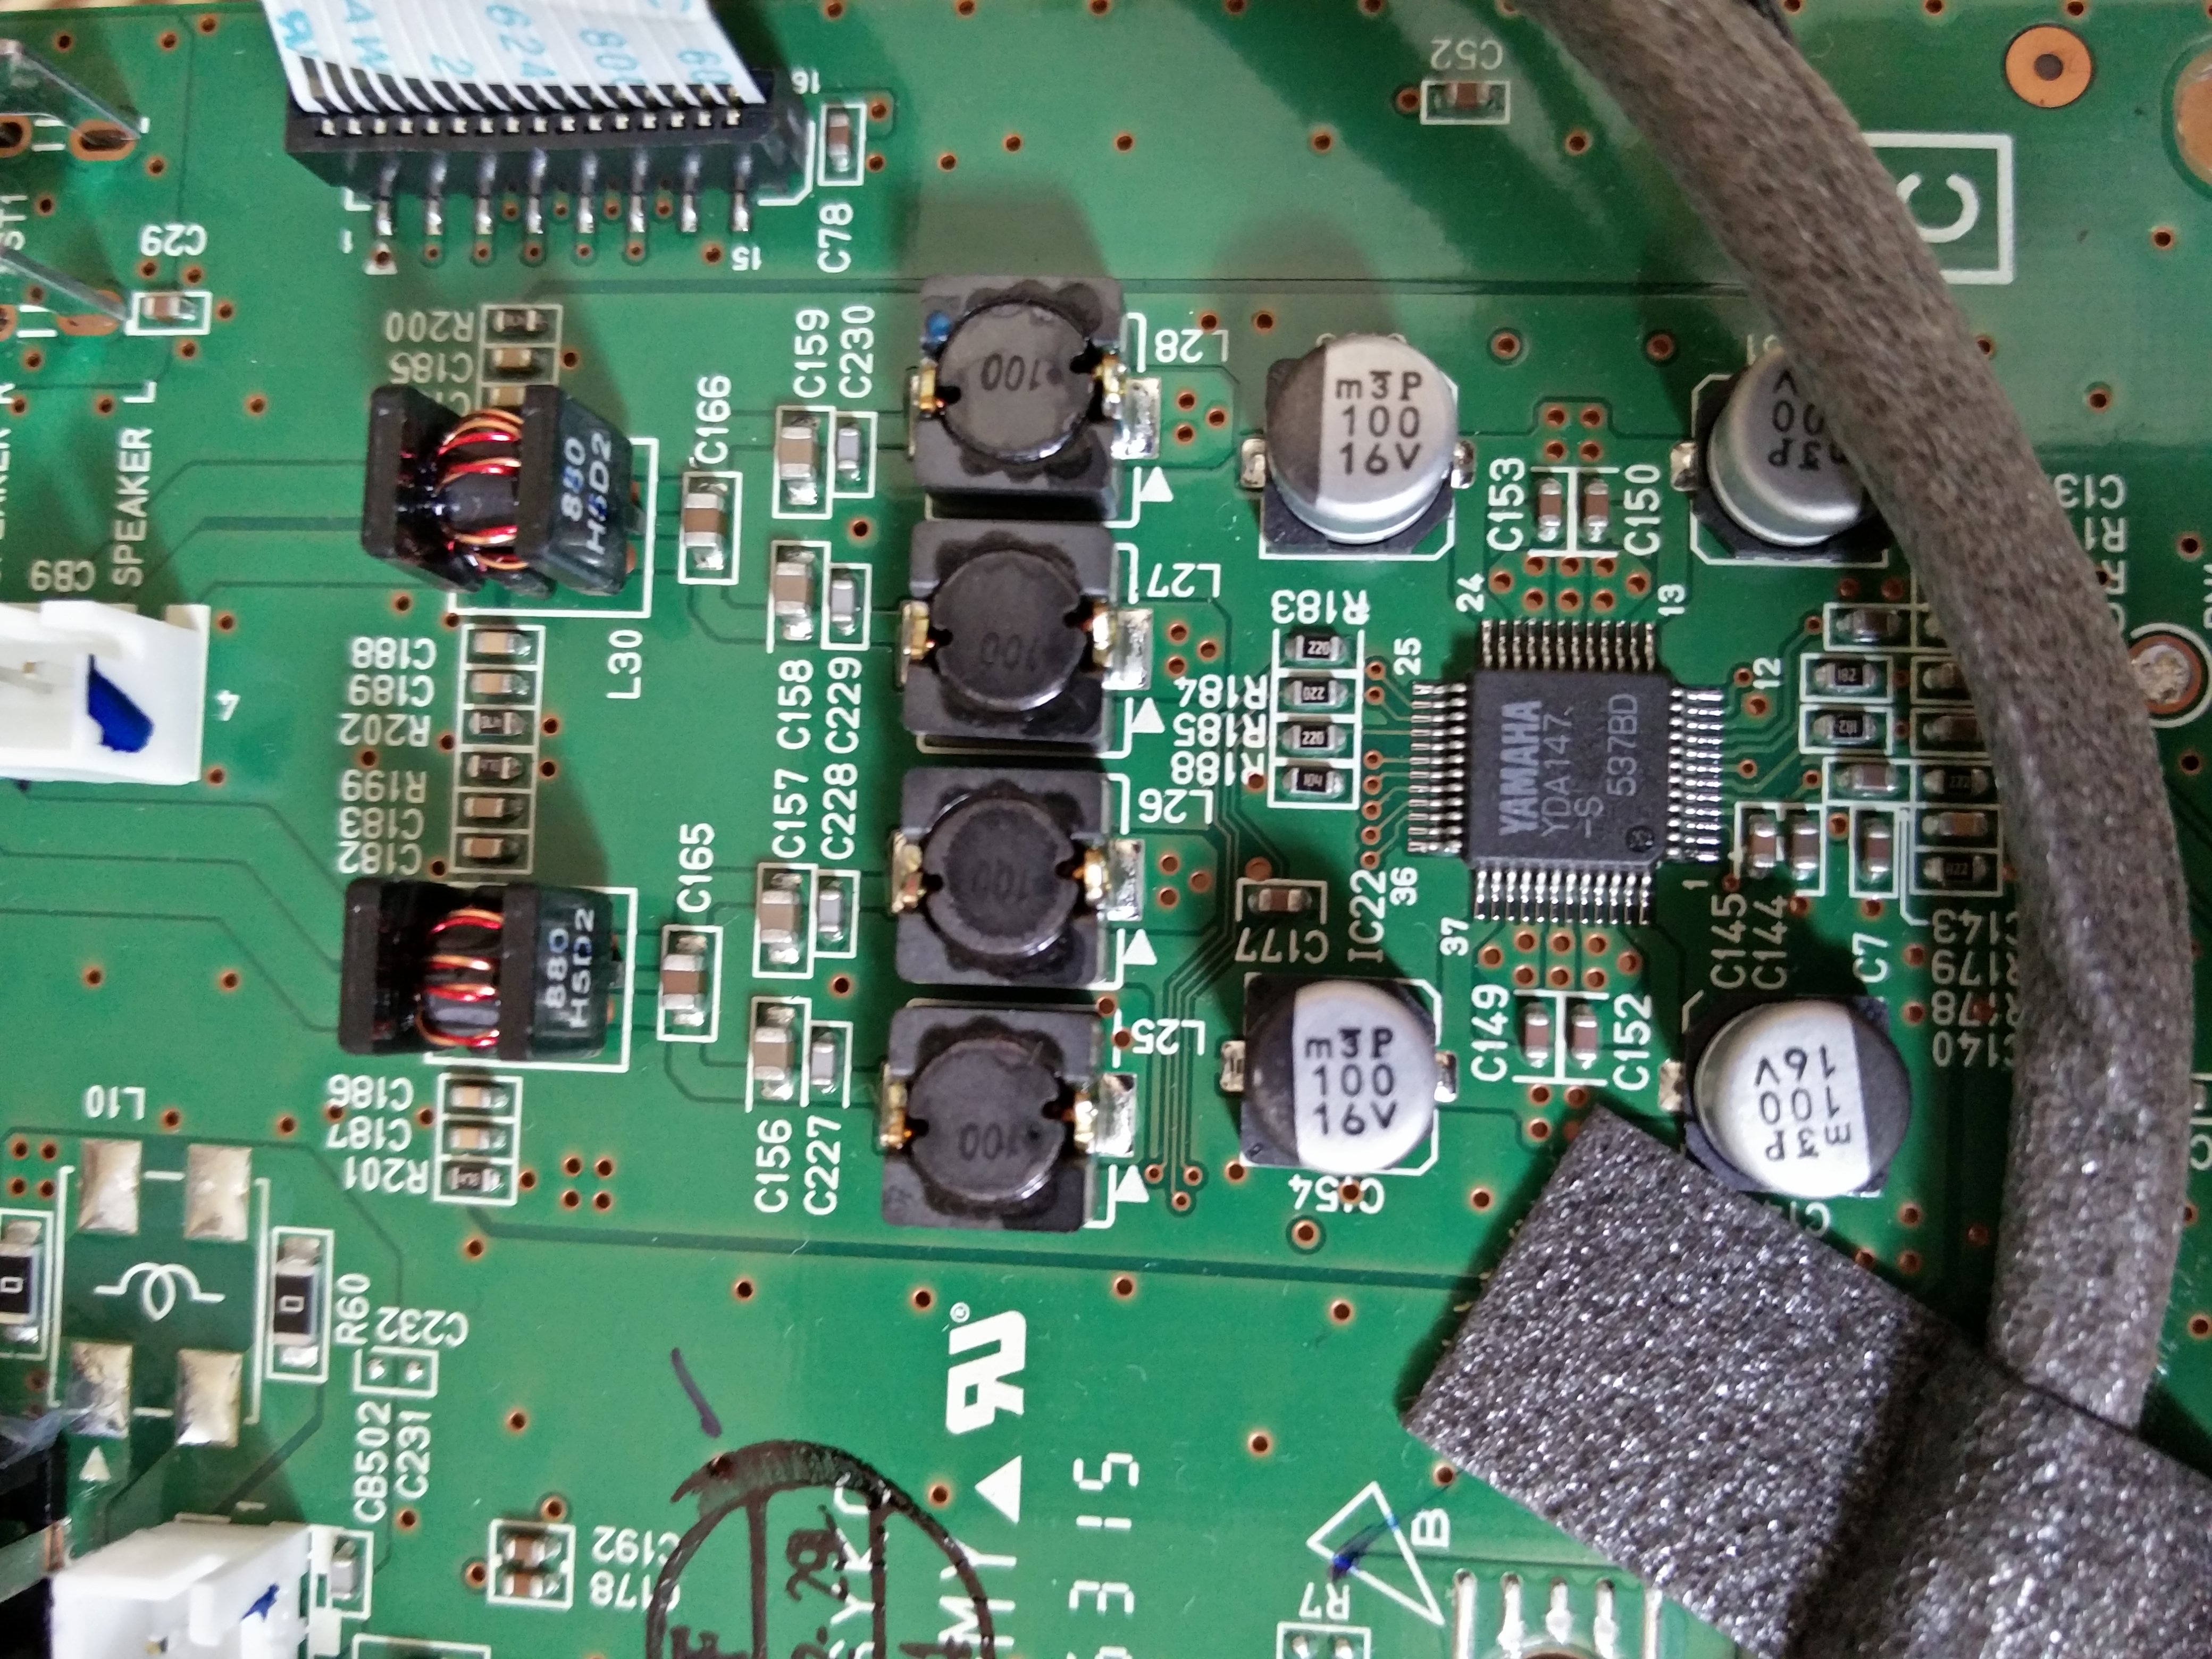
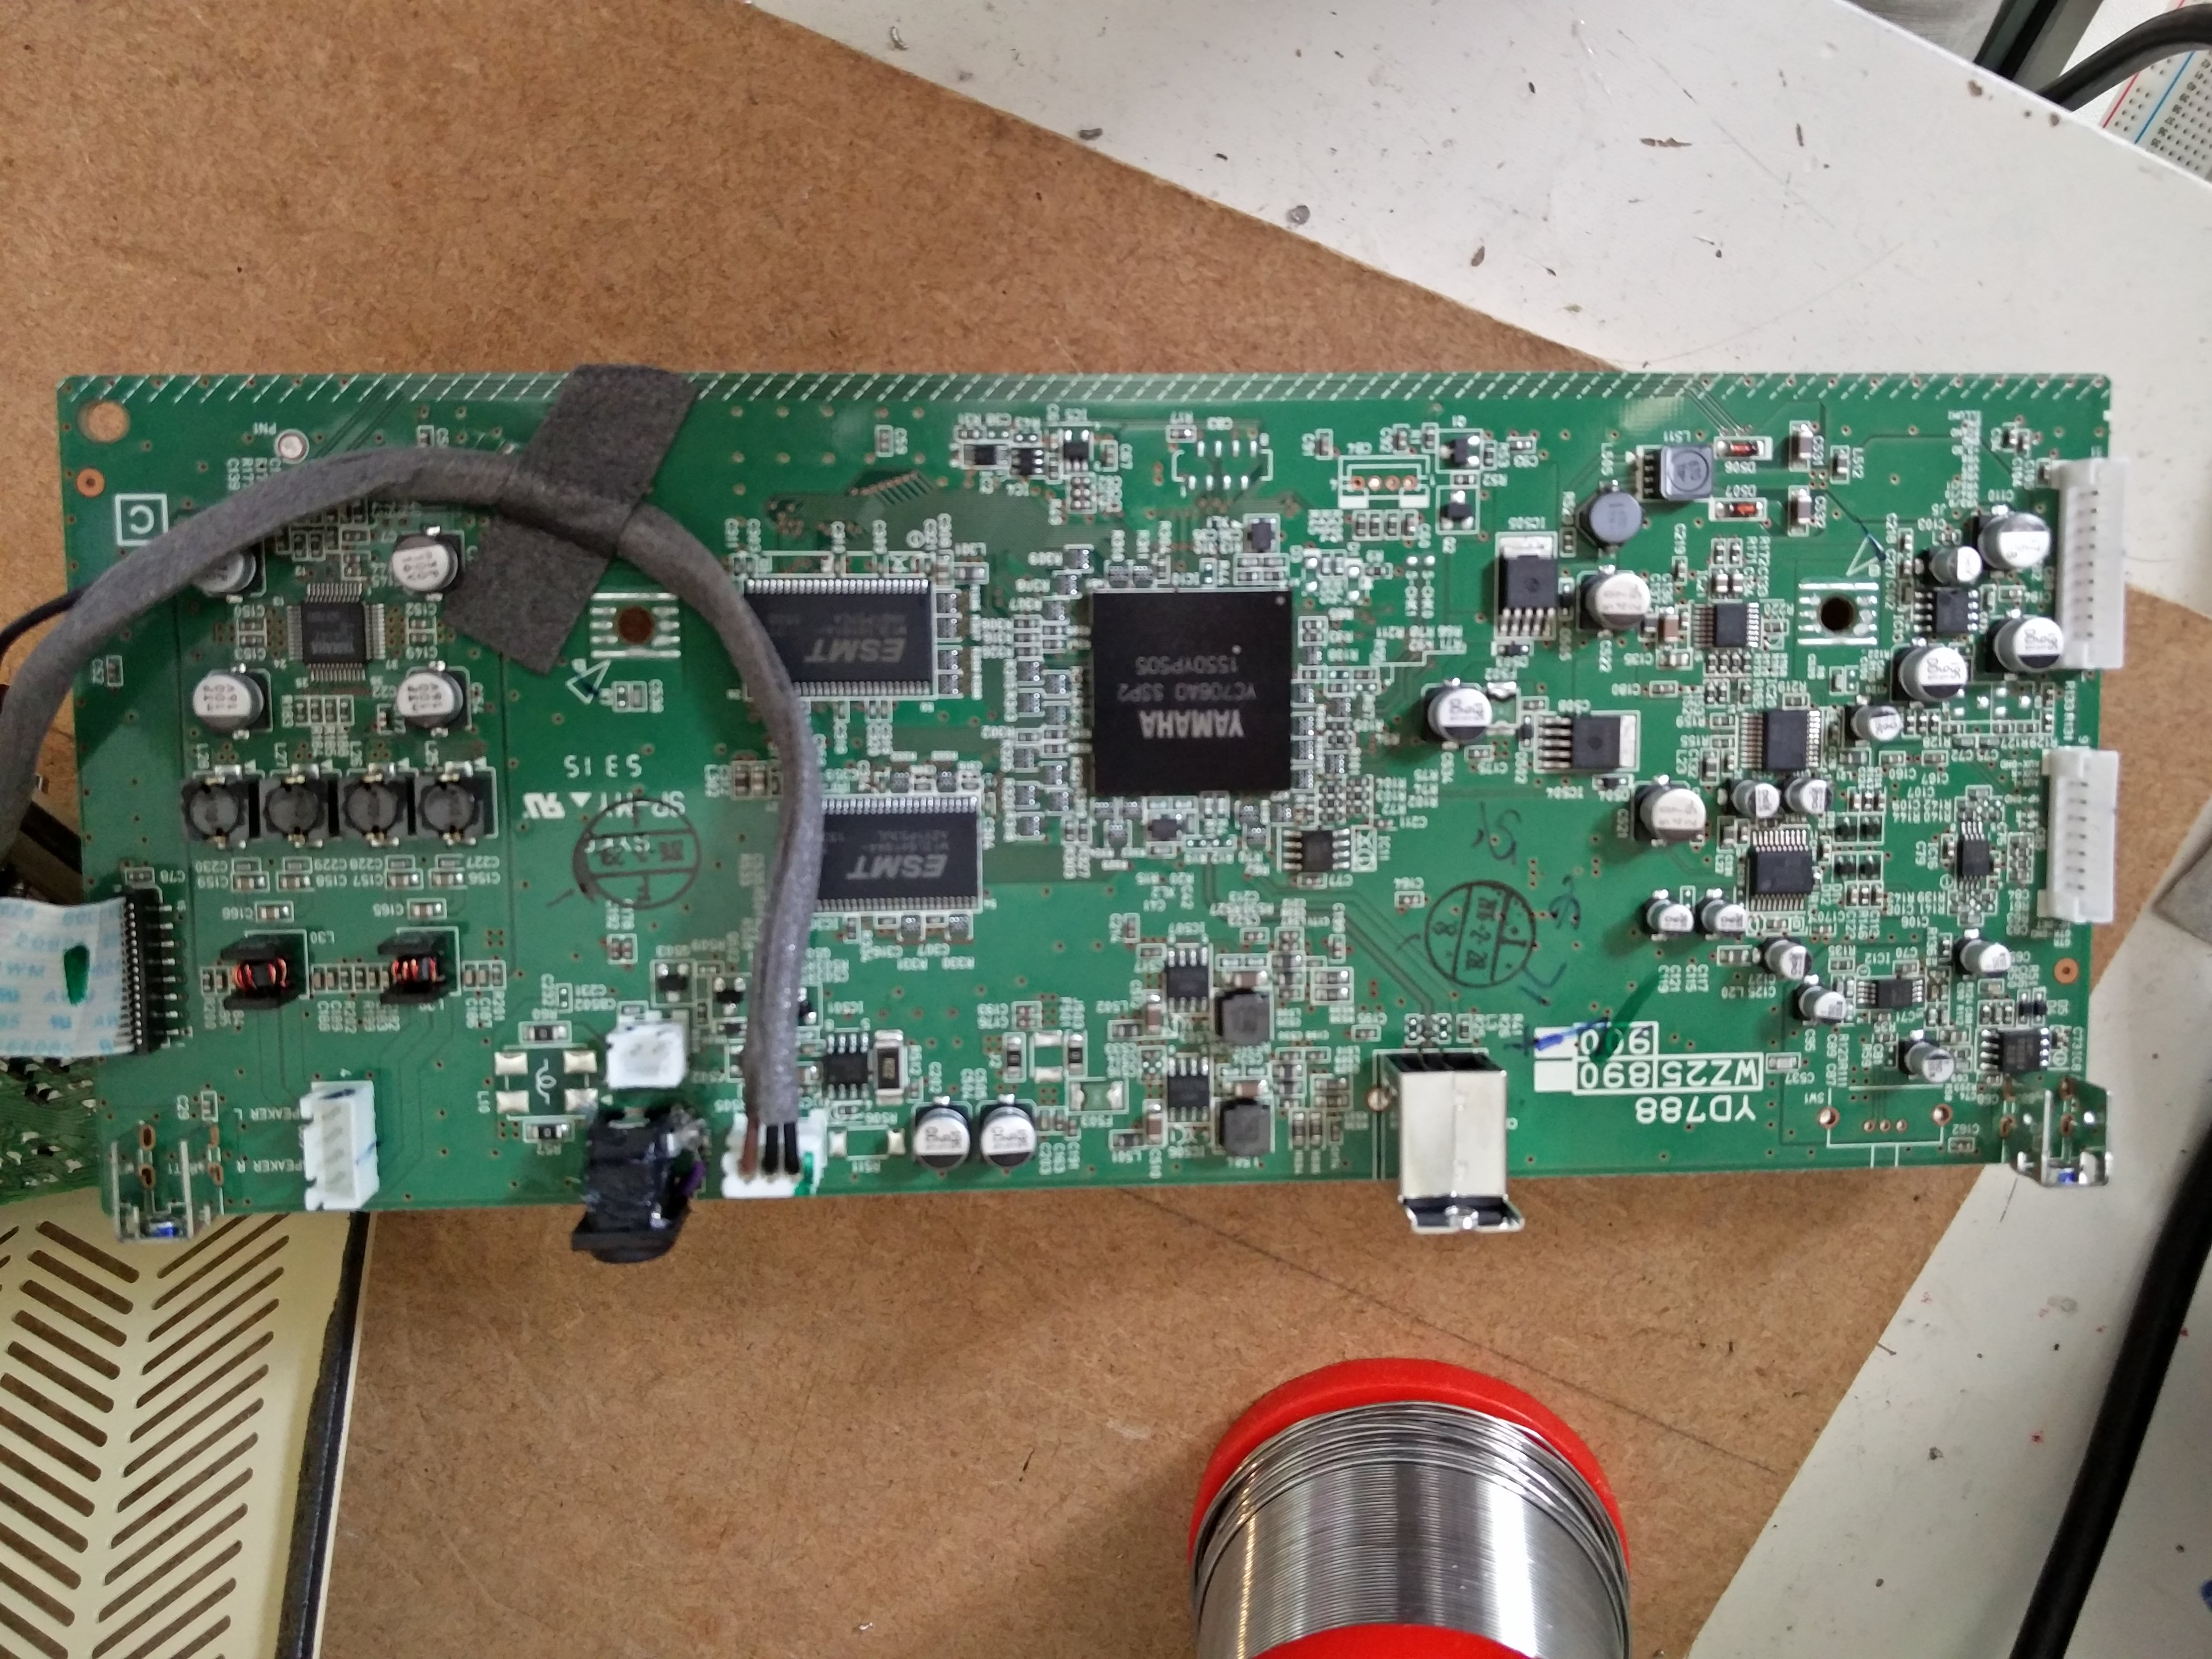
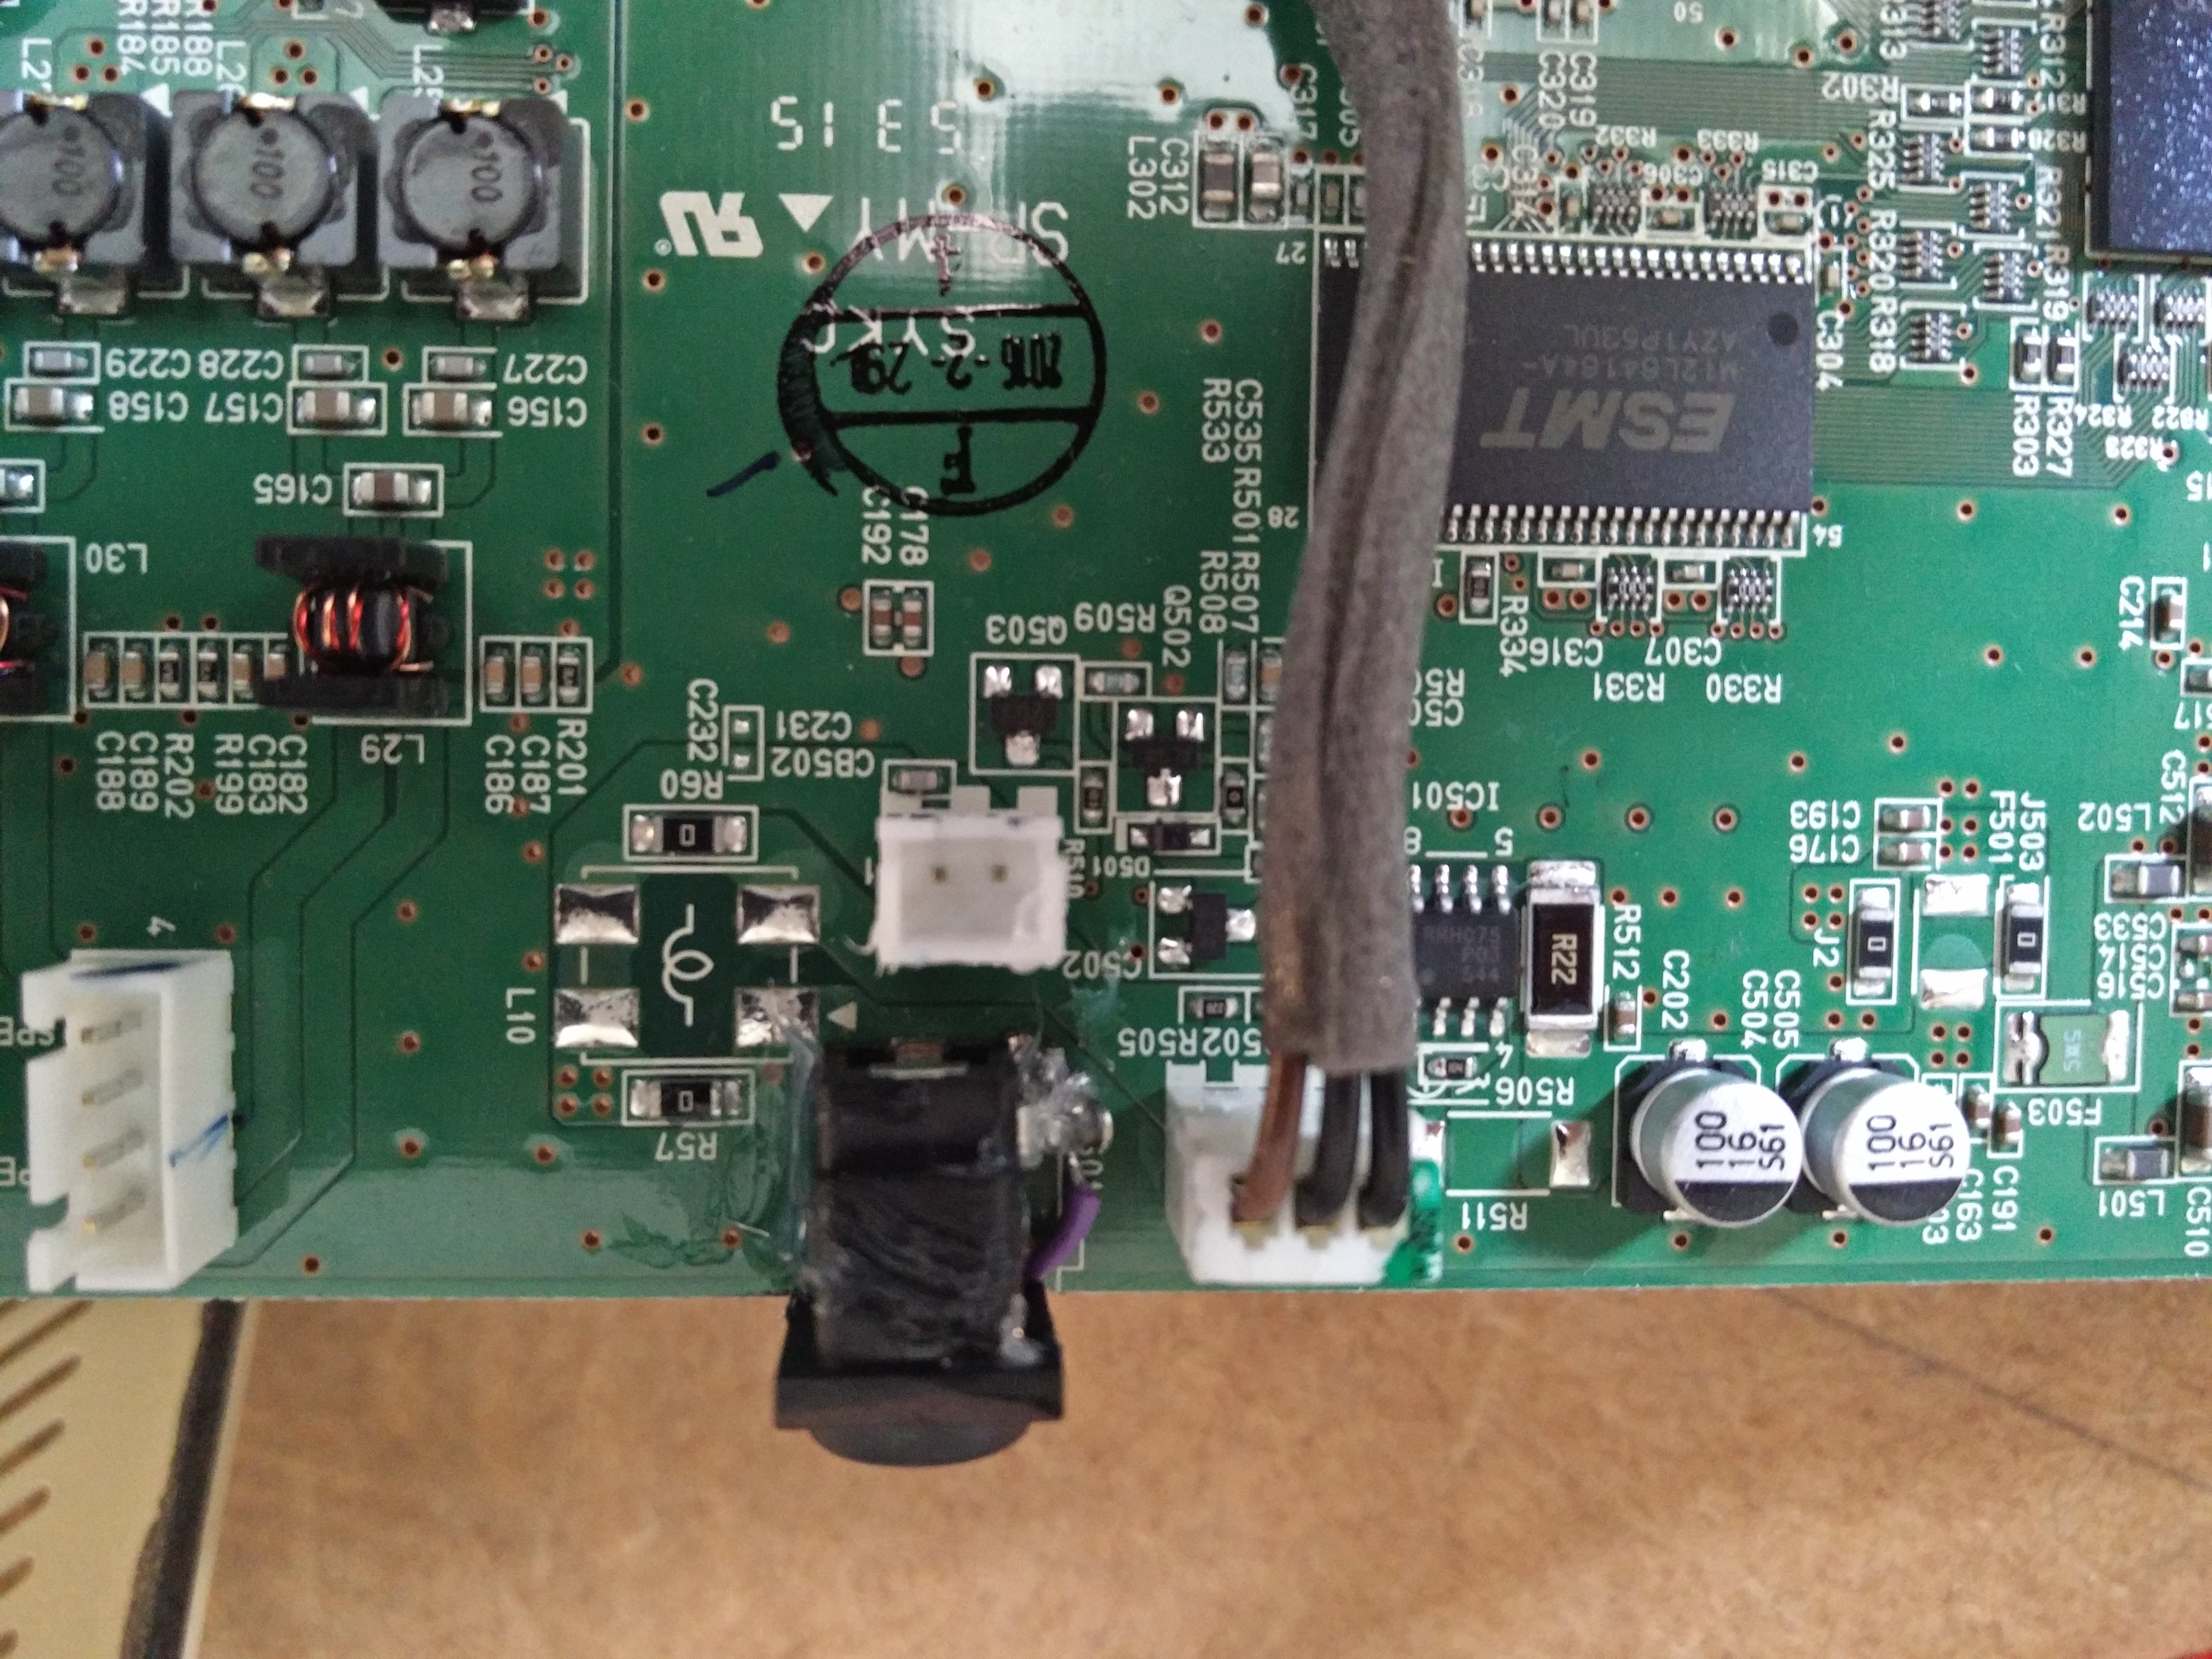
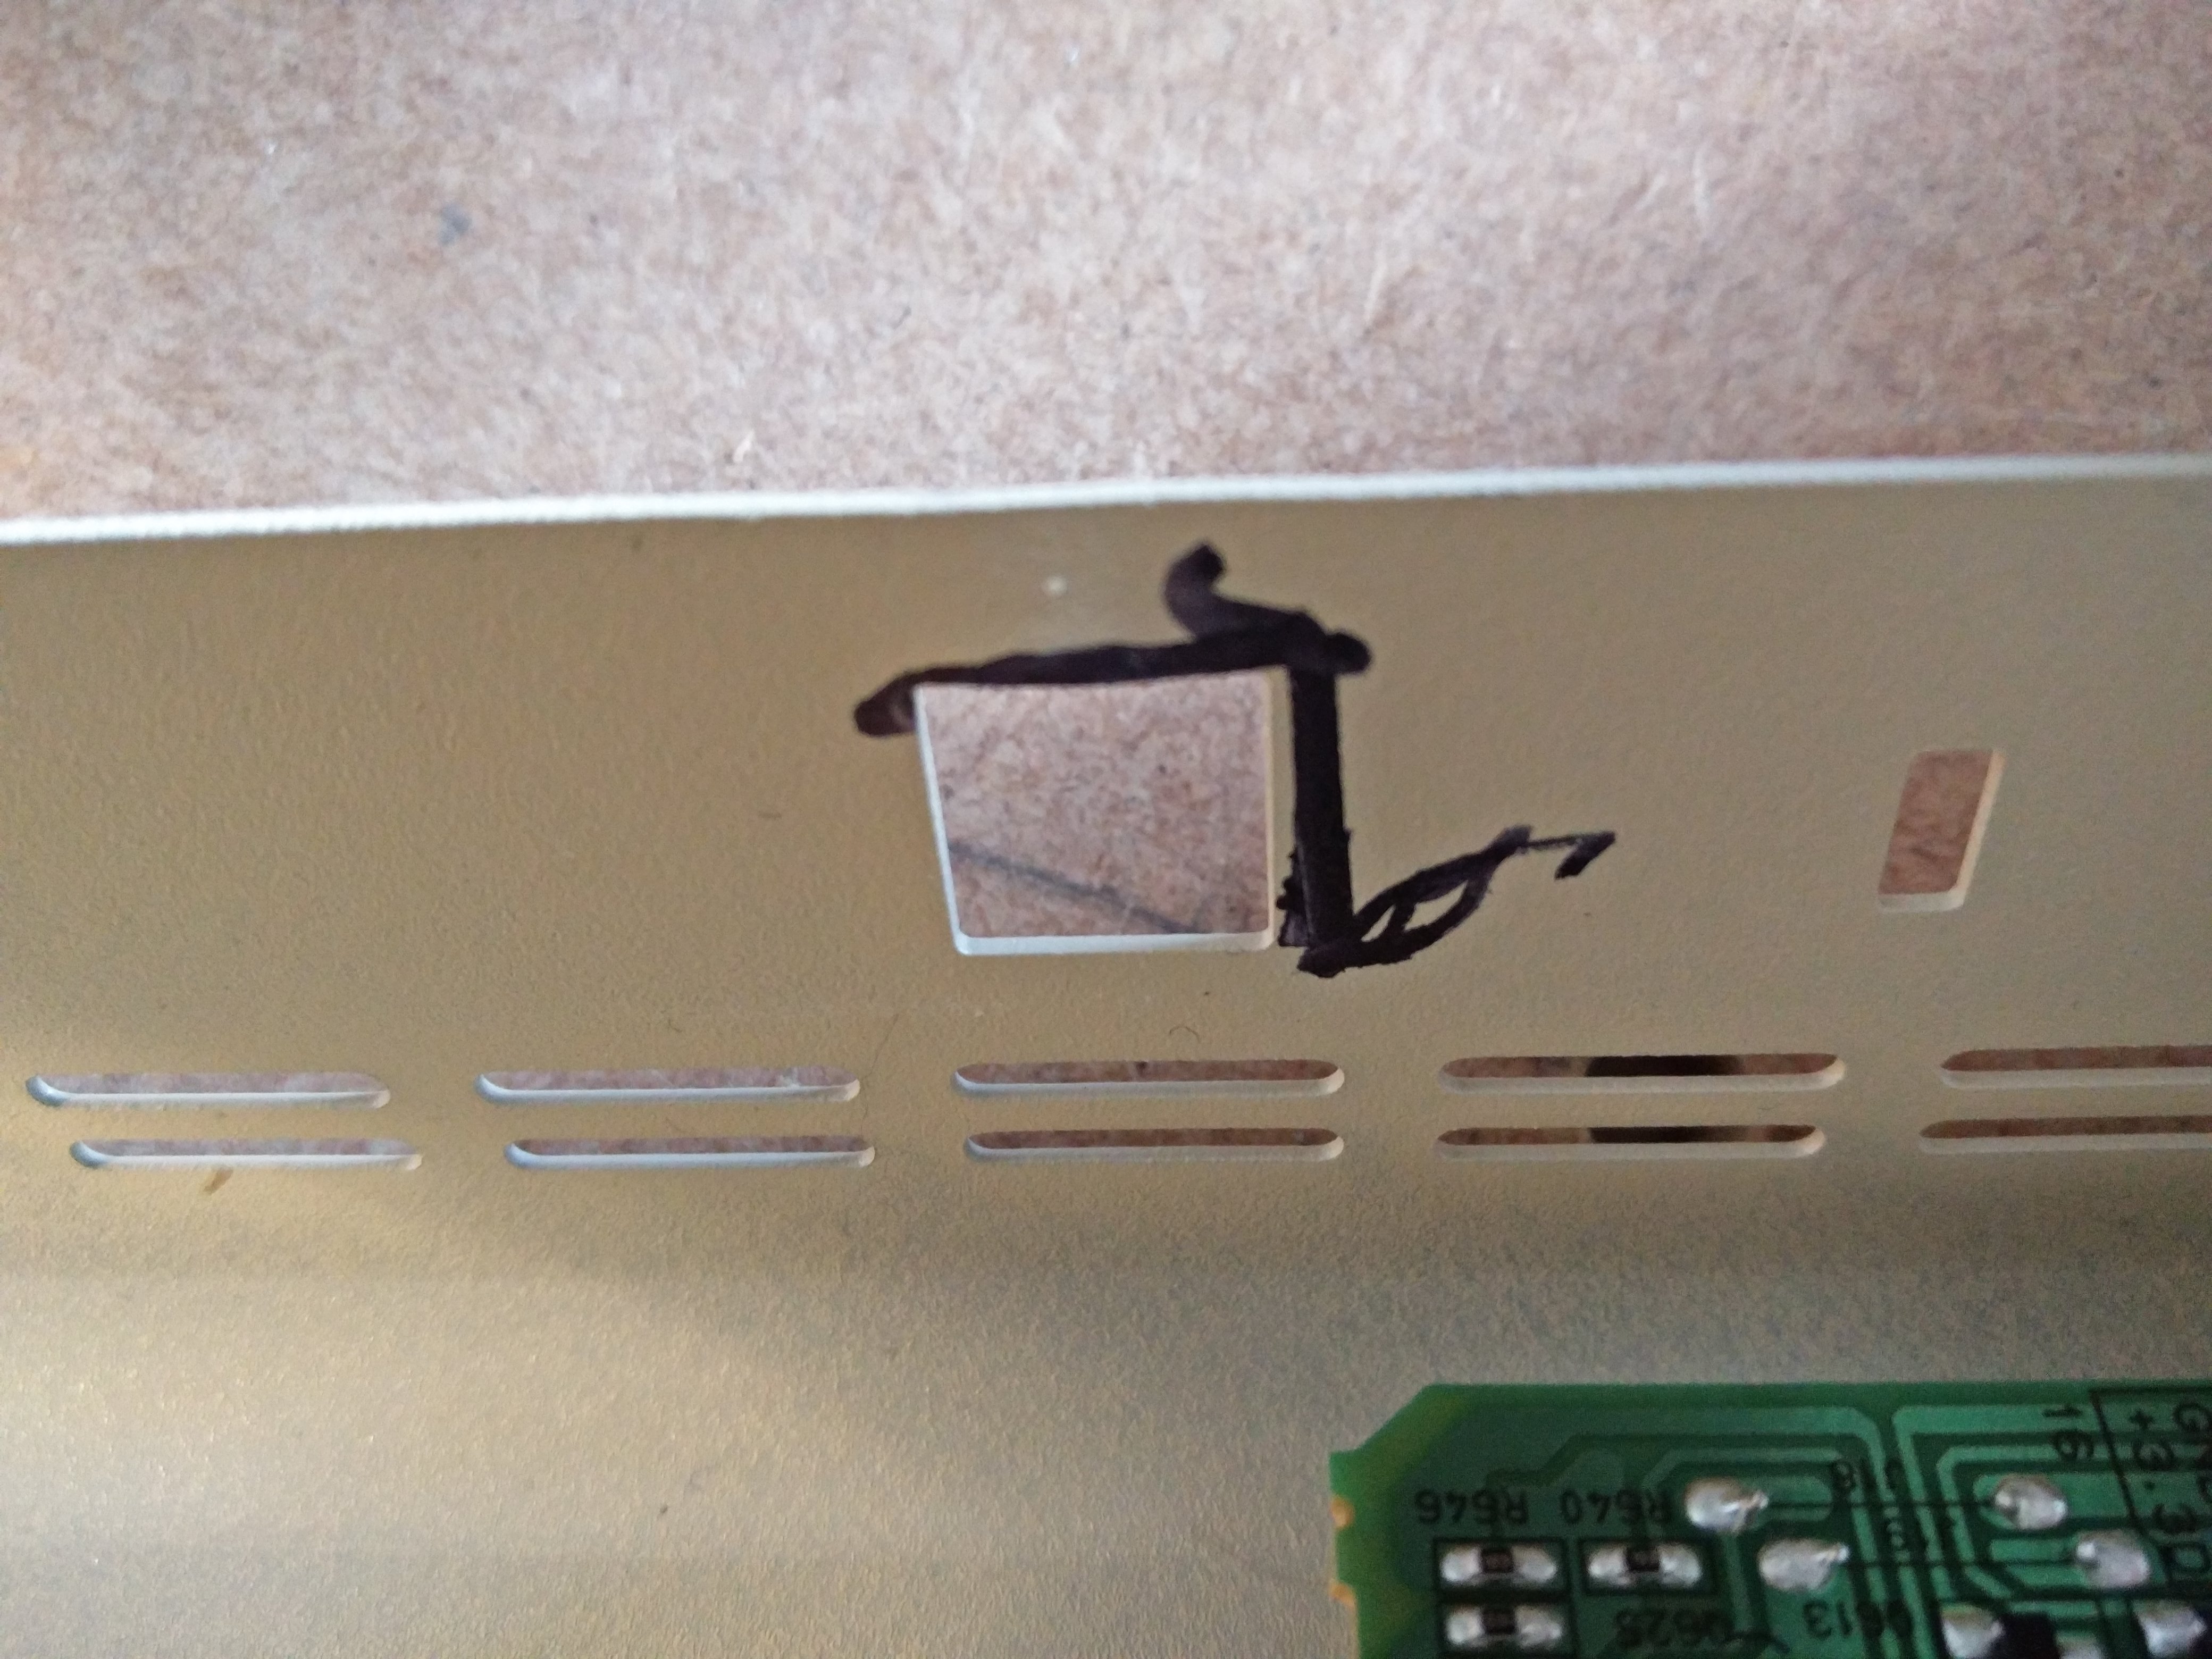
These are cool little solid state modelling amps. Sadly, for such an otherwise great company Yamaha aren’t very good at supplying spares so I was forced to fit a different socket and slightly modify the THR case to make it fit.

If you need a Yamaha THR repair, please contact me.

Here’s a video:

EBS Amp repair – HD360 Bass amp repair

EBS amp repair

Today I repaired an EBS amp repair on a 2 hour turnaround! The customer brought the unit to my Newark workshop from Nottingham.

EBS are a swedish brand. It’s the first time I’d worked on an EBS unit, though I’ve played alongside bassists who’ve used EBS gear and been quite impressed.  I contacted their technical support team for schematics and they were great – after I’d signed my life away they provided me with schematics very quickly.

The amp had an intermittent fault on the filter (EQ). When engaging the filter active switch there was an intermittent buzz sometimes, sometimes a very tinny treble sound, sometimes too much bass and sometimes normal operation!

The problem turned out to be with the bass control, which had an intermittent resistive short to ground at all times. Fortunately I was able to repair the bass amp with parts that I hold in stock. It arrived at 10am and was back after repair and PAT testing with the customer by 12:00.

If you need an EBS amp repair, please get in touch.

Blackstar Series One repair S1-104EL34

Blackstar Series One repair

This Blackstar Series One repair from February was a bit of a mess! The amp had unfortunately received the unhelpful care of another repairer who had left the amp in a terrible state. If you don’t like to see damaged PCBs, look away now.

It was brought to me because it was blowing fuses at gigging levels. The owner had bought it second hand and it had started blowing fuses recently. A quick fix was managed in time for a gig!

I’m not sure what the original fault was with this amp, but whoever had previously attempted to fix it was very much of the ‘add more solder’ school of repairing! I suspect that they had not attempted to remove the board and had just tried to repair the amp from the top side only in doing so they’d damaged to PCB and left the transistor hanging by a thread of pad..

Blackstar Series One repair3You can see the horrible original work on the left and my improved fix on the right of the image. I removed the board and cut away the damaged track and recreated a solid connection with solid core wire on the board reverse. I replaced the burnt out components nearby with suitably rated high power resistors. I also replaced the transistor.

The whole job took 3 hours and included a valve test (revealing three worn preamp valves) and an additional (FOC) 1 hour soak test at gigging levels.

If you have a blackstar series one repair, please drop me a line.

Here’s a video of the amp, once fixed.

Blackstar ID30 TVP repair

Blackstar ID-30 TVP repair

This is the first Blackstar ID30 TVP repair that I’ve come across, but there wasn’t much to the job. The owner had lent  his amp to a friend and the tip of the jack socket had fallen off inside the amp.

I was really impressed with the build quality on this amp and it was very easy to work on. It was a very quick job to remove the separate input jack PCB, desolder the socket, remove the offending jack tip, resolder the socket, refit the board and reassemble the unit. This all fell within my minimum diagnostic charge.

I was very impressed by the transparency of the inbuilt noise suppressor on the Blackstar ID:30 TVP OD2 channel. This thing has an insane amount of gain and is totally silent, but sustain isn’t really affected. I guess that they sense the input right at the front end of the amp, but do the suppression just before the power amp. Like a 4 cable ISP Decimator, but free! Great stuff.

I’d have liked to have taken a look at the TVP on an oscilloscope, to see what the guys are doing here but I didn’t get the chance. My completely unjustified guess is that it’s changing the power amp output impedance along similar lines to the patent that Bruce Keir filed when he was with Marshall. But that’s just a guess.

If you need a Blackstar ID30 TVP repair, please get in touch.

Fender Brownface repair – Super Amp 6G4A

This Fender Brownface repair was something of a labour of love here at Keld Ampworks. It’s a fascinating amp – having started life presumably in America, it’s got a 110V transformer. At some point it made its way to Belgium, where it was ‘converted’ to EU voltages, using a rather scary transformer bolted to the inside of the woodwork. It was later bought by the current owner and brought to the UK.

This was my first Fender Brownface repair. I’ve done blackface Fenders, Tweeds and Silverface fenders but never before a Brownface. Nice to have something new.

My first task was to make the amp safe. The Fender ‘death cap’ is well documented elsewhere so I won’t dwell on it. Suffice to say that it was removed, and a 3 core earthed mains lead with US plug fitted. The fuse and mains power switch were moved to the ‘live’ line. They don’t make ’em like this any more! The scary open frame in-cabinet transformer was also removed from circuit and replaced with a removable US-UK transformer. This makes the amp more ‘original’ and also safer. Double win!

Most of the preamp tubes were still good. The power valves were replaced with a new set of Sovtek 5881s and one preamp was replaced. The valve sockets were all tensioned and cleaned.

Checking the filter caps inside I saw that 2 out of 7 had already been replaced – but with underrated parts (350V instead of 500V!). Of the remaining five, three were leaking electrolyte and so after consulting the customer I replaced all 7. I was able to preserve the original filter cap covers and use them to conceal modern Rubycon parts at 700V.

At this point the amp was much more stable but had a few intermittent crackles and bangs. Many of these were sorted by replacing some coupling capacitors.

The last issues were with the ‘Vibrato’ channel. The vibrato modulation was bleeding through horribly onto the normal audio signal. This turned out to be further cathode bias and coupling issues.

If you need a fender Brownface repair, please give me a call.

Fender Blues Jnr Repair – Ghost Notes

Fender Blues Jnr repair

This Fender Blues Jnr repair was another urgent job completed quickly for a customer who needed it for a gig in Lincoln on the evening it was dropped off.

He brought it to me reporting that something ‘wasn’t right’ with the sound. Upon listening to the amp I could tell what he meant – under certain notes there was an odd ‘subharmonic’ type sound, ghost notes appearing underneath the played notes.

I’ve done other Fender Blues Jnr repair work in the past – but unfortunately someone else had already been working on this amp. They’d make a bit of a mess of the power amp

Fender Blues Jnr repair

Unfortunately the previous attempt at repair, though well meant, caused problems – you can see in the first two images there are lifted pads (possibly the original problem or caused by excessive heat when soldering), no solder between pin and pad on the cathode and some burning on the PCB through excess heat (this is actually on pin 3 of the EL84 which isn’t used so not a big issue).
Fender Blues Jnr repair - PA rewire
The third image is how it should look – Fender’s original soldering on the preamp valves is intact. The preamp valves have the screws closer, they’re shorter so there’s less force exerted and they’re not near the place where you’d put the mains cable.

The power valve section of the PCB was beyond sensible repair and the best way to proceed was to take out the PCB, and saw it in half, re-fit the preamp part of the PCB and wire the power stage point to point. I used chassis mount valve sockets to prevent this happening to the power stage in the future.
Fender Blues Jnr Repair 2
There were also some hairline cracks observed under the microscope which I resoldered.
Having fixed these sources of issues I was finally able to address the problem with the ghost notes. This is caused by a common problem with modern fenders – lousy filter capacitors. I was able to replace the filter caps with parts that I had in stock in order to meet the 24h deadline.

The ghost notes were visible on the oscilloscope – and so it was easy to see on the bench when these horrible sounds disappeared. You can also hear the difference in the video:

If you need a Fender BLues Jnr Repair, please get in touch.

Fender Blues Jnr Ghost Notes

Fender Blues Jnr Ghost Notes

Blackstar HT5 Repair, Keld Ampworks, Newark, near Stamford

Blackstar HT-5 repair

I’ll admit this Blackstar HT5 repair had me confused for a bit. It was brought to me from Stamford Endowed School, which isn’t that far away from my workshop in Newark, it is just down the A1.

The amp arrived with no sound output from the speakers. The valves tested fine, one 12ax7 and one 12bh7.

Looking inside the amp I could see signal on both grids of the 12ax7, but nothing was getting through to the output stage.

Using a thermocouple I tested the temperature of the semiconductors in the amp and found that the two MOSFETs were getting rather hot!

Upon inspection, I saw that somebody had drilled two little holes between the MOSFET legs and left all the swarf (mangled metal pad and PCB resin).

It turns out that there’s a forum post saying that the MOSFET pads were apparently quite close together and prone to arcing. I think that somebody read that post and decided to go DIY on this amp, not understanding that leaving chewed up pad around the holes would gonna cause a worse problem than arcing. 🙁 It probably worked for a bit but it worketh no longer.

https://www.blackstaramps.com/forum/viewtopic.php?f=32&t=2135&sid=2959070778299b62b9ca529437626388&start=10

After replacing the burnt out drain resistors and the damaged FETs, the amp was back up and running. These are really great little amps and put out a lot of volume, despite their 5W rating.

If you need a Blackstar HT5 repair, please contact me.

Henriksen amp repair

henriksen amp repair - henriksen bud 1

I love getting something new on the bench, so this Henriksen amp repair got me quite excited. It’s a Henriksen Bud combo.

I hadn’t heard of Henriksen before, but after a bit of research discovered that they are a US based high end solid state amp, in the same market as the Polytone and AER brands.

The owner had inadvertently shorted out the Channel 2 FX loop to the speaker and killed channel 2. This destroyed an opamp in the signal path. The amplifier uses standard components which I keep in stock so I was able to repair the amp and turn the job around within 6 hours of it arriving in my workshop.

During this repair I spoke to Henriksen by email and found them very helpful. Certain North American companies aren’t always interested in supporting their products in the UK so I’d highly recommend Henriksen based on my conversations!

If you need a Henriksen amp repair, please do drop me an email.

The owner was pleased with the job:

henriksen amp repair - henriksen bud 3

Hendriksen amp repair

henriksen amp repair - henriksen bud 2

Bogner Repair – Shiva MK II

Bogner Repair - Shiva

This Bogner repair was sent over all the way from Liverpool on the recommendation of a Liverpool tech who makes fantastic boutique point to point gear, but doesn’t deal much in modern technology.

The issue was with the DC heater supply which uses a switch mode power supply. Mr Bogner decided to use a switch mode to reduce weight in the amplifier.

The first stage was to verify that the amp worked with an external power supply: here’s a video of the first tests.

The Liverpool tech had already done some work on the output stage. My work on the SMPS was completed fairly quickly and it’s waiting to head back on the 100+ mile trip to Liverpool.

The owner was happy! 🙂

If you need a Bogner repair, please get in touch