Because the Hot Rod Deluxe is the world’s most popular valve amp [citation needed], I get a Hot Rod Deluxe Repair arriving quite regularly.
The amp has two common faults, which are well documented:
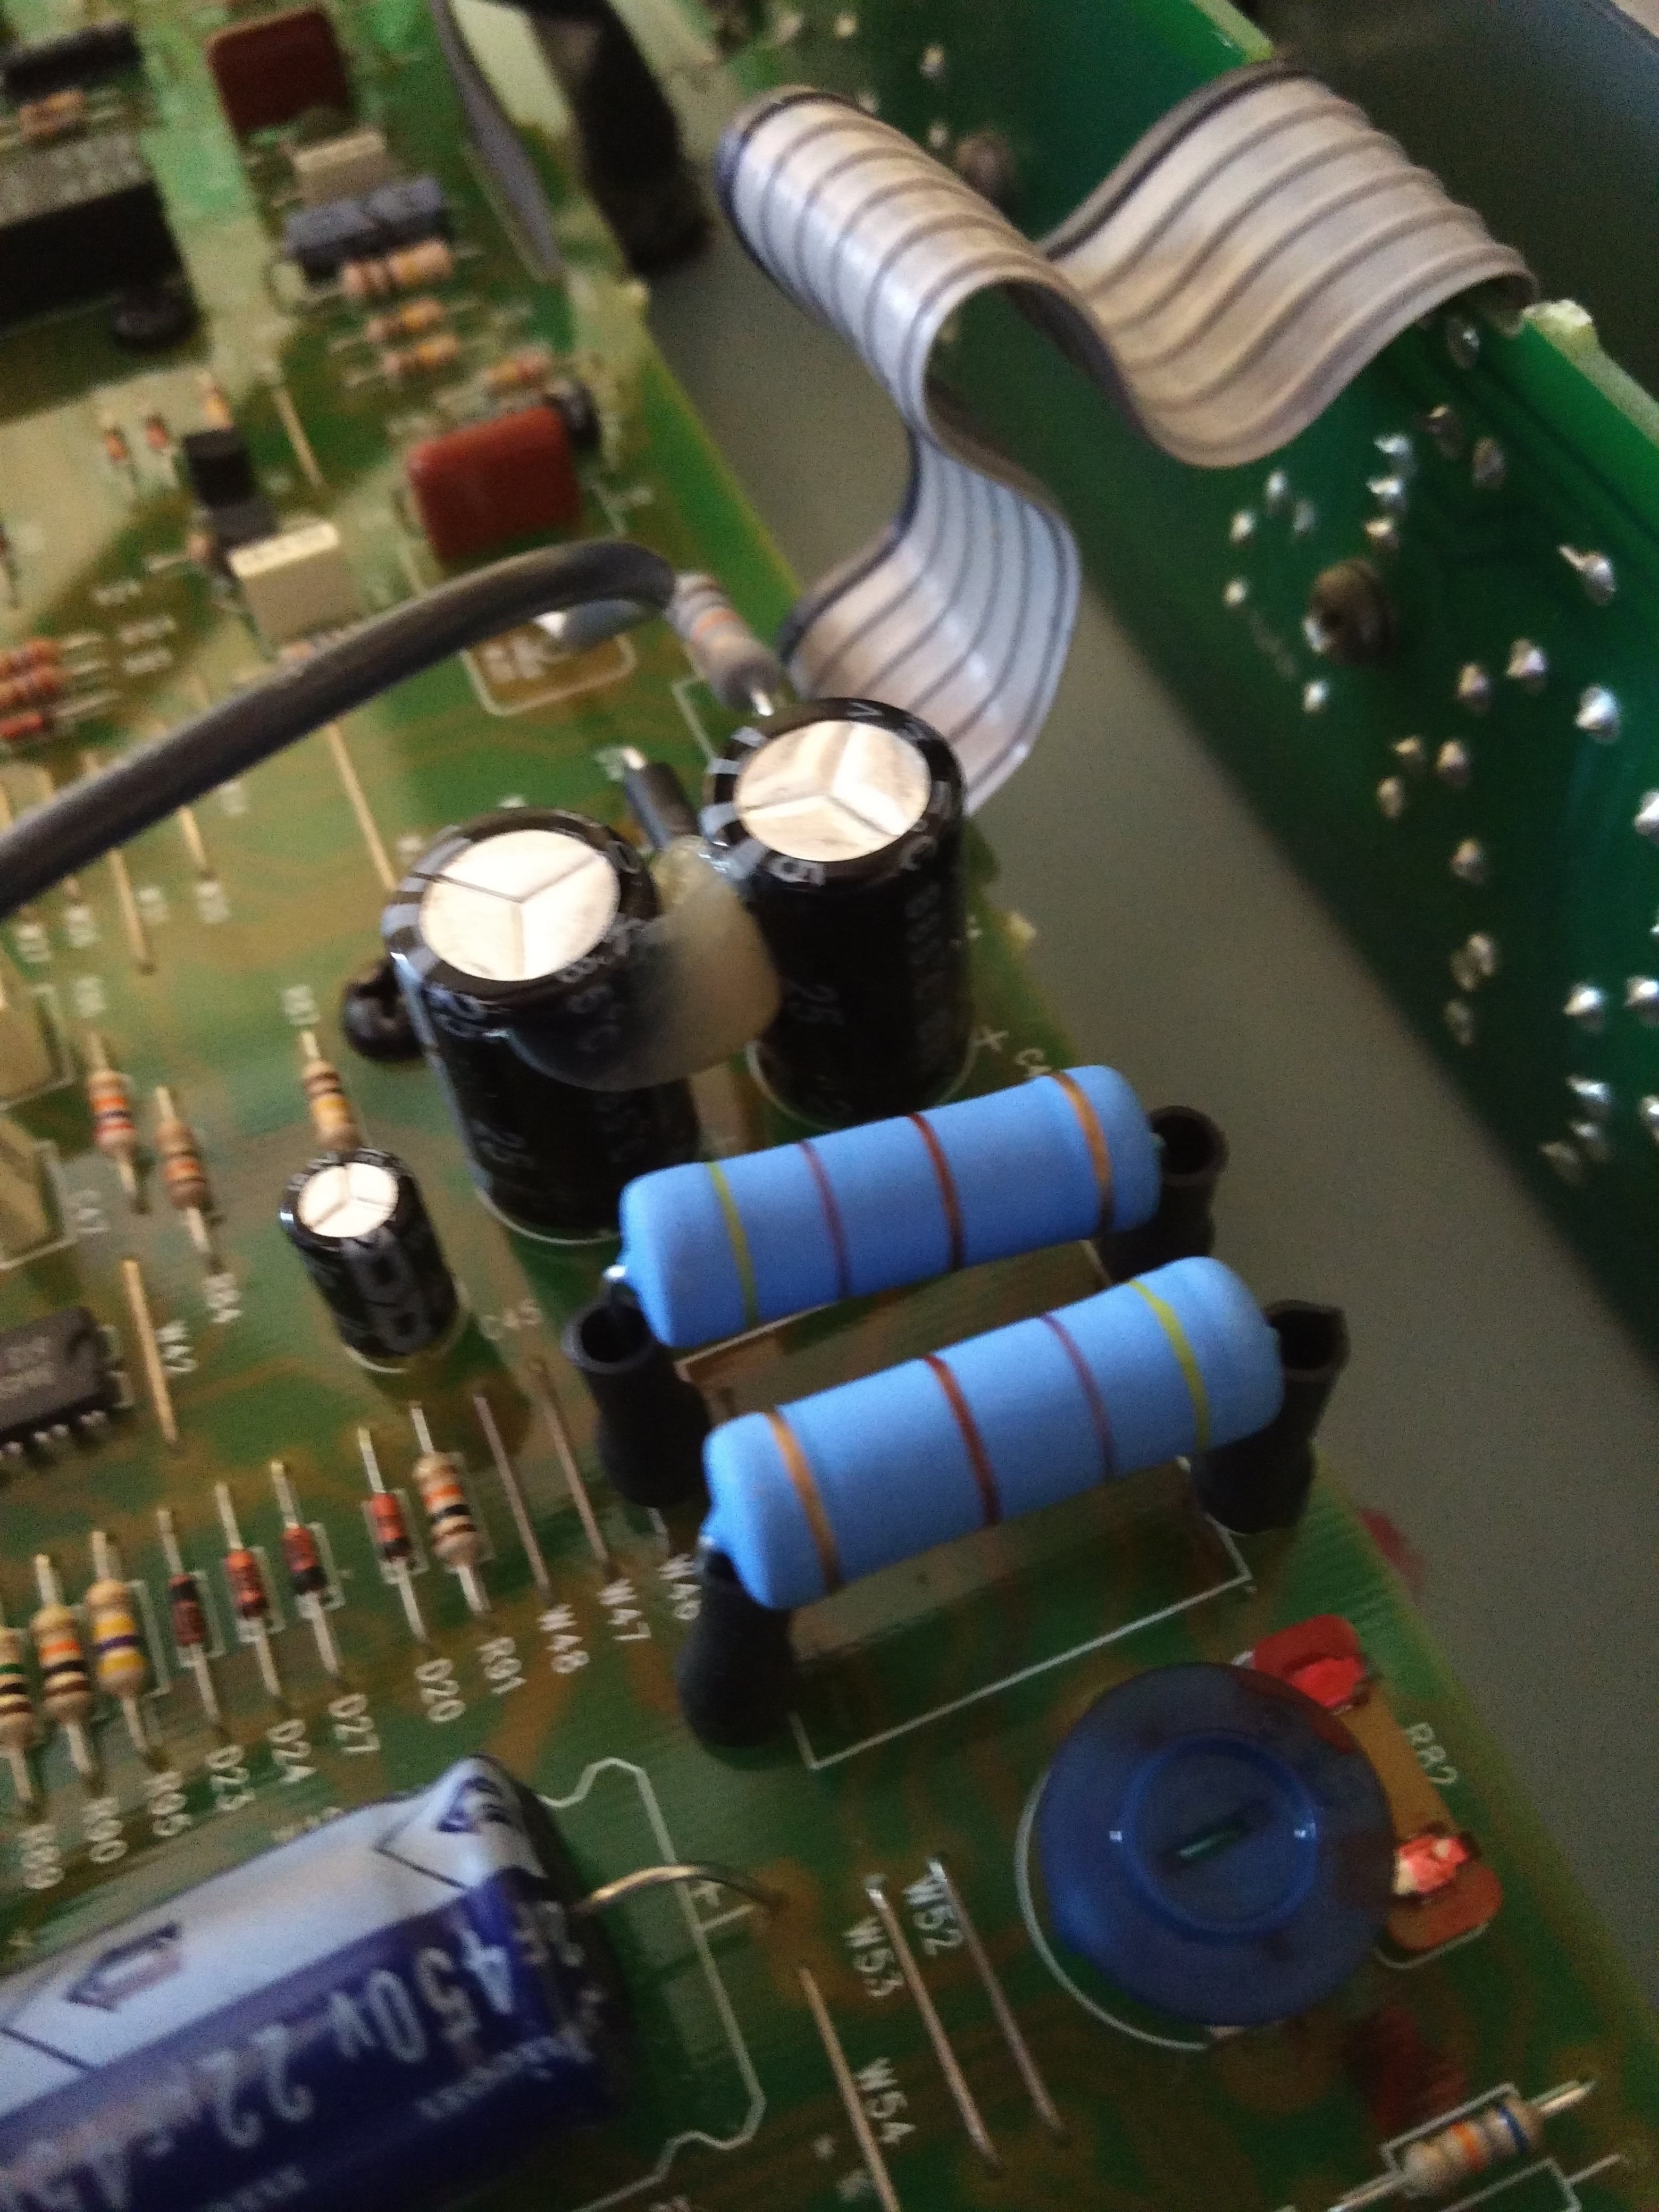
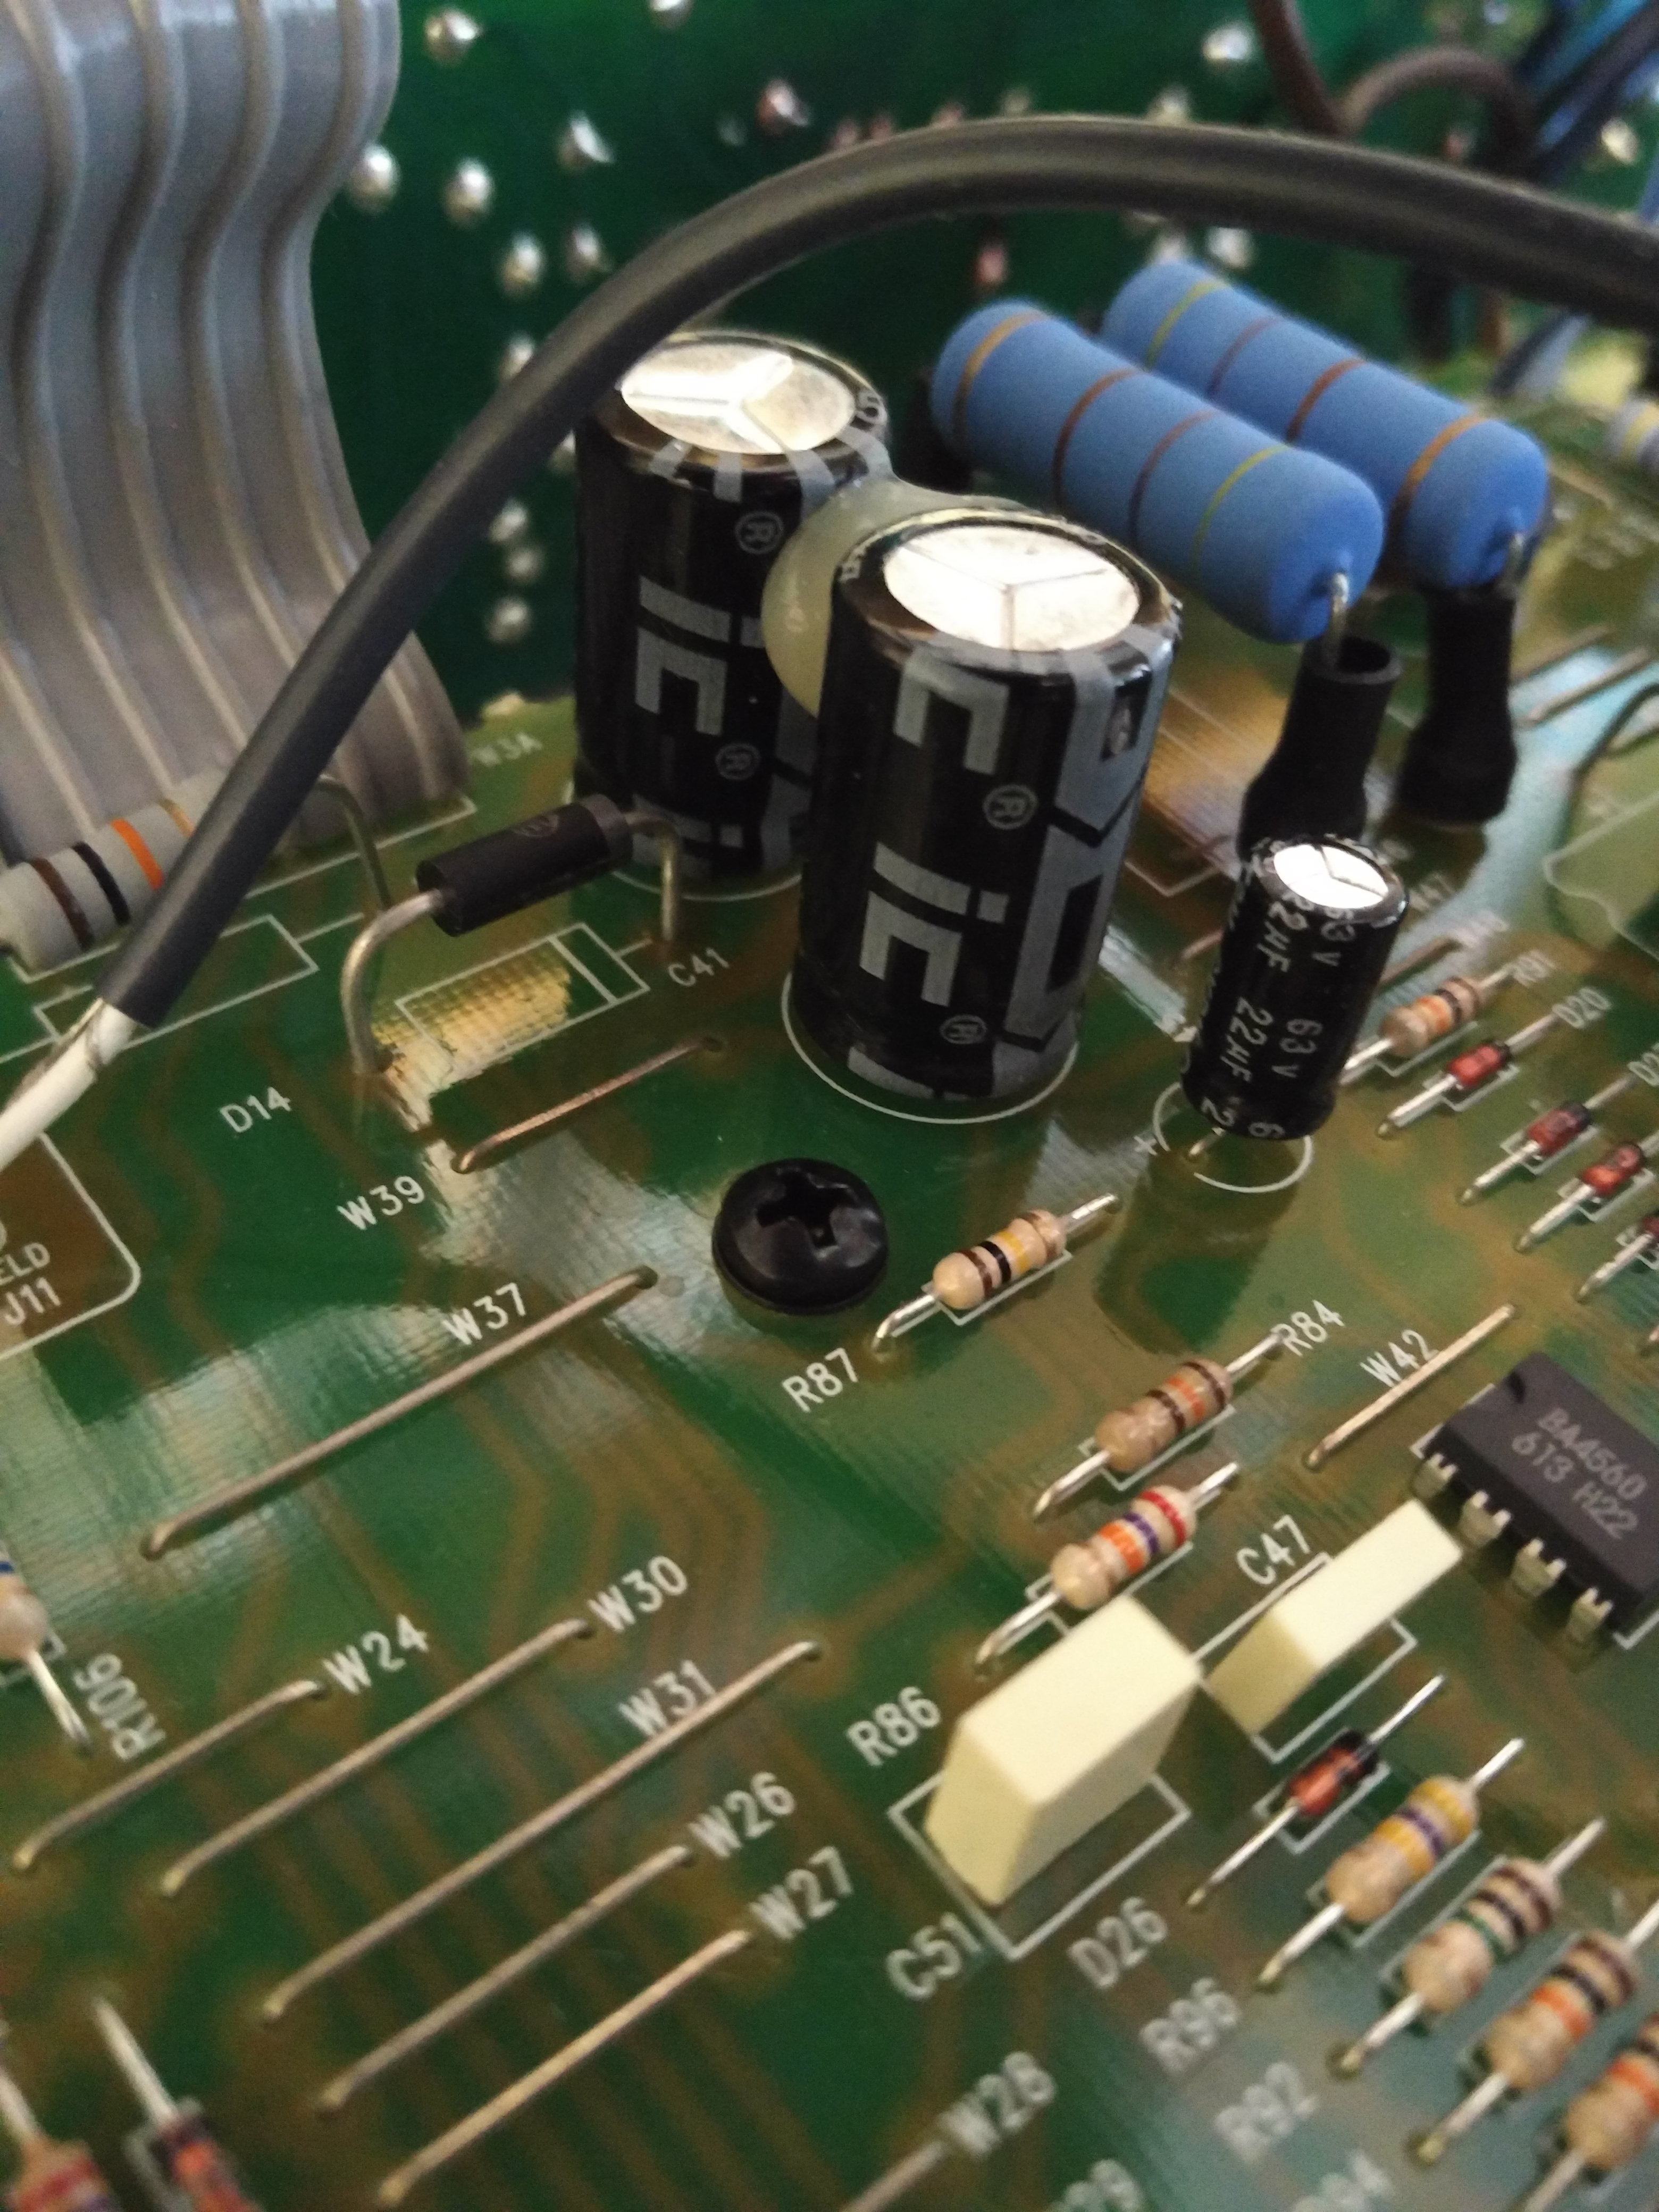
The most common fault is the Low voltage power supply (LT supply) failure. This powers the opamp driven reverb and effects loop. Fender create their 16V low voltage power supply from a 33V and create significant heat in the dropping resistors and zener. This heat then causes the copper to delaminate from the PCB, leading to crackles and bangs and occasionally complete signal dropout. You can see the heat issues on this picture, taken with my thermal camera. The dropper resistors are getting hotter than the power valves! (Update 2020: repair kit available here): 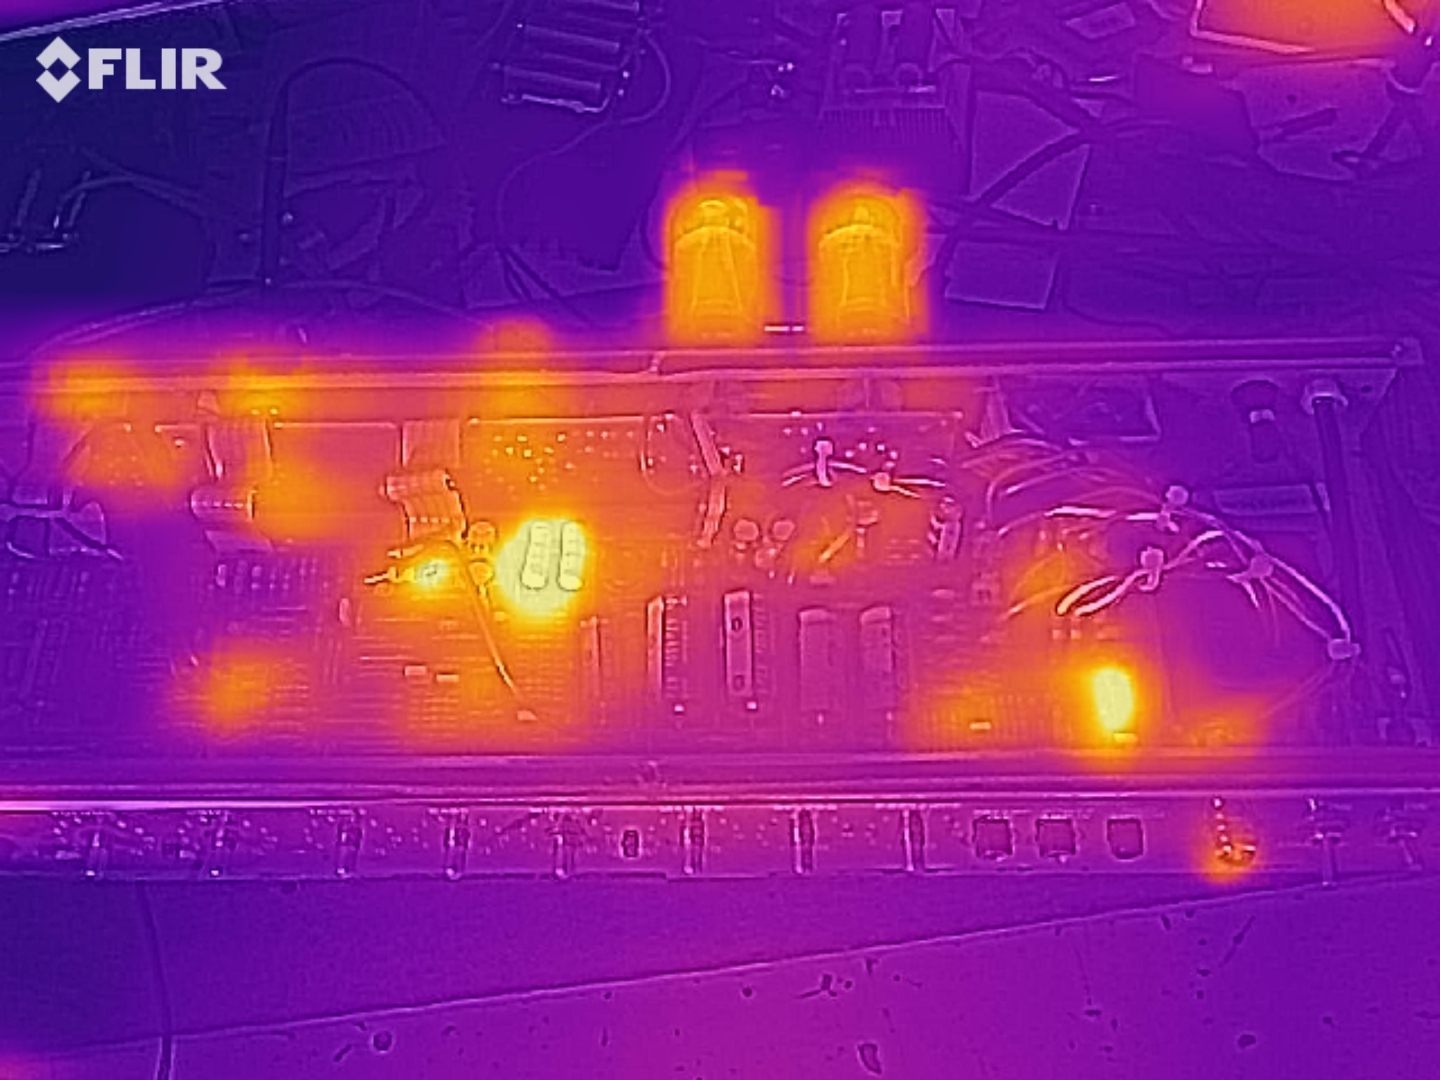
On older hot rod deluxe repairs there’s some PCB retracking work to do to repair the PCB damage. On newer amps I can just take preventative action – replace the 5W dropper resistor with a 5W part raised off the PCB with ceramic spacers and replace the replace the zener also raised off the board.
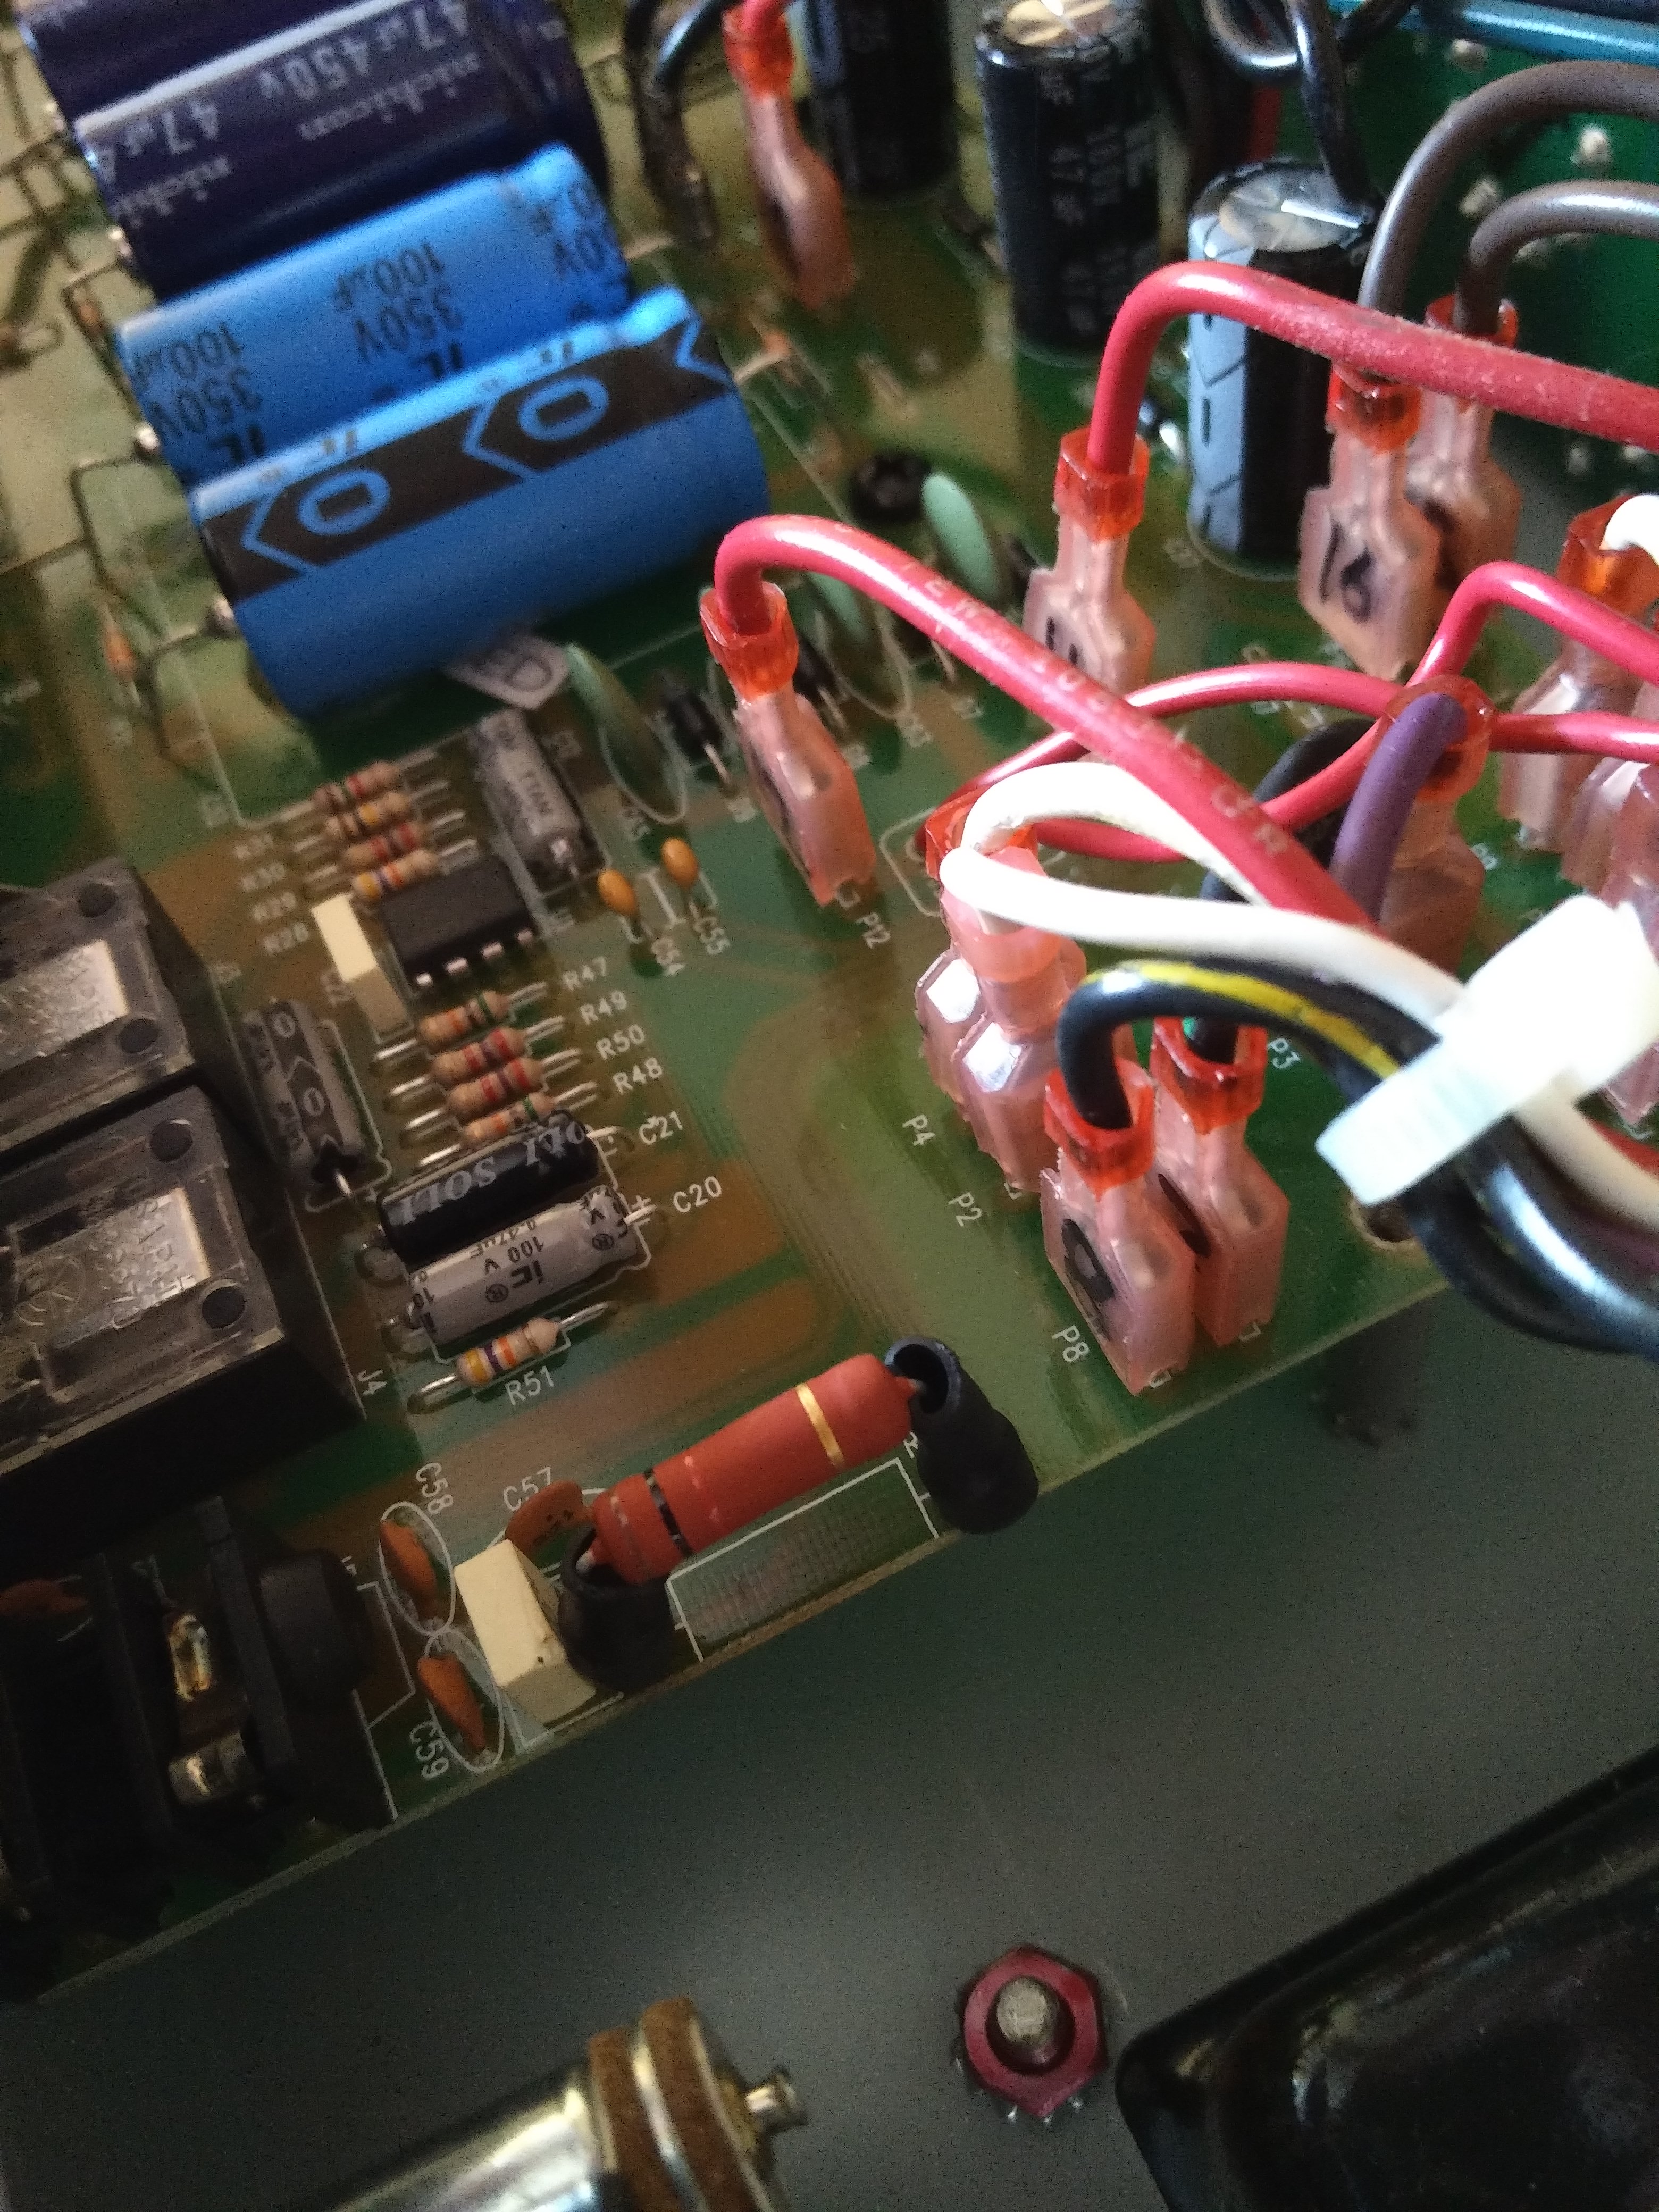
The second common fault is the grey ‘IC’ (Illinois capacitor) electrolytic filter caps which are prone to failure. Fender use these presumably because they’re the cheapest 450V axial caps around. In fairness to Fender, there are probably hundreds of Hot Rod Deluxe amps using these caps that are still working, but there are also a lot that fail. I use a mix of quality F&T (German) and Nichicon (Japanese) capacitors to replace these parts and I recommend replacement on all Fenders when I’m already removing the board.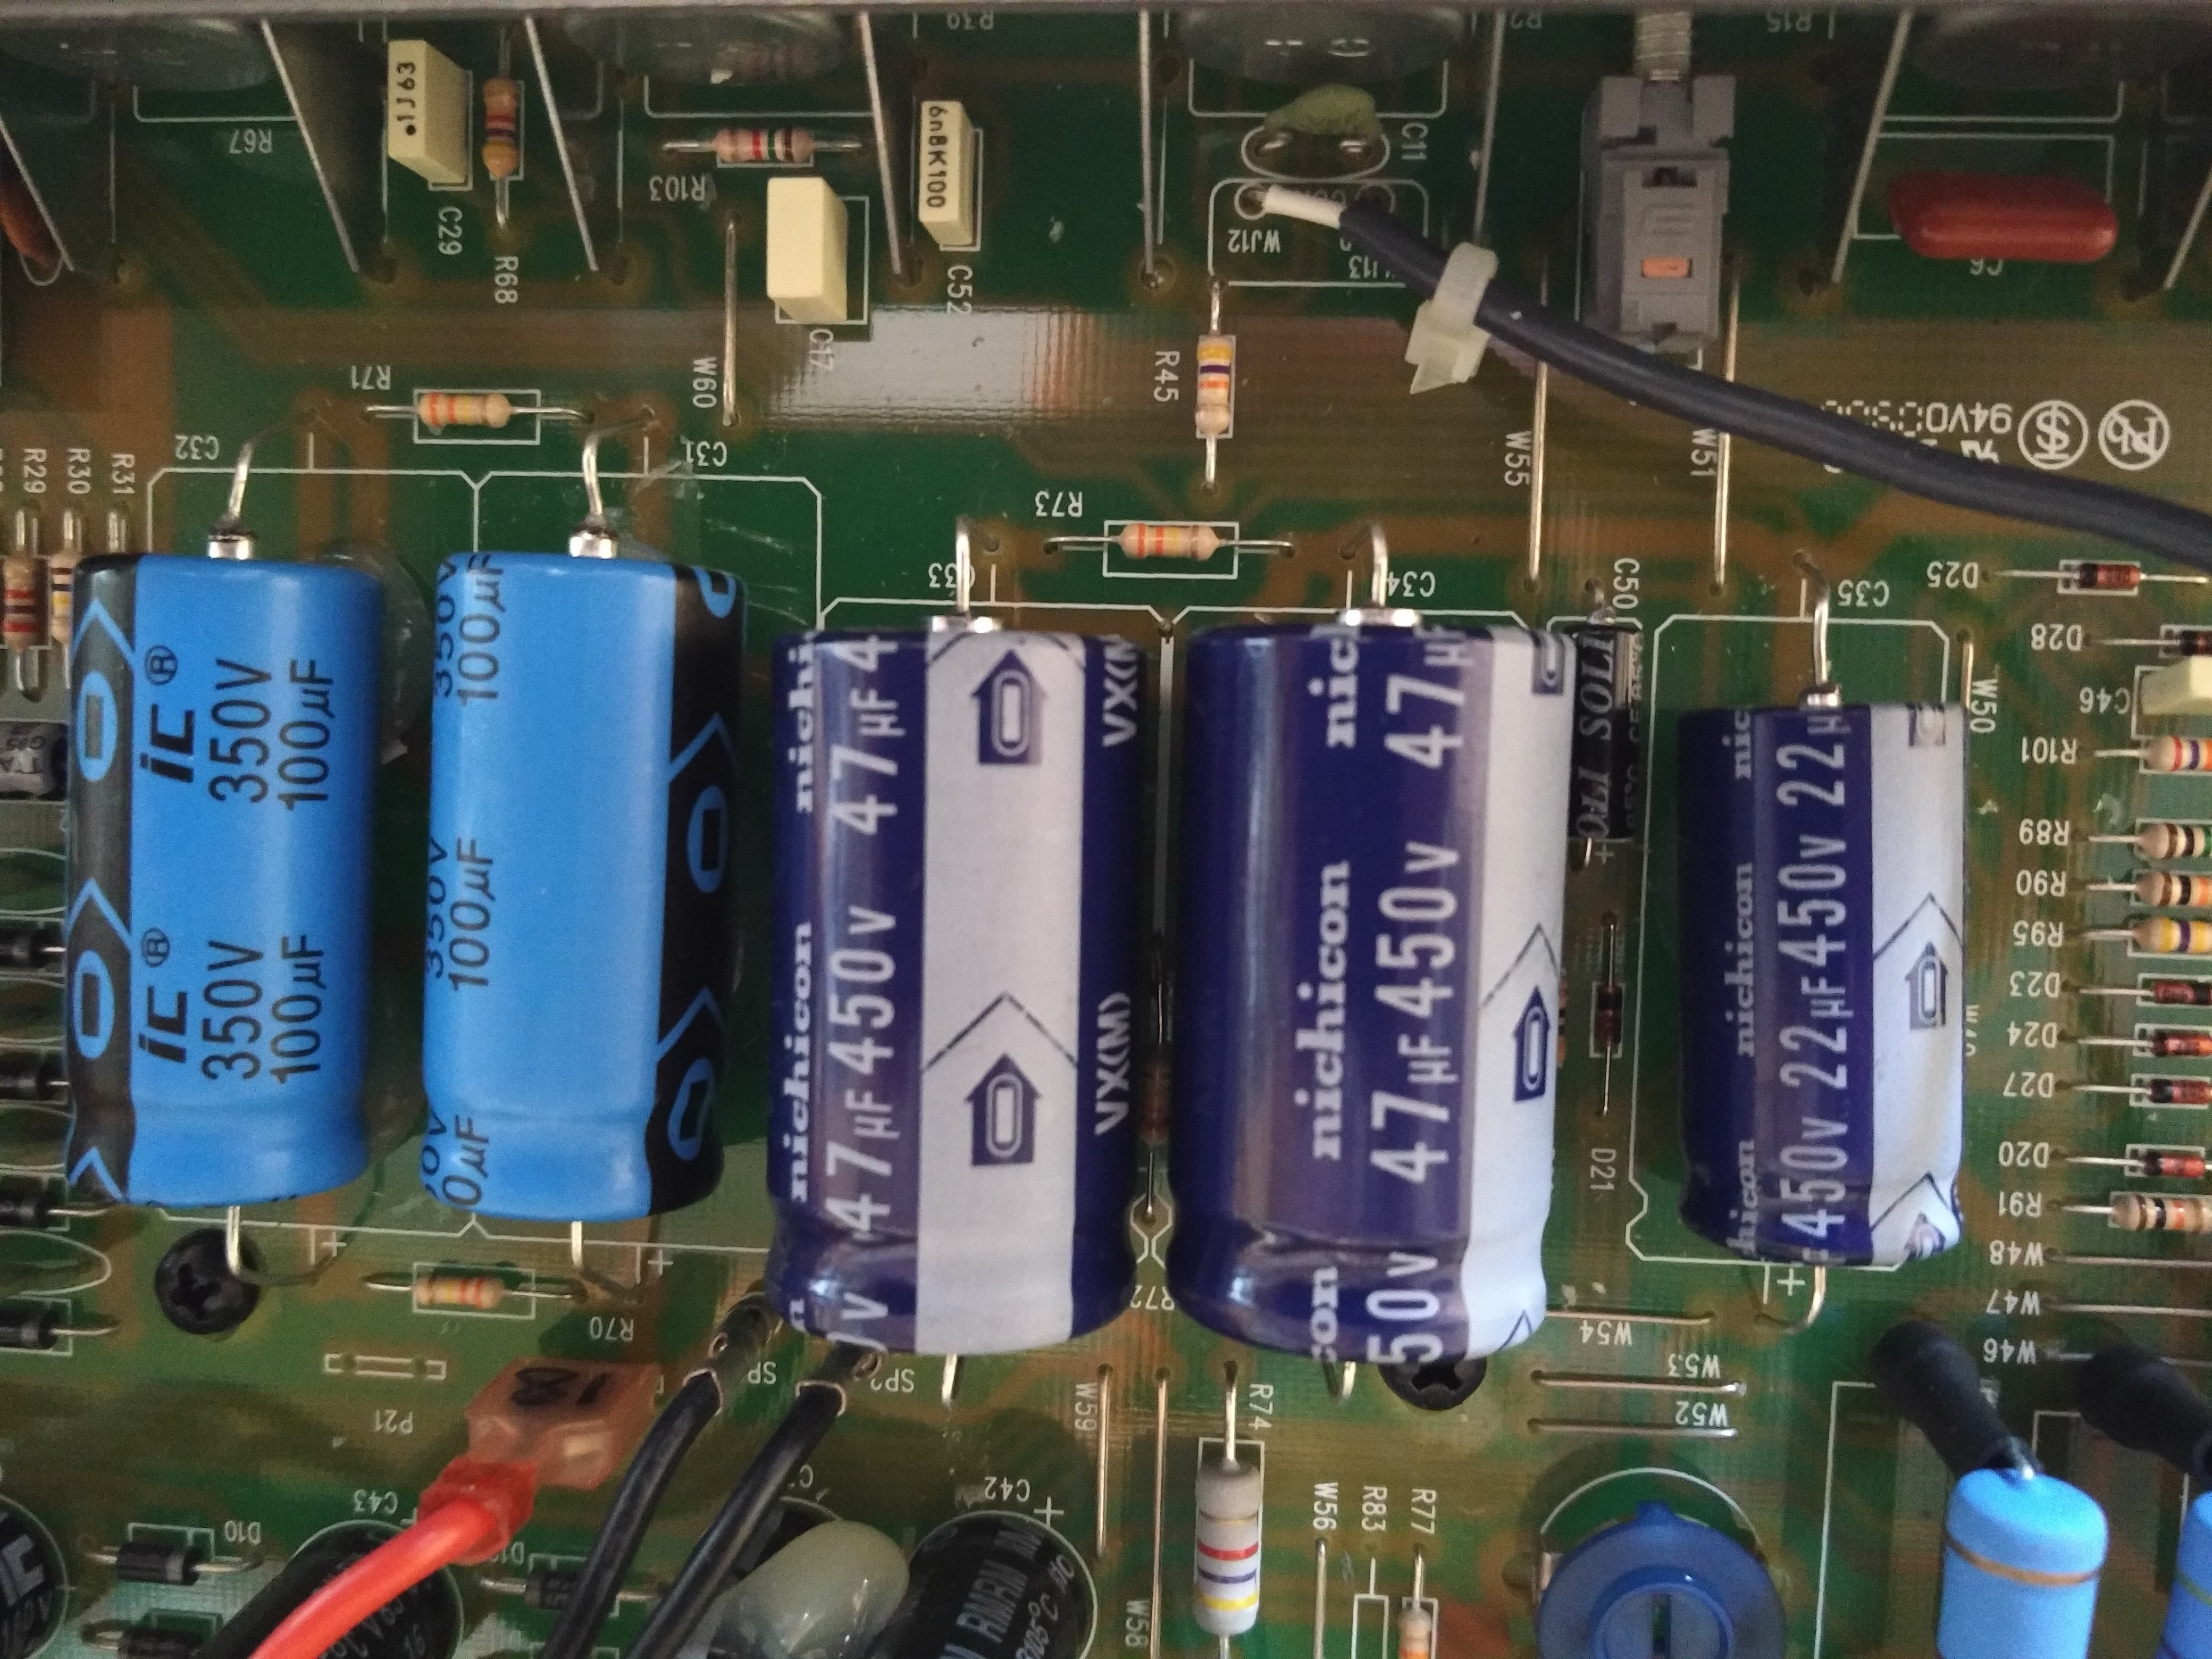
I overrate all caps significantly The cost increase is only a few pounds but leads to better performance and improved lifespan. The most important caps are C33 My preferred configuration is:
C36 (overrated by 100V)
C35 (Overrated by 50V)
C33 (overrated by 470V using 2 series caps!)
C31 (overrated by 470V using 2 series caps!)
Update Sept 2020: At the time of this post (2018), great quality Nichicon and F&T axial caps were still available. 2 years later, Axial caps are going the way of the dodo so I’ve switched to using high reliability radial RubyCons with a special adapter board (which I’ve made available to others as a repair kit available here).
The other thermal ‘weak point’ is the footswitch circuit, which gets the same treatment as the other hot resistors in the LT supply.
If you need a Hot Rod Deluxe Repair, please contact me.