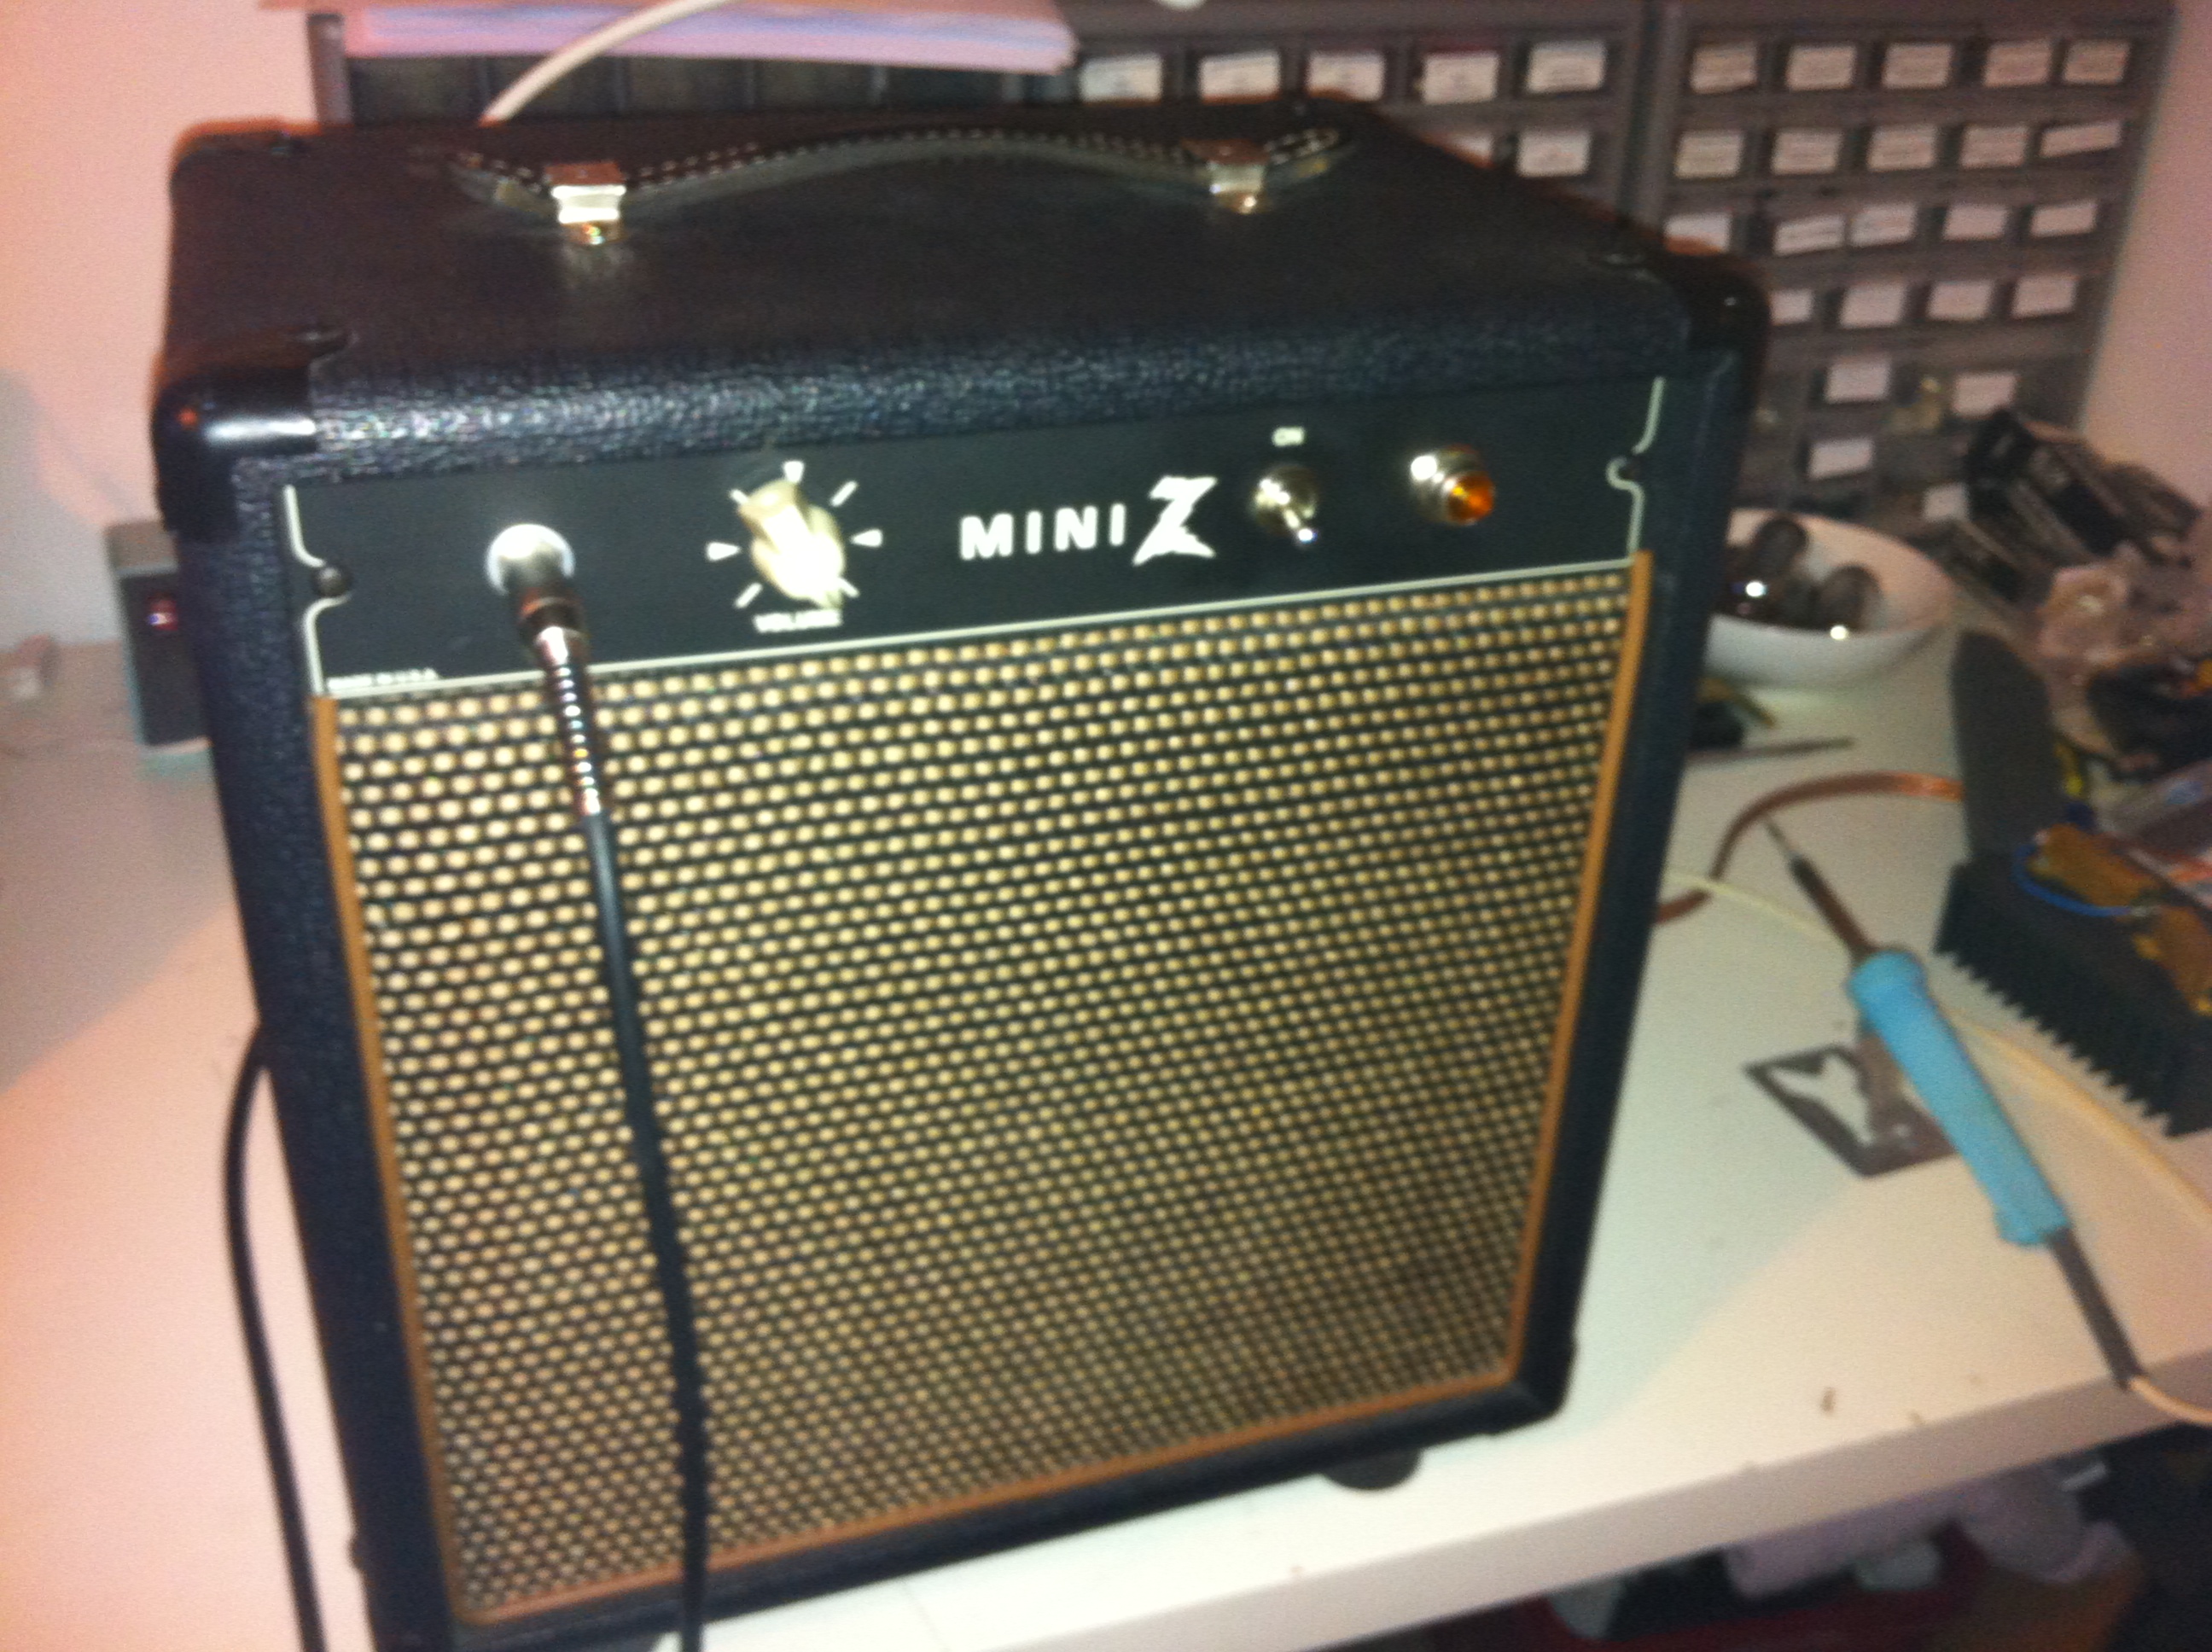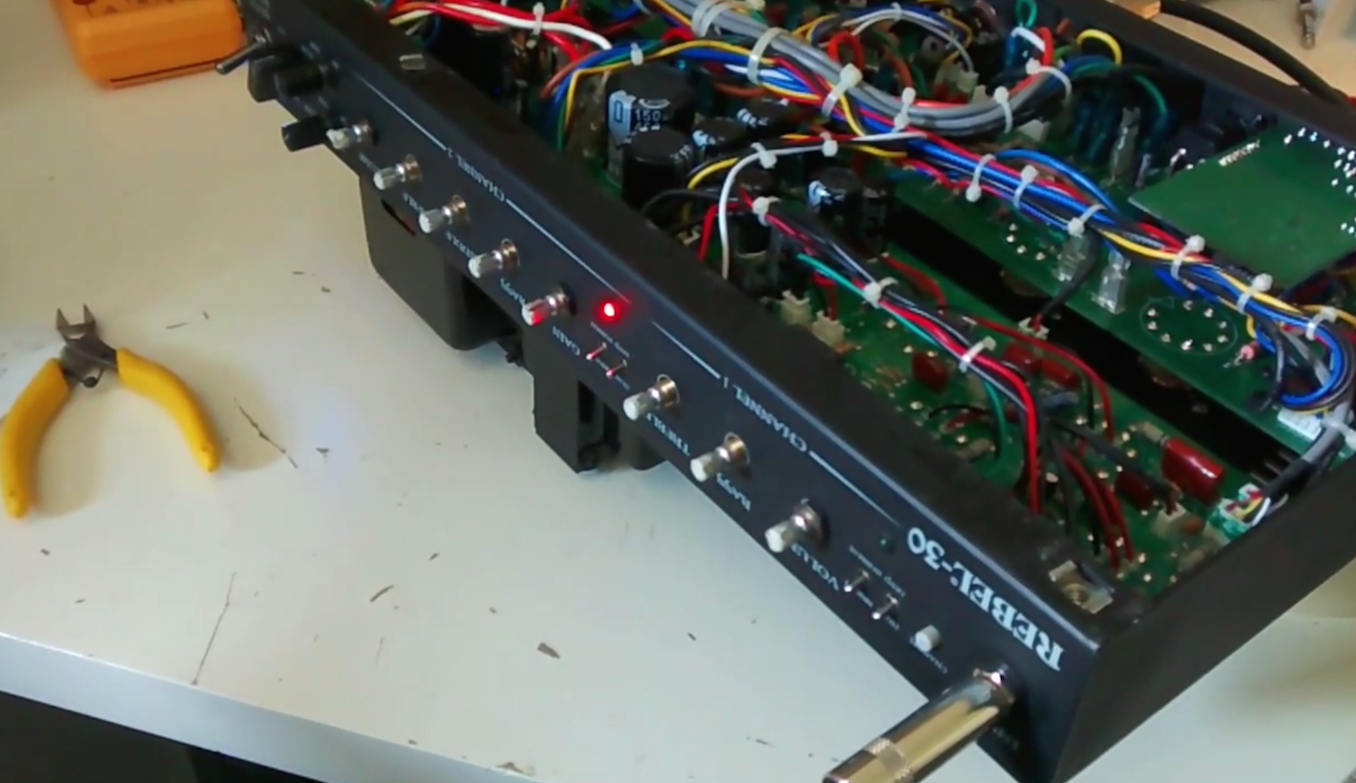
This amp is a Rebel 30 by Egnater. At first, I had a bit of trouble with the Egnater repair but I’m pleased to say that I found a solution for the customer. The diagnosis itself didn’t prove a problem, the problem was simply the gain potentiometer itself. This is a dual ganged part (2 pots in one). One half of the pot behaved fine, the other half was open circuit in the first part of the turn. This caused a loud clunk at the point where the track re-appears (see the video).
There was no maker’s mark on the pot so I couldn’t be sure what brand it was: probably a far eastern part sourced by the contract manufacturers. It’s quite easy to find dual ganged 500K pots from guitar gear suppliers but they’re designed to fit inside guitars or in ’boutique’ hand wired amps – none of them will fit in to the space in this tiny Egnater repair.
Of course I tried to contact Egnater, but received no reply. Unfortunately I wasn’t been able to find an alternative panel mount part that will fit into the space constraints inside the case. There are switches and capacitors internally that would prevent the available chassis mount parts from being suitable.
However I came up with a fix that sorts some of the issues with the existing pot. There is still a small bit of silence for the first part of the turn, but the very loud bang is mostly gone, with only a whisper remaining, inaudible unless you’re listening for it. The sound returns whilst the channel is still within the ‘clean’, not yet crunchy part of the drive channel turn, so all the useful elements of the gain channel remain.
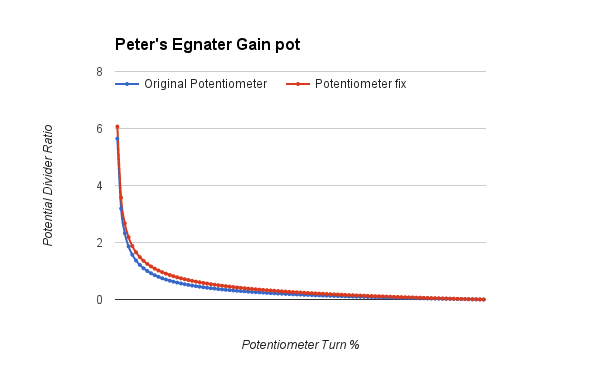
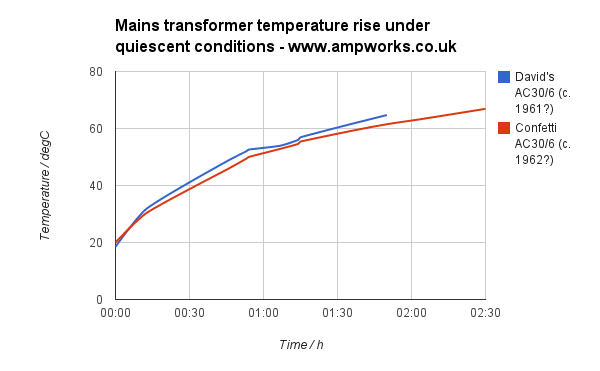
Mathematically, the fix I’ve employed affects the potentiometer ratio only very slightly (as in the graph), I’d argue imperceptibly. The truth is it’s probably even closer than the theory suggests, as real pots don’t curve this smoothly! I’ve done a video comparing the tone before and after the mod, to demonstrate that there’s no real difference, but who knows, you may pick up a nuance. As you can hear, the bang is very evident in the video before the mod, but inaudible after.
The video appears here:
I’m pleased to say that the customer was very happy with the Egnater repair! If you have a Rebel 30, or another Egnater in need of repair, please get in touch.