Peavey Repair – 6505

Peavey Repair

Sadly I forgot to photograph the amp so here’s the stock Peavey repair image! I’m not the most djenty/hardcore kind of musician, but it’s hard not to admire the level of filth before feedback that the Peavey engineers have got out of this fiery monster. This amp is a 6505, which I believe is a progression from Peavey’s 5150 amp.

As part of a service, I diss-assemble the amplifier, check output power, check all the valves in my valve tester, test all the potentiometers, soak test the unit and generally do any preventative maintenance required.

Just in for a service. No need for a Peavey repair on this day!

If you need a Peavey repair, please contact me.

Line 6 Repair – Pod XT live

Line 6 Repair

Oh dear! This line 6 repair was a bit of a mess – you can see on the right hand side of the pic that the board has been burnt by some over heating rectifier diodes.

Most pedals run from a DC supply, but a lot of line 6 gear uses and AC supply. A popular reason for doing this is to allow the designers to simply create positive and negative DC power rails in the unit. They don’t just do it to confuse guitarists! The AC supply must then be rectified by diodes and filtered with caps to create a DC supply. Its these diodes that were destroyed.

Anyway, I was surprised to see that the diodes on this unit look like 1A packages when the unit is specced for 2A intake. The line 6 repair procedure was therefore to replace these with meaty 3A diodes to prevent further problems. The owner is lucky that none of the sensitive DSP and microcontrollers appeared to have been damaged as these could not have been replaced.

Due to the complex nature of the DSP kit that they use, line 6 repairs can sometimes be uneconomical – whole boards sometimes have to replaced in line 6 repairs. However this line 6 repair was completed in the first hour and was cheap for the customer. If you have a line 6 repair job for me, please get in touch and I’ll try to advise.

Myth avoidance: Pedals made with surface mount technology are not that hard to repair, though very fine pitch SMT can be harder. What is next to impossible is the replacement of DSP and MCU chips. Since I don’t have the code that was loaded onto these I can’t repair them, and so these repairs can only be done by a board replacement.

Hifi Repair – Restek Charisma

I don’t normally ‘do’ hifi – the construction often makes hifi repair inconvenient, and I don’t get to the opportunity to rock out when the repair is finished. However I took this hifi repair on for an associate who was very helpful to the Engineering team I work with in my ‘day job’. It’s a Restek Charisma – ebay tells me its worth what I’d call ‘silly money’!

The amp quite simply wouldn’t turn on.

Medium High end linear Hifis often have what’s called a ‘soft start circuit’. These prevent a massive inrush of current into a highly spec-ed transformer, the like of which you wouldn’t see in a guitar or bass amp, though you may be familiar with the ‘dong’ that you get when you turn on a powerful bass amp or linear PA – that’s the sound of the current vibrating the mains transformer. This soft start circuit uses another small mains transformer to power a couple of relays that then allow current to pass from the meaty mains transformer. This small transformer died resulting in a complete lack of anything. Replace the transformer and we’re good to go again as seen in all the pretty lights on the picture.

If you have a hifi repair, please do get in touch though I’m afraid I don’t always take them on.

Marshall – 2205 Repair

Marshall-Repair-JCM800-Repair

This 2205 repair came to me following an unsuccessful operation by another tech.

The 2205 were a new step for Marshall – and were one of a group of amplifiers that formed the ancestors of many channel switching amps we now take for granted – including amps by Mesa Boogie, Cornford, Hughes & Kettner, Marshall’s own JCM 2000 (DSL and TSL) and too many more to mention.

Modern Marshalls use relays for switching, but the 2205 uses a transistor array. Unfortunately it was that chip in this 2205 repair that turned out to be faulty. My customer tells me that there were 3 2205 versions, of which this is the second (1987 I think).

The original switching circuit has problems with popping that the original repairer had worked on. Unfortunately in doing so they had damaged the transistor in the switching chip that shorts out the distortion channel during clean mode. This meant that both channels passed the distorted signal. Oops!

I replaced the damaged chip and added a little extra anti-pop protection.

The amplifier also had hum problems, which were fixed by a partial implementation of the 3rd 2205 version. Swapping the triodes that were used for different functions (spring reverb and gain stage) reduced the hum to a very low level.

Disclaimer/Myth avoidance: Transistors and CMOS switches are good for switching some things, relays are good for others. Transistor switches don’t affect tone any more than relays if they’re correctly implemented.

If you have a Marshall 2205 repair job for me, please get in touch.

Fender Repair – Blues Deville

Fender-Repair-Blues-DeVille-Repair

Fender repair time!

This is a lovely Blues Deville fender amp that’s seen some serious loving! The owner has been gigging it for 15 years. Unfortunately, first the Low gain input died, then the high gain became intermittent. The owner asked for a full valve amp service and I promised to repair the jacks as part of the service.

Repeated insertion and removal of the jack had moved the jack socket and over time pulled the PCB pads from the PCB. This led to the intermittent crackling that was heard and would have eventually torn the thin copper trace off.

Quality chassis mount switchcraft models were used in the repair to replace the two input jacks. These were wired into the PCB using flexible wires to remove the mechanical coupling to the PCB. Now if the jack socket moves then the wires will move and the PCB will not, and the integrity of the connection will be maintained.

If you have a fender repair, please get in touch.

Myth Avoidance: Amp geeks often debate PCB vs turret or tag mounted components. I have to say that unlike many independent amp builders I’m a believer in PCB technology, but for mechanically and thermally stressed parts it is wise separate the component from the PCB to avoid causing stress. This fender repair is a good example of that principle.

Laney Repair – RBX700

Laney-Repair-RBH700-Repair

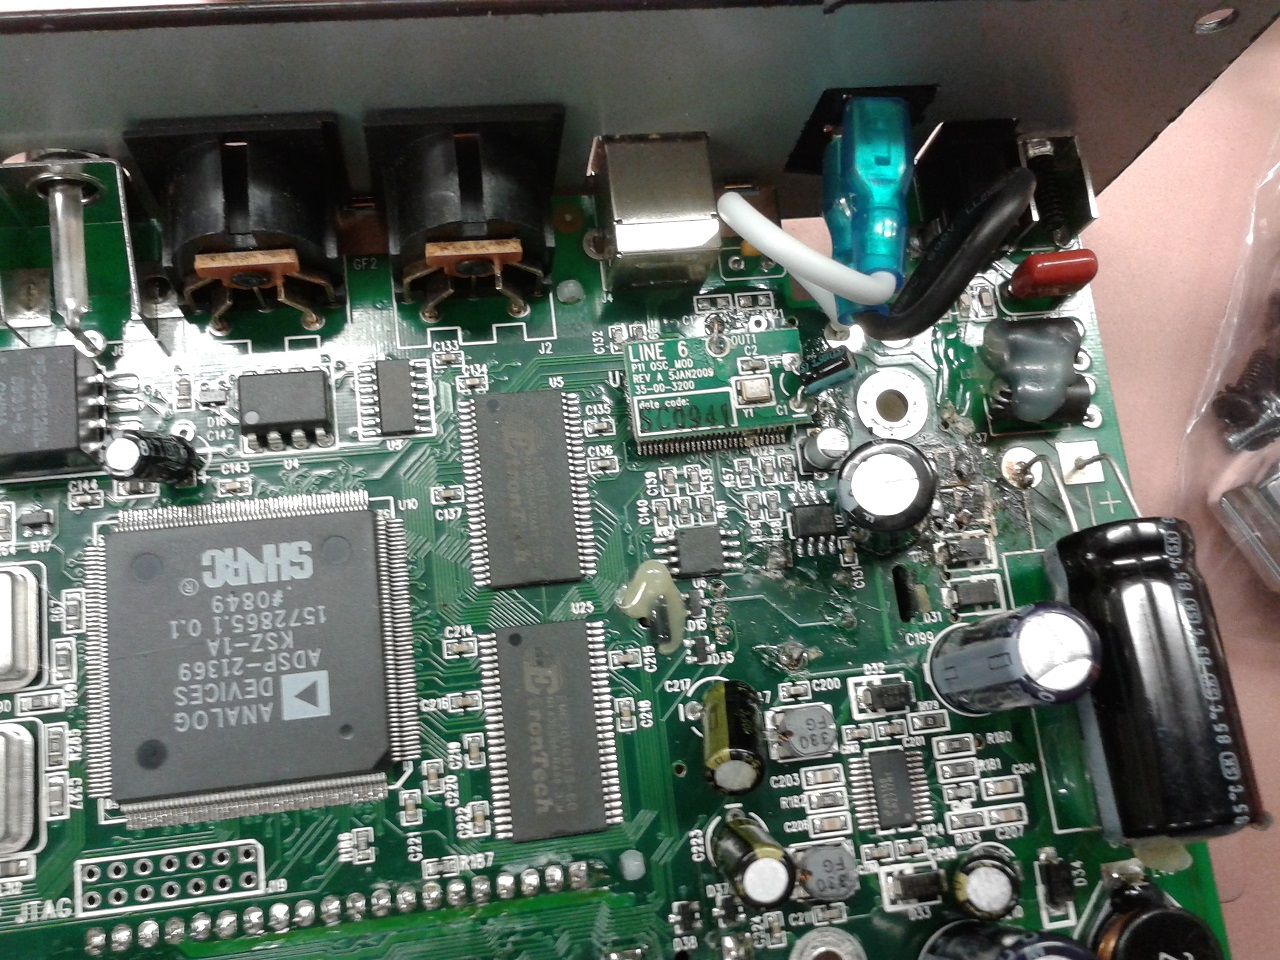
This Laney Repair was an RBX700 with an annoying intermittent problem that I was at first unable to replicate. The customer descibed the fault as a volume drop-out after about 10m or so of playing. On the bench at the repair shop it worked for several hours on several occasions without any issues.

When I have an intermittent fault to fix, I first of all inspect all solder joints in the amp with a magnifying glass. Then I run a high RMS signal to heat up the amplifier and attempt to dislodge any power supply or output stage joints that may be affected by heat. I’ll then use insulated tweezers to ‘poke’ likely culprits inside the amp and in PCB amps like this Laney I’ll flex the circuit board by hand. I don’t recommend anybody does any of this to a live amp unless they really know what they’re doing.

Anyway, all to no effect in this amp!

The repair issue turned out to be the FX loop jacks known as the the ‘dreaded switching jack problem’ that I’ve heard about, mostly from non-UK repairers who deal with amps in more humid conditions. The FX loop jacks in most amps are in circuit all the time, they utilise back contact switching to pass signal through when no cables are plugged in. In this Laney, the FX loop jack contacts had oxidised and a layer of insulation built up to cause the described symptoms.

Oxidised jack contacts can be fixed using simple techniques described here.

The customer sensibly said ‘but I don’t use the FX loop!’ but this issue is actually compounded by lack of use – in the other jacks on his amp, eg the input jack, any oxidation would have been rubbed off by constant use.

I like these Laney RBX amps – they make a great sound and don’t cost too much.

If you have a Laney repair, please get in touch.

Cornford Repair – MK50 ii

Cornford Repair

This Cornford repair came in for a service. Conford amps are often beautifully constructed amplifiers that sounds as good as they look! The owner uses the MK50 ii bias switch to use 6L6 and EL34 valves. He was using E34Ls (different to EL34s!!) and wished to have the valve amp biased to move the EL34s again. For further details of my service procedure, please see this page

There is some question over the future of Cornford after the departure of designer Martin Kidd (‘He’s so proud of it, he put his name on it!’ – see pic 😉 ). I don’t know how true all the gossip is. I don’t know how it may affect Cornford owners if they need their amps repairing, but I do know that if you have a Cornford repair or a valve amp bias job, you can get in touch. Your baby will be in safe hands!

Marshall MG Repair – MG15DFX, Ampworks, Newark

Marshall Repair

No job too small! This Marshall MG Repair was a simple job – I wouldn’t normally take a lower cost amp in to repair – with the cost of a 2nd hand replacement being around the £50 mark, more than an hours labour and the repair becomes uneconomical for the customer. But this little Marshall MG had only a minor ailment – the emulated out was not working. It was a simple job to check the resistive network that links the preamp to the socket – no fault there. Cleaning the socket improved the situation, but didn’t fix it entirely so the socket had to be replaced.

Note to customers – always keep sockets that you don’t used lubricated with some cheap electrical contact cleaner – only a couple of quid spent, the pot last for ages and you can clean guitar pots and switches as well as input sockets. Never use on a live amp.

Marshall MG repair MG15DFX

If you have a Marshall MG Repair job, get in touch.

Vox Repair – AC30CC2

Vox Repair, AC30 Repair

Much as its nice to be taxed by a complicated repair, I love a simple job too! Despite a number of problems, this Vox repair was an easy fix for the customer, in fact, thanks to a dodgy screw the hardest part was getting into it! The customer complained of a crackle and intermittent volume dropout – I was able to sort both problems out for just £30!

These amps with the Alnico Blue speakers do sound great. I’d recommend checking them out.

If you have a Vox repair that needs some attention, please get in touch.

Hughes & Kettner Repair – Tube 50

Hughes & Kettner Repair

This Hughes & Kettner repair is a tube 50 brought in for a valve amp bias. The Tube 50 is a fixed bias amp, meaning you need to bring the amp to a tech to have it adjusted (confusingly!!) by a technician. The opposite of fixed valve bias is cathode valve bias. Confusingly cathode bias is not usually adjustable. To make sense of this, check out this article

The Tube 50 is a 2 channel valve amp with three ECC83 in the preamp and two EL34s in the power amp. My apologies – the image is a stock image – not the actual Hughes & Kettner Repair.

If you have a Hughes & Kettner repair or a valve amp bias job, please get in touch.