Fender Hod Rod Deluxe Repair

Because the Hot Rod Deluxe is the world’s most popular valve amp [citation needed], I get a Hot Rod Deluxe Repair arriving quite regularly.

The amp has two common faults, which are well documented:

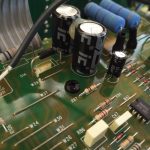
The most common fault is the Low voltage power supply (LT supply) failure. This powers the opamp driven reverb and effects loop. Fender create their 16V low voltage power supply from a 33V and create significant heat in the dropping resistors and zener. This heat then causes the copper to delaminate from the PCB, leading to crackles and bangs and occasionally complete signal dropout. You can see the heat issues on this picture, taken with my thermal camera. The dropper resistors are getting hotter than the power valves! (Update 2020: repair kit available here): Hot Rod Deluxe Repair Thermal
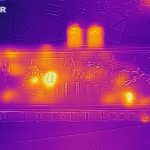
On older hot rod deluxe repairs there’s some PCB retracking work to do to repair the PCB damage. On newer amps I can just take preventative action – replace the 5W dropper resistor with a 5W part raised off the PCB with ceramic spacers and replace the replace the zener also raised off the board.

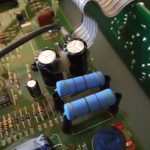
The second common fault is the grey ‘IC’ (Illinois capacitor) electrolytic filter caps which are prone to failure. Fender use these presumably because they’re the cheapest 450V axial caps around. In fairness to Fender, there are probably hundreds of Hot Rod Deluxe amps using these caps that are still working, but there are also a lot that fail. I use a mix of quality F&T (German) and Nichicon (Japanese) capacitors to replace these parts and I recommend replacement on all Fenders when I’m already removing the board.Hot Rod Deluxe Repair Caps
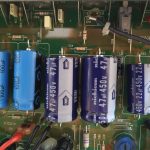
I overrate all caps significantly The cost increase is only a few pounds but leads to better performance and improved lifespan. The most important caps are C33 My preferred configuration is:

C36 (overrated by 100V)
C35 (Overrated by 50V)
C33 (overrated by 470V using 2 series caps!)
C31 (overrated by 470V using 2 series caps!)

Update Sept 2020: At the time of this post (2018), great quality Nichicon and F&T axial caps were still available. 2 years later, Axial caps are going the way of the dodo so I’ve switched to using high reliability radial RubyCons with a special adapter boardย  (which I’ve made available to others as a repair kit available here).

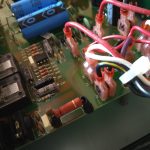
The other thermal ‘weak point’ is the footswitch circuit, which gets the same treatment as the other hot resistors in the LT supply.

If you need a Hot Rod Deluxe Repair, please contact me.

Hot Rod Deluxe repair Dropper resistorsHot Rod Deluxe Repair ZenerHot Rod Deluxe Repair Footswitch Dropper

Fender Brownface repair – Super Amp 6G4A

This Fender Brownface repair was something of a labour of love here at Keld Ampworks. It’s a fascinating amp – having started life presumably in America, it’s got a 110V transformer. At some point it made its way to Belgium, where it was ‘converted’ to EU voltages, using a rather scary transformer bolted to the inside of the woodwork. It was later bought by the current owner and brought to the UK.

This was my first Fender Brownface repair. I’ve done blackface Fenders, Tweeds and Silverface fenders but never before a Brownface. Nice to have something new.

My first task was to make the amp safe. The Fender ‘death cap’ is well documented elsewhere so I won’t dwell on it. Suffice to say that it was removed, and a 3 core earthed mains lead with US plug fitted. The fuse and mains power switch were moved to the ‘live’ line. They don’t make ’em like this any more! The scary open frame in-cabinet transformer was also removed from circuit and replaced with a removable US-UK transformer. This makes the amp more ‘original’ and also safer. Double win!

Most of the preamp tubes were still good. The power valves were replaced with a new set of Sovtek 5881s and one preamp was replaced. The valve sockets were all tensioned and cleaned.

Checking the filter caps inside I saw that 2 out of 7 had already been replaced – but with underrated parts (350V instead of 500V!). Of the remaining five, three were leaking electrolyte and so after consulting the customer I replaced all 7. I was able to preserve the original filter cap covers and use them to conceal modern Rubycon parts at 700V.

At this point the amp was much more stable but had a few intermittent crackles and bangs. Many of these were sorted by replacing some coupling capacitors.

The last issues were with the ‘Vibrato’ channel. The vibrato modulation was bleeding through horribly onto the normal audio signal. This turned out to be further cathode bias and coupling issues.

If you need a fender Brownface repair, please give me a call.

Fender Blues Jnr Repair – Ghost Notes

Fender Blues Jnr repair

This Fender Blues Jnr repair was another urgent job completed quickly for a customer who needed it for a gig in Lincoln on the evening it was dropped off.

He brought it to me reporting that something ‘wasn’t right’ with the sound. Upon listening to the amp I could tell what he meant – under certain notes there was an odd ‘subharmonic’ type sound, ghost notes appearing underneath the played notes.

I’ve done other Fender Blues Jnr repair work in the past – but unfortunately someone else had already been working on this amp. They’d make a bit of a mess of the power amp

Fender Blues Jnr repair

Unfortunately the previous attempt at repair, though well meant, caused problems – you can see in the first two images there are lifted pads (possibly the original problem or caused by excessive heat when soldering), no solder between pin and pad on the cathode and some burning on the PCB through excess heat (this is actually on pin 3 of the EL84 which isn’t used so not a big issue).
Fender Blues Jnr repair - PA rewire
The third image is how it should look – Fender’s original soldering on the preamp valves is intact. The preamp valves have the screws closer, they’re shorter so there’s less force exerted and they’re not near the place where you’d put the mains cable.

The power valve section of the PCB was beyond sensible repair and the best way to proceed was to take out the PCB, and saw it in half, re-fit the preamp part of the PCB and wire the power stage point to point. I used chassis mount valve sockets to prevent this happening to the power stage in the future.
Fender Blues Jnr Repair 2
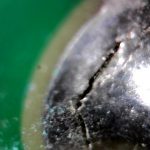
There were also some hairline cracks observed under the microscope which I resoldered.
Having fixed these sources of issues I was finally able to address the problem with the ghost notes. This is caused by a common problem with modern fenders – lousy filter capacitors. I was able to replace the filter caps with parts that I had in stock in order to meet the 24h deadline.

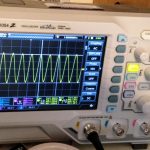
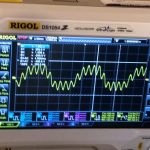
The ghost notes were visible on the oscilloscope – and so it was easy to see on the bench when these horrible sounds disappeared. You can also hear the difference in the video:

If you need a Fender BLues Jnr Repair, please get in touch.

Fender Blues Jnr Ghost Notes

Fender Blues Jnr Ghost Notes

Fender Blues Junior Repair – Urgent Repair

Fender Blues Junior Repair

This Fender Blues Junior Repair was an urgent repair job for a London based guitarist. I got the amp at 23:30 on the Saturday after a gig in Southwell near Newark and had it diagnosed by 11:15 the next morning before he returned to the ‘big smoke’.

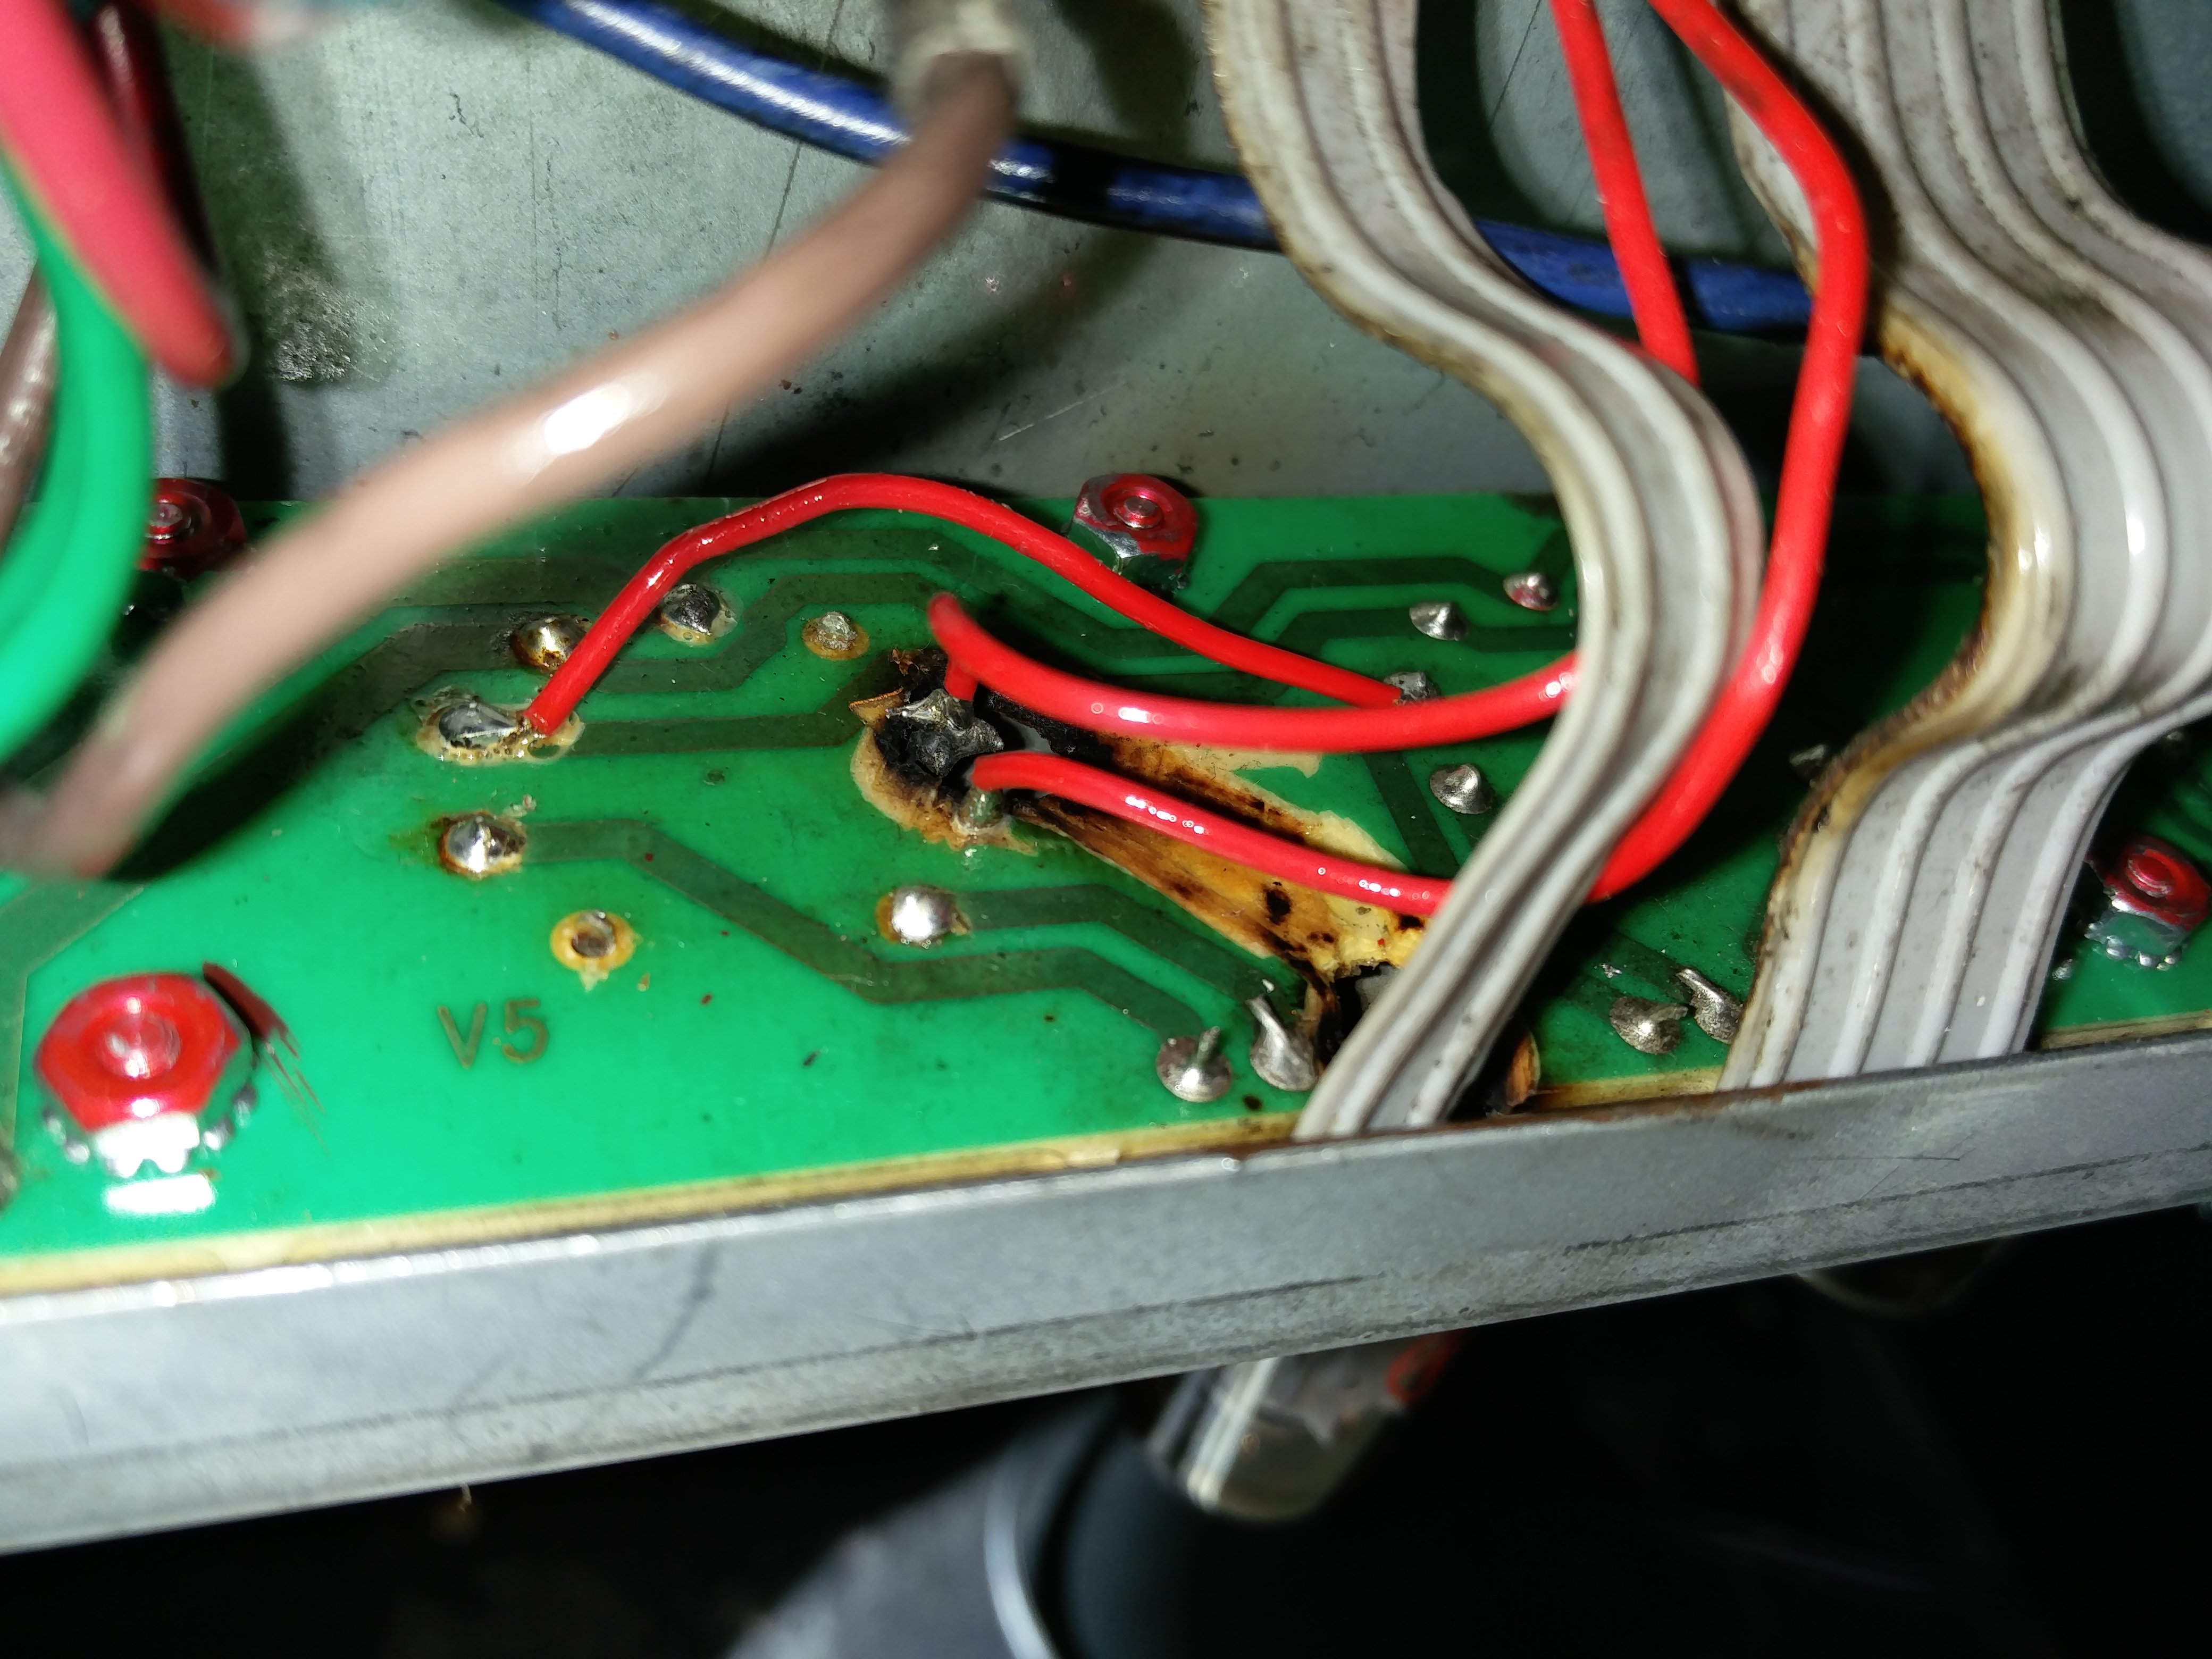
Actually, big smoke was obviously a problem that this amp had experienced in the past as can be seen in the image. A power valve had blown and seriously damaged the PCB. Unfortunately the amp had been taken to a Nottingham music shop for repair and I’m afraid they didn’t know what they were doing!

Whoever fixed it has did something weird and wired up a valve pin that doesn’t connect to anything – it should have been going to the cathode, although they have then wired up the cathode separately. There’s no actual harm with this, it just suggests they didn’t know what they were doing!
They also not secured the valve base very well, so it rocks and lifts the pins when you remove or move a valve. This has started to pull up a PCB track on one of the power valves. This will almost certainly cause problems in the future.

I’ve performed a temporary fix on the problem pin 7 by shaving the solder mask off the copper and adding more solder to give the pin an extra connection.

I recommended rewiring the whole power stage at some point in the not too distant future because the amp is a bit of an accident waiting to happen. Unfortunately there wasn’t time to perform the full repair before the customer left for London.

However all this was a chance discovery. I was actually asked to look at a faulty spring reverb on this blues Junior repair. The problem turned out to be with the tank itself. I checked continuity and ground on the cables and observed signal getting to the tank and nothing coming out.

I’ve got a short Accutronics reverb tank kicking around from an amp I gutted so I thought I’d try it, The impedances didn’t match and it sounded terrible with the Blues Junior! But it proved that this was the only problem with the reverb.

The good news is that the customer could buy a spring reverb unit and fit it himself – you only need a screwdriver.

The customer was kind enough to leave a review on my Facebook page.

If you have a Fender blues junior repair, please get in touch.

Fender Mustang Repair

Fender Mustang Repair Internal

This Fender Mustang Repair Internal was a fiddly job, but quickly completed. Unlike many of the expensive and vintage fender valve amps that I often get in for repair, low cost amps like the Fender Mustang, whilst they represent good value for money, must be completed quickly in order for them to be economical for the customer.

fender-mustang-repair-dsp

This Fender Mustang had fallen foul of an incident involving the customer’s wife, some headphones and the hoover! The amp’s headphone jack was damaged and rendered unusable. As the sockets are quite flimsy, the cusomer asked me to ‘upgrade’ the Aux in at the same time.

Replacing jack sockets is an easy job on many amps, but this one was a little fiddly. Because of the small size of the amp, the replacement socket had to not only be sturdier than the original, but also less than 9mm long! It took a bit of searching but I was able to find one to allow me to complete the Fender Mustang repair.fender-mustang-repair-mcu

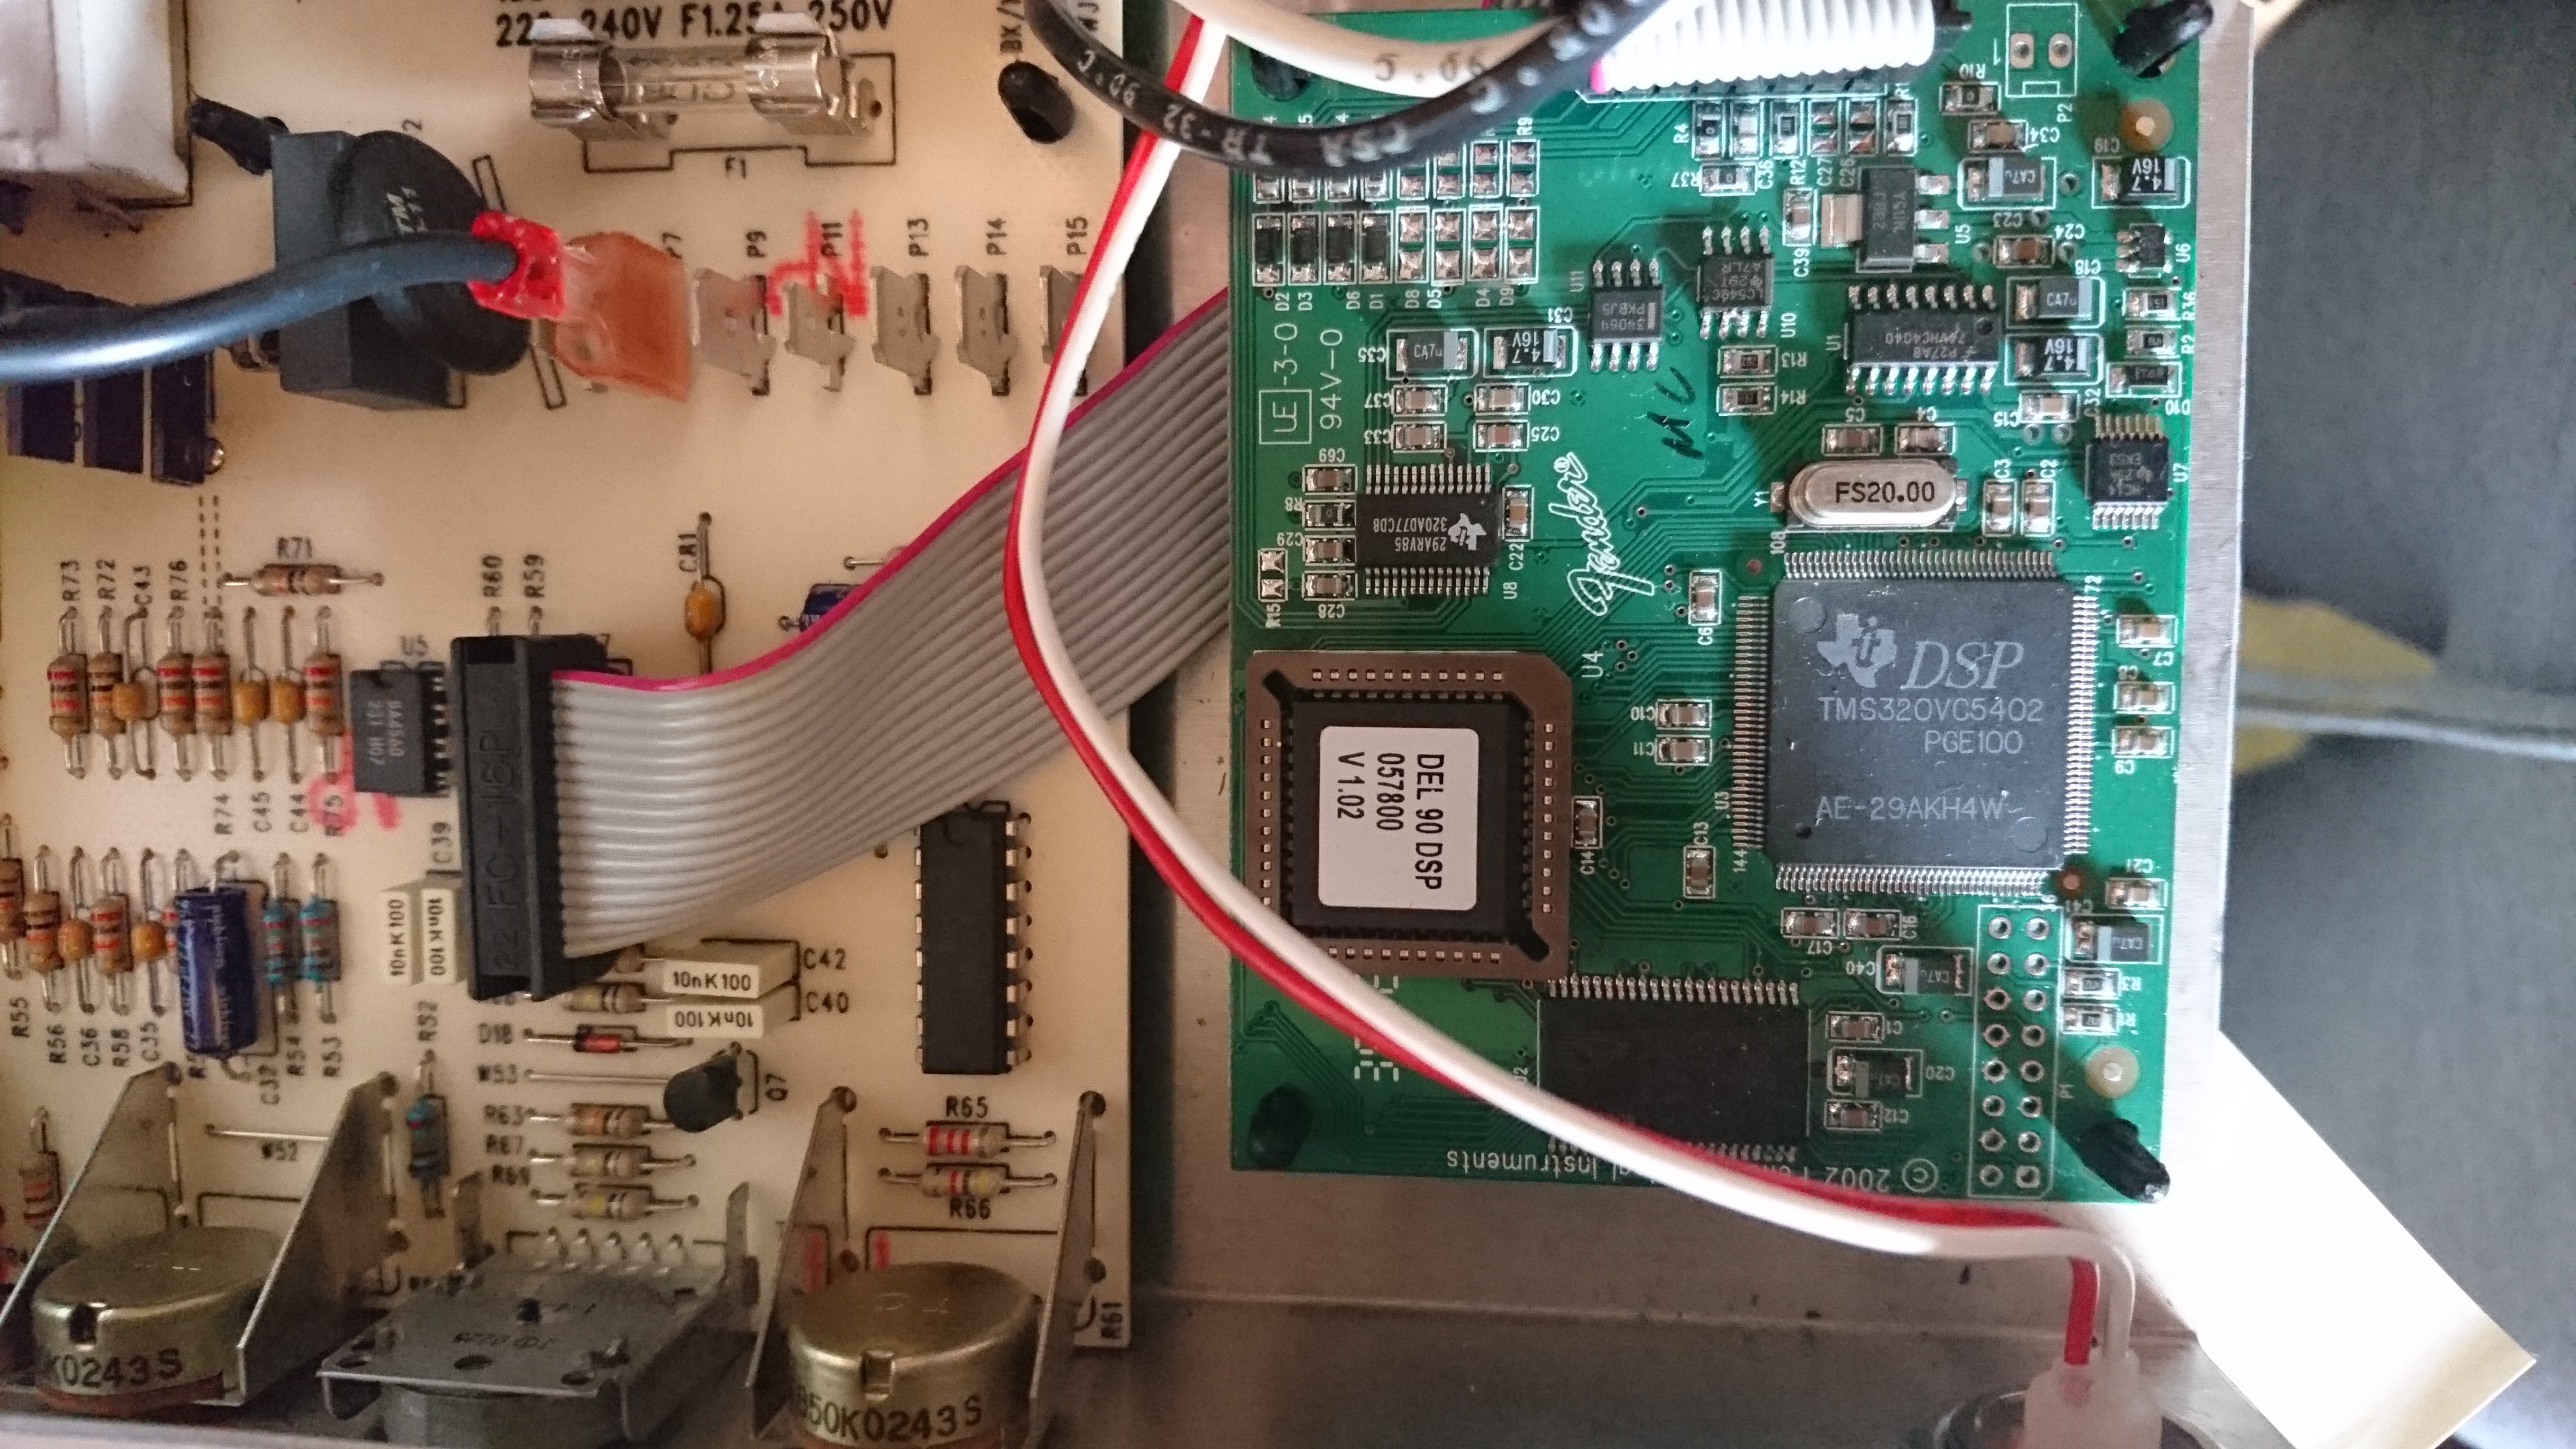
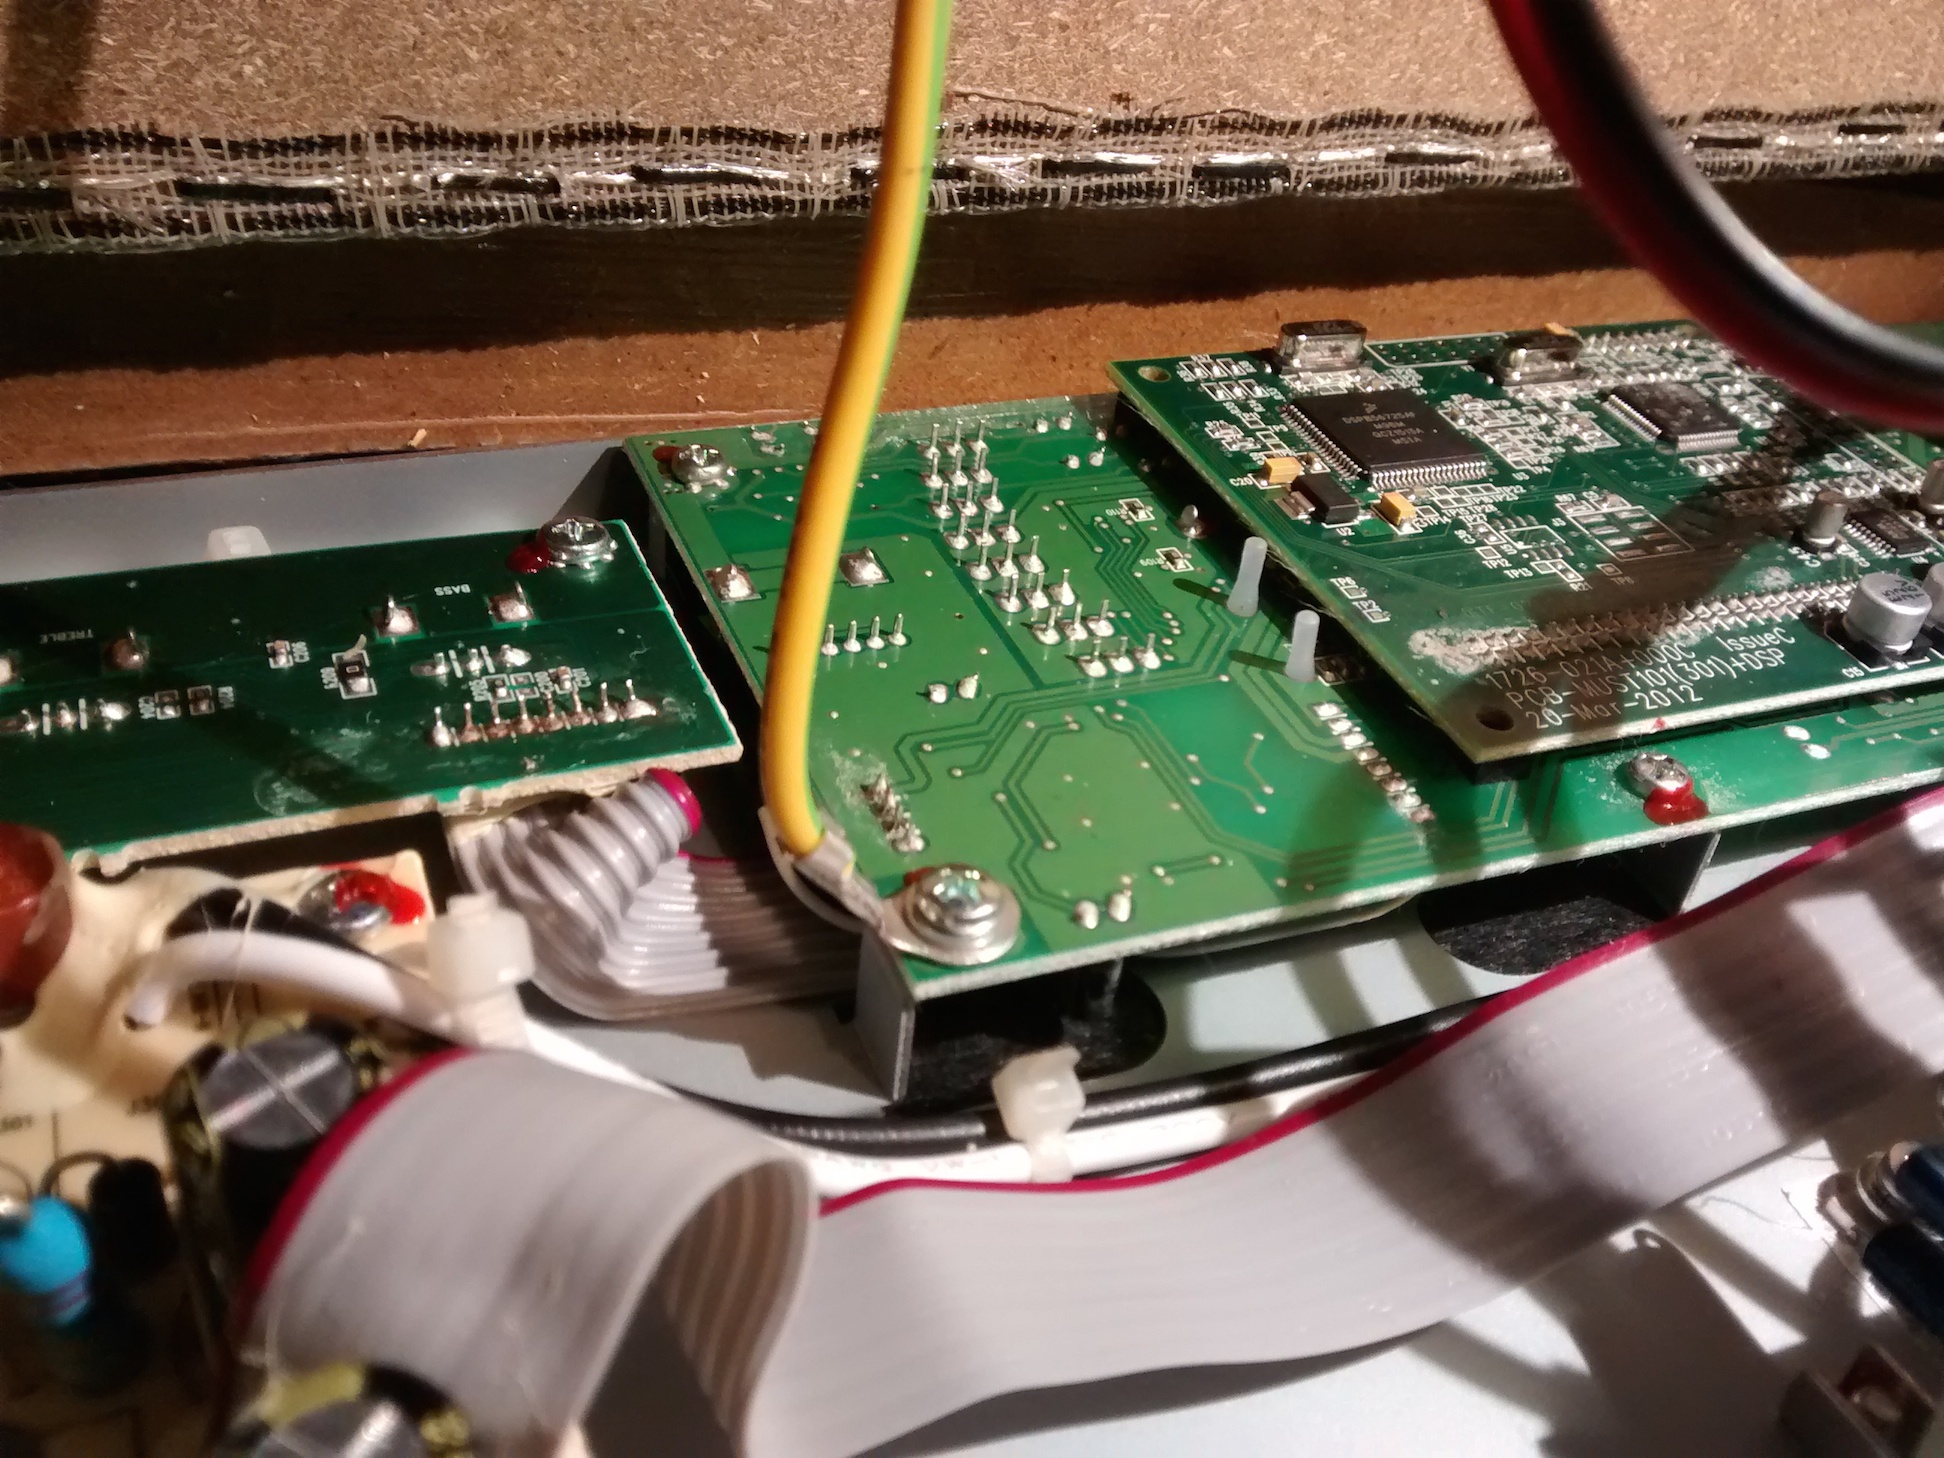
Whilst inside, I took a few photos of the ‘brains’ of the unit, a Freescale DSP and an ARM microcontroller.

If you have a Fender Mustang Repair, please send me a message

fender-mustang-repair-psu

Valve amp blowing fuses – Fender repair – pro reverb

Fender valve amp blowing fuses

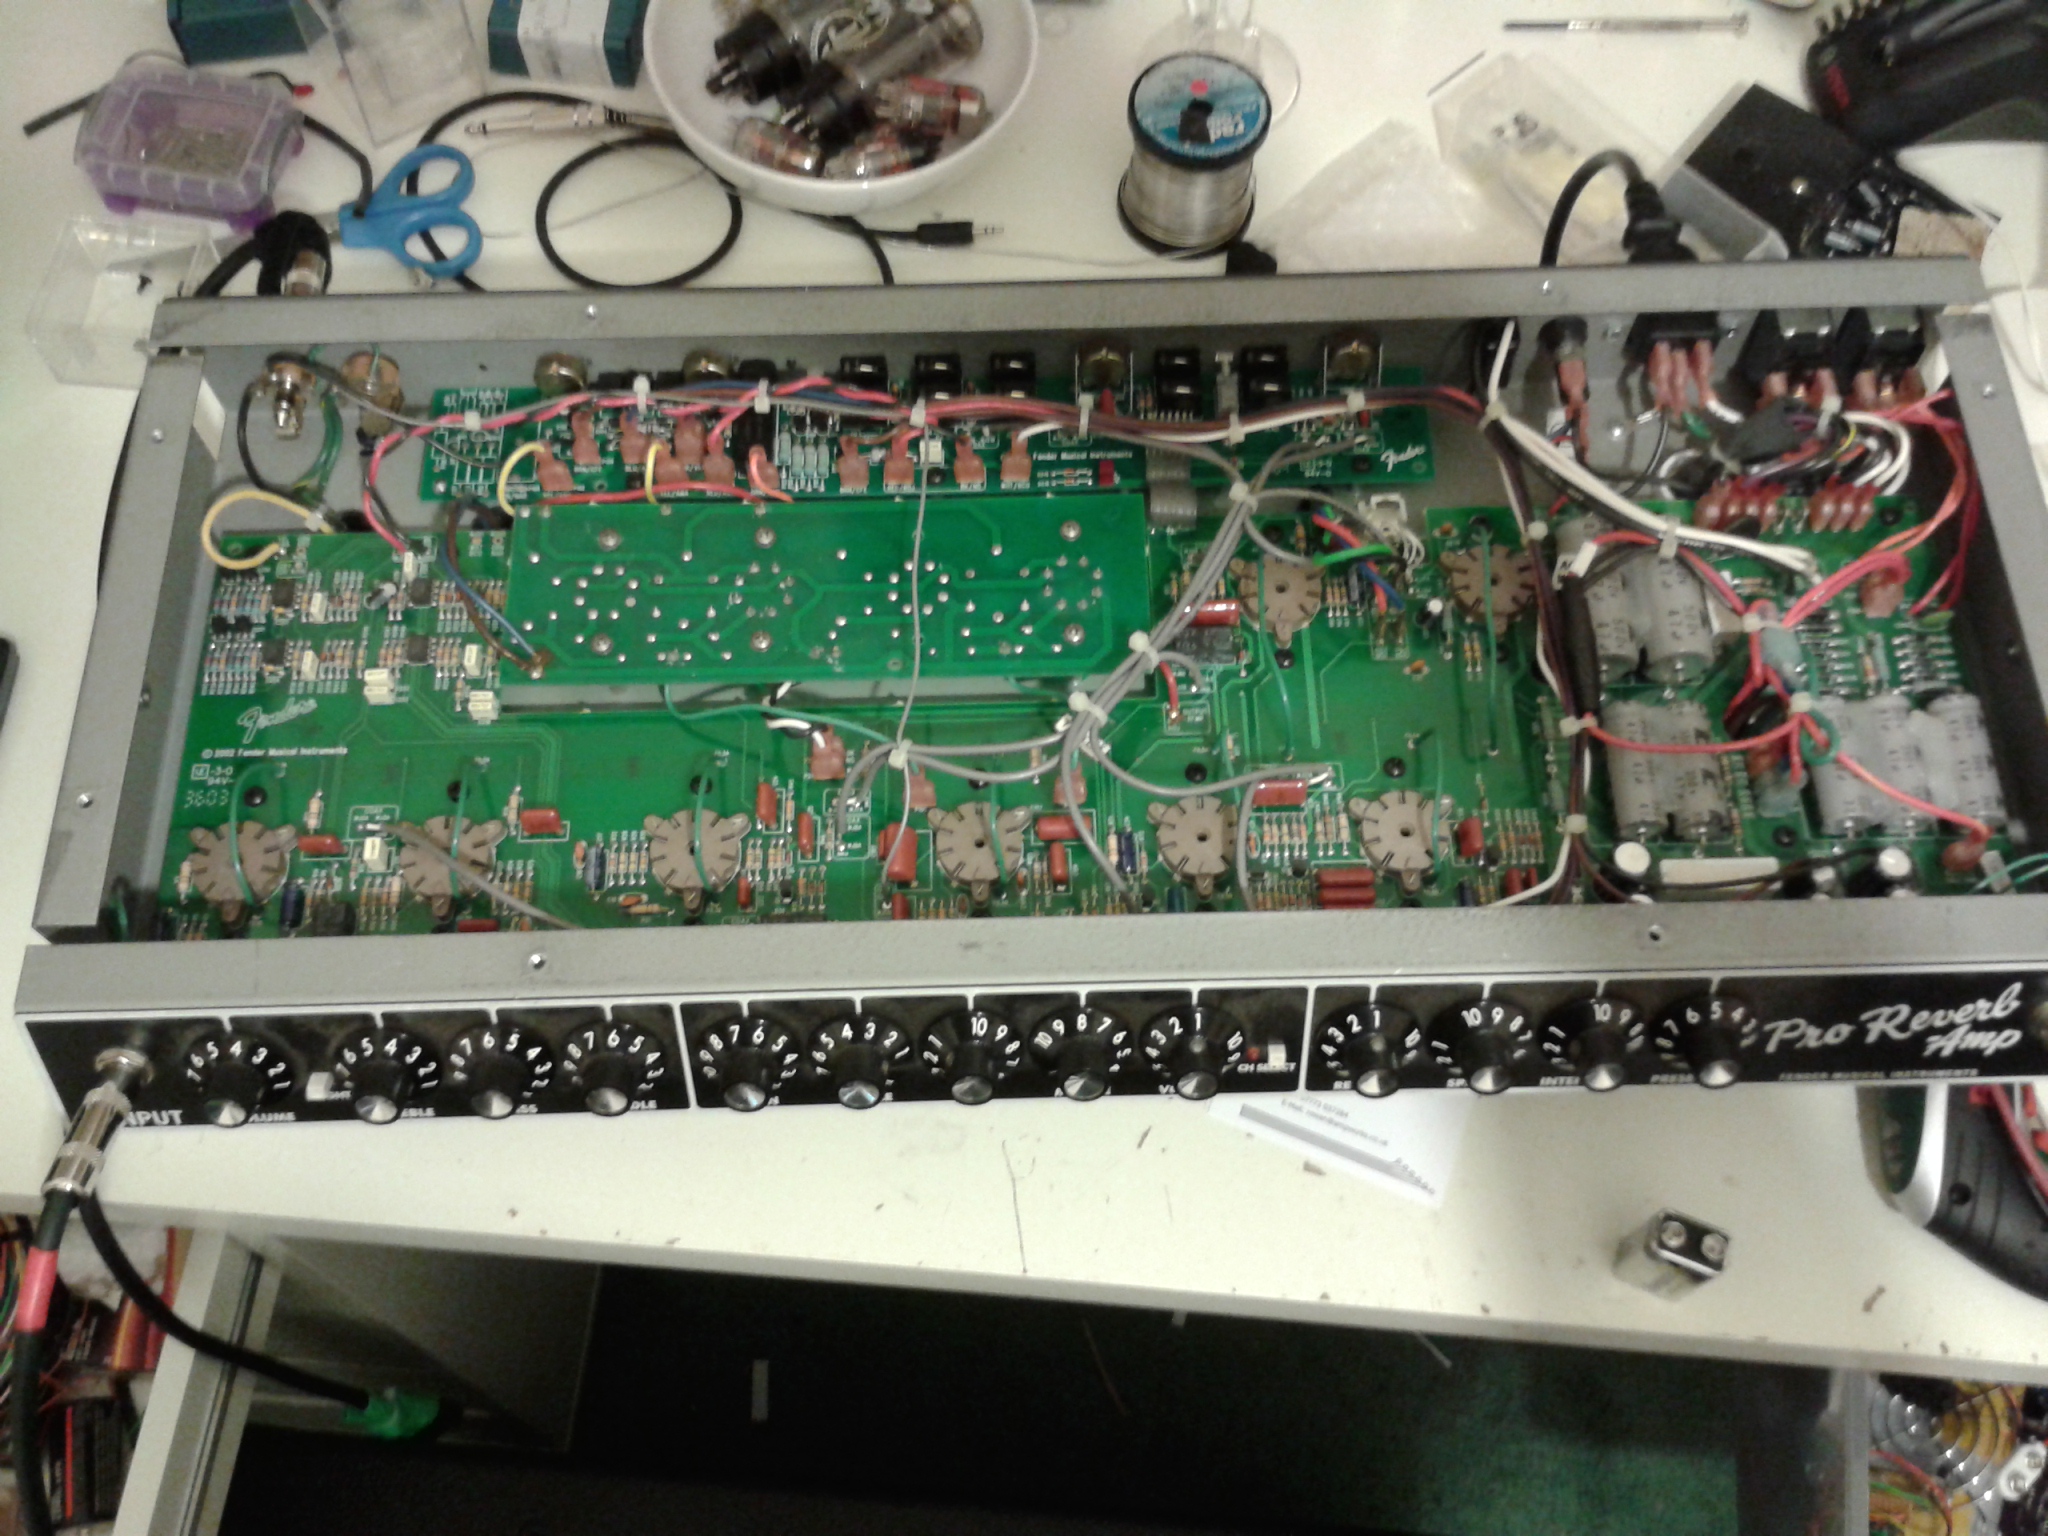
A customer brought this fender repair to me with a common complaint. The valve amp was blowing a fuse every time the standby switch was turned on. A valve amp blowing fuses can be a number of things, but in this case I suspected that the amp probably had a faulty power valve.

This turned out to be true. One of the 6L6 valves had a fault that causes a high current to pass between anode and cathode causing the fuse to blow.

This can occur in all valve amps with all types of valve.  Elsewhere on this blog, there’s a Marshall valve amp blowing fuses that was down to a shorting EL34 valve. There’s also a more recent mesa boogie valve amp blowing fuses.

Once a power valve is replaced, it must be rebiased. I set this fender back to manufacturers spec. Matching power valves should always be used.

If you have a valve amp blowing fuses, please do Contact me for advice.

Vintage Fender Tweed Repair – 1953 Tweed Deluxe

Vintage 1953 Fender Tweed Repair

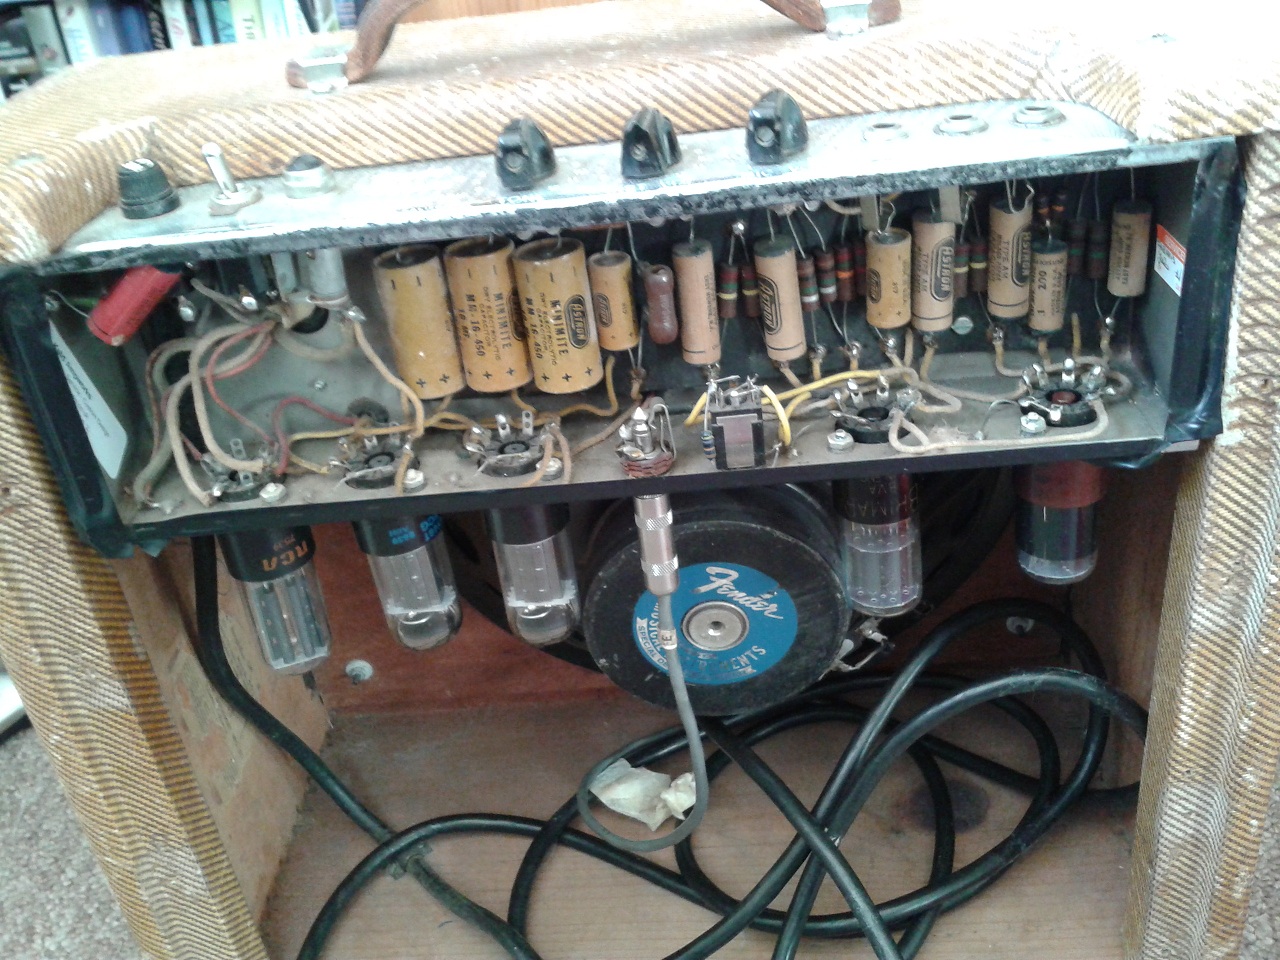
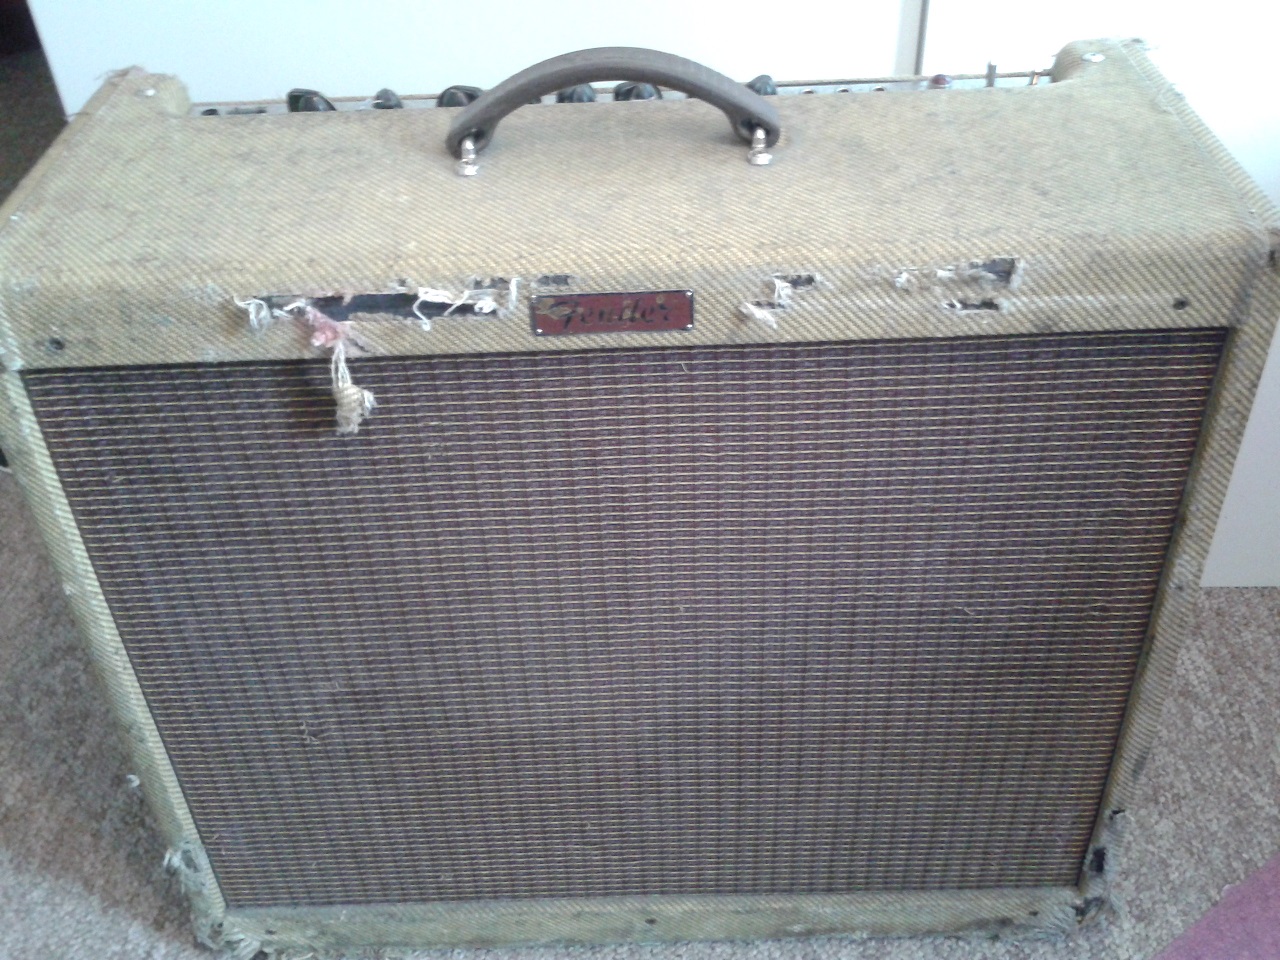
This Vintage Fender tweed repair is the oldest amp I’ve worked on to date. I’m informed it was made in 1953, its a 5C3 design.

The 5C3 deluxe tube complement is 2x 6SC7 for preamp and phase inverter and 2x 6V6 running a push pull output stage to about 12W. The amp uses a valve rectifier – the stock is 5Y3. The customer was running the whole amp run from a nice meaty 240V to 110V transformer from maplins to provide the US mains voltage.

The customer brought the amp in as not working and requested an HT capacitor refit.

I noticed that the HT voltage gets to 500V at inrush before dropping to below 450V (the rating of the existing caps). Since the amp doesn’t have a standby switch this means that the caps are subject to significant stress at turn on. I experimented with a 5V4 rectifier valve to reduce the inrush current, however the 5V4 results in a higher HT with not much headroom before the 450V rating. I recommended 600V caps for the repair to allow for a good safety margin.

600V 15u/16u caps aren’t that common in these days of low voltage electronics – unfortunate for those attempting a vintage fender tweed repair! So we used 350V electro caps in pairs. This didn’t look as pretty, but functionally provides the same performance. I never recommend NOS electrolytic capacitors as electrolytic capacitors degrade even when out of circuit.

I removed the low value bleed capacitor on the primary side of the mains transformer as this is considered unsafe by today’s standards. If the cap becomes faulty and passes DC then the amplifier chassis can become live. Unlikely, but not nice! I always insist upon following mains safety procedures – even on vintage amplifiers.

The fault with the amplifier was actually a loose ground connection underneath the eyelet board – simply fixed.

One last problem – these 6SC7 valves in this particular period of vintage fender amps have a horrible tendency to be microphonic. The speaker vibrates the cabinet, the cabinet shakes the rather old valve base, which shakes the valve and the whole thing takes off in LF feedback. There’s a probably a reason Fender dropped them after this model! I first assumed that the fault was with a worn out valve but on ordering a replacement I now believe that this is likely to be a feature of all 6SC7s. The solution I found was to replace the valve base with a more mechanically rigid Belton one, to stop the valve moving in its base. Interested to hear from anyone else who’s experienced this!

Fender Repair – Blues Deville

Fender-Repair-Blues-DeVille-Repair

Fender repair time!

This is a lovely Blues Deville fender amp that’s seen some serious loving! The owner has been gigging it for 15 years. Unfortunately, first the Low gain input died, then the high gain became intermittent. The owner asked for a full valve amp service and I promised to repair the jacks as part of the service.

Repeated insertion and removal of the jack had moved the jack socket and over time pulled the PCB pads from the PCB. This led to the intermittent crackling that was heard and would have eventually torn the thin copper trace off.

Quality chassis mount switchcraft models were used in the repair to replace the two input jacks. These were wired into the PCB using flexible wires to remove the mechanical coupling to the PCB. Now if the jack socket moves then the wires will move and the PCB will not, and the integrity of the connection will be maintained.

If you have a fender repair, please get in touch.

Myth Avoidance: Amp geeks often debate PCB vs turret or tag mounted components. I have to say that unlike many independent amp builders I’m a believer in PCB technology, but for mechanically and thermally stressed parts it is wise separate the component from the PCB to avoid causing stress. This fender repair is a good example of that principle.