AMI Jukebox repair – 1958 AMI 200 Jukebox

AMI jukebox repair

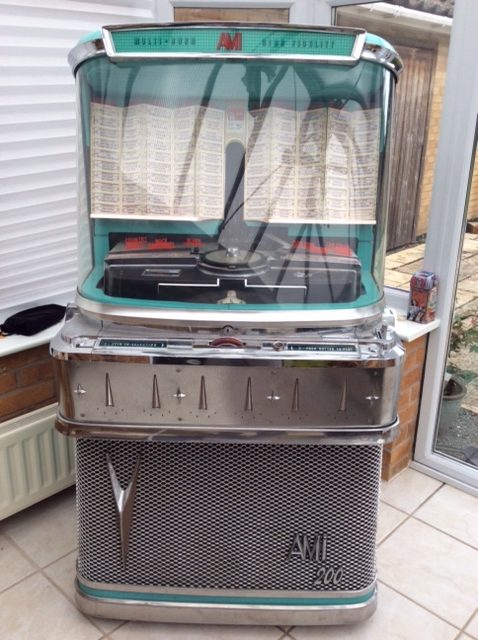
Another first for Keld Ampworks – the first AMI Jukebox repair. I’ve turned down jukebox repairs in the past because I naively had visions of a 7 foot unit arriving in my rather small workshop! This customer was quick to clarify that the amp unit itself is quite small and transportable from his Lincoln location. Nonetheless he sent me some pics of the full unit (above).

AMI jukebox repairIt is a US unit, bearing original battle scars and running on 110V through a transformer.

It was exhibiting a loud hum and excessive breakup. The customer asked me to do a basic valve test and check over and then report back.

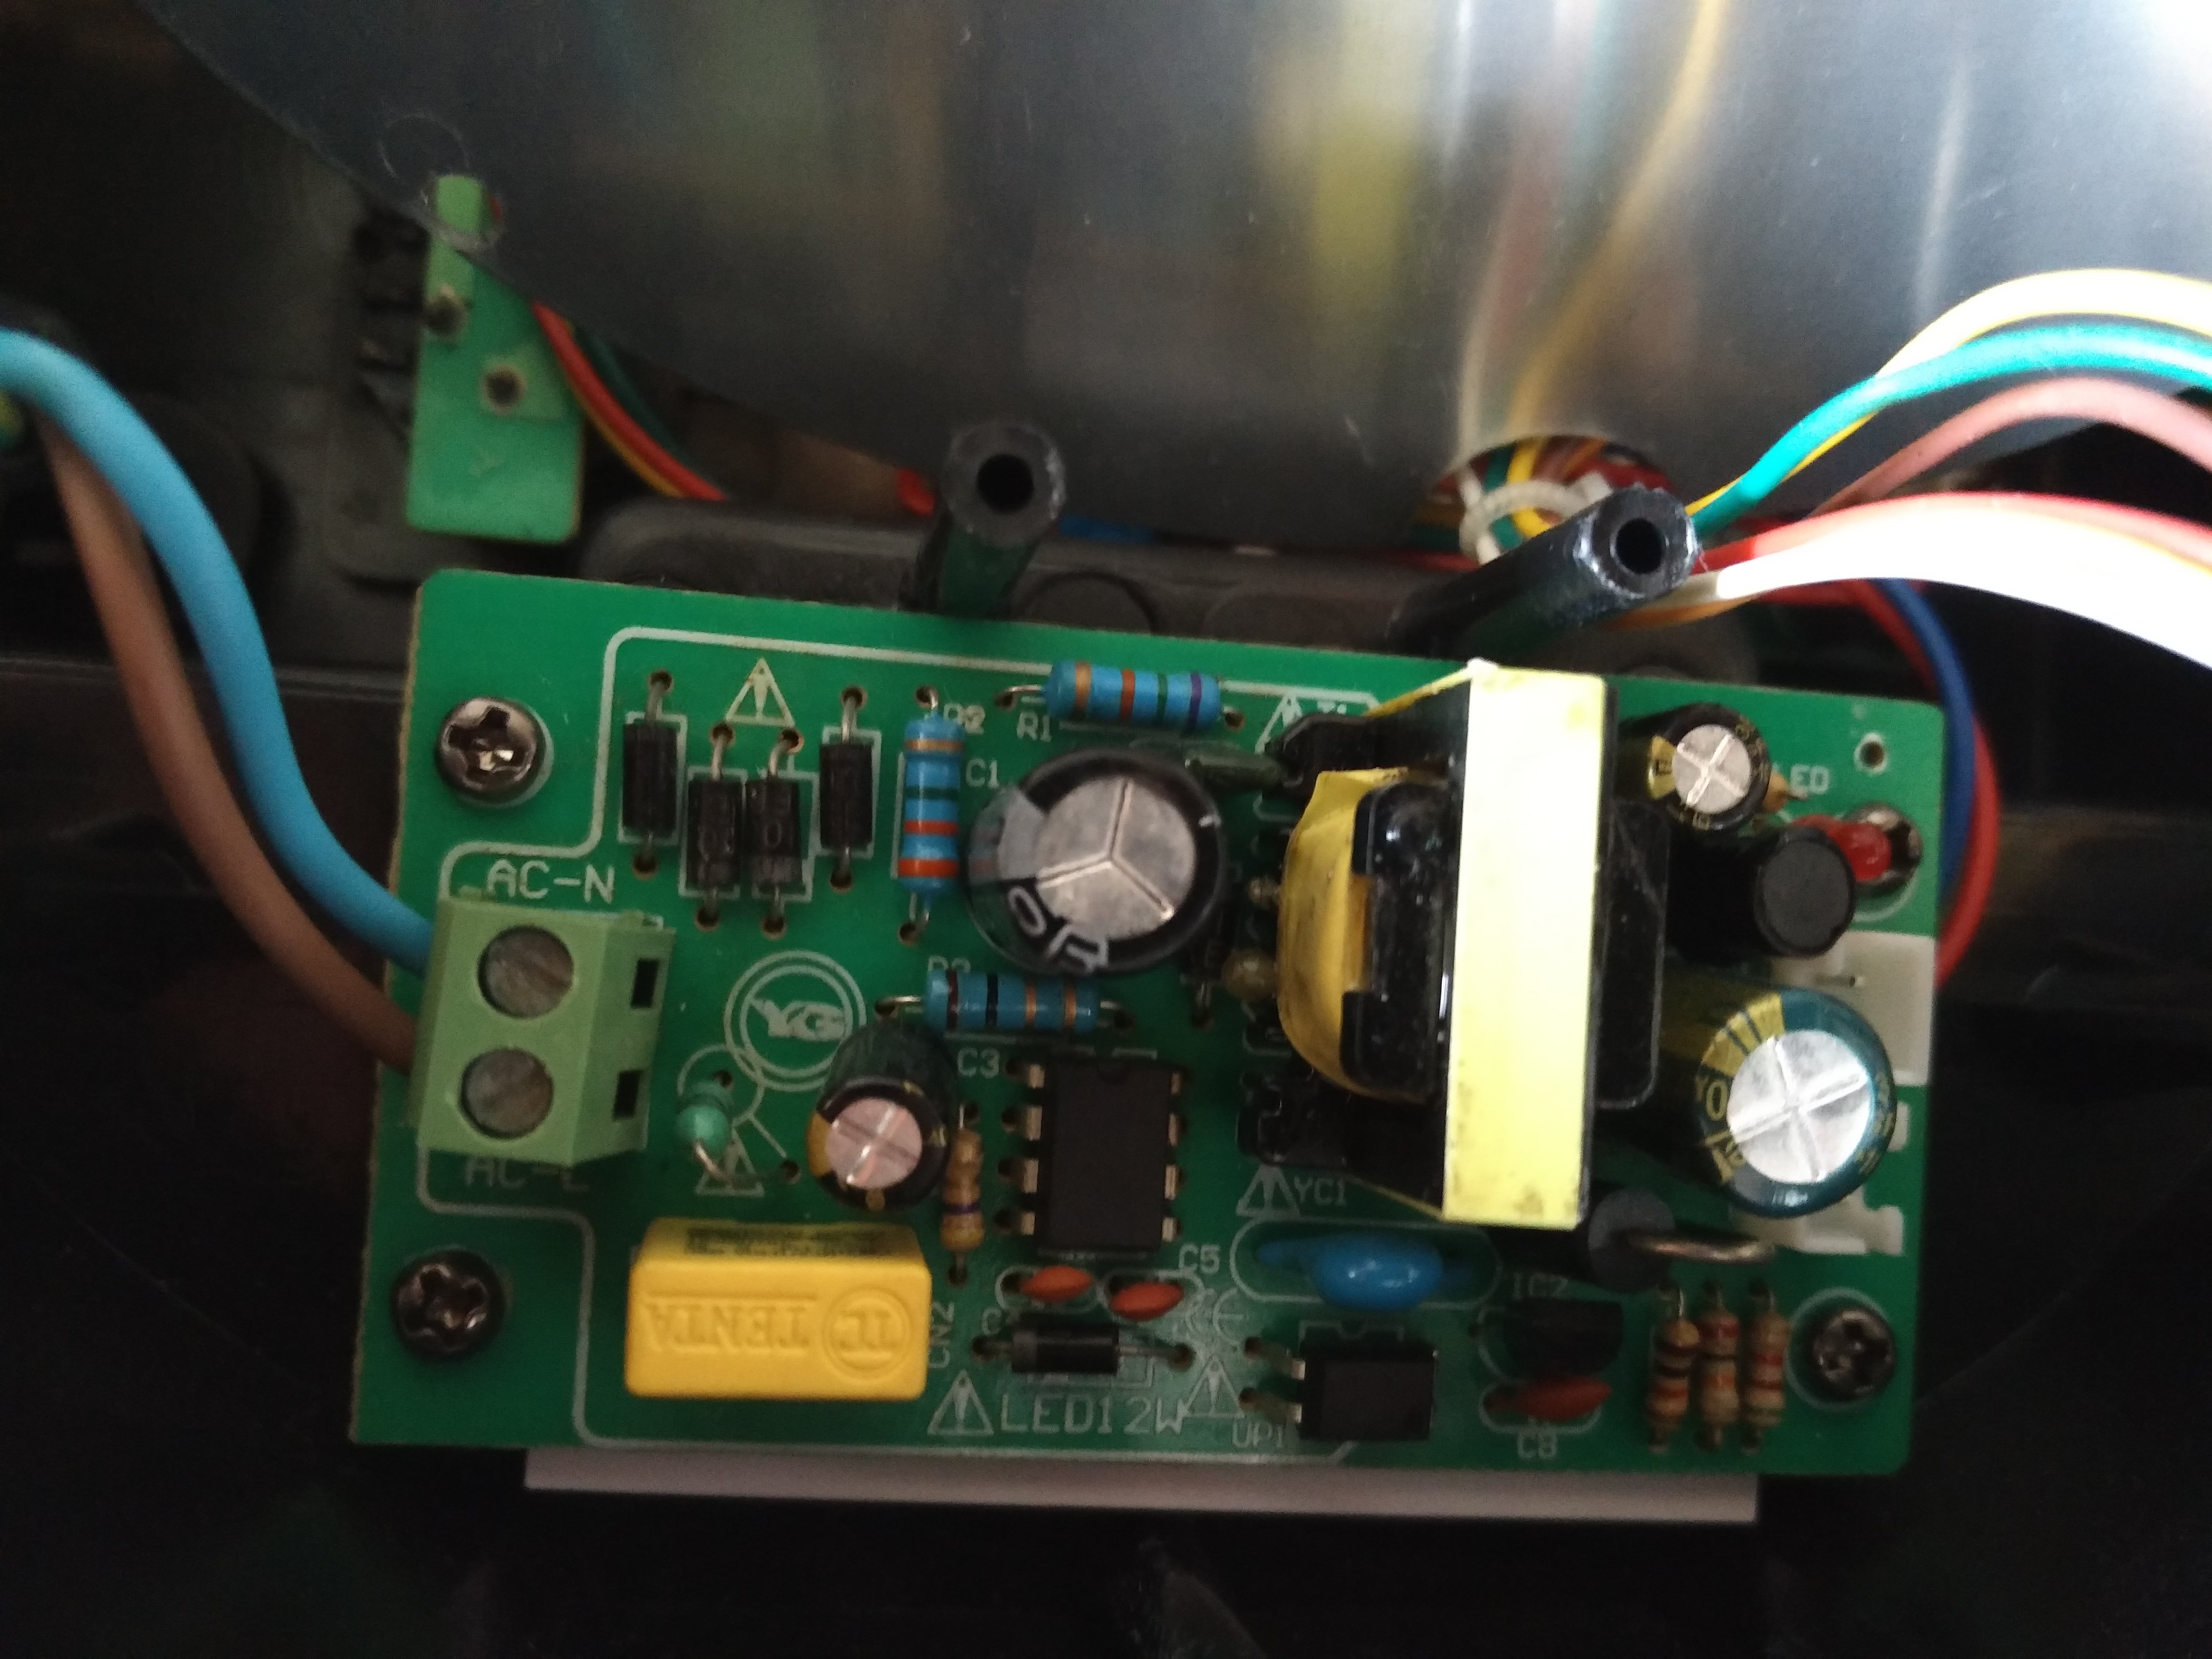
It runs a preamp with one 12AU7 and one 12AX7, then a 12AU7 cathodyne phase inverter and a cathode biased 6L6 pair. One 12AU7 tested faulty (replaced with a valve from the customer’s collection), but the main problem was down to the badly worn 6L6 pair (replaced with a brand new matched pair of Russian EHX valves).AMI jukebox repair

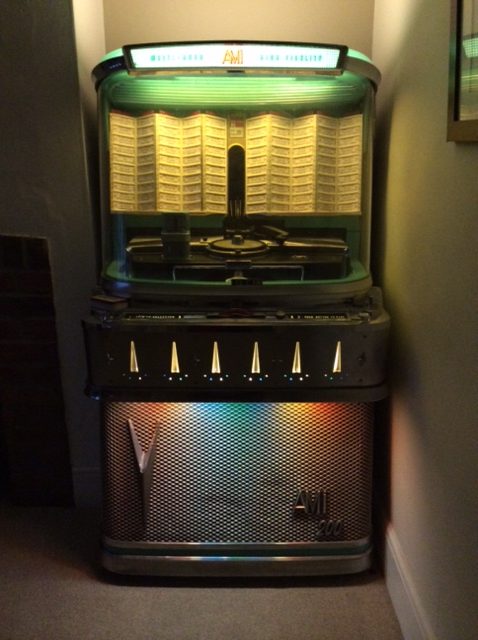
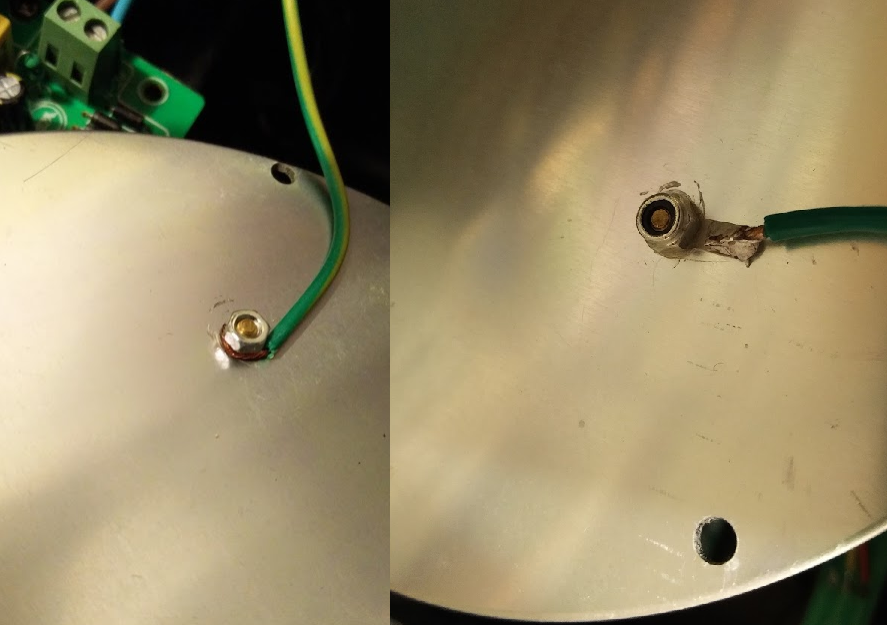
US amp manufacturers in the ‘old days’ didn’t tend to Earth their amps. All amps that leave my shop should have correct earth, fusing and safety practice so I fitted an external earth to this unit. Since the unit goes inside another unit this was fitted with a flying lead and solder tag to screw to the main chassis.

This is a favourite toy of the customer’s grandchildren and I’ve since heard that they’ve given it a thorough testing!

If you need an AMI jukebox repair, please get in touch.

LED lighting repair – Unbranded LED Parcan

LED lighting repair - Safety Earth repair

This LED lighting repair was a bit of a horror story! Aside from fixing the problems with the two lights brought in, they needed several modifications to improve the unit safety.

They were brought to me by a Grantham based DJ. One of the lights wouldn’t power up, whilst the other had a flicker on the red LEDs.

The powerup issue was caused by a faulty power board. The unit has a cheap SMPS that the customer informed me had blown up before and been replaced by the manufacturer. Unfortunately they couldn’t provide spare this time so I swapped in the PSU from the Red flicker unit.
LED lighting repair - new grille
I then repaired the red flicker unit by reflowing the red joints on the front face. Although I found another off the shelf internal supply to fix this, the replacement boards were judged to be too expensive to warrant this course of action. Instead, I fitted a DC socket to allow the customer to power the unit from a cheap external power supply. This also gets around the safety issues detailed below by removing mains from the unit.

I was quite alarmed by the breaches of safety good practice in these LED lights.

The first thing that I spotted was dubious safety earth connection – shown in the picture. The manufacturer had simply twirled the safety earth round a mounting pillar and screwed a nut on top. Unsurprisingly, The earth connection was already loose when I opened the unit. I fixed this by soldering the wire to a solder tag and refixing to the pillar using a Nyloc nut. These are special nuts that do not loosen in the same way as traditional nuts. To comply with safety regulations, the safety earth should have its own fixing point, but this was impossible to modify without compromising the unit function.
LED lighting repair - new power board
The next safety issue that I noticed suring the LED lighting repair was that the board’s PSU was next to a grille with large holes, allowing a person with small fingers (a child) to inadvertently touch the AC mains through the chassis. this was particularly worrying, so I fitted a mesh with 3mm holes inside the existing grille. I used Nylon fixings to prevent any connection of the mesh to the mains board.

If you have an LED lighting repair, please contact me.