
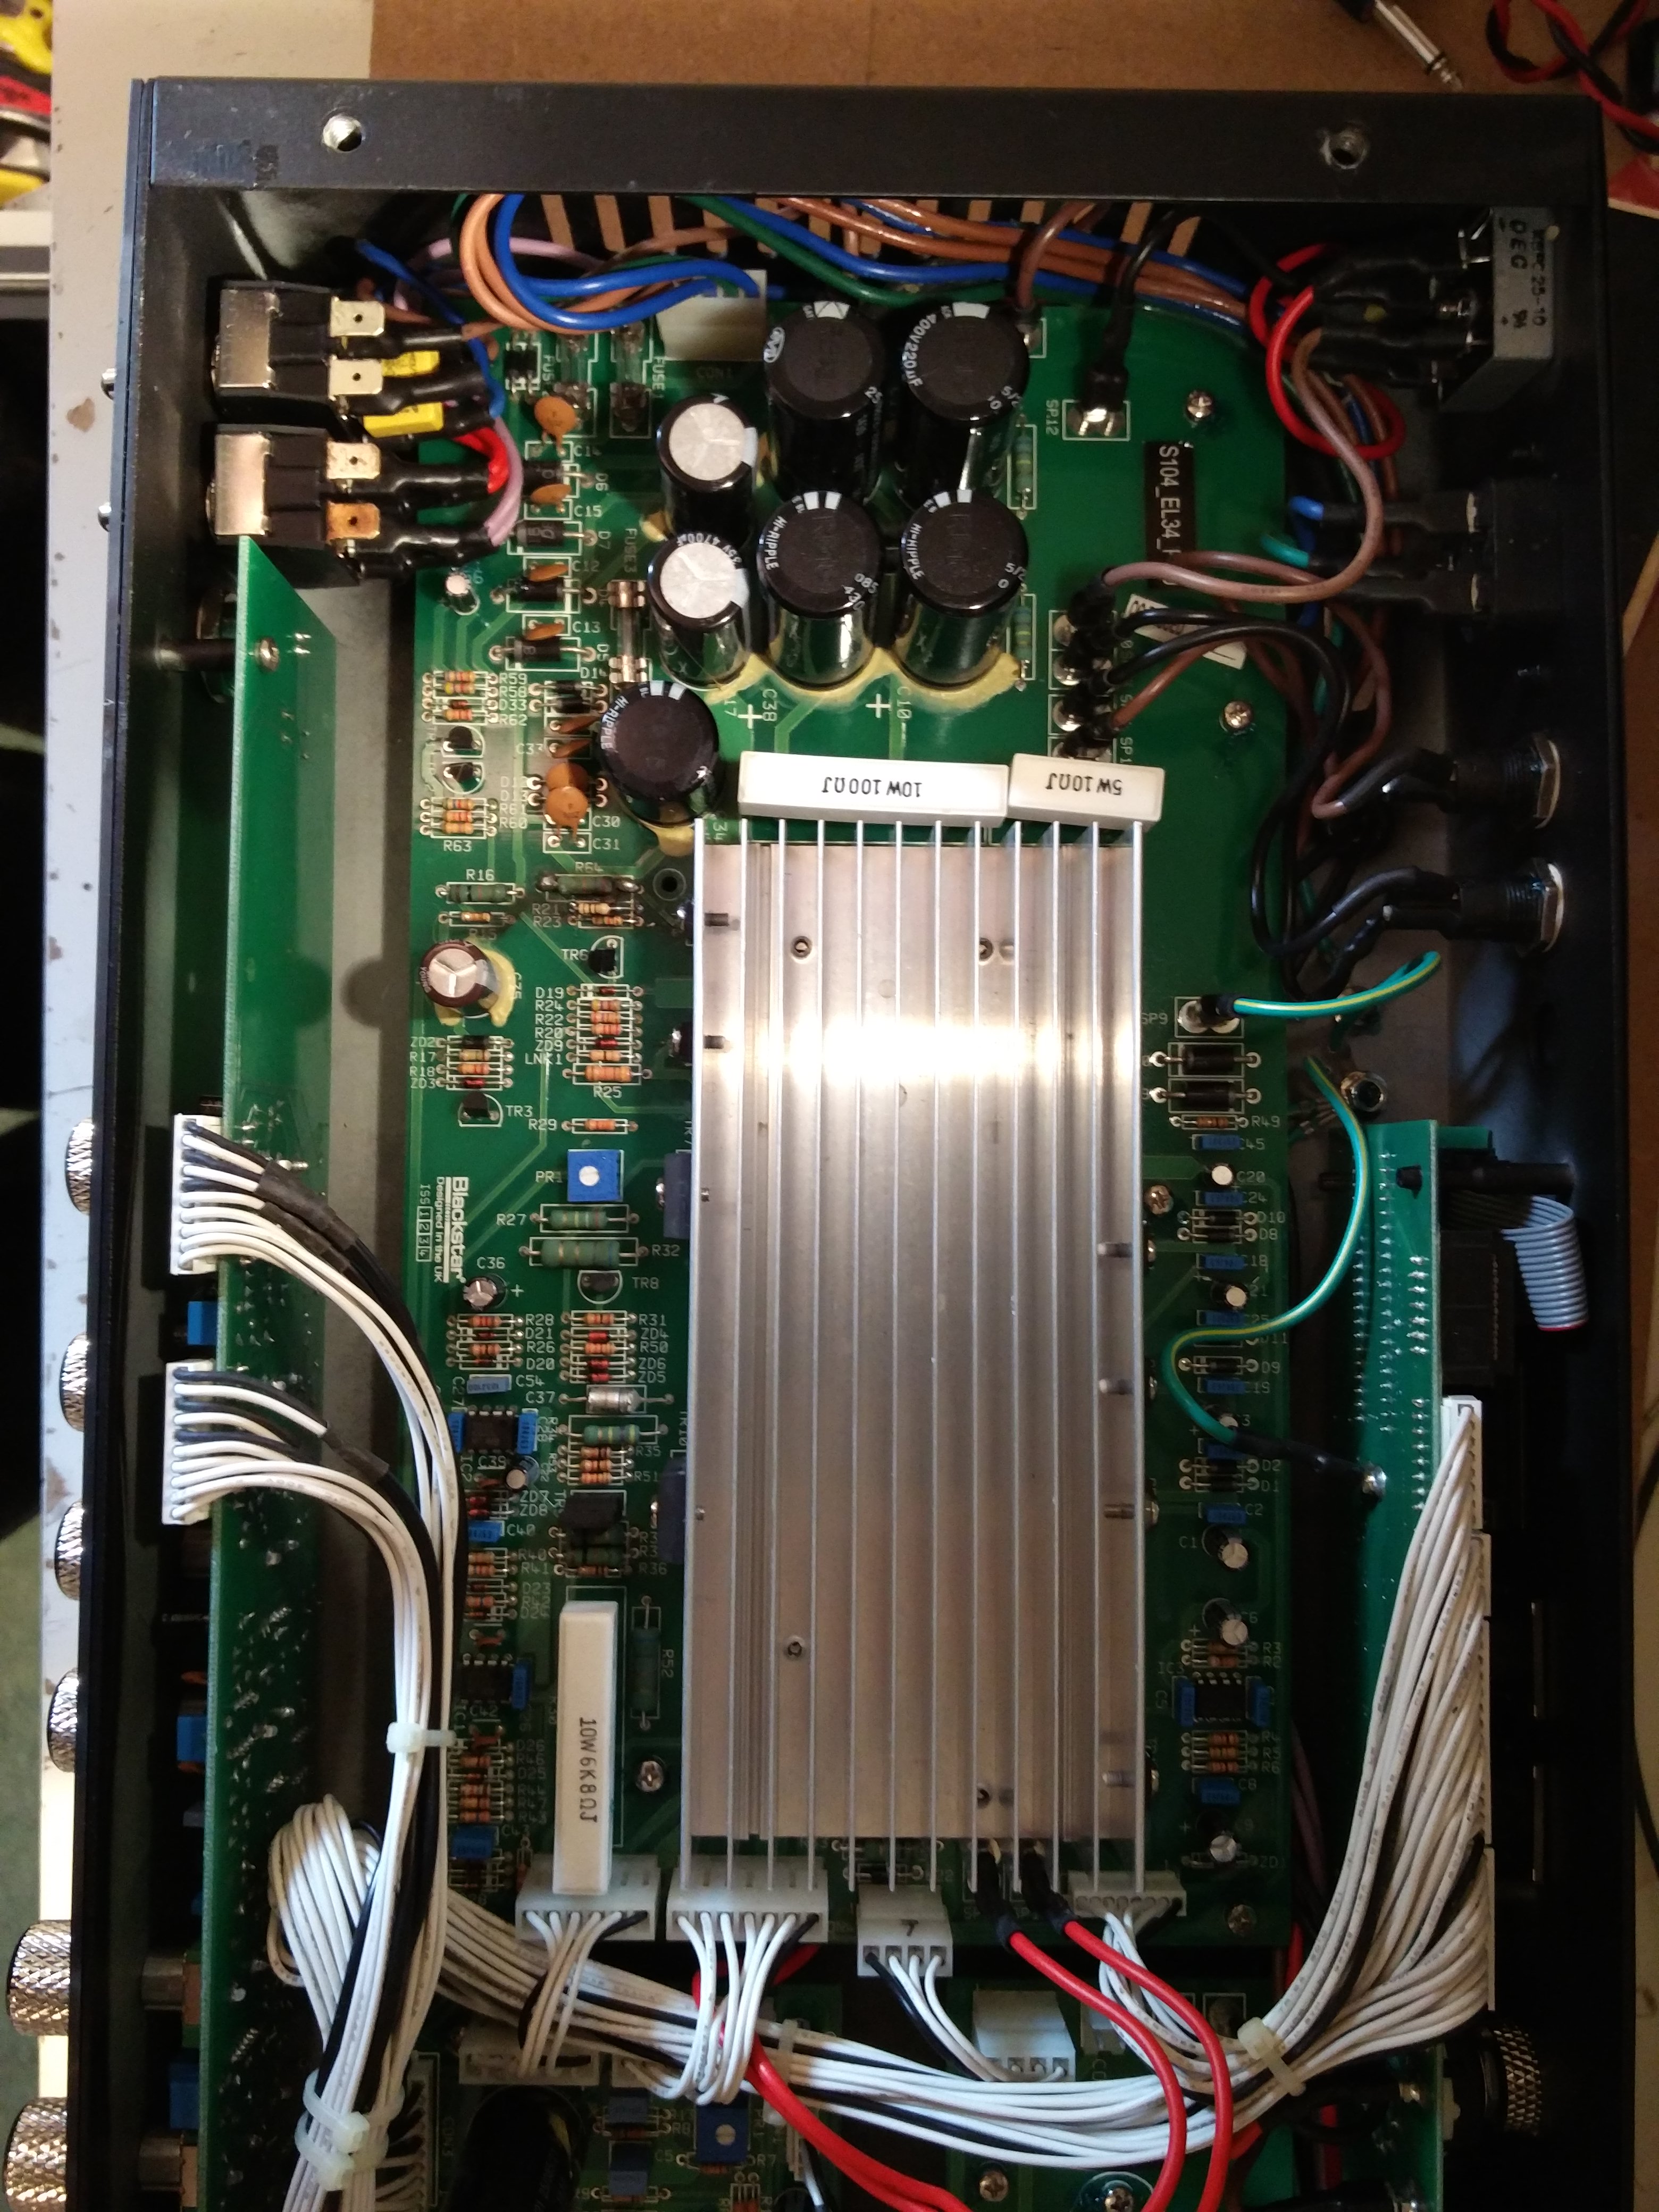
This Blackstar Series One repair from February was a bit of a mess! The amp had unfortunately received the unhelpful care of another repairer who had left the amp in a terrible state. If you don’t like to see damaged PCBs, look away now.
It was brought to me because it was blowing fuses at gigging levels. The owner had bought it second hand and it had started blowing fuses recently. A quick fix was managed in time for a gig!
I’m not sure what the original fault was with this amp, but whoever had previously attempted to fix it was very much of the ‘add more solder’ school of repairing! I suspect that they had not attempted to remove the board and had just tried to repair the amp from the top side only in doing so they’d damaged to PCB and left the transistor hanging by a thread of pad..
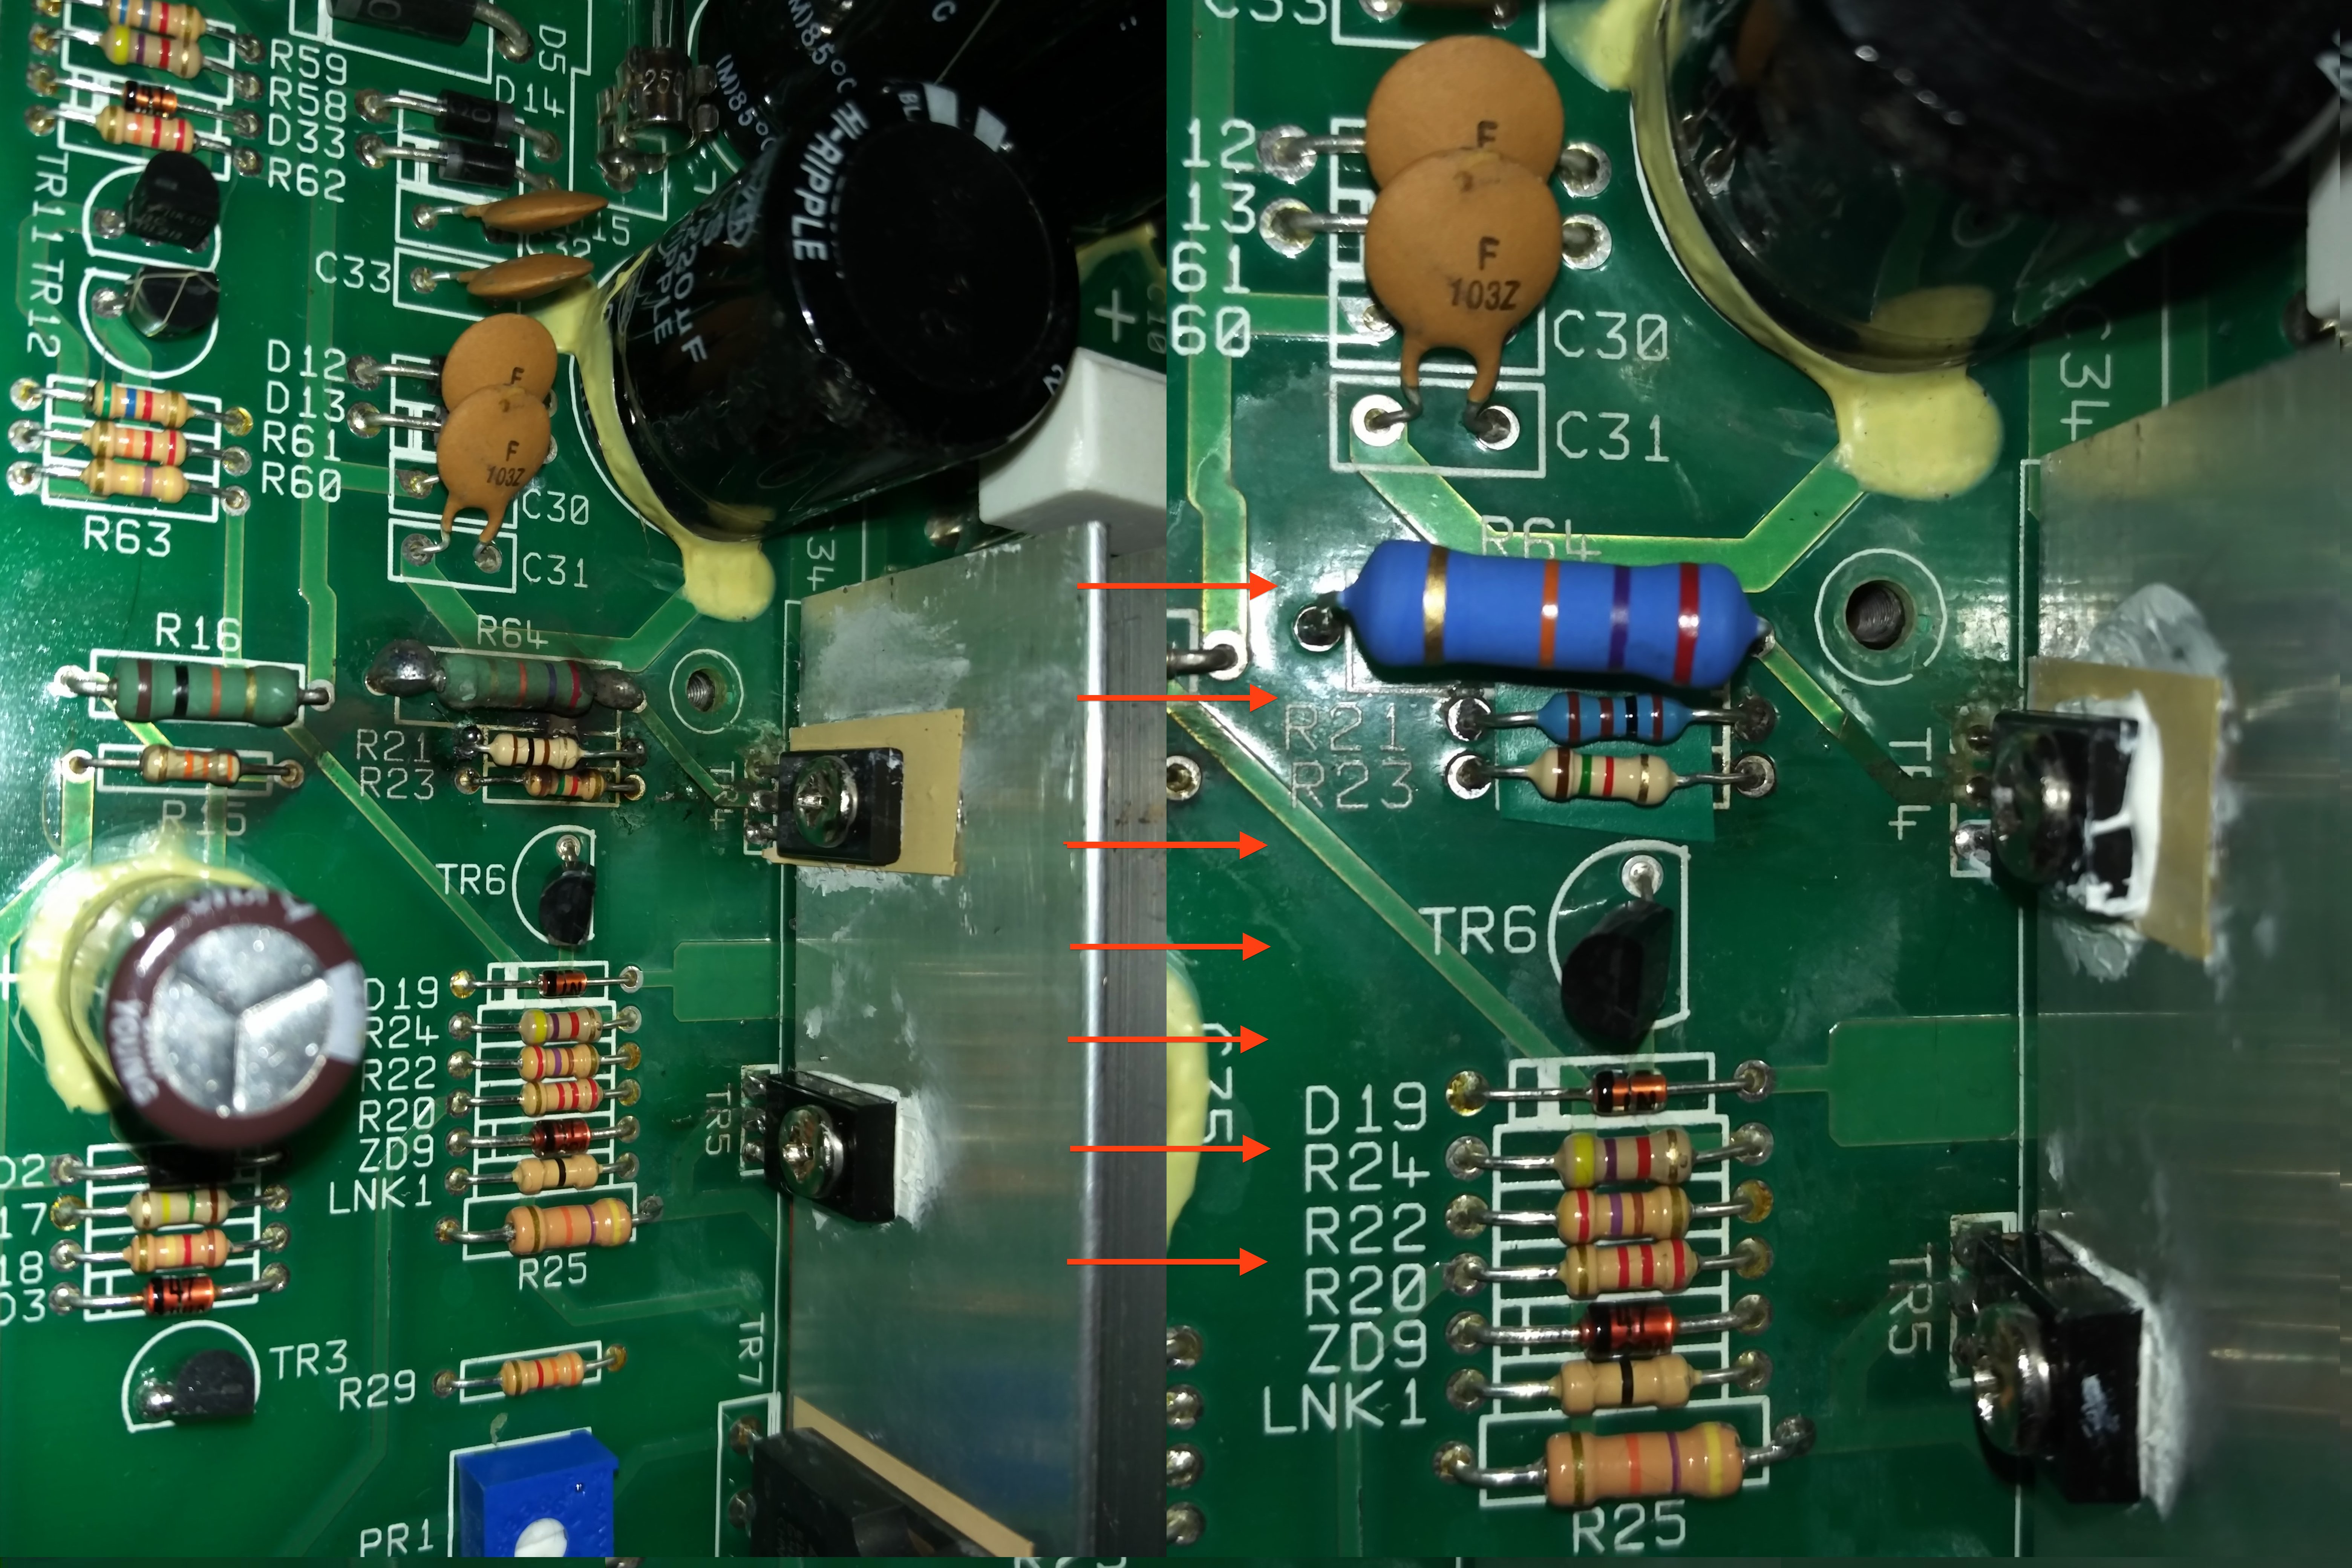 You can see the horrible original work on the left and my improved fix on the right of the image. I removed the board and cut away the damaged track and recreated a solid connection with solid core wire on the board reverse. I replaced the burnt out components nearby with suitably rated high power resistors. I also replaced the transistor.
The whole job took 3 hours and included a valve test (revealing three worn preamp valves) and an additional (FOC) 1 hour soak test at gigging levels.
If you have a blackstar series one repair, please drop me a line.
Here’s a video of the amp, once fixed.