Bugera Repair – V55

Bugera repair V55

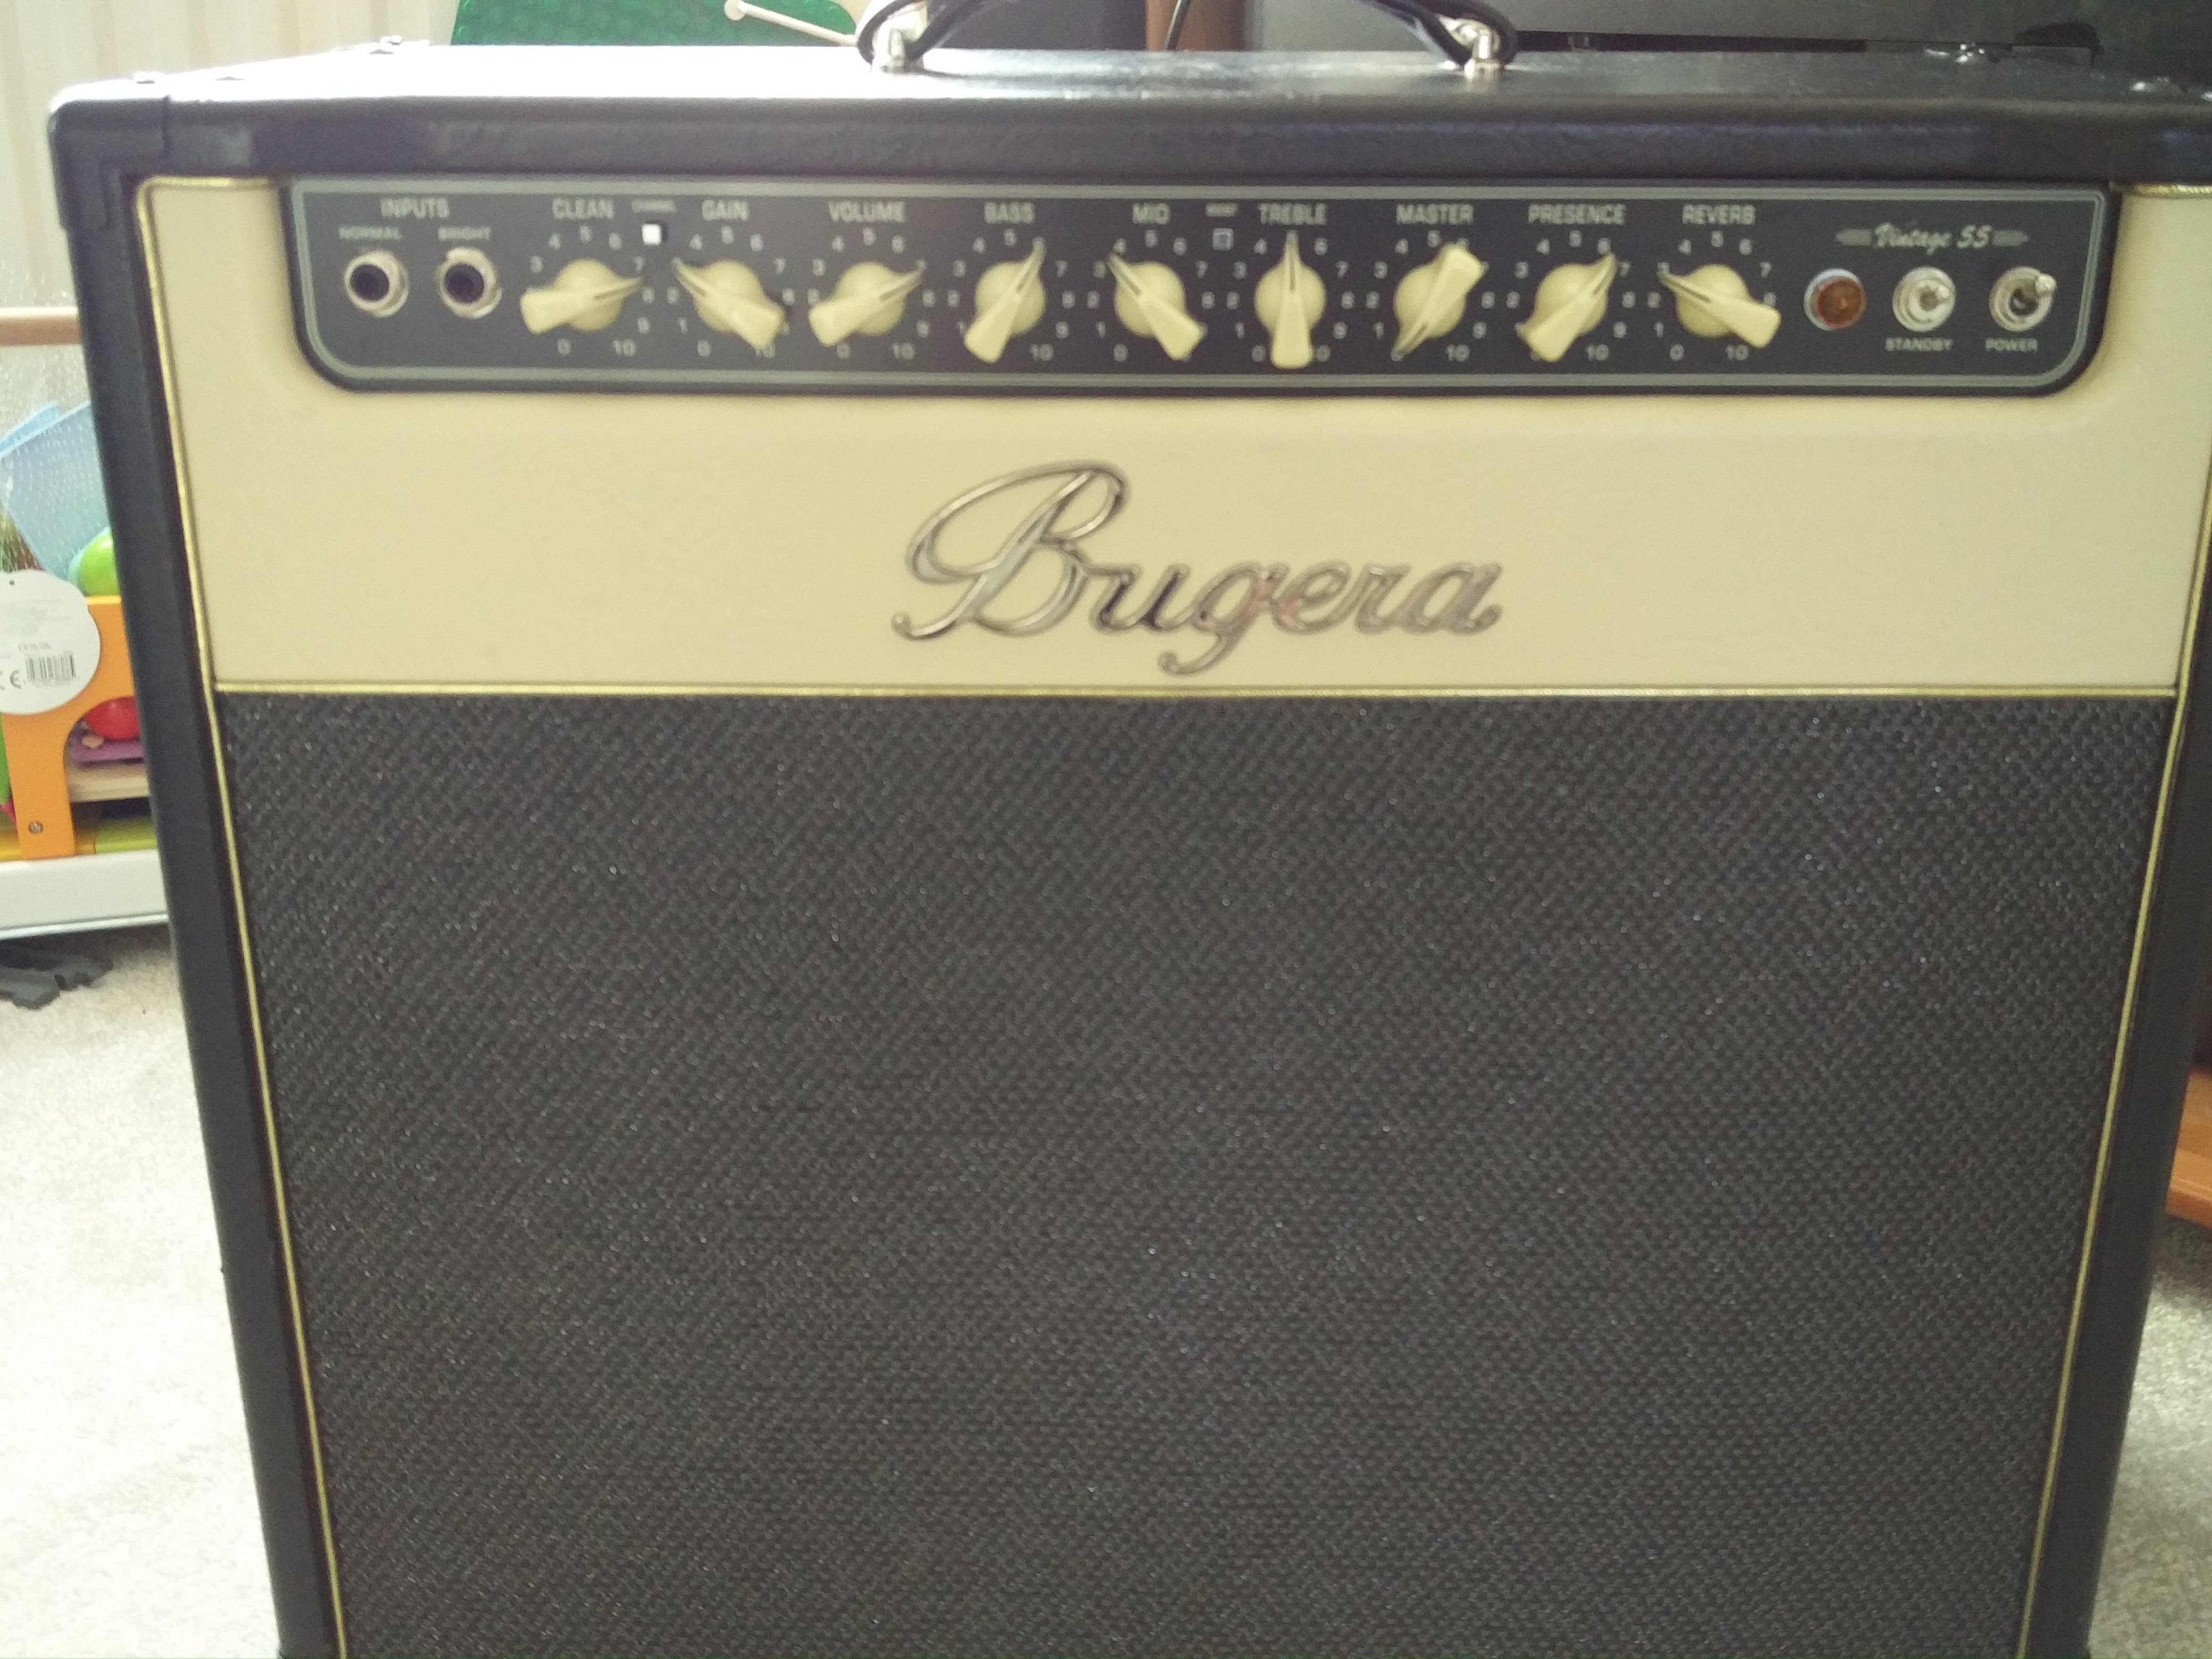
Turned this Bugera repair around quickly in time for it’s owner’s gig in Skegness. The amp is a vintage 55, or V55.

The amp was brought in for a standard 2 hour service, with a few particular points of attention. The owner had noticed that the clean channel was overdriving much sooner than previously. Also the standby switch was broken.

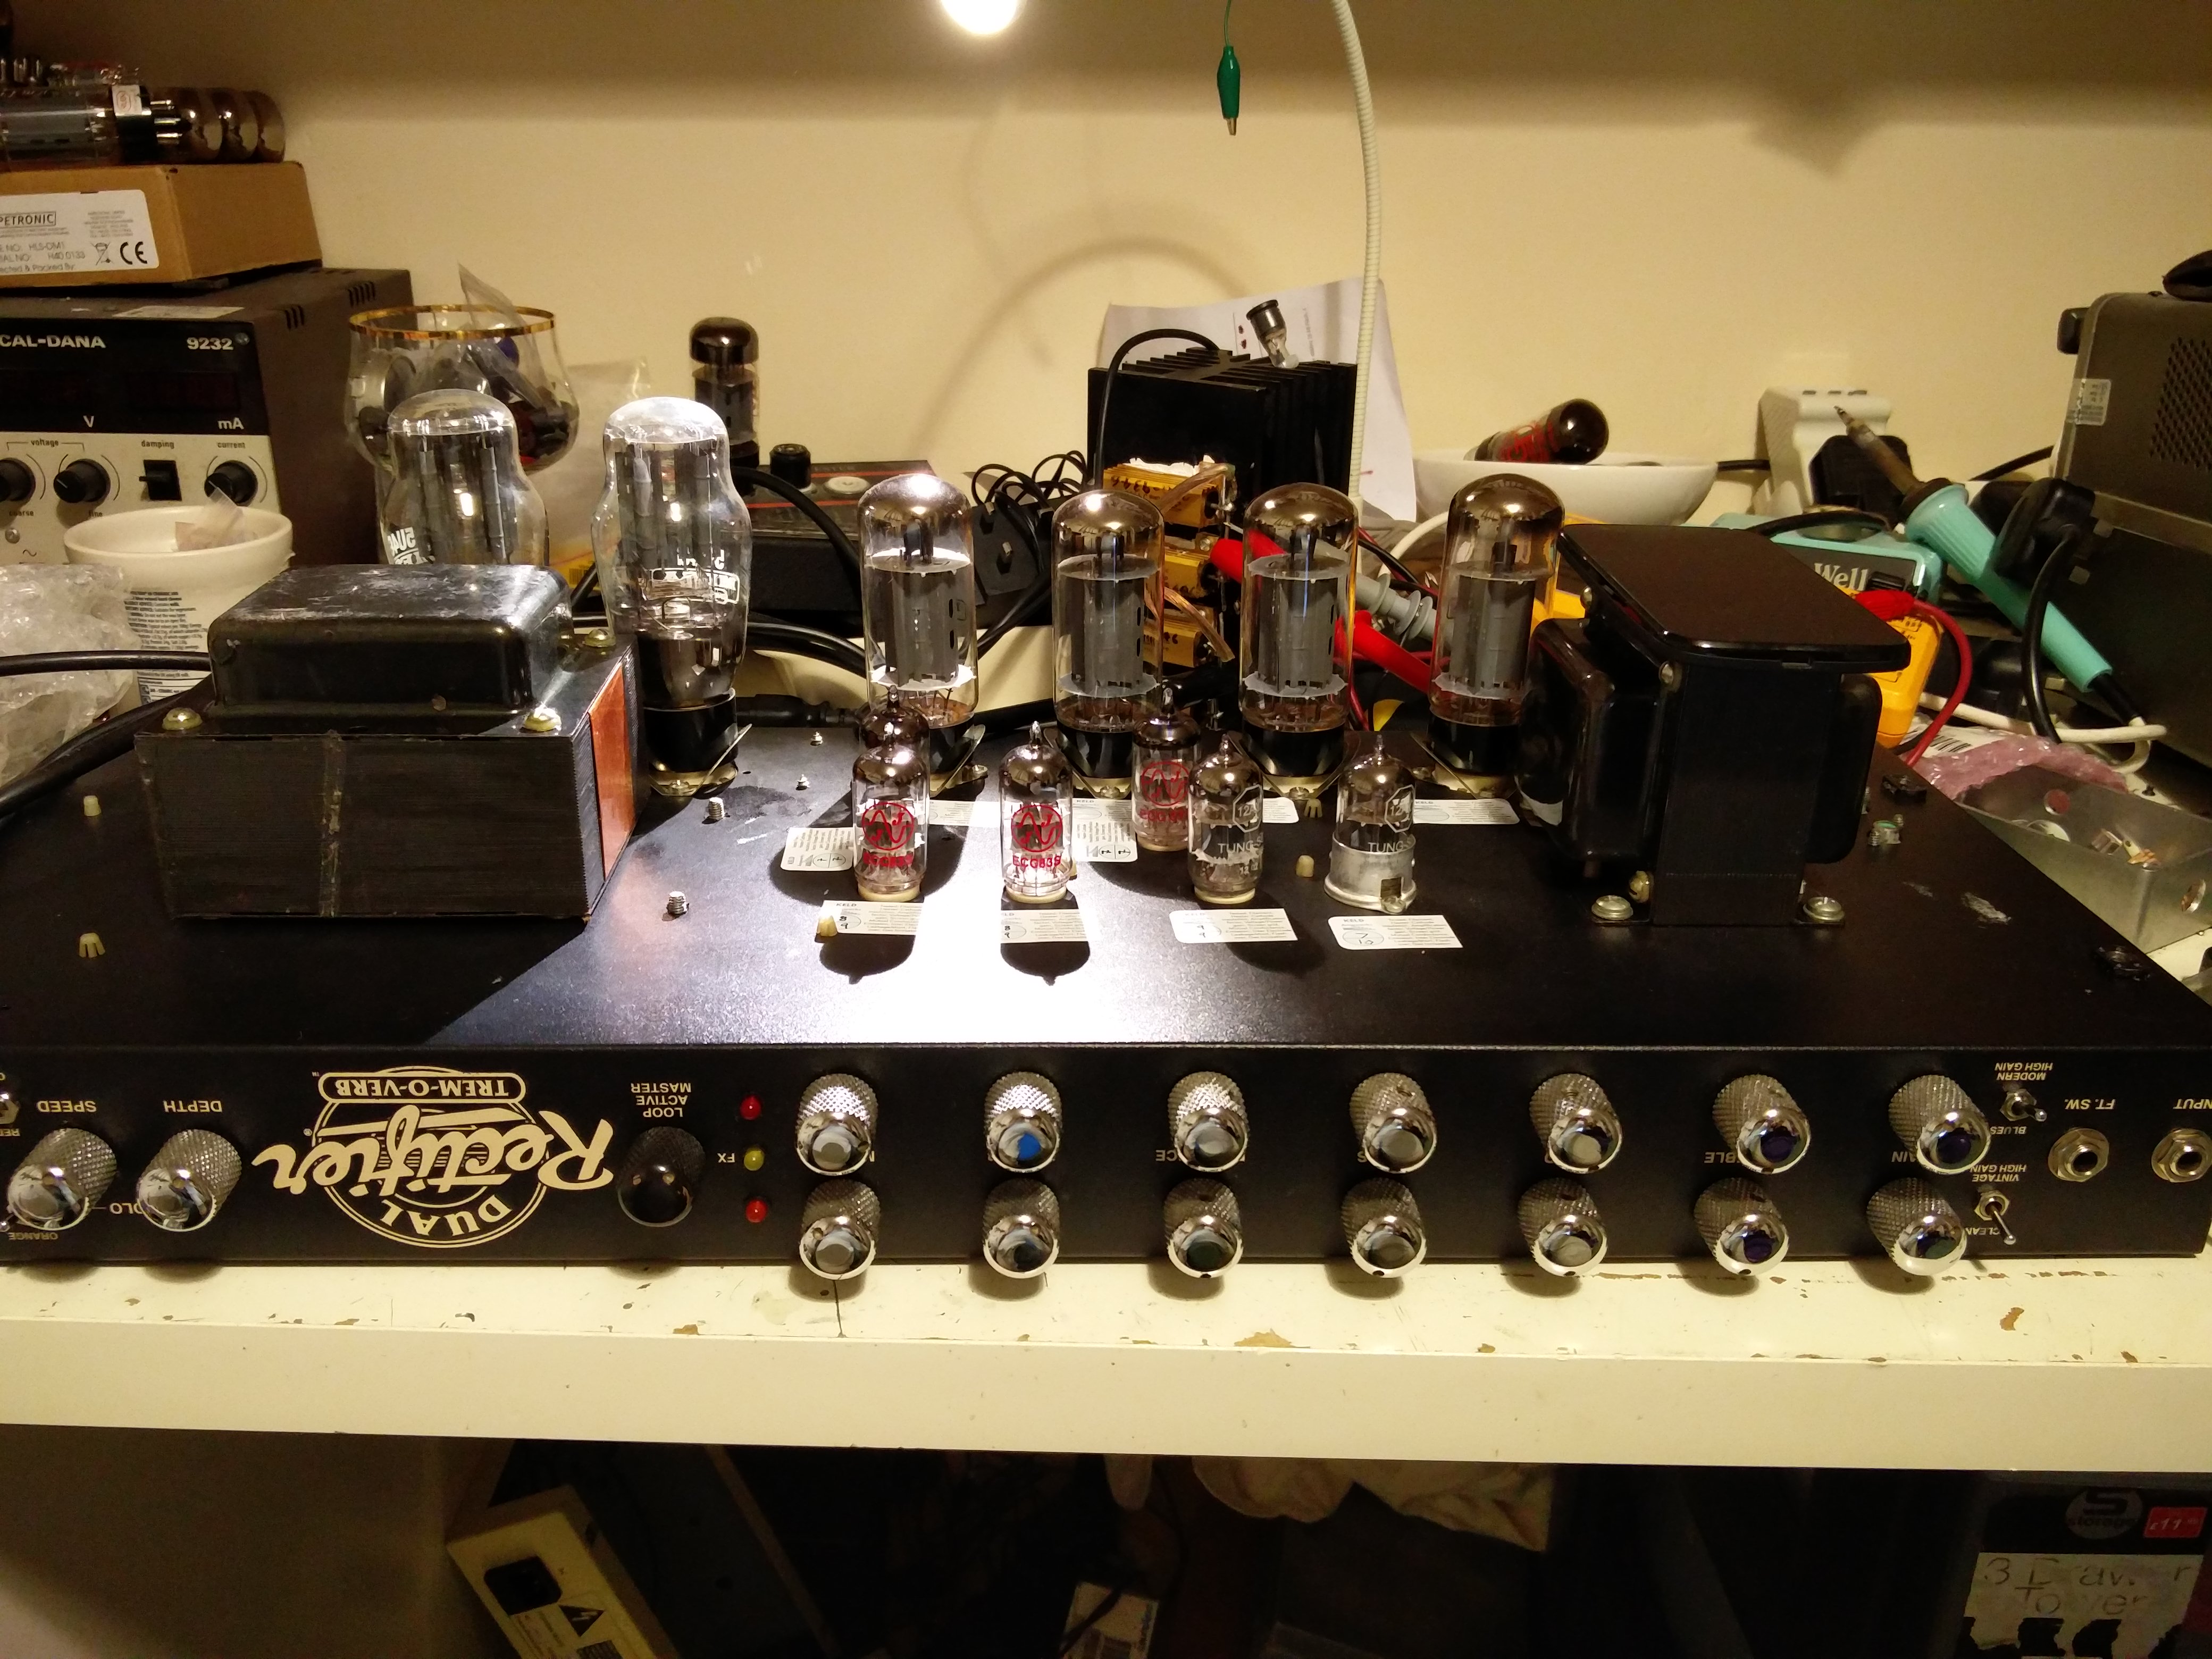
After testing the valves in my valve tester I discovered that the cause of the clean channel change was a very worn Shuguang preamp valve. I replaced it with a new Tung Sol 12AX7. I also discovered that one of the Bugera branded power valves was also faulty, requiring a change of both power valves to EHX 6L6s and a rebias.

Bugera repair V55Bugera repair V55 - replace standby switch

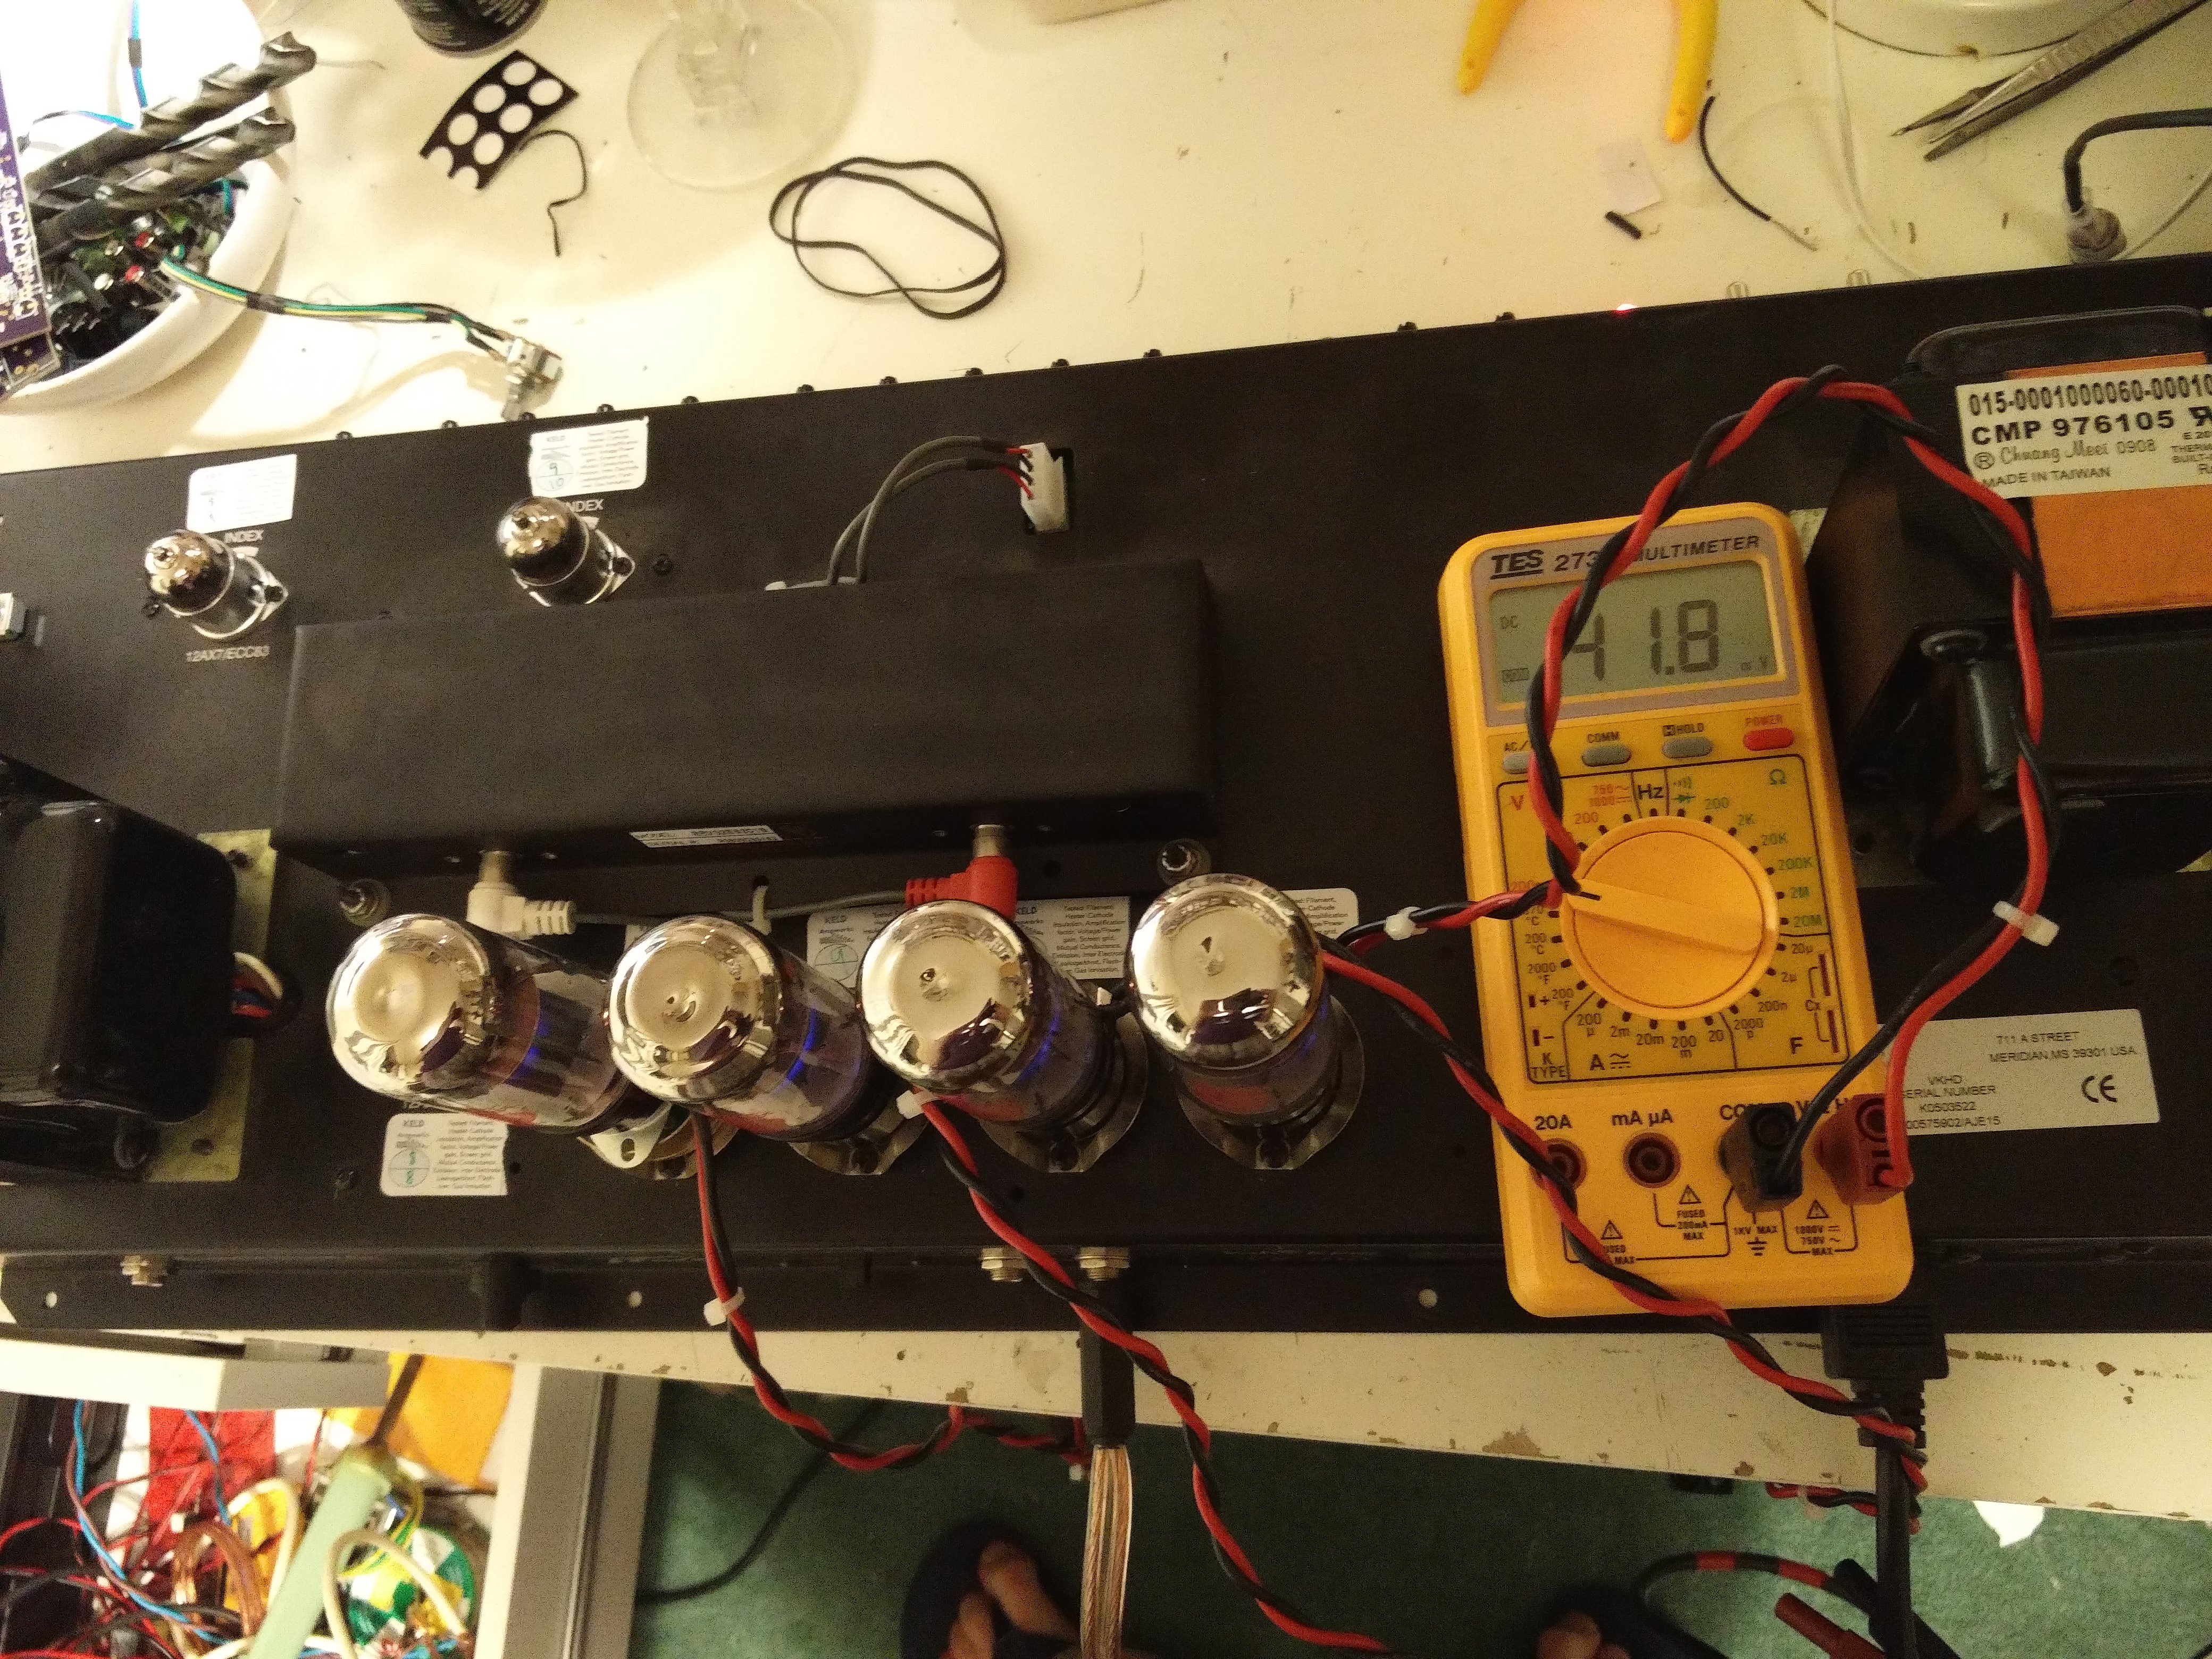
I’m not a big fan of Bugera’s bias control – a phono output that makes the bias voltage externally accessible and a little finger trim pot. The trim pot is a nightmare to adjust – screwdriver turned pots are much more accurate. And the phono socket exposes a relatively large voltage of between -40 and -80VDC. Also, the bias voltage isn’t a very good way of measuring bias (see this post by Aiken amps). Behringer use it as a way of encouraging you to buy their pre-graded valves. I use the most accurate cathode current method of biasing with a multimeter and a set of custom probes. I set the bias to 38mA, which is 70%.

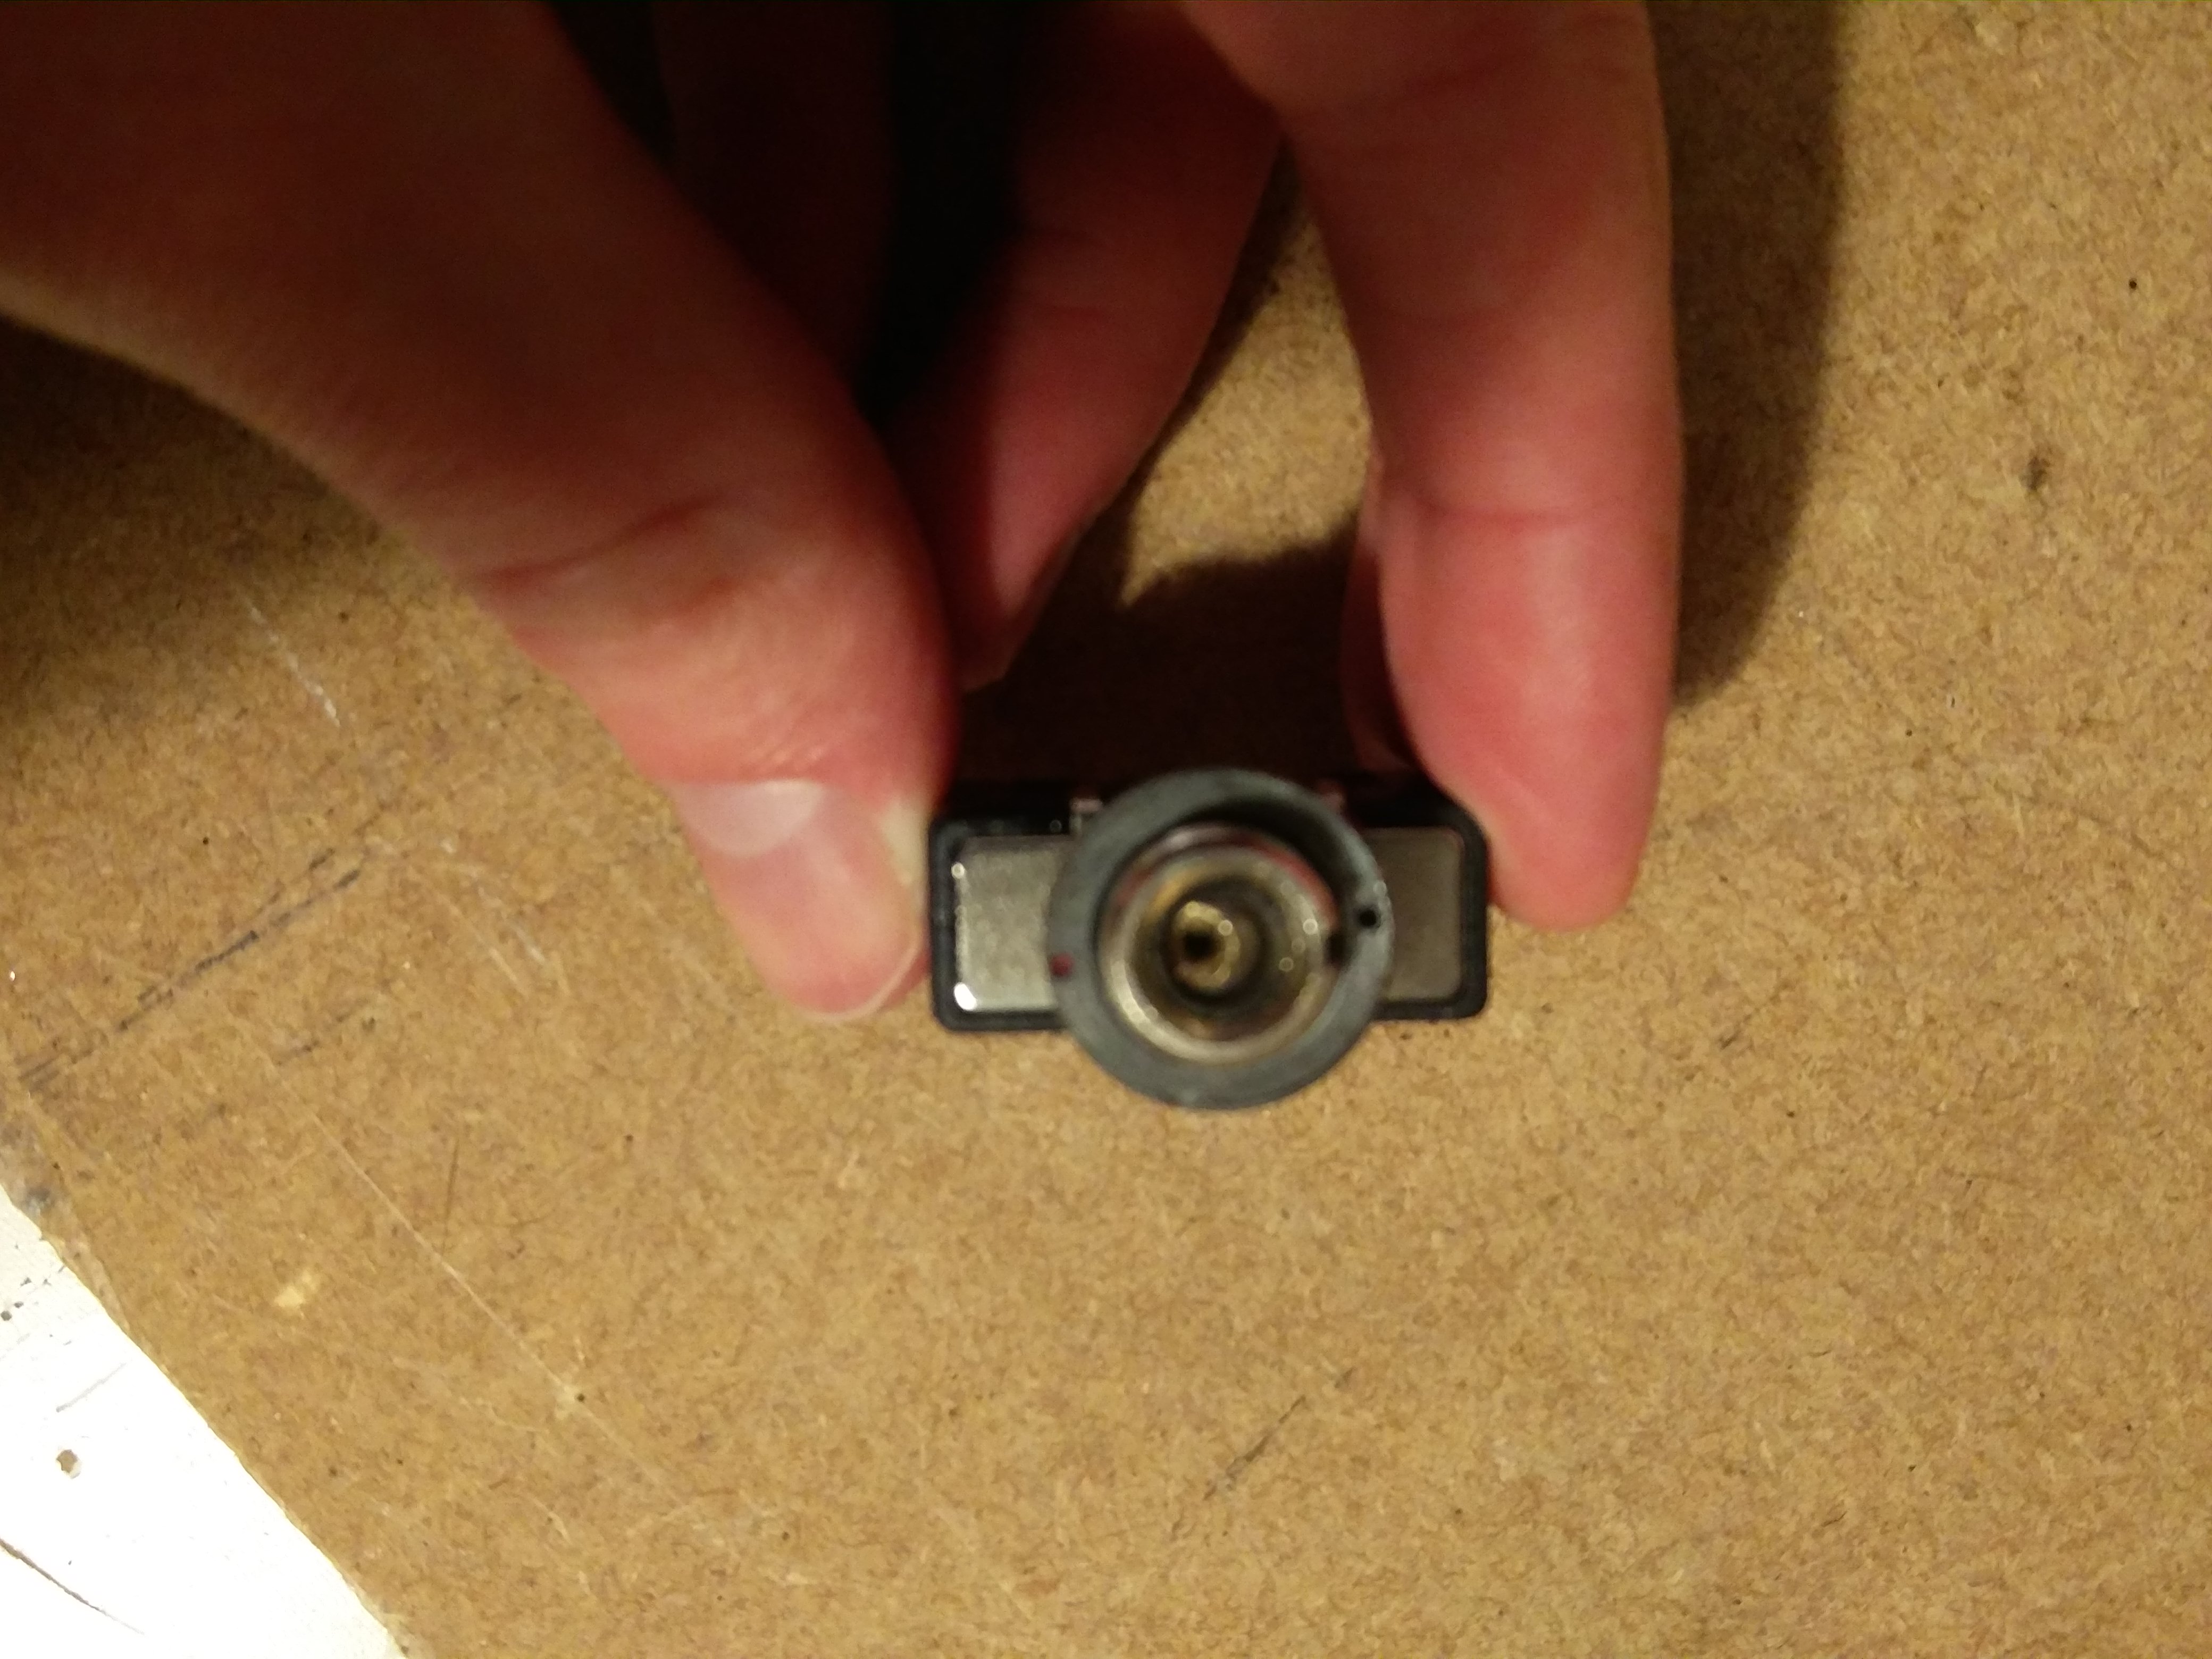
A specific request on this Bugera repair was to replace the damaged standby switch. It was a quick and easy job – as seen in the image. I often hold generic parts like this in stockin order to fit a variety of amps, or I can always order specific pieces in to suit an amp’s aesthetic.

Bugera repair V55 verdigris on PCBBugera repair V55
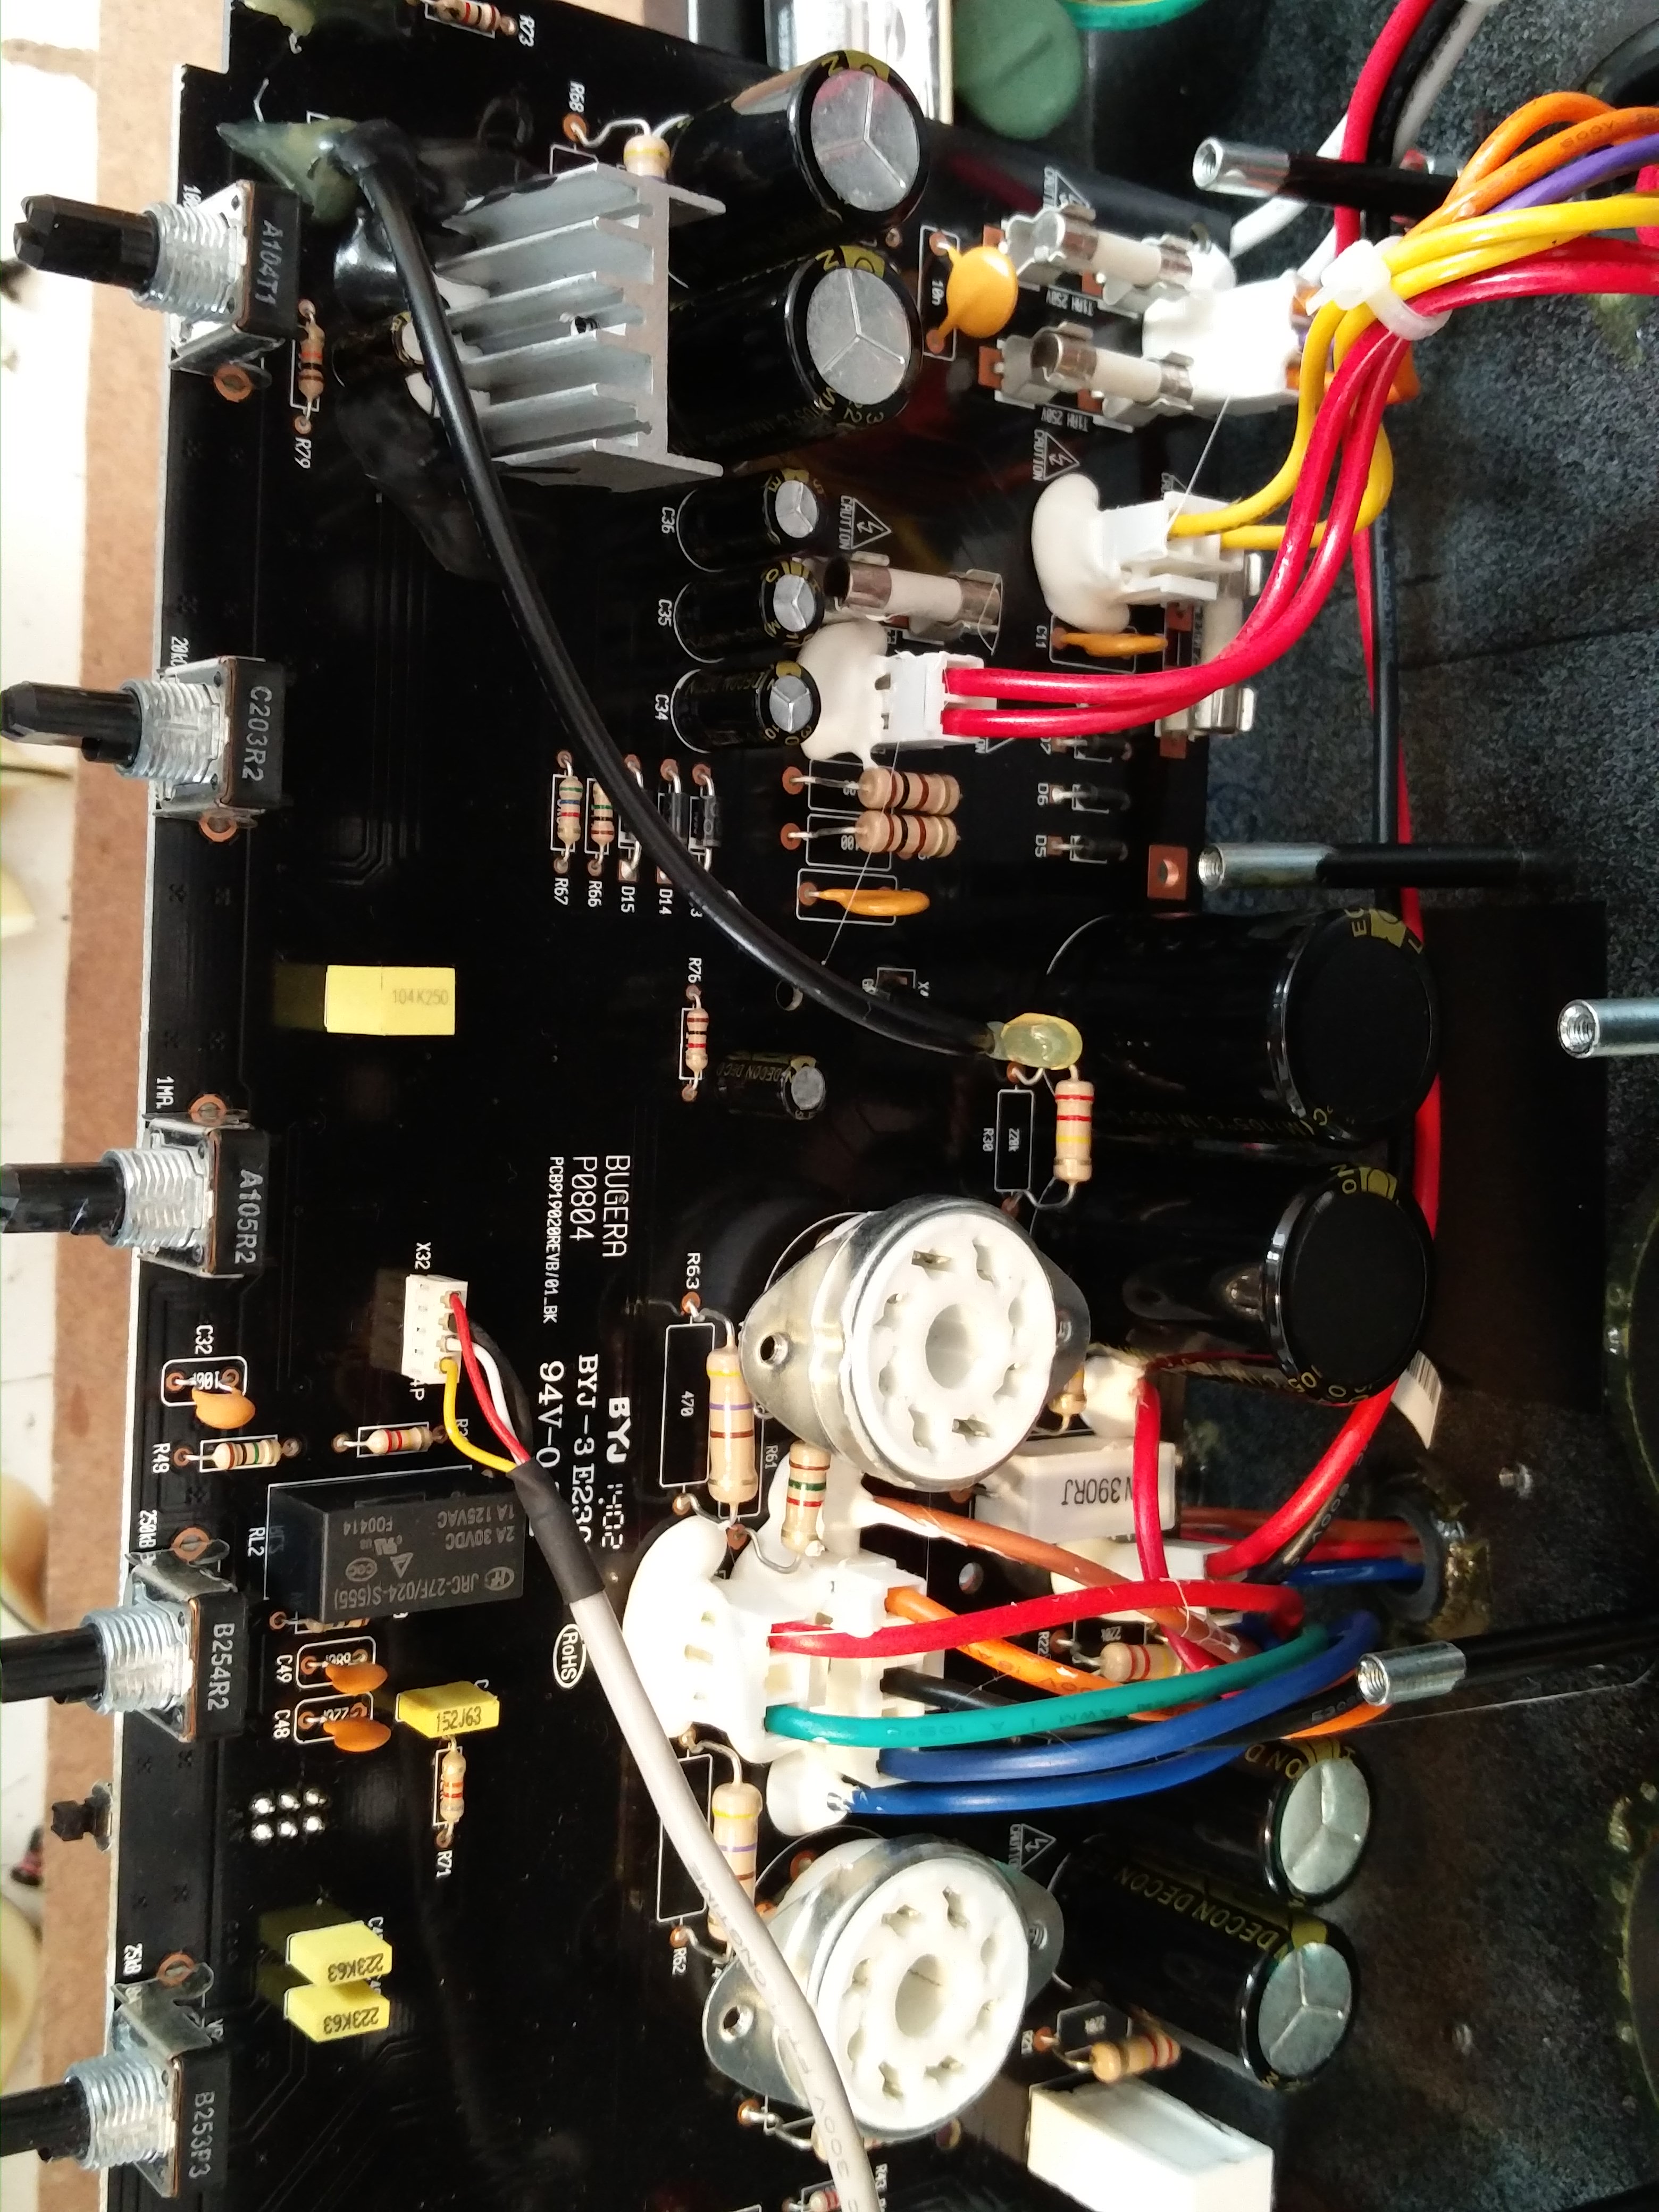
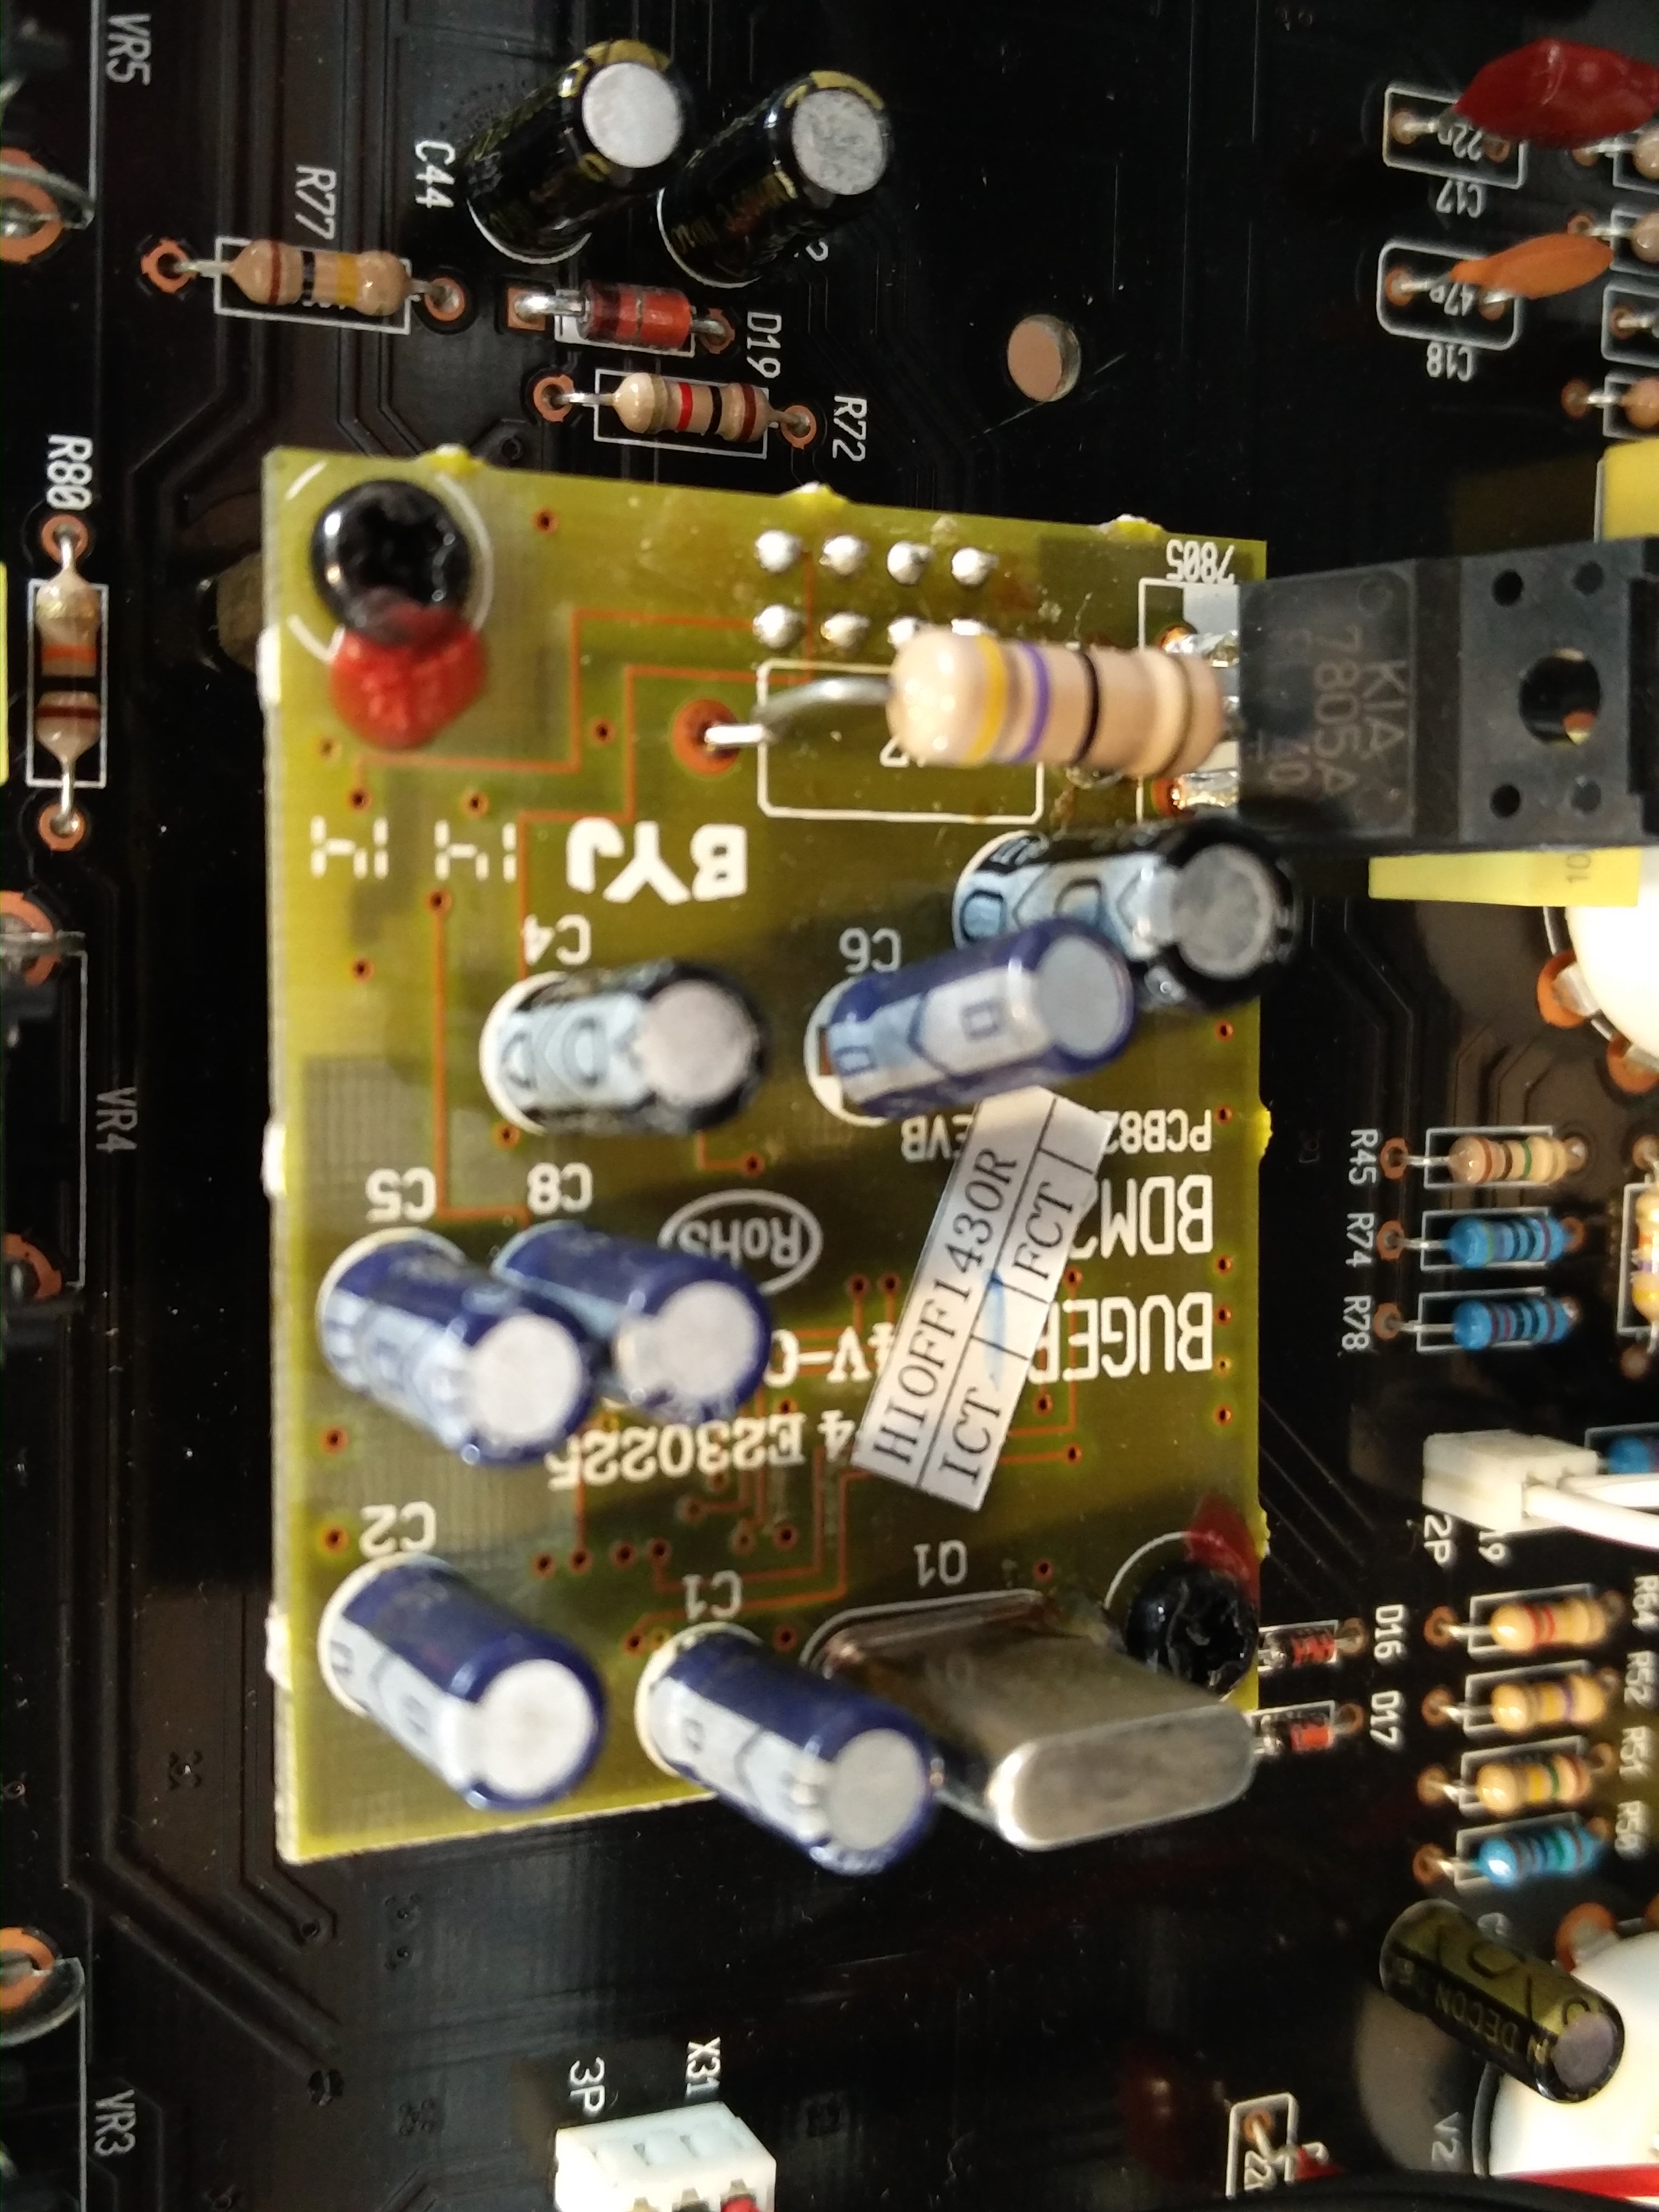
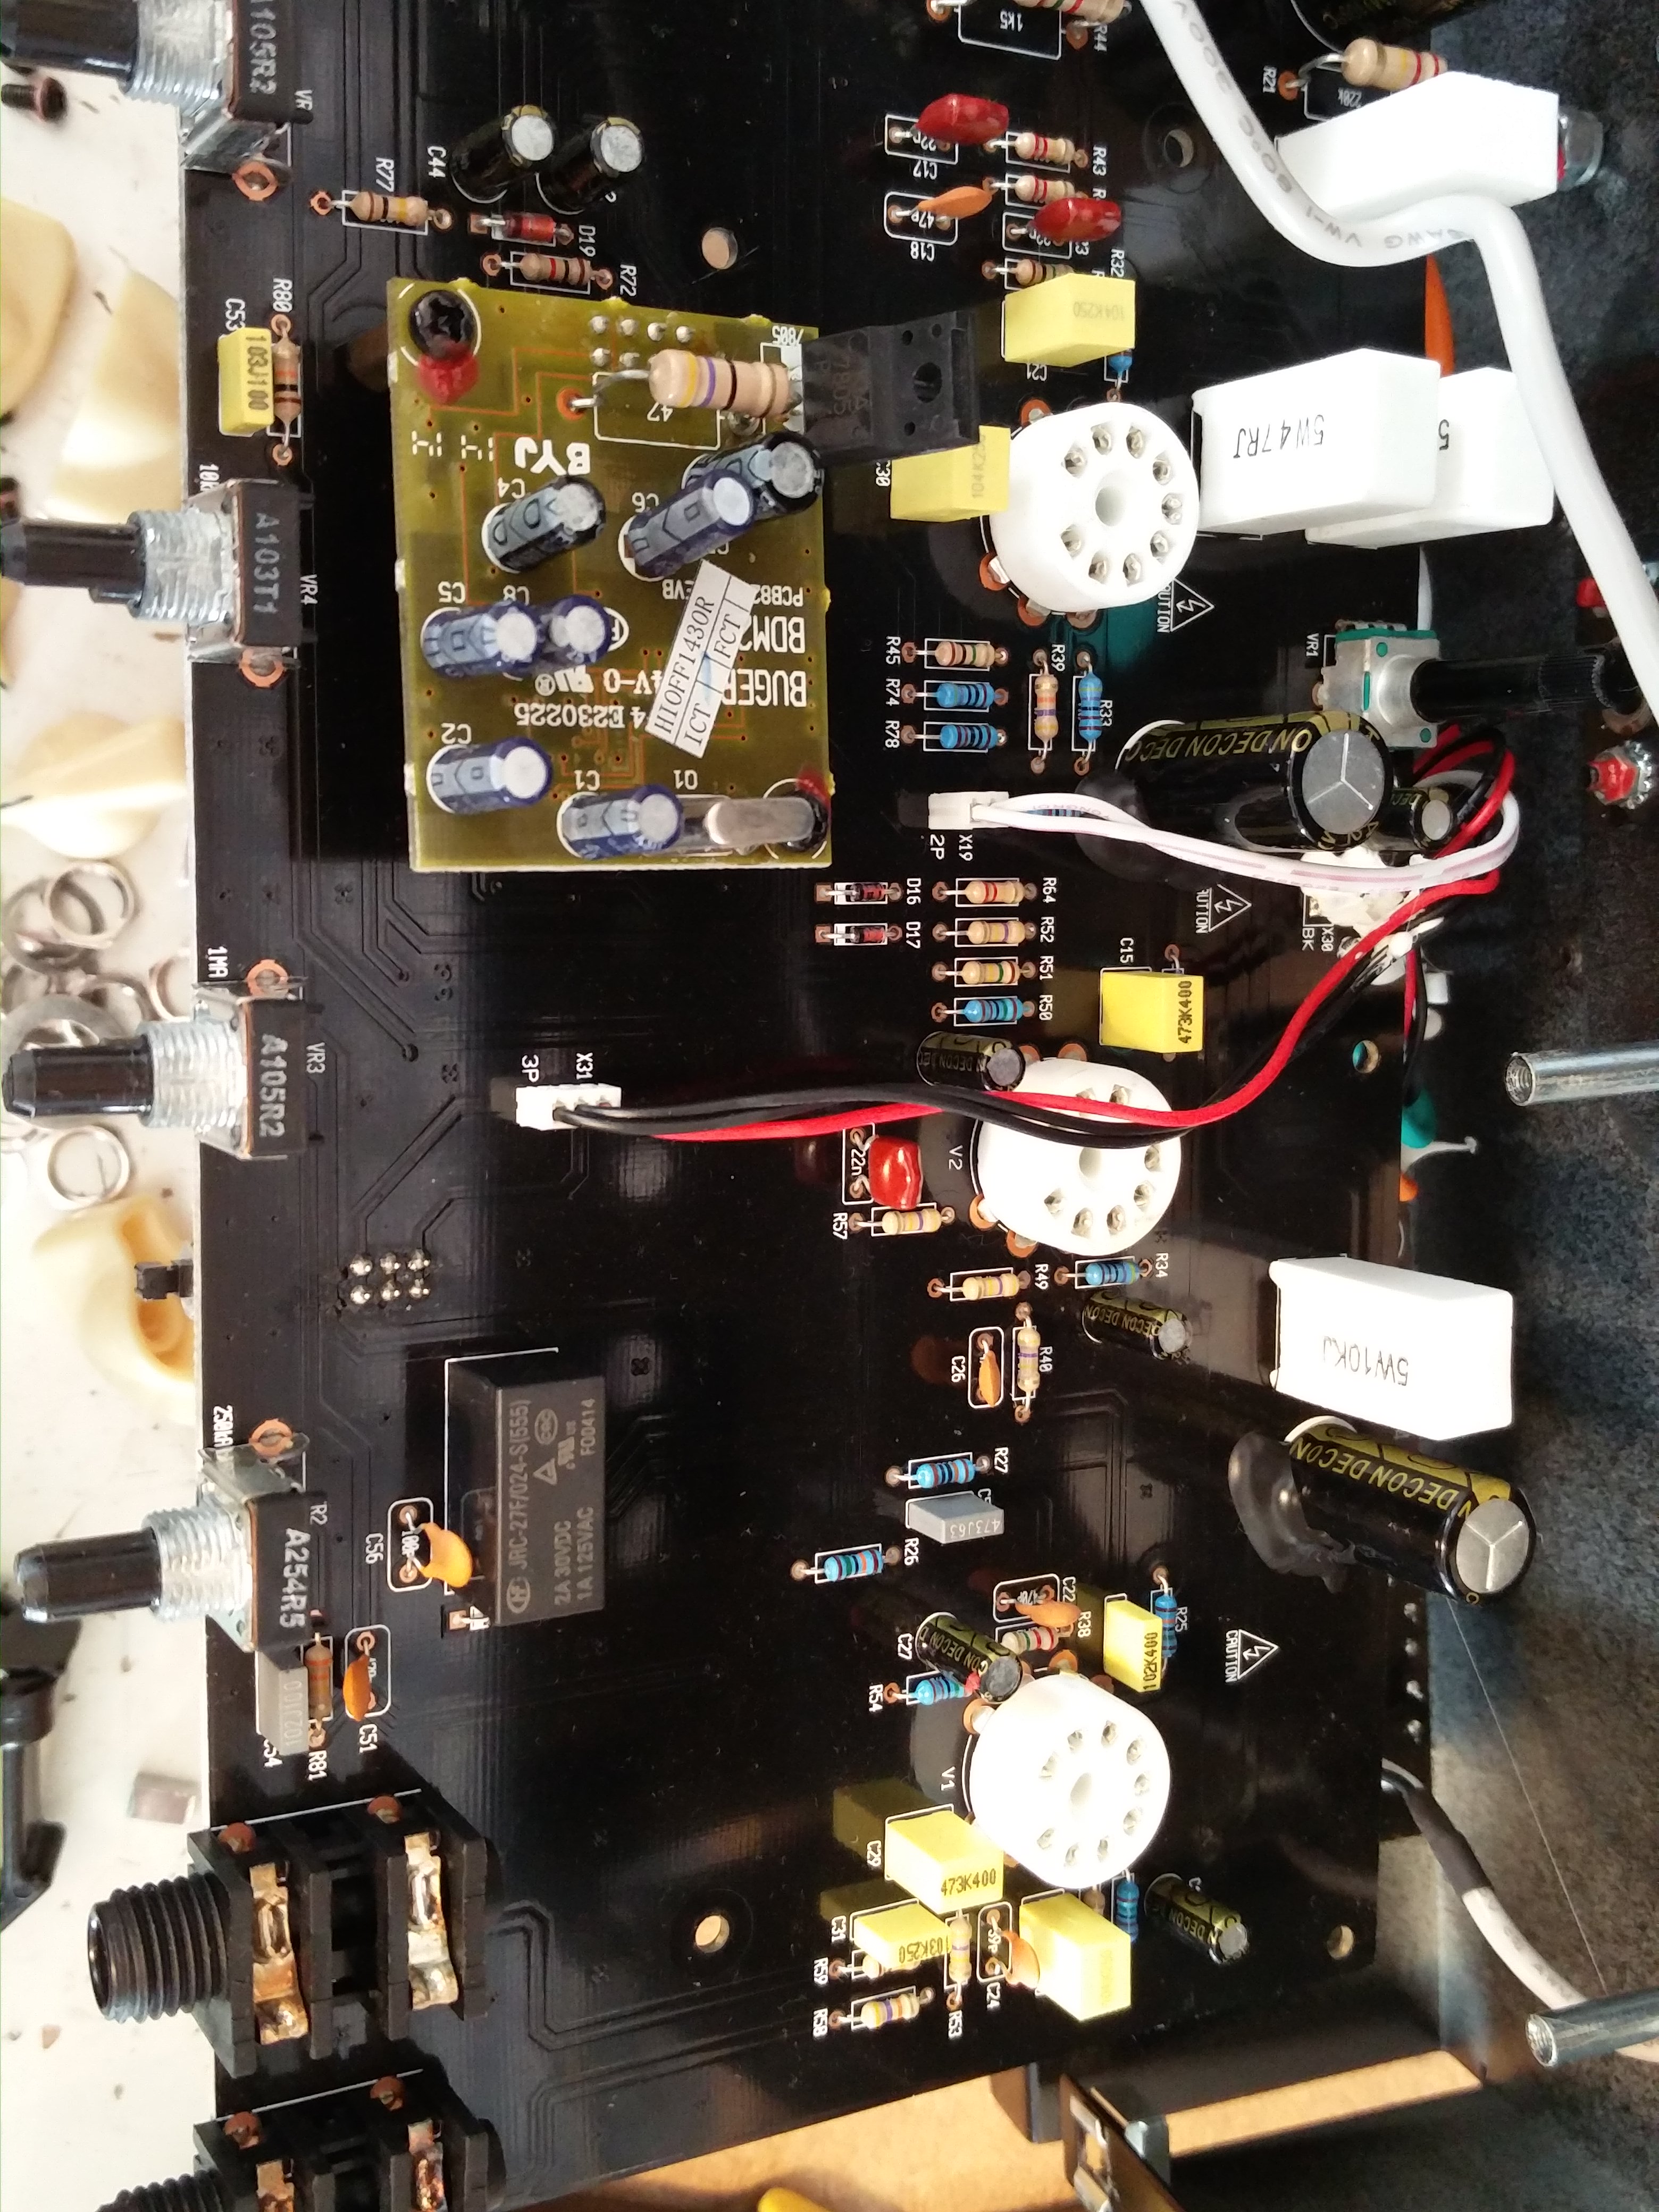
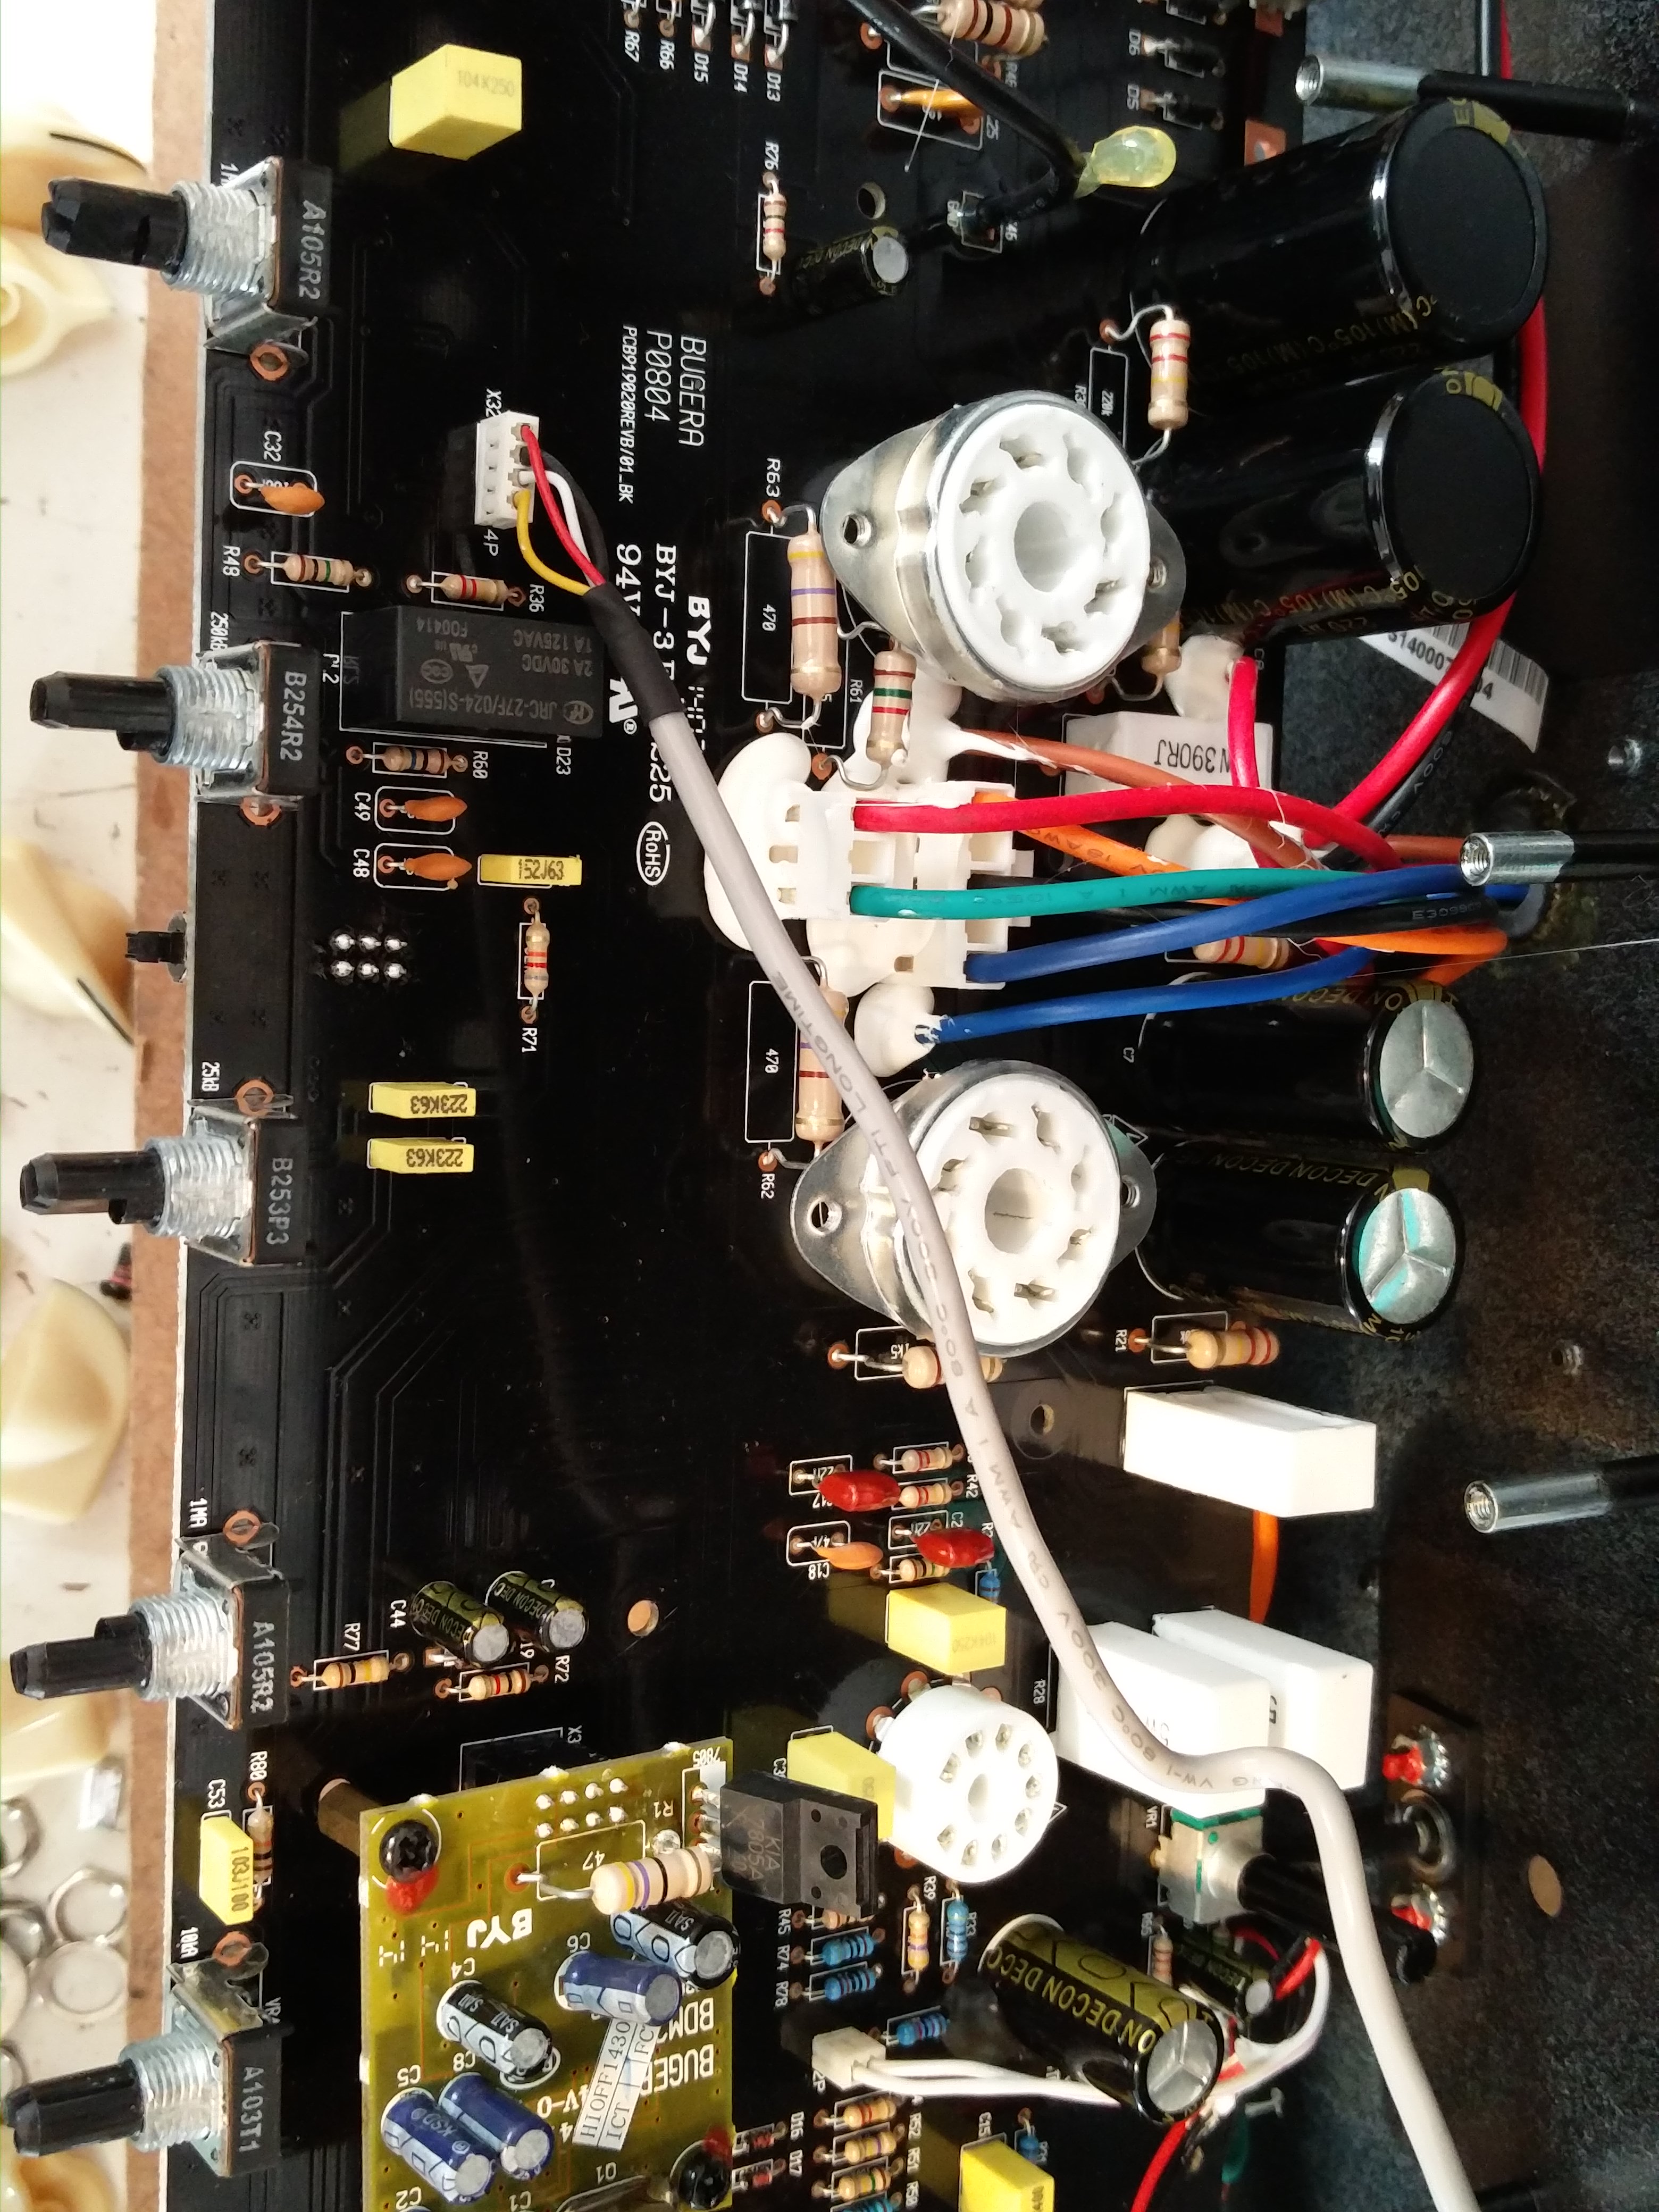
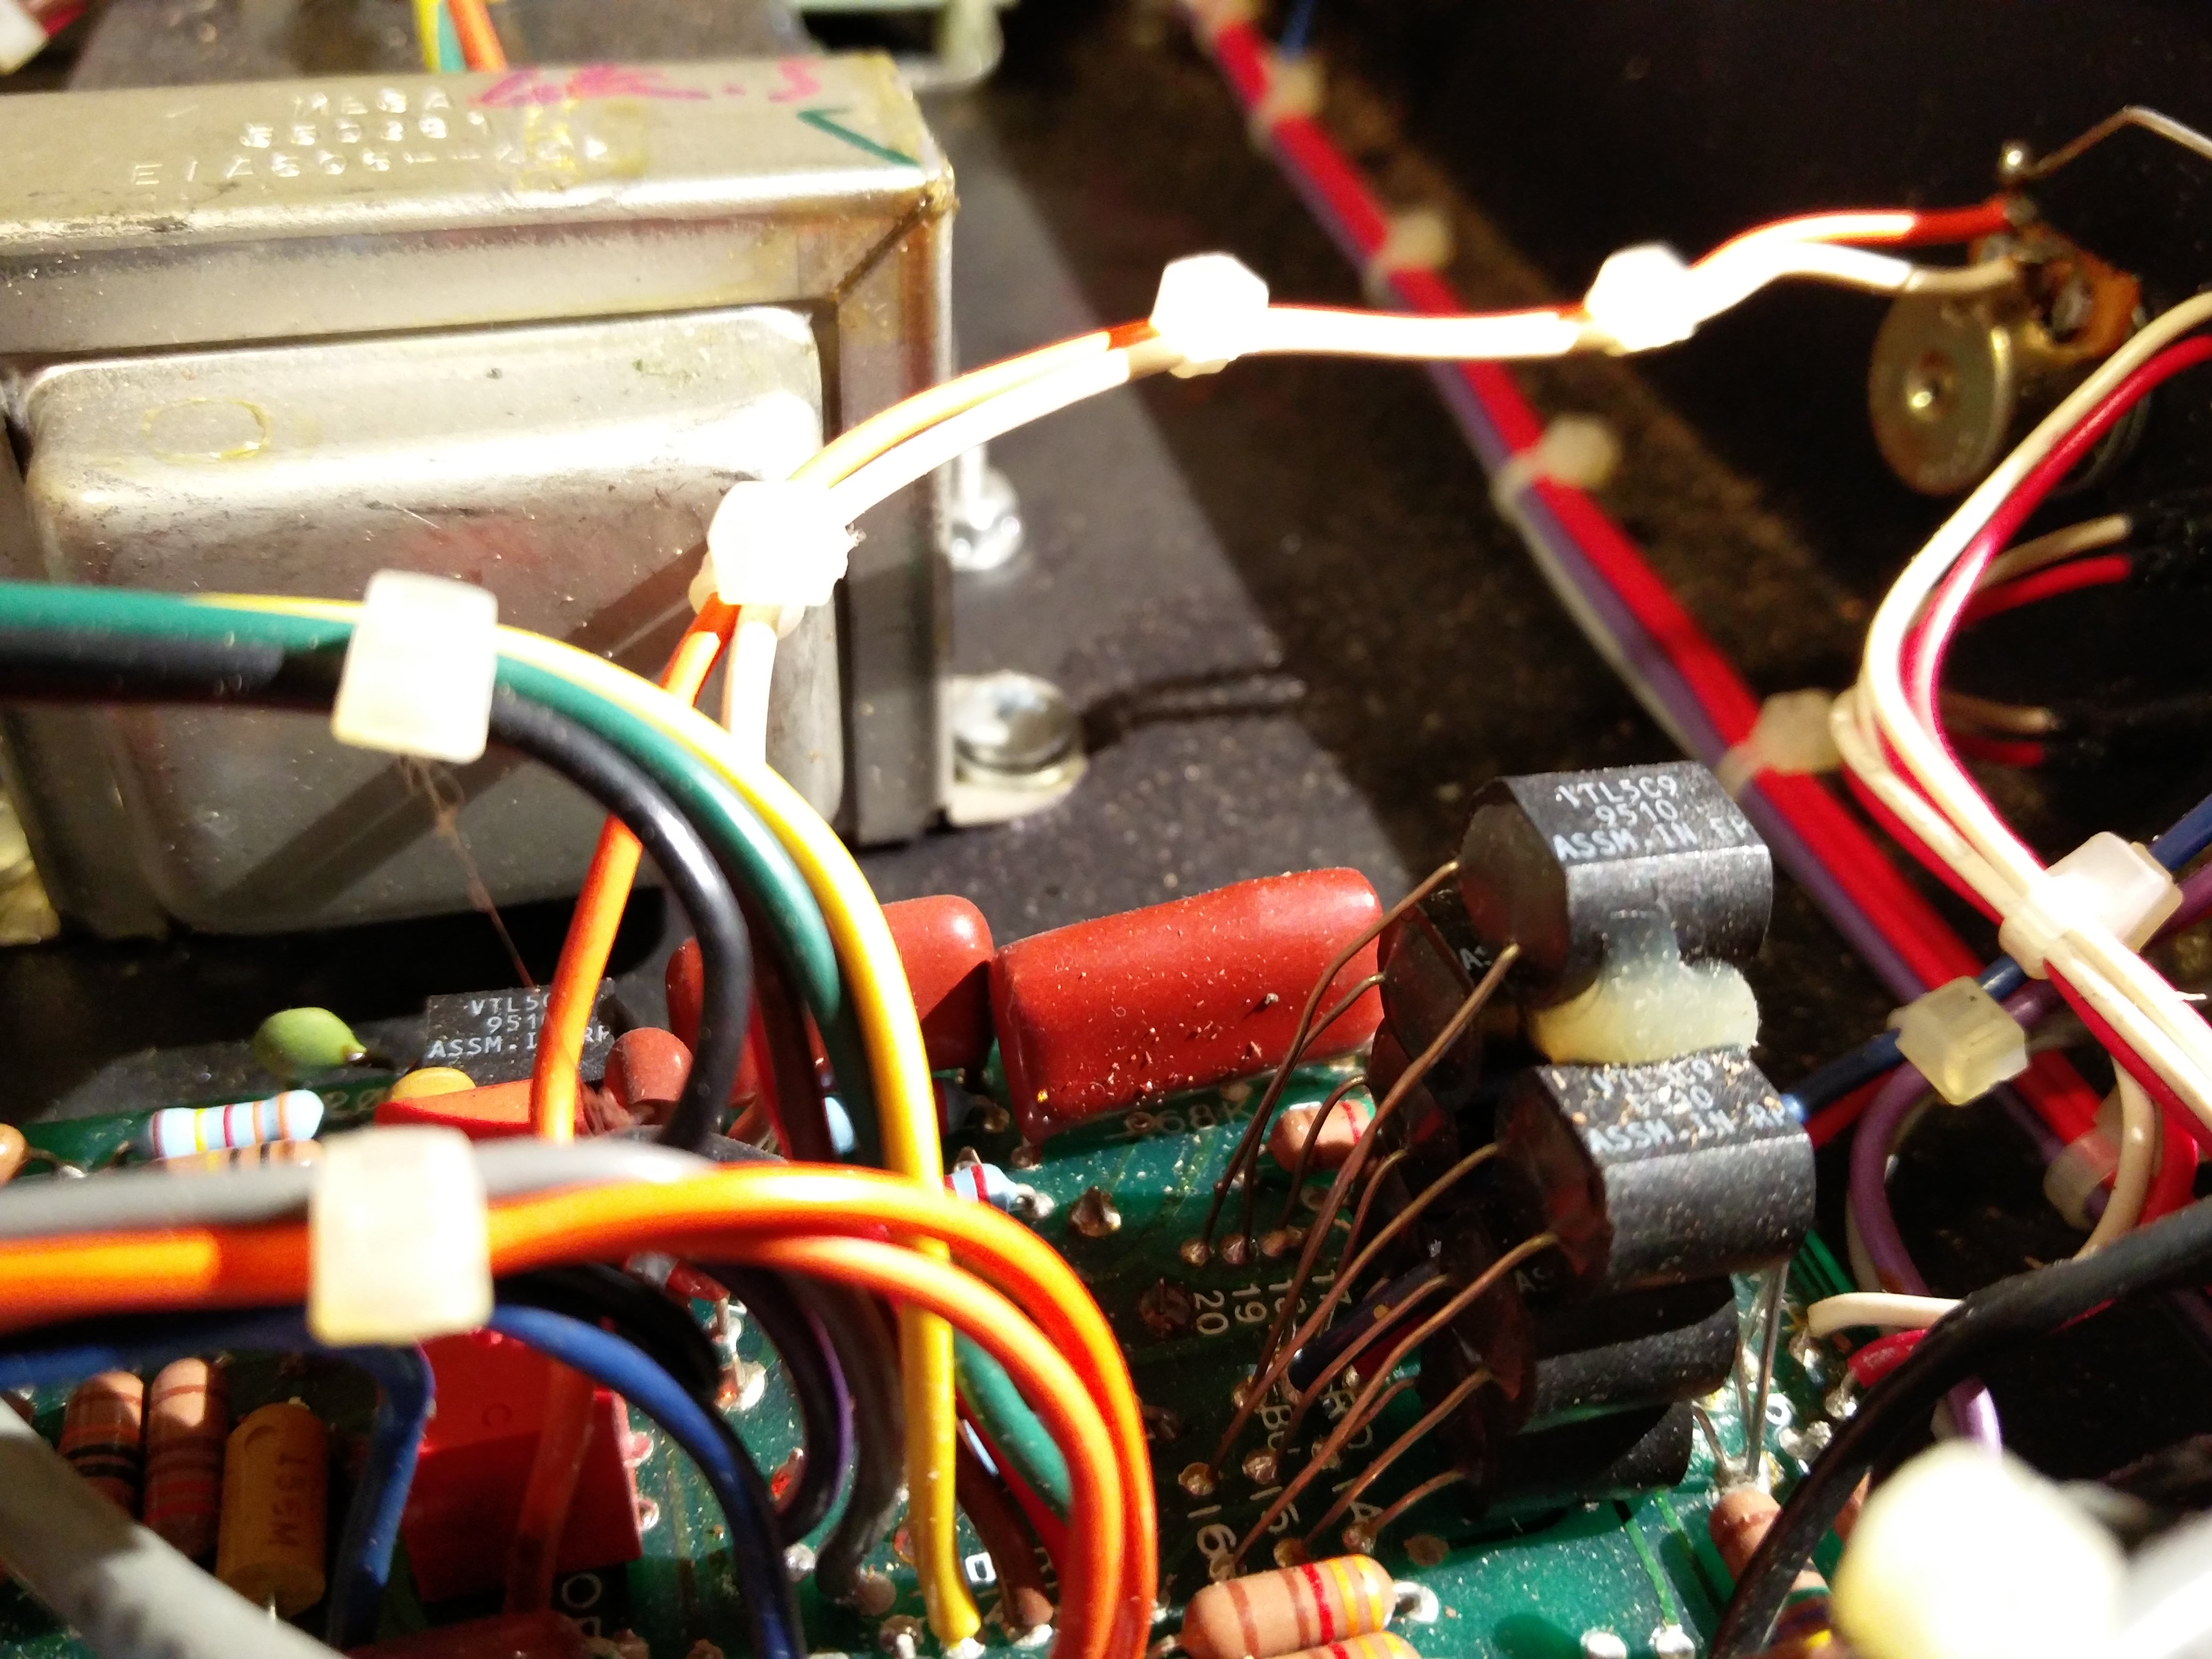
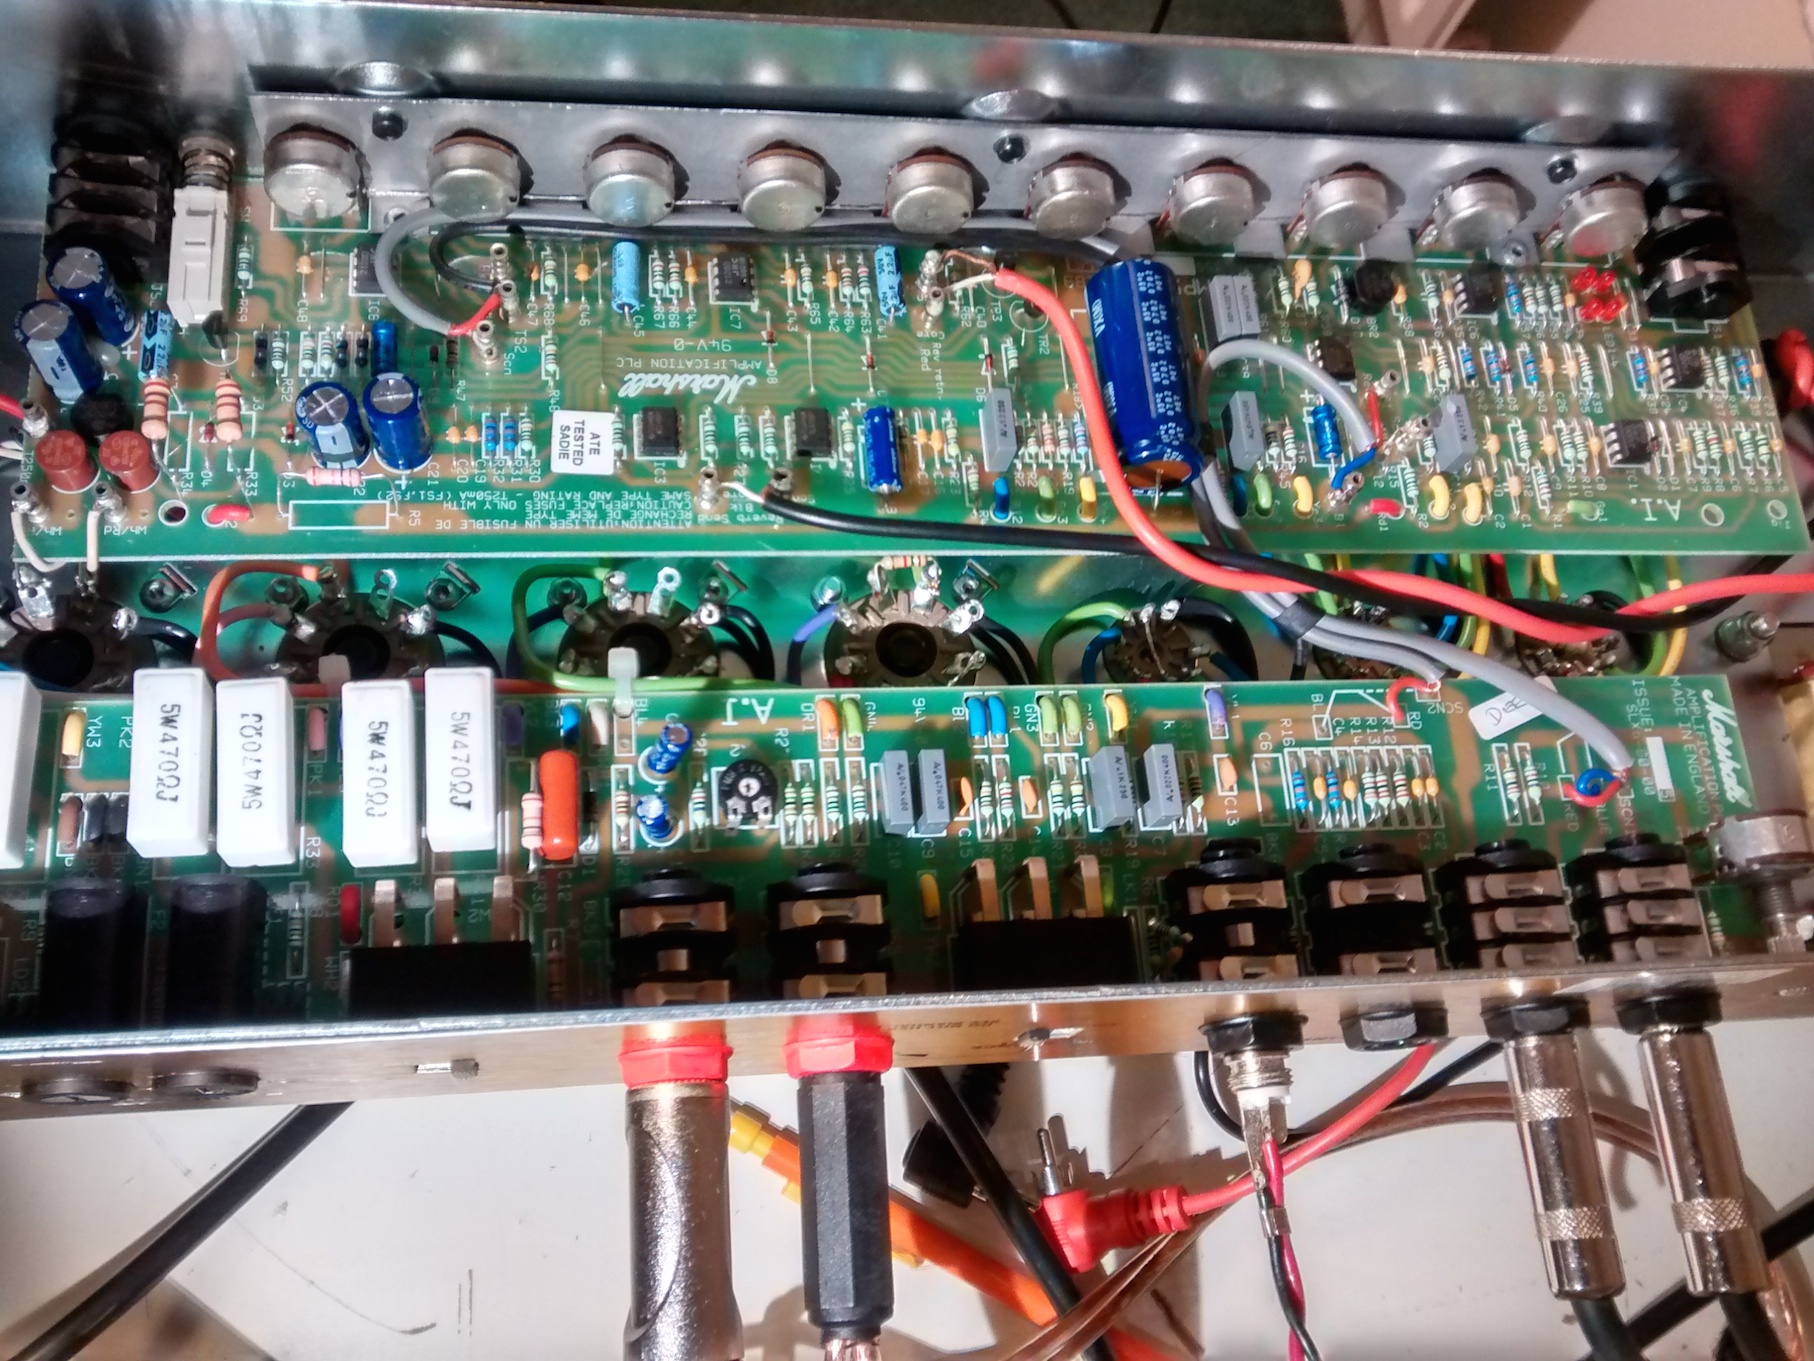
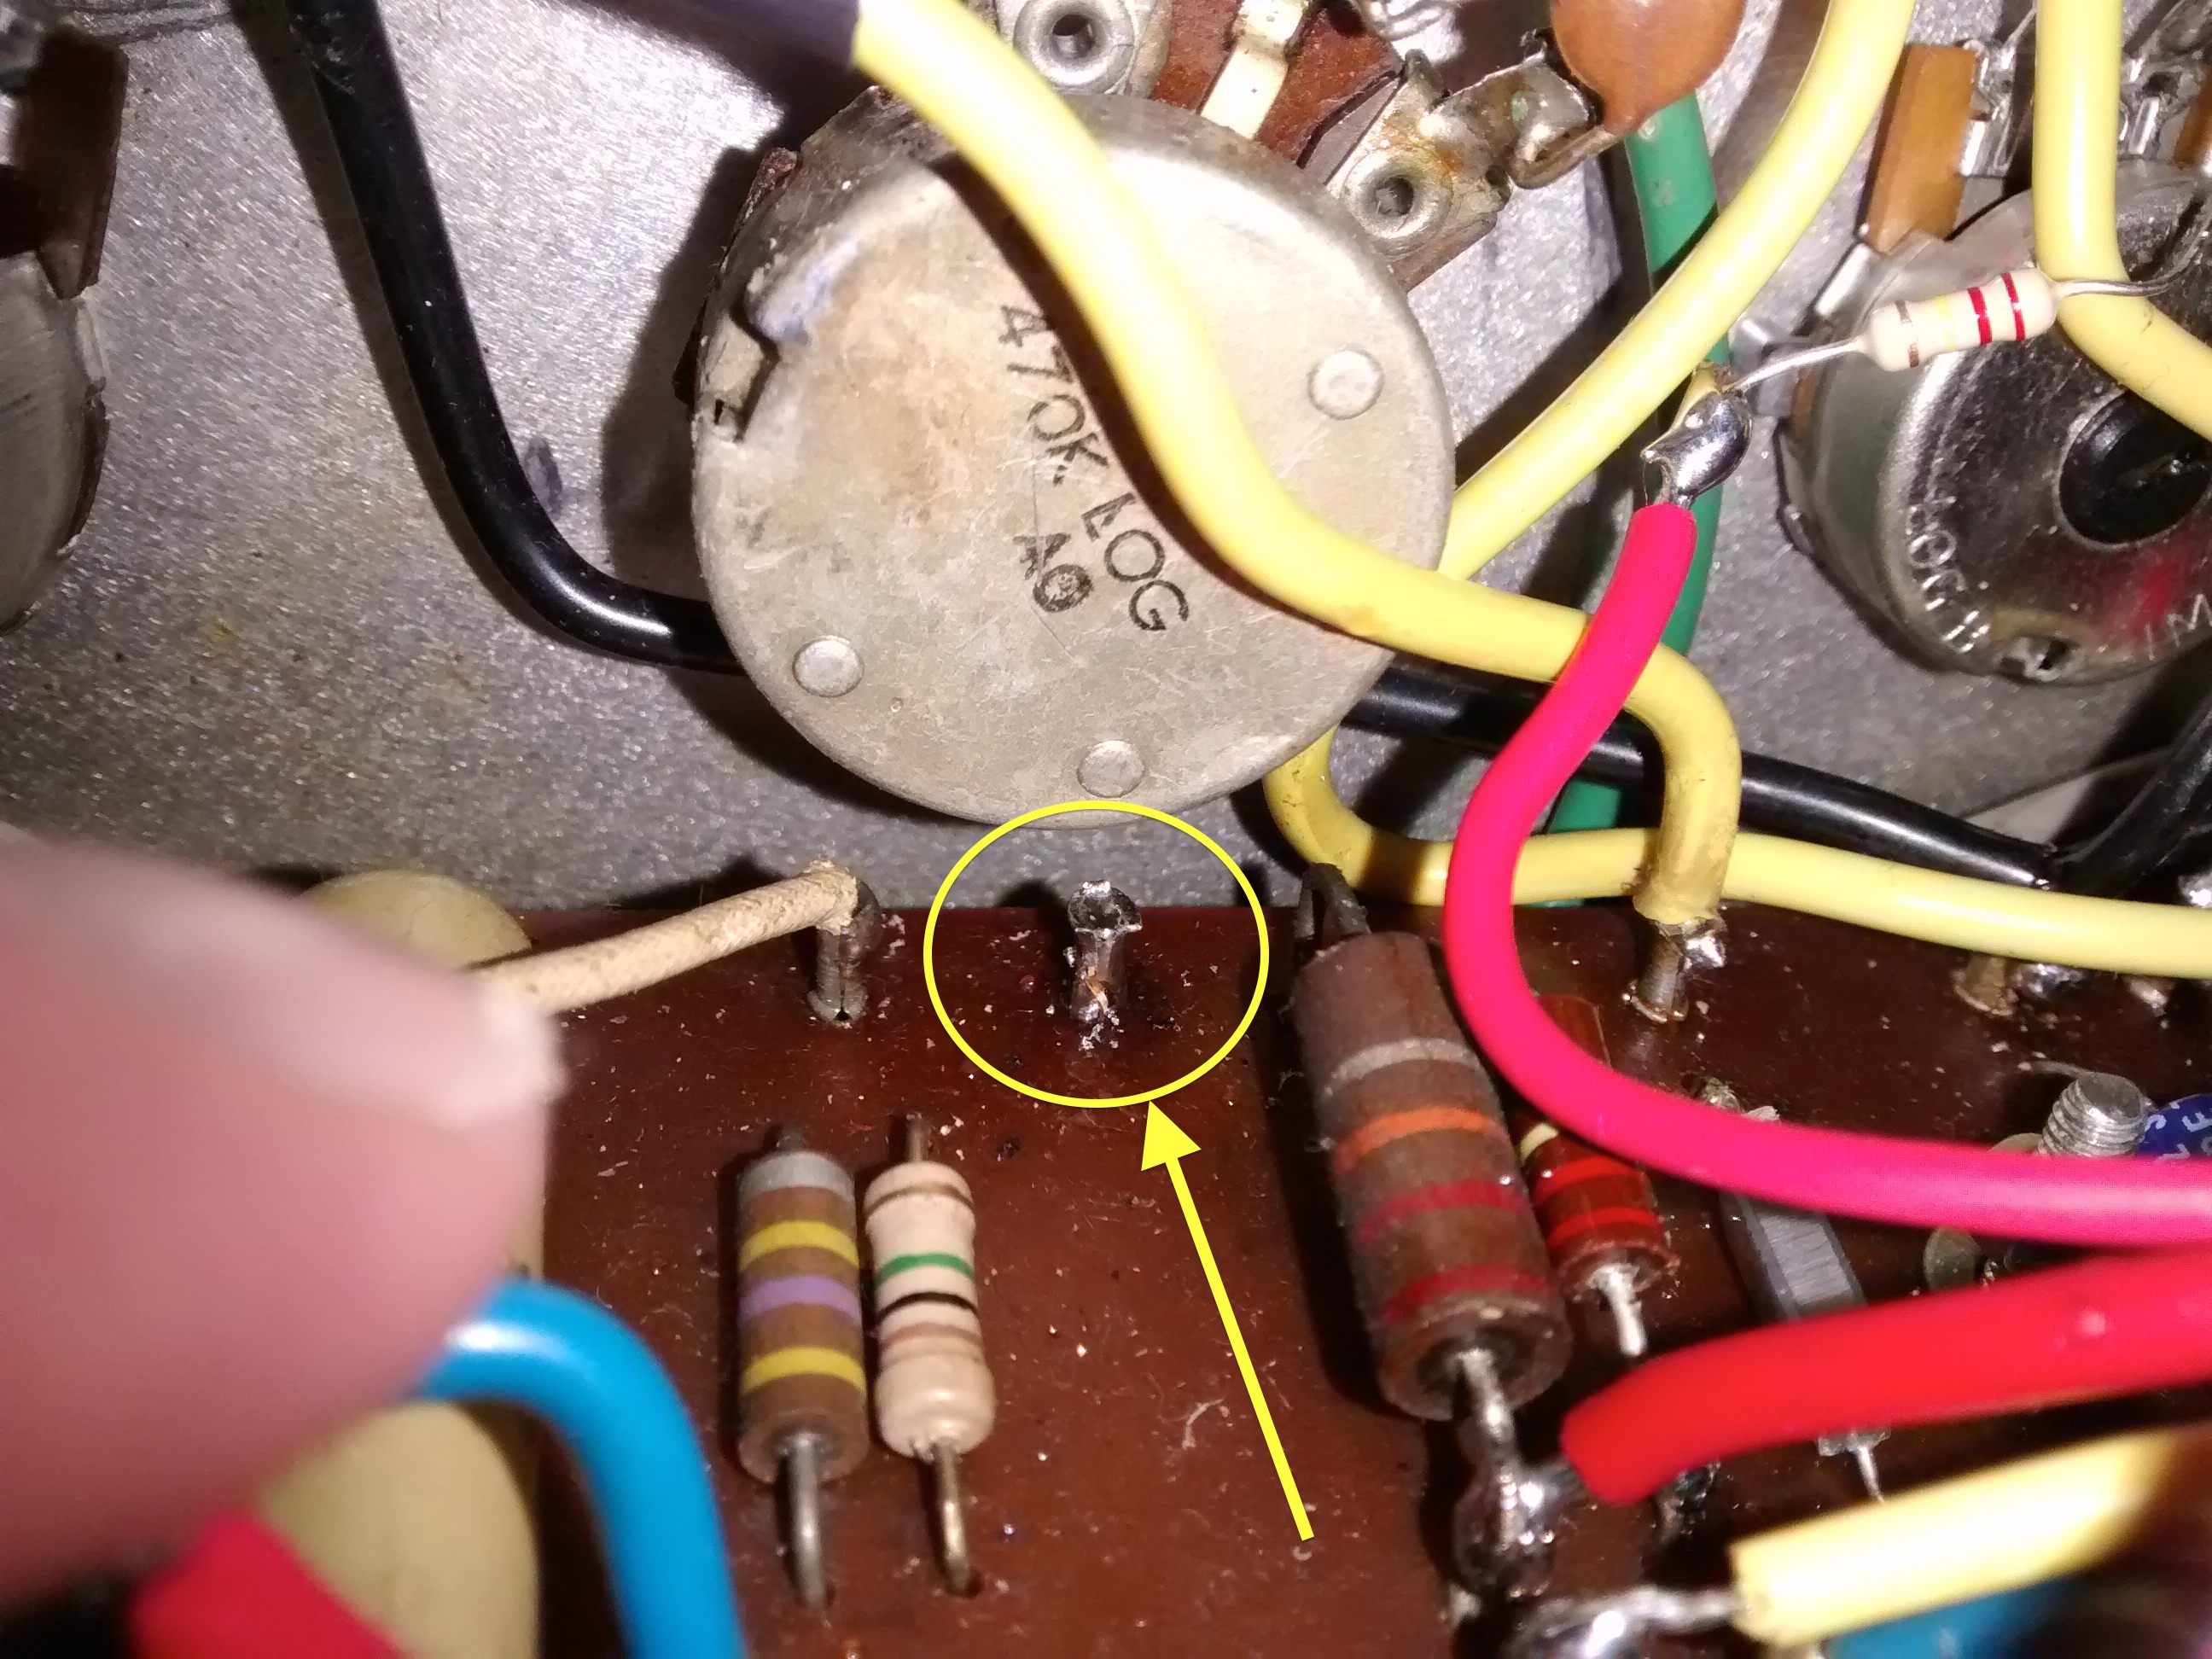
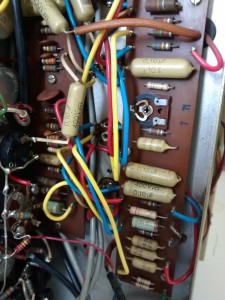
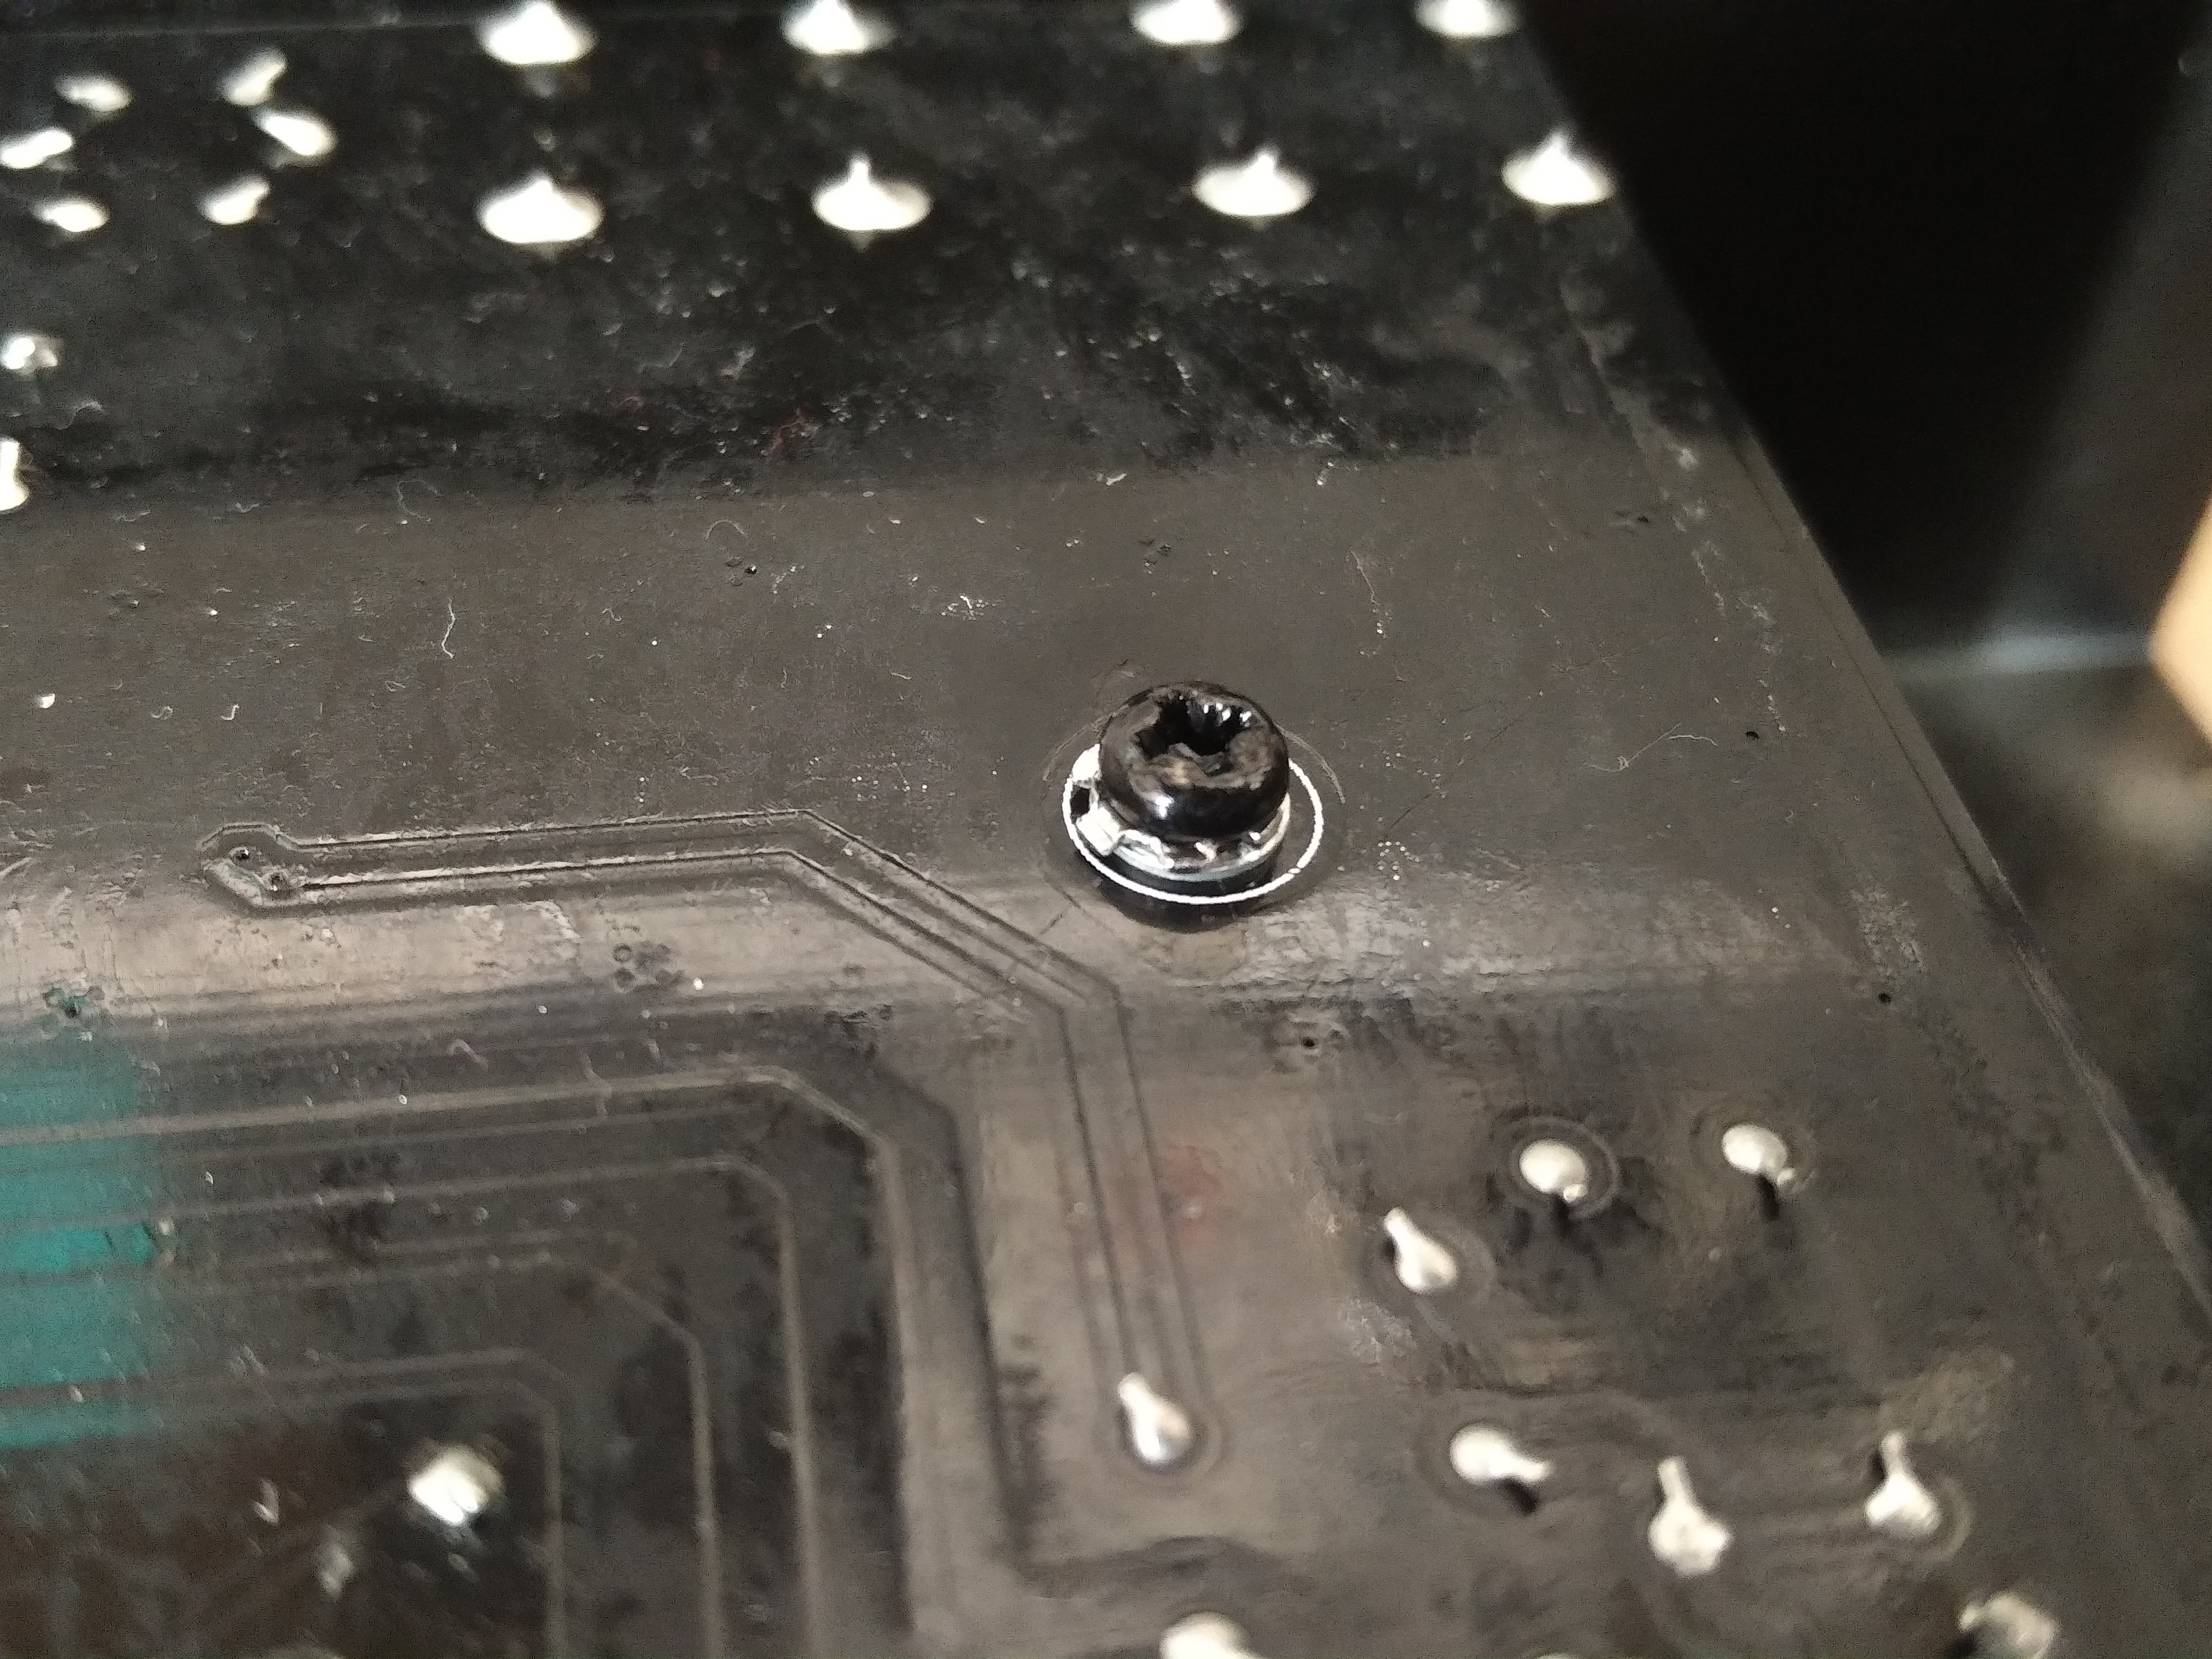
Upon inspecting the board I noticed a number of areas that were corroded – in the picture you can clearly see the Verdigris (copper carbonate) on component pins and PCB pads. I desoldered these pads and freshly resoldered them. I also spotted a couple of dry joints on valve bases and fixed these up. After this stage I refitted the PCB.The original screws were secured with thread lock, so instead I added a toothed washer and a plain washer – many manufacturers and repairers omit the plain washer, but this is very important in order to not damage the PCB surface and thus loosen the screw.


I was interested to note that the amp uses a ‘Turbosound designed’ speaker. This is because Bugera and Turbosound are both owned by Music Group (Behringer). The amp also uses a V1000 cool audio (I think this is anothewr behringer brand) multifx chip and a V4220M codec on a mezanine board to create the digital reverb.

If you have a bugera repair job for me, please get in touch.


Bugera repair V55

Bugera repair V55Bugera repair V55

Bugera repair V55

Marshall Silver Jubilee repair – Marshall model 2558

Marshall Silver Jubilee Repair

I was quite intruiged when a Nottingham guitarist brought this Marshall Silver Jubilee repair to my Newark workshop. These amps have taken on a bit of a legendary status, due in no small part to their association with Slash and Joe Bonamassa. I love how this amp looks, and it’s got an interesting tone control design, that deviates from the common Fender and Marshall designs.

The amp had blown a power tube, which the owner had replaced without rebiasing, tut tut! It still had very weak output, but occasionally it would blast out at full volume. It was also in need of a good pot clean.

First thing to do was to disassemble the amp. Marshall amps from this era are quite nice to work on and easy to take apart.
Marshall Silver Jubilee Repair - gutshot
The described problem was caused by oxidation in the FX loop circuit. This is a common problem with many amps and was easily fixed.

I observed some crackling on the EQ potentiometers which turned out to be slightly leaking coupling capacitors in the tonestack.

I then attempted to rebias the amp but discovered another problem. The plate voltage of 490V requires a bias current of to give 70% bias. I couldn’t get higher than 18mA with the valves the customer has fitted. Viewing the output waveforms in the scope, the amp showed significant crossover distortion. I checked the bias supply and found it to be working correctly. Although they tested within spec in my valve tester, it just wasn’t possible to bias these JJ EL34s in this particular amp. I fitted a new set of EHX valves and was able to bias the amp properly to 34mA.

This amp sounds great, even when I play it!

If you have a Marshall silver jubilee in need of repair, please contact me

Hughes and Kettner Tubemeister repair

I’ve wanted to do a tubemeister repair since they first came out a few years back. I guess it’s a testament to general quality that this is the first to appear on the bench. I’m a big fan of the design aesthetic. 3 channels and a midi switching amp for £550ish is a lot of bang for your buck.

However, the owner was more worried about a different kind of bang – and a flash behind V1 when he flicked the standby switch. Afterwards the amp wasn’t making any sound at all.

Hughes and Kettner service manuals are easily the most detailed of any of the modern manufacturers I’ve seen (honourable mention goes to Roland/Boss) but this wasn’t needed to disassemble the chassis and get back to the PCB. The chassis is all metal which reduces weight and size. There’s a bent metal lid, removable end pieces and a separate metal base.

Hughes and Kettner have a power tube management system called TSC. This checks tube balance and bias. Orange amps have a similar system (see orange amp repair). The Hughes and Kettner TSC can occasionally fail and show up an error code on the TSC lights. The parts must then be replaced with these parts. But that wasn’t necessary here.

I discovered that the HT fuse had blown, which accounts for the bang the player heard. The valves all tested good, but since the TSC turns on the power tubes using a FET in the cathode I strongly suspected the power valves. After replacing the valves and the fuse the amp came back to life!

If you have Hughes and Kettner tubemeister repair, please just drop me a message and I’ll get you up and running again.

Dual Rectifier Tremoverb repair – Mesa amp repair

Dual Rectifier Tremoverb Repair

This Tremoverb repair was  for a customer who was attempting a combo to head conversion. It’s a lovely lovely sounding amp, but the 2×12 speaker box in which it was housed was too heavy for the owner. The owner performed the conversion himself but in doing so, the hand wired input jack became disconnected so the he brought it in for repair and basic service.

The Tremoverb input was easily and quickly fixed. My minimum fee is the 1 hour diagnosis period, so I proceeded to give the amp a full valve test in order to give best value for money.Mesa weird PCB layout

The Valve test revealed that one of the power 6L6 valves was faulty and the others were out of spec. Most Mesa amps require a specific set of valves and this Tremoverb Repair is no different so I fitted a matched quad of Mesa STR-440s.

Whilst giving the amp a look over I noticed a very wierd bit of PCB layout. The Opto isolators that Mesa always used on amps (pre-late nineties) were stacked one on top of the other. I hope I never have to replace the bottom opto on one of these. As I’ve said before, Mesa really don’t think about repair when they’re designing. Pity, when they sound so awesome!


If you have a Mesa Tremoverb repair please get in touch.

Peavey Valve King Repair – VK100

Peavey Valve King Repair

My customer brought this Peavey Valve King repair in to me before Christmas  to get an opinion on its state of repair. The amp was blowing fuses.

The Valve King VK100 is a monster of an amp. Not fire breathing levels of gain like some Peaveys but a big and heavy brute with a classic sound.

I determined within the first hour that the fuses were blown due to a failure of the DC heater circuit. DC heaters are used to reduce the hum in high gain amps. Unfortunately the internal fuse was a soldered-in part, so I made temporary fix (pictured) to test my theory and quote for the customer, before fully disassembling the amp and replacing the part properly when the quote was accepted.Valve amp blowing fuses

Whilst fixing the heater circuit I noticed that the area of the circuit board that I was working on had been repaired previously. Unfortunately they hadn’t told him what they’d done.

After fixing the DC heaters, I tested the units full output power. It’s a 100W amp, but was only putting out about 15W. More work to do! After a bit of further investigation, the amp output 87W. Not full 100W, but within the margins of dodgy advertising!
The amp needed a couple of valve changes and a couple hours work but the owner was pleased with the result.
 Peavey Valve King Repair 2

If you have a Peavey Valve King repair in need of repair, please visit the contact page.

Carvin repair – Nomad 

Carvin repair

This Carvin repair was completed for Simmonds music in Grantham. They received the amp in part exchange. The amp would occasionally drop to very low volume, with no apparent reason.

From the beginning it was obvious that the Carvin repair had been attempted by another tech in the amplifier’s past. The first valve stage had sustained some damage. Unfortunately it appeared that some damage had remained unfixed.

The amp also had a bad problem with a hum on the high gain channel which I was able to fix.

After replacing the plate resistors, the DC heater circuit, the cathode bypass caps and as number of other smaller parts, the amp was completed and returned to Simmonds in as-new condition with an Ampworks guarantee transferable to the new owner.

If you have a Carvin repair, please do contact me and I’ll get it working again!

Orange AD30R Repair – Valve amp Service

Orange AD30R Repair - stockphoto

This Orange AD30R Repair came in semi-urgently for a full service. The customer had a gig with his band at the Bodega in Nottingham on the thursday and he brought me the amp on Monday night. I do offer an urgent 24 hour turnaround service but fortunately the customer didn’t need that, just a 48 hour turnaround!

After testing all the valves in my valve tester, I determined that the EL84s in the output stage were mismatched. It’s important to match output stage valves to ensure continued good amp health and reliable tone. Fortunately I hold stock of EL84 valves so it didn’t delay the service.

I confess I’ve had to use an Orange AD30R image from Google because I forgot to take a photo!

If you have a Orange AD30R Repair, please let me know and I’ll take a look!

Laney speaker change – VC30

laney-speaker-change

This Laney speaker change job came down from York last week. The Laney VC30s are great amps but sadly are supplied with quite bland speakers. My customer asked me to fit a Celestion V30 to replace the stock HH driver.

It’s owned by a professional guitarist who bought it as a spare – unfortunately the amp also had a bad case of ‘snap, crackle and pop’ so whilst en route to gig he brought it to me for investigation and a speaker change.

The speaker change was a success. Because I’ve had experience of microphonic howls in Laney amps, I was initially concerned about the V30’s greater magnet size and proximity to the valves, but this turned out to work well. You can hear the results of the speaker change below, a great improvement!

In another Laney speaker change, I had good results with an Eminence Legend, I’m afraid the audio isn’t as good on this one!

The crackling issue turned out to be the phase inverter valve, one if two 12AX7s which failed in my valve tester.

If you have a Laney VC30 speaker change or repair, drop me a message and we’ll bring your amp to life!

Marshall JCM900 repair – Ampworks Newark

Marshall-JCM900-repair-2 copy

This JCM900 repair arrived after the owner found that it was lacking in volume.

It’s a 2009 unit, two channel, with a 2203 type circuit on channel A and a higher gain circuit on channel B.

The problem appears to have been with the amplifier bias. Although the valves were matched, the bias on this JCM900 repair was set very high. The bias set the dissipation at about 95% – Marshall suggest about 70%. This causes the output to compress much earlier than would otherwise occur. Fortunately this is easy to fix.

I then offered to soak test the amp which is a means of testing the amp in the conditions it would be in rehearsal or gig. This is great for revealing those hard to find problems that would otherwise missed. It revealed a minor fault with the preamp – a crackle appeared behind the note transients. Since this was a relatively minor problem, the owner chose not to have it looked into.

I sometimes have been known to complain that some amp manufacturers give little thought to ease of repair – mesa boogie have had some stick from me in other reports. Some marshall repairs – thinking the DSL range in particular – are a bit difficult because of their complexity but this JCM900 repair is a delight to work on. They’ve really thought things through both in terms of reliability and ease of repair. It’s probably the easiest channel switching amp to repair that I’ve seen.

Although the channel A had a great plexi type tone, the owner isn’t a big fan of the Drive sound in ChannelB – he’s thinking of modding the amp to acheive the fabled Silver Jubilee tone so stay tuned – this one might turn up again.

If you have a JCM900 repair, please do get in touch.

Vintage Vox AC30 repair – Ampworks, Newark

Culprit - Vintage Vox AC30 repair

Now, is it good things or bad things that come in threes? It must be good things. This was the third of three vintage vox ac30 repairs that came to me over a few weeks in summer 2015. Vintage amps have a particular smell and when there are 3 vintage vox amps in the workshop for repair you soon become very used to it!

This amp is probably the toughest repair job that I’ve worked on over the last 6 years. Another repair company in Lincolnshire, experienced with vintage amp repairs, had looked at the amp but had ultimately had to give up. I don’t really blame them.

This vintage Vox AC30 (there’s a picture of it on the 1961 vox page too) is I think a 1970s model. I’ve estimated it at 1973, with substantial modifications through the years. However, I’m an electronics geek, not an amp history geek, so I may be wrong. Someone who’s opened up the amp in the past has written “1978 ish ? 1986 as well, mostly ?” inside it. I judge it to be 1973 because the vox logo is a traditional VOX logo as used in the 60’s, but this could have been swapped during it’s lifetime. Early 1970s vintage Vox AC30s used PCBs too. STragely, this doesn’t look like any of the 70’s PCBs that I could find. So, the jury’s out on this one!

Some 70s vintage Vox AC30s came with reverb circuits, but this amp uses a solid state reverb circuit that I can’t find any record of in 70s amps. You can tell that the amp didn’t ever have a valve reverb because it’s a 10 valve unit. The ’78 reverb unit used 11 valves with the extra triode used to buffer the signal into the spring reverb and to make up gain after it. But the amp had a reverb market on the front panel, I assume this must have been fitted later. Vintage-vox-AC30-repair

I’ve spoken before of the peculiarities of doing amp repairs on guitar amps and other electronics is that the actual process of repairing can take just 5 minutes, but the fault replication and diagnostic period is often much much longer. This problem is made worse in situations when the problem disappears intermittently. This one would disappear as the amp warmed up, after 20min or so.

The fault turned out to be a loose turret connection between the normal preamp volume control and the phase inverter. The connection appeared to be physically intact with a good solder joint. Grounding the point through the pot appeared to have no effect. However when removing this turret it broke in two. There must have been solder holding the piece together, but not making a reliable connection.

After that was fixed, we decided to wire out the solid state reverb unit and return the unit to vintage AC30 spec by adding back in the LoGain input on the vintage channel. While doing this I noticed that someone who’d worked on the amp, probably whoever fitted the reverb had wired up the input jack wrongly, leaving the brilliant channel jack socket with a high resistance to ground at all times. This turned the unit into a pickup point and the amp was feeding back on its own at high treble settings, with no guitar plugged in. Nightmare! Anyway this was soon fixed.

When finished, this is easily one of the nicest sounding amps I’ve ever played. I love the way the Vintage Vox AC30 circuit distorts. It’s easy to see why it’s become a popular circuit for the likes of Dr Z, Trainwreck, Matchless, Bruno etc. to copy. You can see a bit of it in the quick video I did to celebrate it’s finish!

This vintage vox AC30 repair took a good deal of effort, and I was the second repairer to work on it, bit I’m glad to say that it is now fixed. If b you have a vintage vox AC30 and it’s in need of a bit of TLC, please so contact me via the contact page.