Hughes and Kettner Grandmeister repair

Hughes and Kettner Grandmeister repair

I’ve been hoping for a Hughes and Kettner Grandmeister repair since they first came out. Luckily for me when the amp’s owner saw my tubemeister repair blog he decided to send his amp all the way from Kent to be repaired at my Newark workshop. Apparently his local amp tech said ‘I don’t do modern amps!’ 🙁

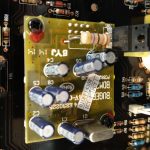
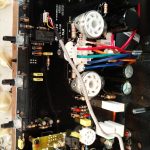
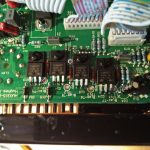
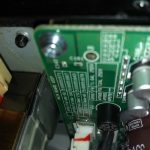
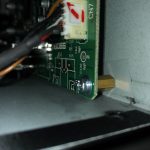
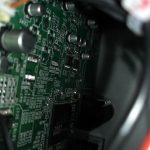
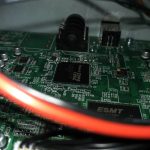
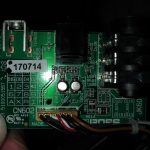
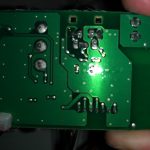
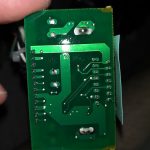
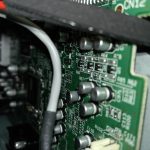
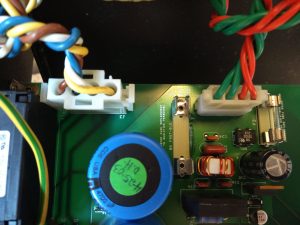
He missed out on a really interesting job – Hughes and Kettner have invented a ‘TSC’ Tube safety control auto biasing circuit that monitors the tube bias and shuts off the tubes if they get out of spec. Unfortunately a faulty tube had taken out the tube safety control – oops! I replaced the circuits with these 4 TSC MOSFET s to finish the job – see picture below.

It’s a tightly packed amplifier with not much space so it took a bit of work to get in there and repair the TSC circuit but it wasn’t too bad a job. Here’s a video of the completed job.

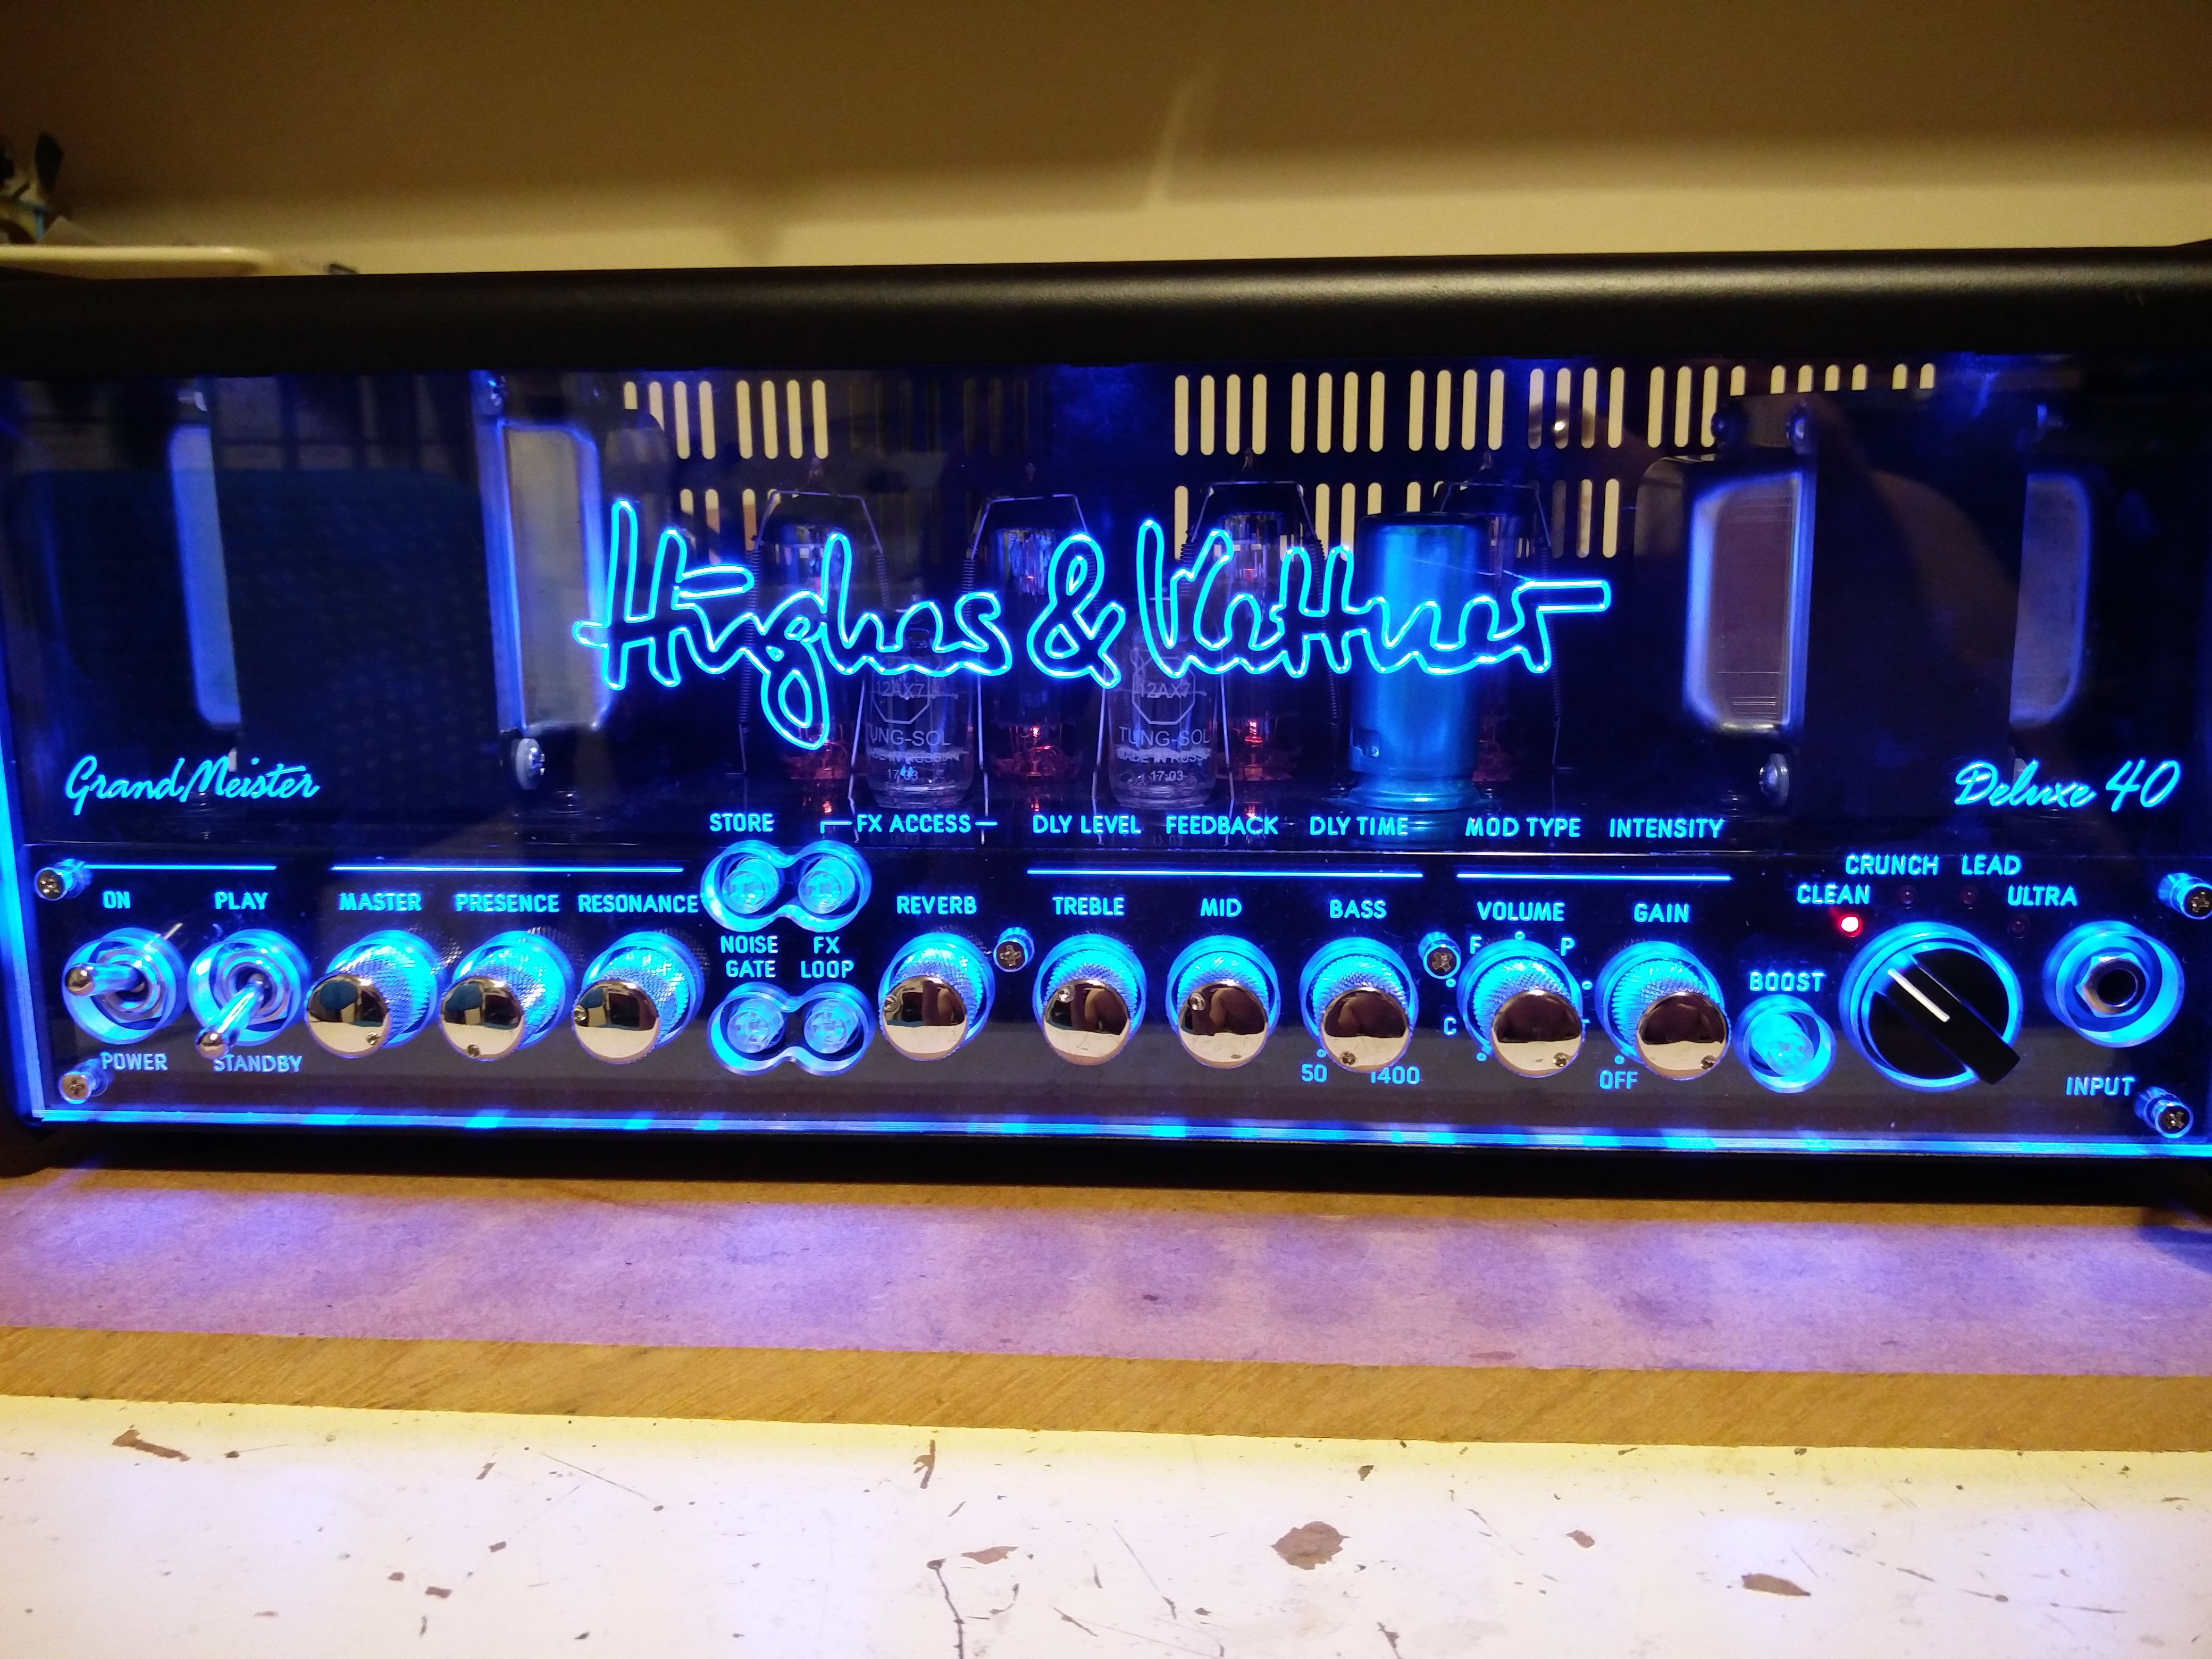
The one disadvantage with Hughes and Kettner amps is that they tend to show up fingerprints, so I gave the amp a good wipe down before posting it back to Kent!

If you need a Hughes and Kettner Grandmeister repair, please feel free to bring it or post it to me.

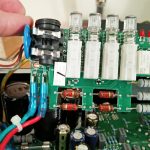
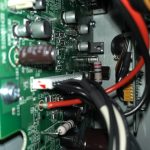
Hughes and Kettner Grandmeister repair - resistor mounting

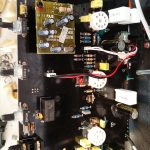
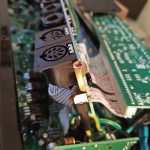
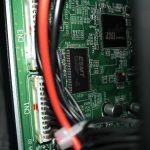
Hughes and Kettner Grandmeister repair - midi board

Hughes and Kettner Grandmeister repair - TSC repair

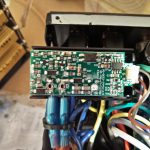
Hughes and Kettner Grandmeister repair - power off circuit

Hughes and Kettner Grandmeister repair

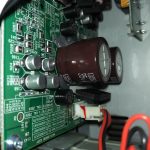
Hughes and Kettner Grandmeister repair - cleaning

Hughes and Kettner Grandmeister repair

Hughes and Kettner Grandmeister repair

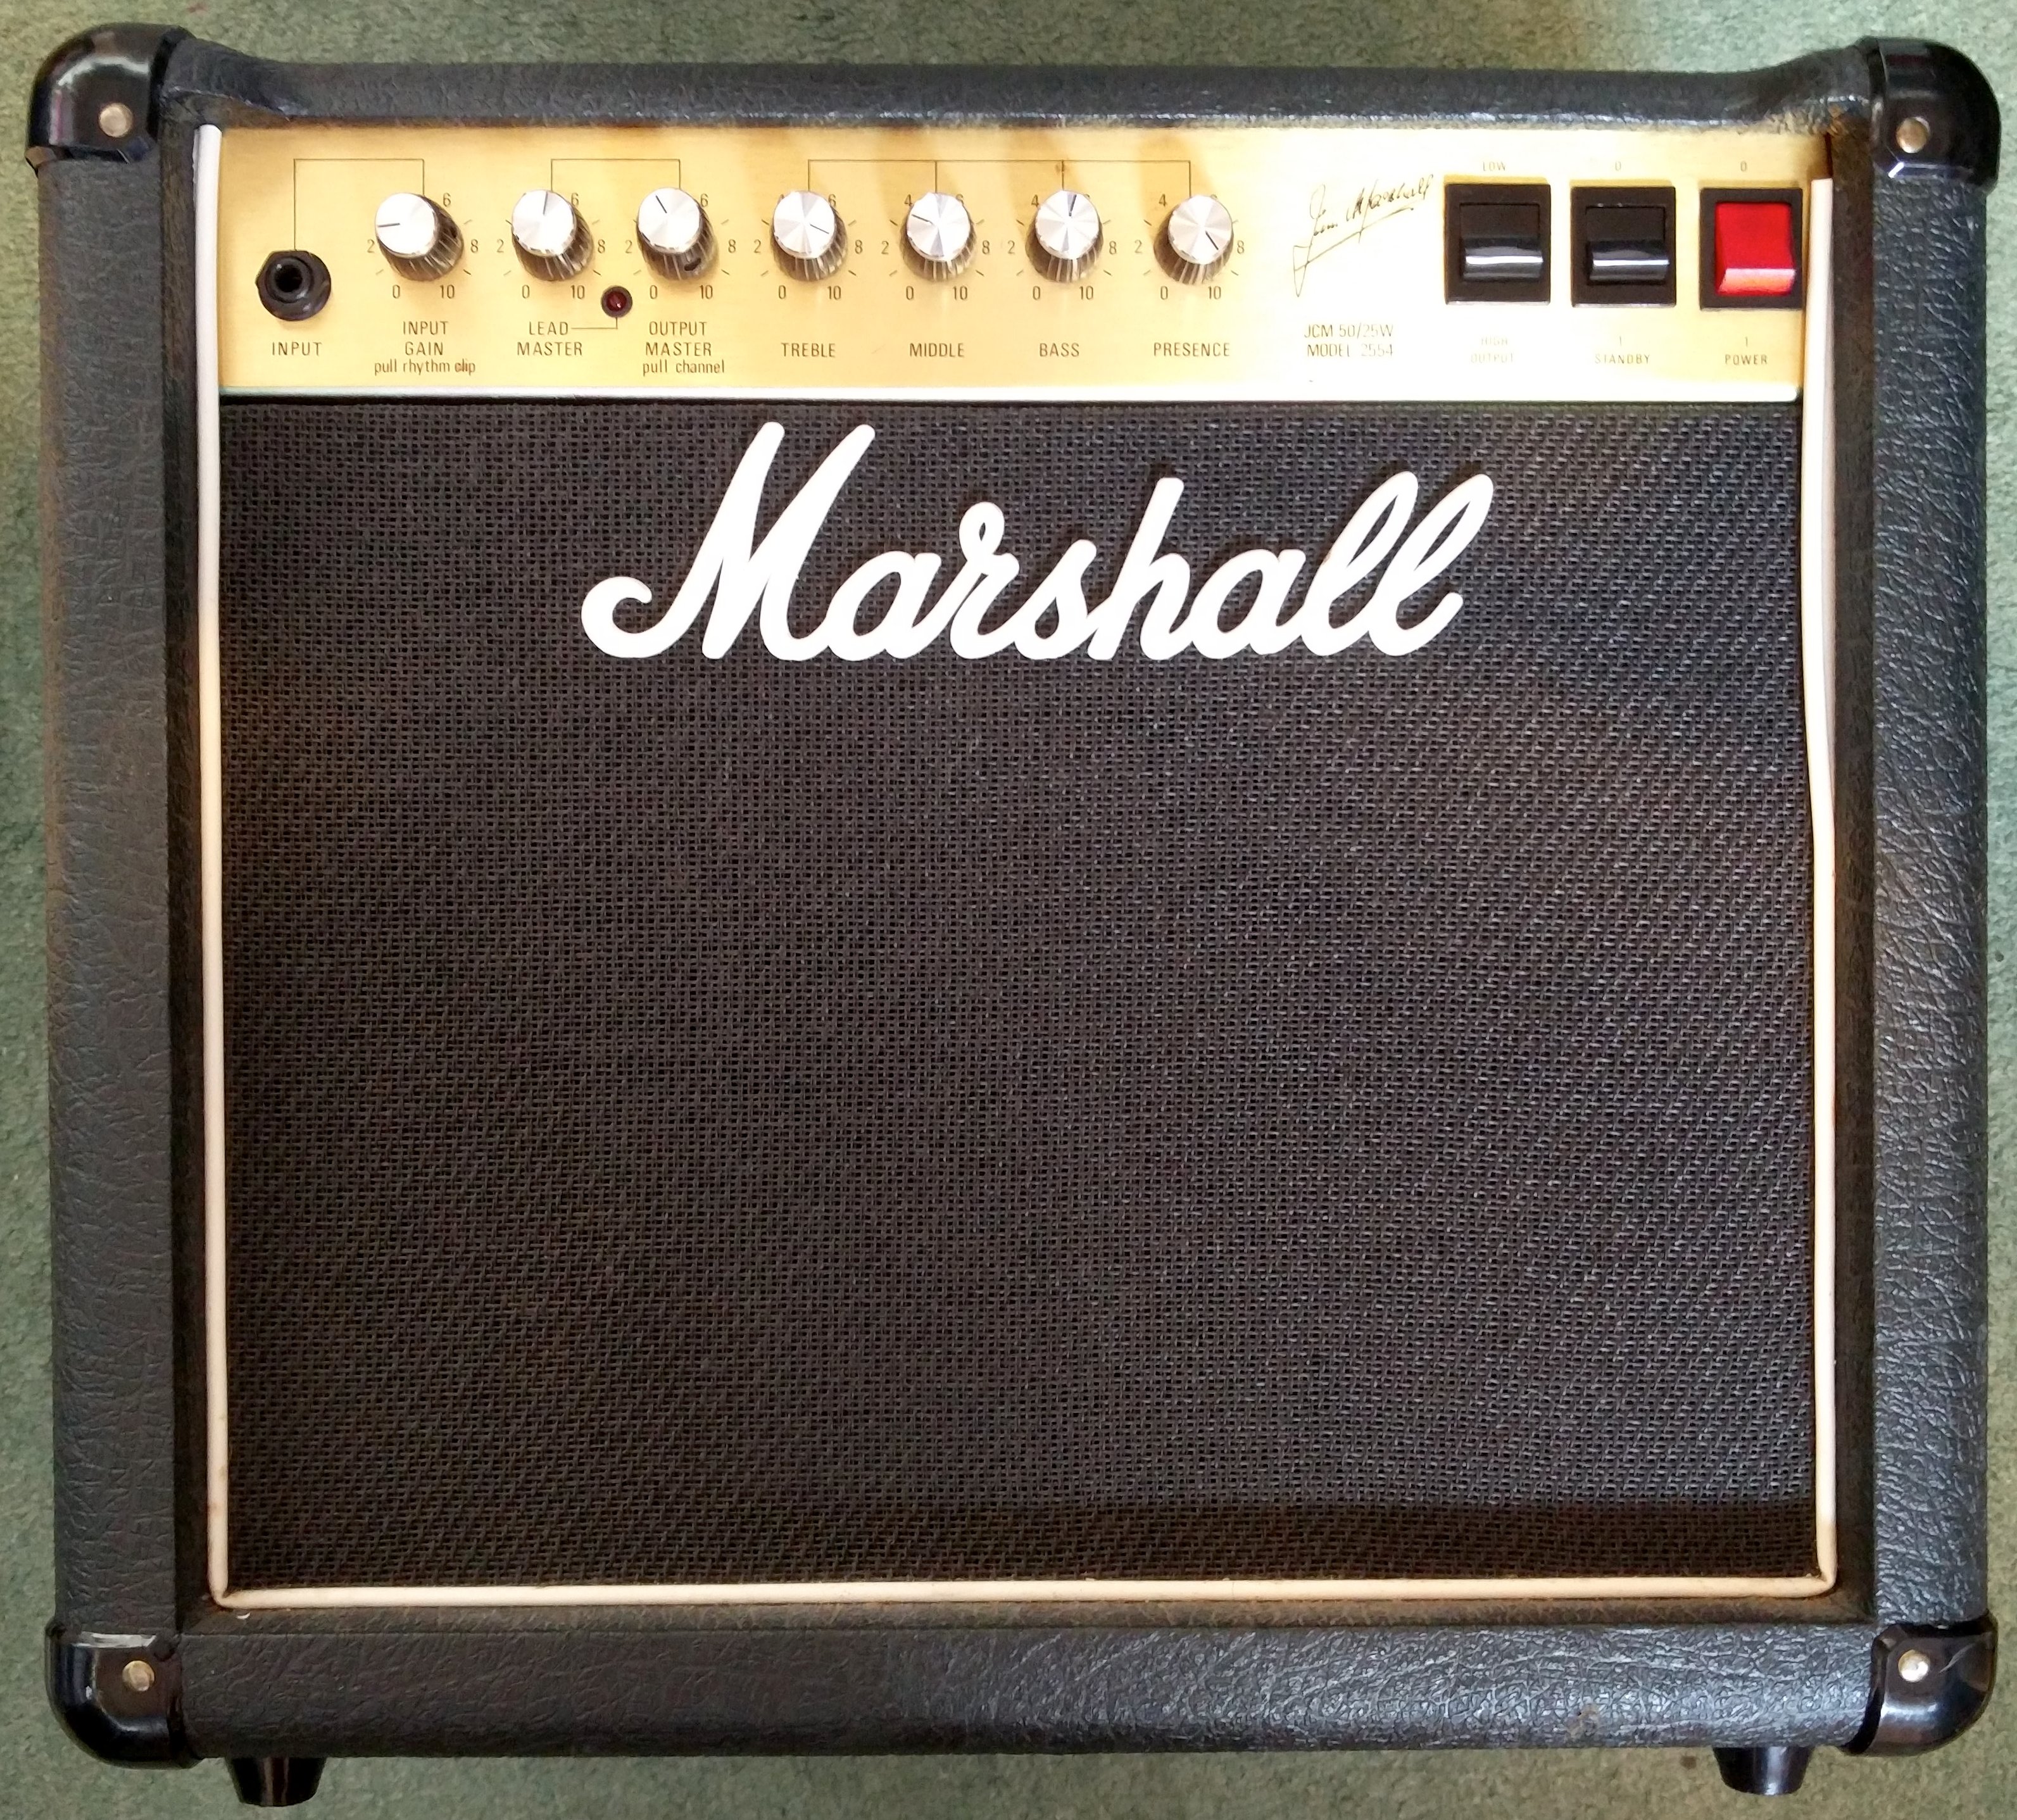
Marshall 2554 JCM 800 combo repair

Marshall 2554 JCM 800 combo repair-4

This JCM800 combo repair came to me for a full service before the user sold it. It also had a common problem with the power light illumination.

I spotted a few things during the service. A bit of preventative action has hopefully made the amp a more pleasurable experience for the user.
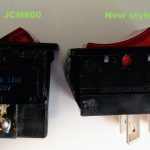
Replacement Marshall JCM800 Switch
There were a couple of dry joints around the potentiometers. All three preamp valves failed test.

The valve socket for the preamp valve was damaged and required replacement – I used a new Belton PT range socket, I find these to be durable and high quality with a good solid fixing. The first valve socket was

The illumination switch would have been a nice simple job, except that the part sold by Hot Rox as a “Marshall JCM800 power switch” was too wide for the chassis slot. Fortunately I found a suitable replacement from RS. That’s one to beware of in future!

The owner was good enough to write me a nice review of the service. 🙂

Replacing power switch Marshall 2554 JCM800 combo repair-1
If you need a JCM800 Combo repair please get in touch and I’ll get it sorted for you.

Keyboard amp repair – Carlsbro Colt 45.

Keyboard amp repair Calrlsbro colt 45-1

This keyboard amp repair was for a Worksop based violinist who uses the full range speaker with his electric violin.

The amplifier was obtained second hand and had developed an intermittent problem in which the amp would drop out almost completely, leaving only a tinny high frequency signal. At first, I suspected that the LF driver or the crossover had become damaged, leaving only the HF driver active in the coaxial speaker. Normally, you would expect an HF driver to be damaged first, but LF drivers are still possible to damage.

However this wasn’t the problem. In the end I fixed the amp by replacing the corroded FX send jack and phones connectors. The shunt contacts on both of these interrupt the audio signal so they must be kept clean. To complete the Keyboard amp repair I then put the amp on soak test for 2 hours to verify that there were no further problems – there were none!

I shot a quick video part way through diagnosis:


If you need a keyboard amp repair, please drop me a message.

Powered mixer repair – Wharfedale SPX815

powered mixer repair wharfedale spx815 powered mixer

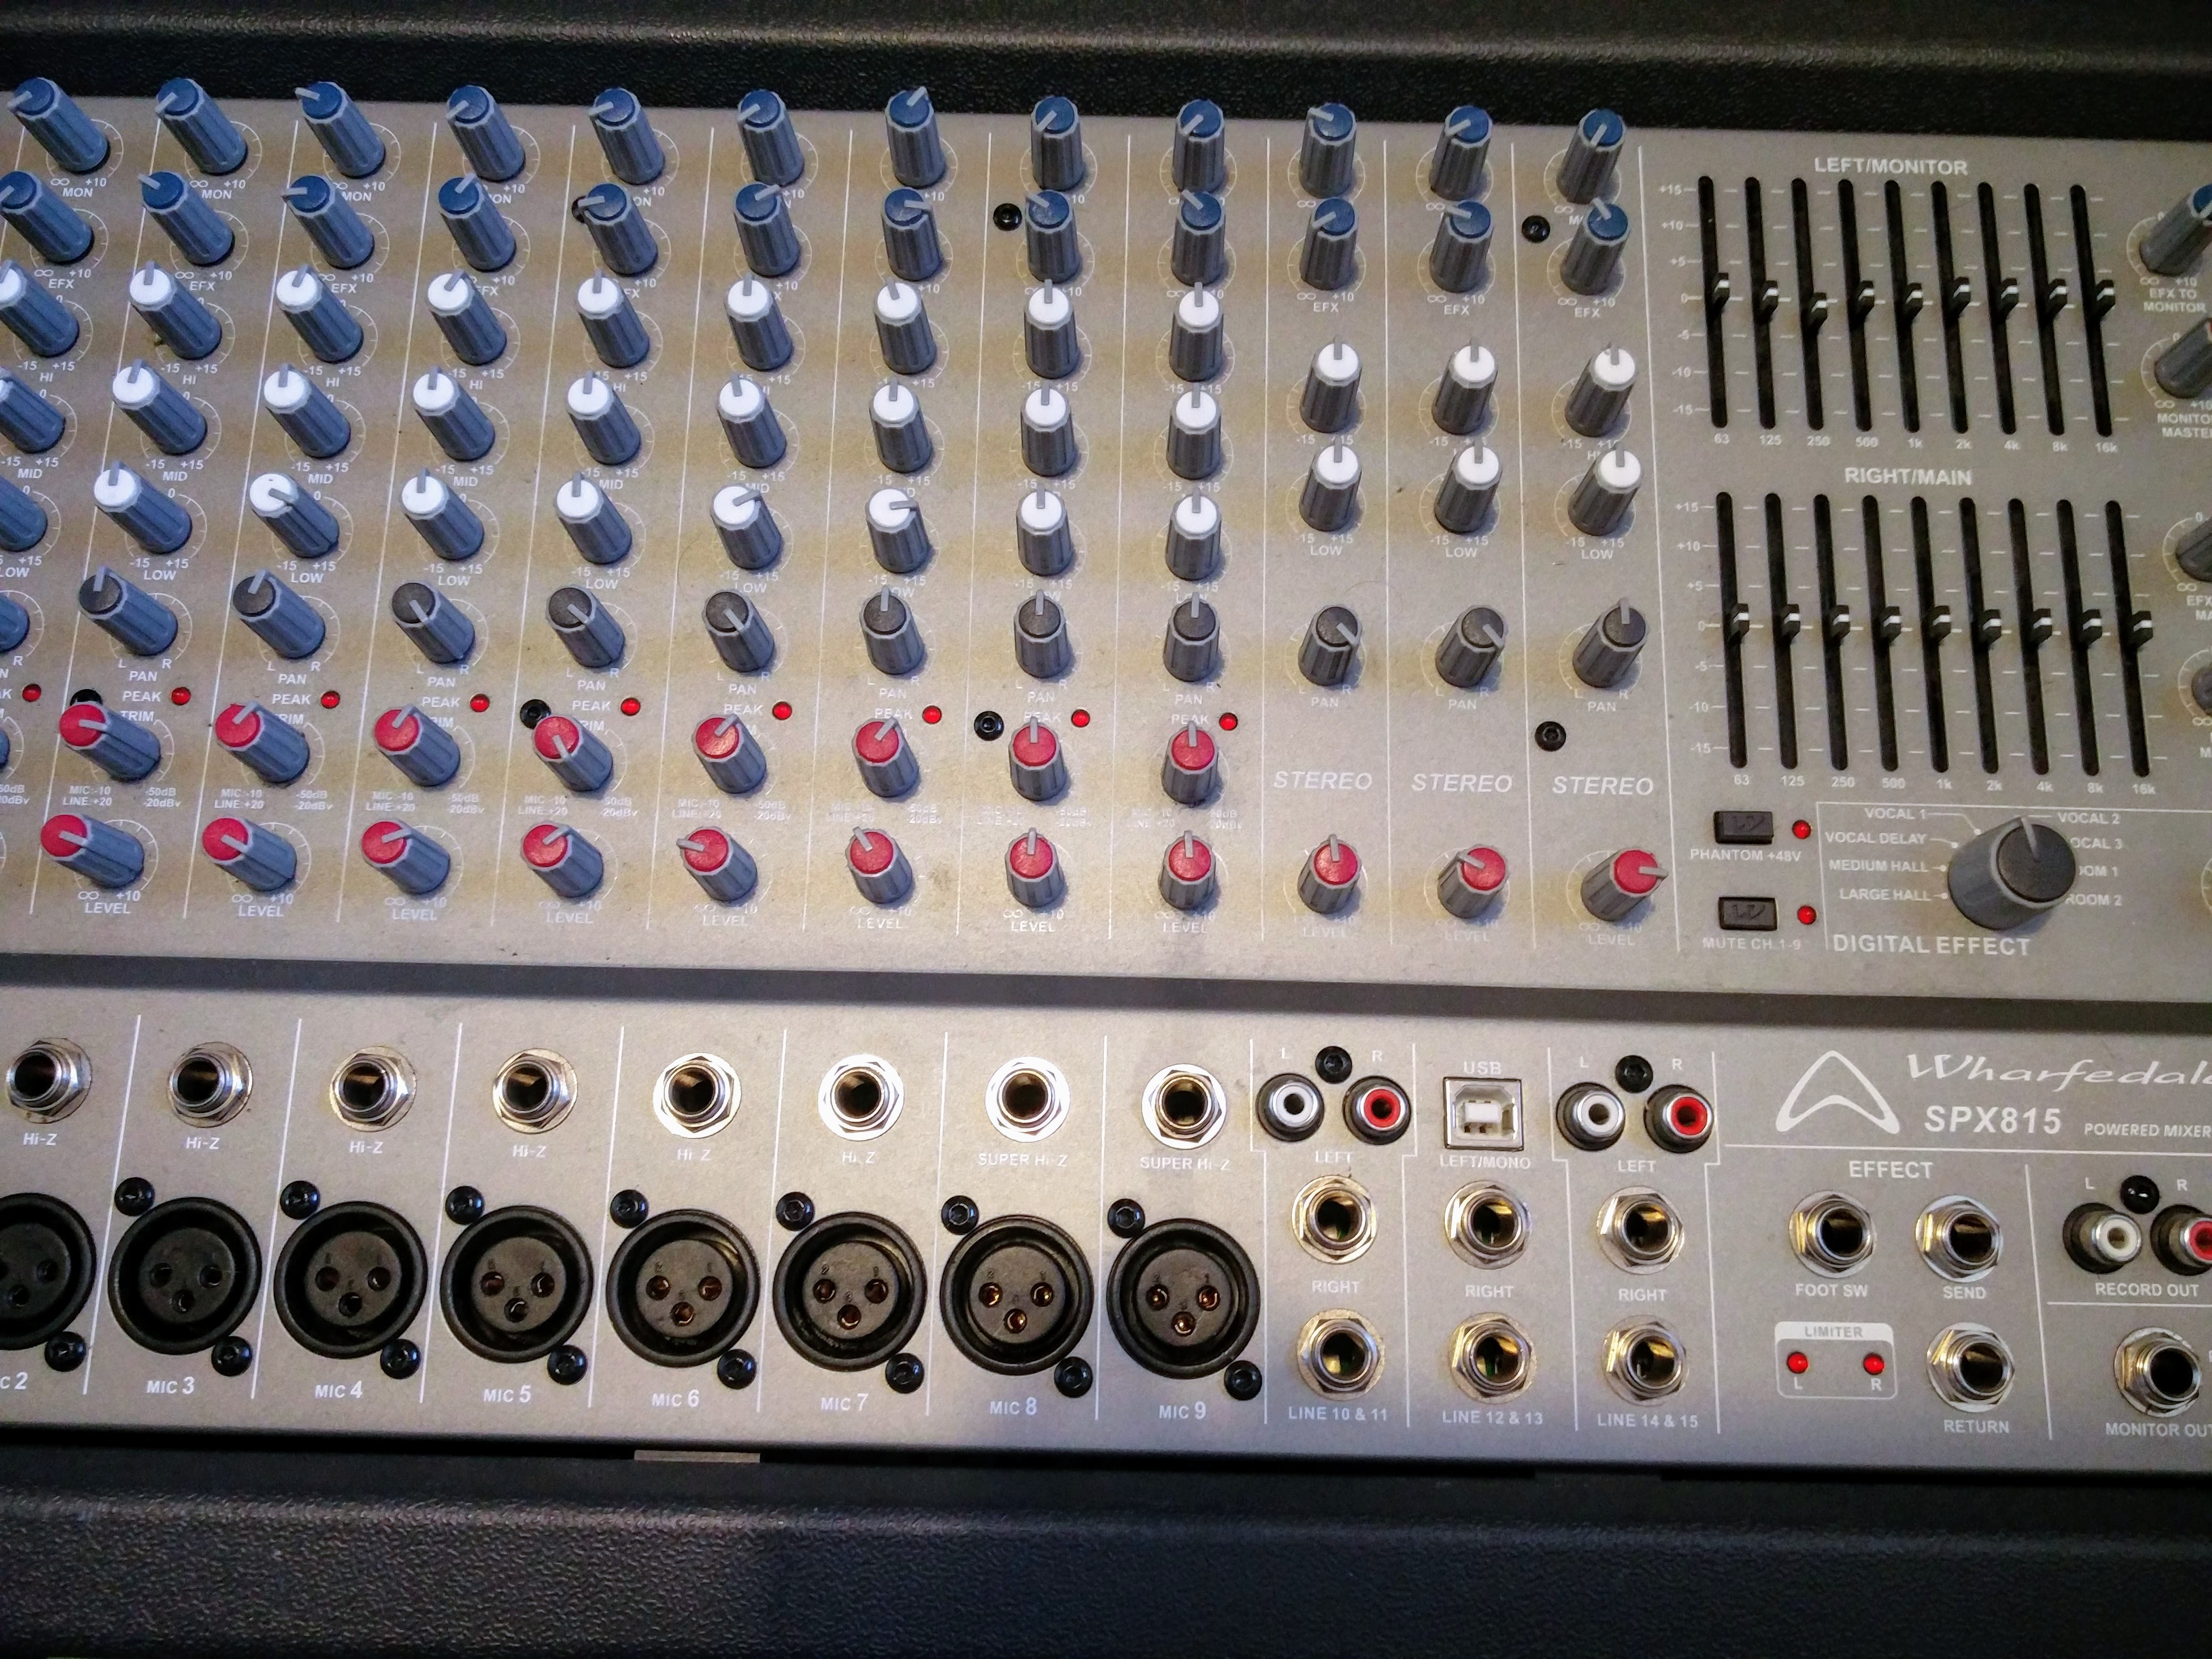
Just doing a quick write up of a powered mixer repair that’s going out today. It’s a Wharfedale repair, an SPX815 powered mixer that had no sound output from the left output channel.

My first instinct when the Newark customer contacted me was to expect that the output stage had blown, but this turned out not to be the case as I quickly discovered that the left channel was fine when a signal was plugged straight into the power amp inputs.

Powered Mixer repair Wharfedale SPX815

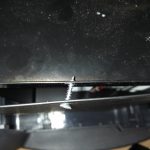
Powered Mixer repair Wharfedale SPX815 - botched wood screwIt’s difficult to attempt a powered mixer repair without schematics so I’m very grateful to the gentleman on a forum who sent me the schematic over. After tracing the fault through the schematic I discovered that an SMT op amp in the left channel graphic EQ was blown – there was a nice neat hole in the top.

Someone had already attempted a repair on the PA section of this amplifier – I’ve no idea what they were doing, but they’d bent the metal chassis around the PA, stripped the threading on a PEM and tried to hold the whole botched job together with a wood screw. It’s pretty much impossible to bend things like this back, but I did my best, redrilled the mounting holes and replaced the dodgy wood screw with a machine screw! I left a note to any future repairers so that no-one things the dodgy work was done by was me!

Here’s a video of the powered mixer repair:

If you need a powered mixer repair, please get in touch.

Bugera Repair – V55

Bugera repair V55

Turned this Bugera repair around quickly in time for it’s owner’s gig in Skegness. The amp is a vintage 55, or V55.

The amp was brought in for a standard 2 hour service, with a few particular points of attention. The owner had noticed that the clean channel was overdriving much sooner than previously. Also the standby switch was broken.

After testing the valves in my valve tester I discovered that the cause of the clean channel change was a very worn Shuguang preamp valve. I replaced it with a new Tung Sol 12AX7. I also discovered that one of the Bugera branded power valves was also faulty, requiring a change of both power valves to EHX 6L6s and a rebias.
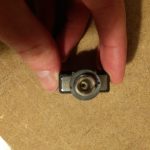
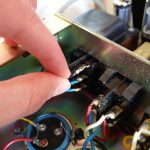
Bugera repair V55Bugera repair V55 - replace standby switch

I’m not a big fan of Bugera’s bias control – a phono output that makes the bias voltage externally accessible and a little finger trim pot. The trim pot is a nightmare to adjust – screwdriver turned pots are much more accurate. And the phono socket exposes a relatively large voltage of between -40 and -80VDC. Also, the bias voltage isn’t a very good way of measuring bias (see this post by Aiken amps). Behringer use it as a way of encouraging you to buy their pre-graded valves. I use the most accurate cathode current method of biasing with a multimeter and a set of custom probes. I set the bias to 38mA, which is 70%.

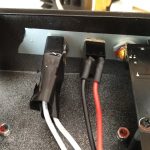
A specific request on this Bugera repair was to replace the damaged standby switch. It was a quick and easy job – as seen in the image. I often hold generic parts like this in stockin order to fit a variety of amps, or I can always order specific pieces in to suit an amp’s aesthetic.
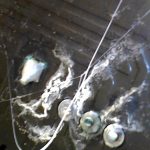
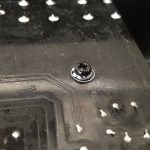
Bugera repair V55 verdigris on PCBBugera repair V55Upon inspecting the board I noticed a number of areas that were corroded – in the picture you can clearly see the Verdigris (copper carbonate) on component pins and PCB pads. I desoldered these pads and freshly resoldered them. I also spotted a couple of dry joints on valve bases and fixed these up. After this stage I refitted the PCB.The original screws were secured with thread lock, so instead I added a toothed washer and a plain washer – many manufacturers and repairers omit the plain washer, but this is very important in order to not damage the PCB surface and thus loosen the screw.


I was interested to note that the amp uses a ‘Turbosound designed’ speaker. This is because Bugera and Turbosound are both owned by Music Group (Behringer). The amp also uses a V1000 cool audio (I think this is anothewr behringer brand) multifx chip and a V4220M codec on a mezanine board to create the digital reverb.

If you have a bugera repair job for me, please get in touch.
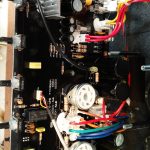
 

Bugera repair V55

Bugera repair V55Bugera repair V55

Bugera repair V55

Boss Katana Mod – Midi mod? Rec Out mod?

I’m just starting this Boss Katana Mod post to show some pics of the Katana 50 PCBs and document some mods I’m interested in doing.

These are absolutely fantastic amps, I’d thoroughly recommend them to anyone.

There are however, a few features that I’d like to change, particularly about the 50W build. I’ll detail them later, if my hunches work.

My main gripe is that the ‘Phones/Rec Out’ socket defeats the speaker. Fair enough if it was just a ‘Phones socket, but for Rec out, I’d like the option of being able to monitor through the speaker. To my way of thinking if you want silent headphone you can put the amp in standby anyway.

When I’ve designed circuits like this, I’ve used a jack back contact to communicate the presence of a jack plug to the MCU, which then defeats the speaker, I guessed that Roland would do likewise. Upon testing I saw that when a jack socket is inserted, the sleeve back contact is pulled up to 3V3. Next test was to ground that 3V3 point and sure enough the speaker starts playing audio again, but the rec out socket still plays. Success!

Videos to follow.

Until then, here are some pics!

Boss Katana gut shot

Boss Katana PCB Power amp

Boss Katana gut shot - Power amp.

Boss Katana Main Board BOM instructions

Boss Katana mod - midi socket

Boss Katana mod - not fit ADCs

Boss Katana mod - ga-fc socket

Boss Katana gut shot - DSP chip and memory

Boss Katana PCB

Boss Katana gut shot

Boss Katana PCB Main board End View

Boss Katana gut shot Transformer

Boss Katana Rec Out PCB Top

Boss Katana Rec Out PCB Rear

Boss Katana gut shot power amp

Boss Katana Mod PCB

Marshall Silver Jubilee repair – Marshall model 2558

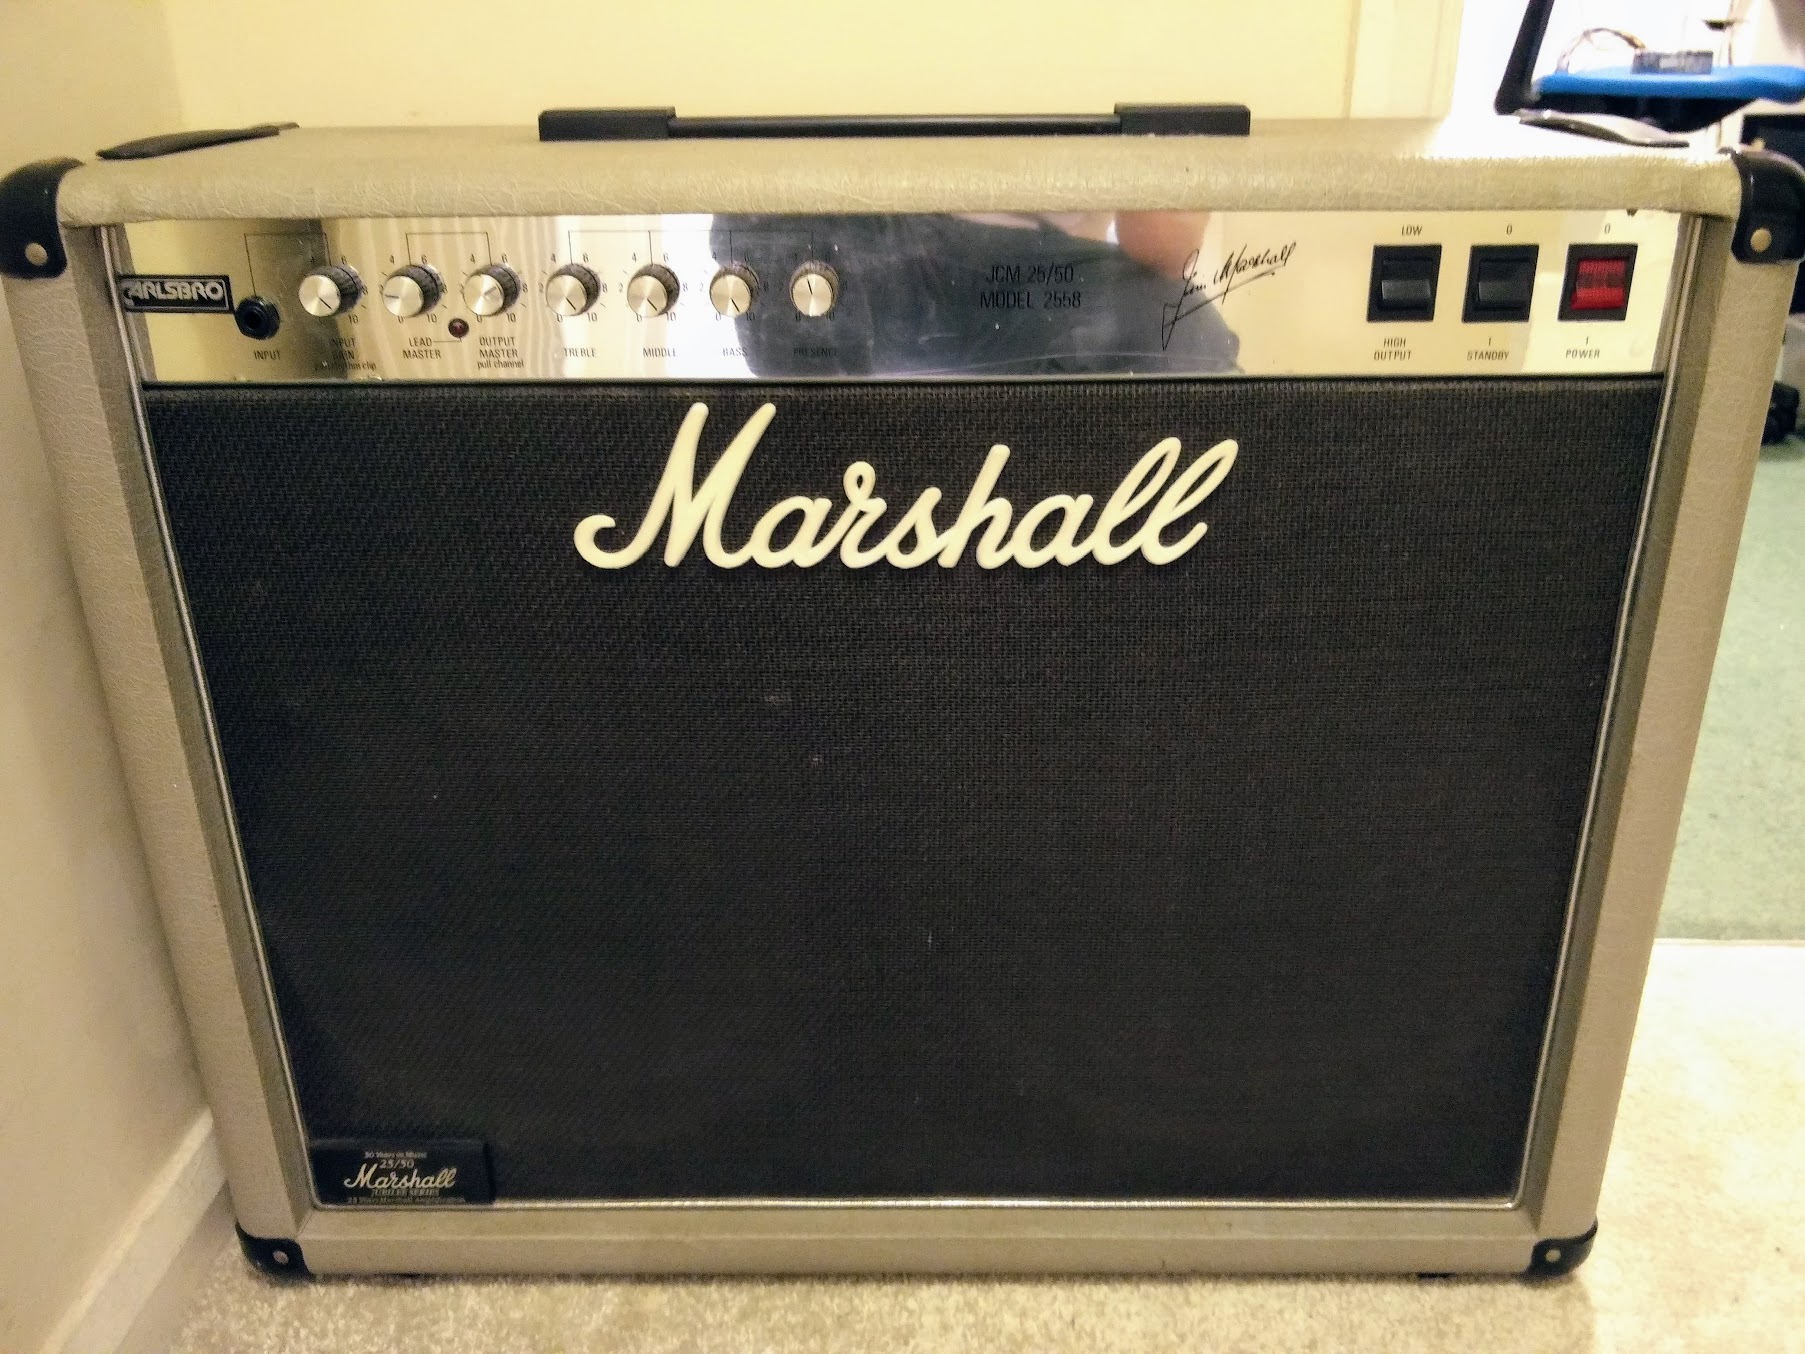
Marshall Silver Jubilee Repair

I was quite intruiged when a Nottingham guitarist brought this Marshall Silver Jubilee repair to my Newark workshop. These amps have taken on a bit of a legendary status, due in no small part to their association with Slash and Joe Bonamassa. I love how this amp looks, and it’s got an interesting tone control design, that deviates from the common Fender and Marshall designs.

The amp had blown a power tube, which the owner had replaced without rebiasing, tut tut! It still had very weak output, but occasionally it would blast out at full volume. It was also in need of a good pot clean.

First thing to do was to disassemble the amp. Marshall amps from this era are quite nice to work on and easy to take apart.
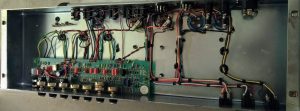
Marshall Silver Jubilee Repair - gutshot
The described problem was caused by oxidation in the FX loop circuit. This is a common problem with many amps and was easily fixed.

I observed some crackling on the EQ potentiometers which turned out to be slightly leaking coupling capacitors in the tonestack.

I then attempted to rebias the amp but discovered another problem. The plate voltage of 490V requires a bias current of to give 70% bias. I couldn’t get higher than 18mA with the valves the customer has fitted. Viewing the output waveforms in the scope, the amp showed significant crossover distortion. I checked the bias supply and found it to be working correctly. Although they tested within spec in my valve tester, it just wasn’t possible to bias these JJ EL34s in this particular amp. I fitted a new set of EHX valves and was able to bias the amp properly to 34mA.

This amp sounds great, even when I play it!

If you have a Marshall silver jubilee in need of repair, please contact me

Acoustic Image repair – Clarus 1

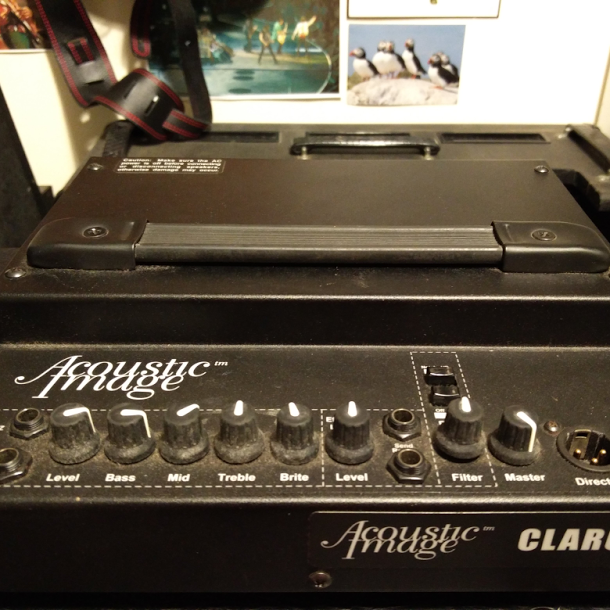
Acoustic image repair Class D amp repair

It’s always interesting to get something in that’s a bit different – this was my first Acoustic Image repair. The amp is a Clarus 1, now discontinued. It’s a great bass amp in a very compact and lightweight form, made possible by the use of a Class D power stage.

I’m a big fan of class D amplifiers such as this Acoustic Image – in my ‘other’ job I’ve designed quite a few for a leading audio equipment manufacturer. They’re lightweight, efficient, sound great and they’re quite easy to repair, but they do take some careful designing.
Acoustic Image repair
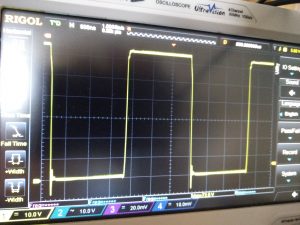
This particular amp had blown a FET and a gate resistor in the output. The FET turned out to be obsolete upon investigation, so I have to thank Laurence of Acoustic Image UK and Rick Jones, Acoustic Image owner, for helping me to identify their approved alternative part. The choice of Class D FETs has to be carefully made to fit the design otherwise they will not operate reliably. This is demonstrated in the image below. The waveform should have very little ringing, and very little curve on the waveform top.
Acoustic image repair Class D amp repair
I noticed that the reservoir capacitors were bulging slightly – possibly a sign of age or linked to the output failure. I suspected that these caps were the cause of a quiet crackling noise observed when I’d fixed the output so I replaced these with high quality parts. This fixed the crackling noise.

The Nottingham based owner was happy with the repair and kindly left me a review:

If you have an acoustic image repair, please get in touch.

AV Receiver repair – Yamaha RX-V450

AV receiver repair

This AV receiver repair, a Yamaha RX-V450, was completed on a fast turnaround for a local radio producer who needed it in time for a show. It’s got 6x85W channels and more inputs and outputs than you can shake a stick at.
Although I’m well versed in solid state electronics, this is the first AV receiver I’ve worked on, because most of my work is on musical instrument amplifiers.

The fault was with the power supply and is a known design flaw with the otherwise reliable unit. Over time, power surges can damage a 600V capacitor that resides in the soft start circuit. This might sound surprising when UK mains is 230V, but audio equipment should be designed to cope with 1kV or 4.5x the rated mains voltage to withstand surges. I replaced the device with a 760V capacitor, which was the biggest part that would fit in the available space. I added epoxy glue to prevent the larger part becoming a vibration risk. AV receiver repair

The amp was dropped off on the tuesday and the repair completed by the thursday. Just one hours work, with a short break for 24h turnaround on the new part.
The repair was completed within the first hour and returned quickly to the customer, who then brought me two other AV receiver repairs! He’d not been having much luck with them!

If you have an AV receiver repair, please let me know and I’ll see if I can help.

Active Speaker repair – W-Audio PSR-8A

Active speaker repair powered speaker repair W-Audio PSR-8A

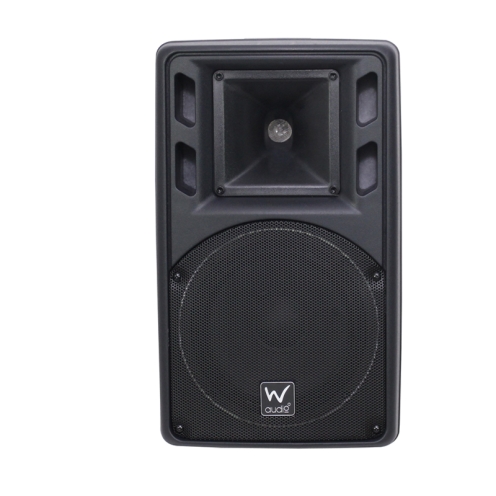
I just came across my notes for an active speaker repair on a W-Audio PSR-8A monitor. It’s an affordable W-Audio PSR-8A that was being used in monitor duties by a Grantham based keyboard player. The job was competed last year, but I thought I’d blog about it now.

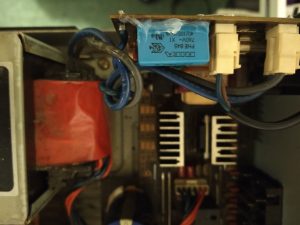
The mains transformer had died. I replaced this with a new 160VA unit, sourced from RS. The new transformer was larger than the outgoing unit, so a small amount of plastic had to be removed from the inside of the unit.

If you have an active speaker repair, please get in touch.